Easy Paul Klee Inspired Art Project Tutorial and Paul Klee Coloring Page
Below you’ll find an easy step-by-step tutorial for a Paul Klee Inspired Art Projects and a Paul Klee Coloring Page.
Paul Klee Drawing
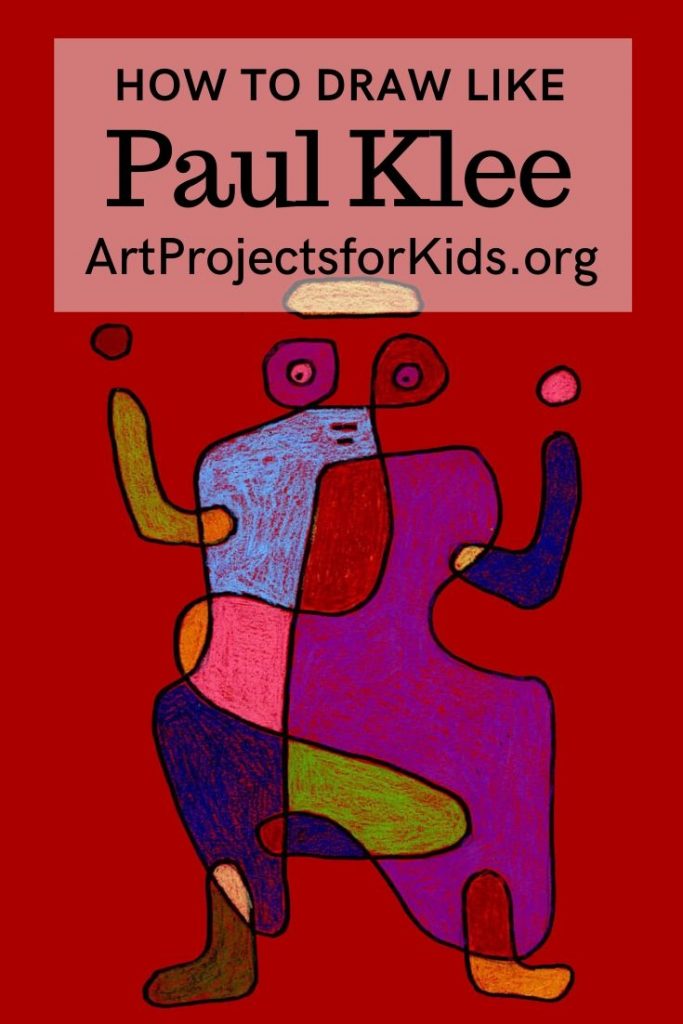
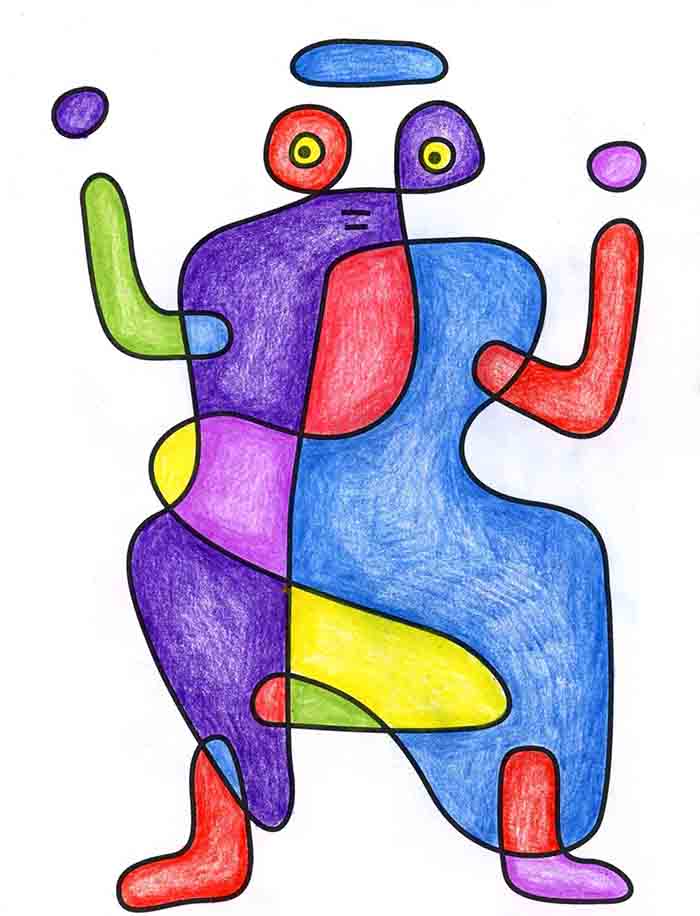
Paul Klee was a Swiss and German artist best known for his large body of work that included cubism, expressionism and surrealism. This Paul Klee inspired art project is designed to help students try out his continuous line drawing idea, which produced one of his more famous paintings “Arrival of the Bridegroom”.
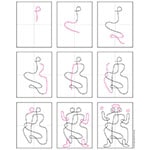
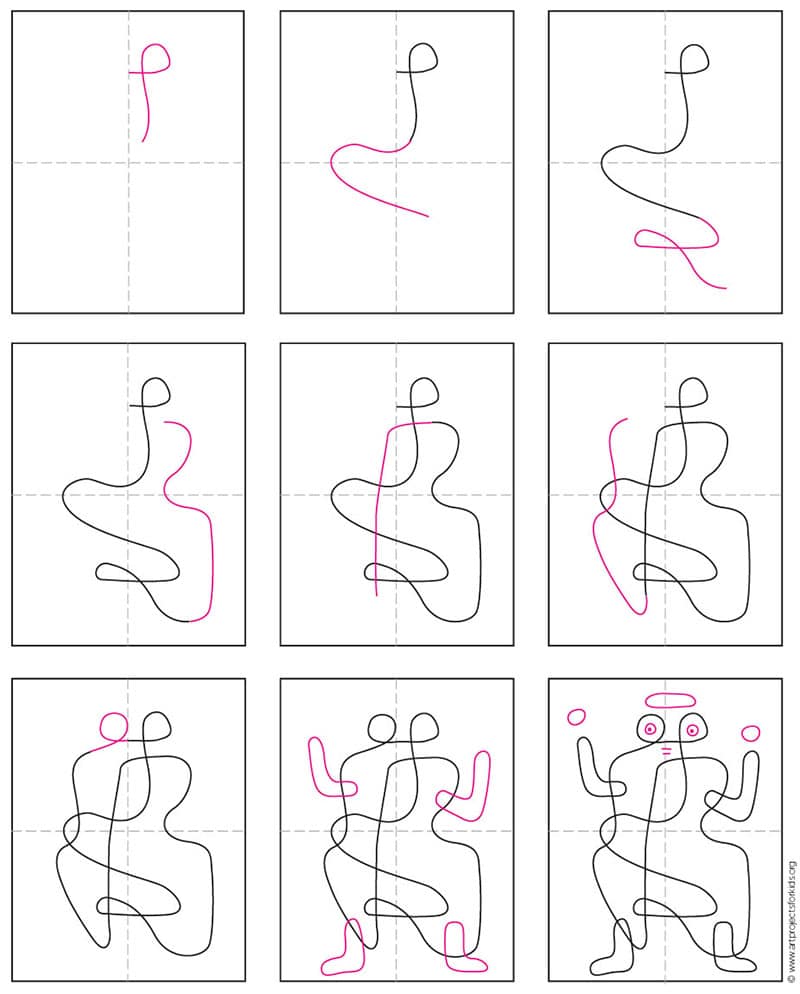
The directions in the step-by-step tutorial will guide students through a series of loops and curves that will fill up the paper in the way that Klee did, but undoubtedly create their own version of his abstract drawing.
Once the drawing is complete there are lots of options for coloring it in. The sample above was made with colored pencils. All the different areas were first filled in with a color, then later shadows were added all around the edges.
Use the Button below to grab a PDF Tutorial
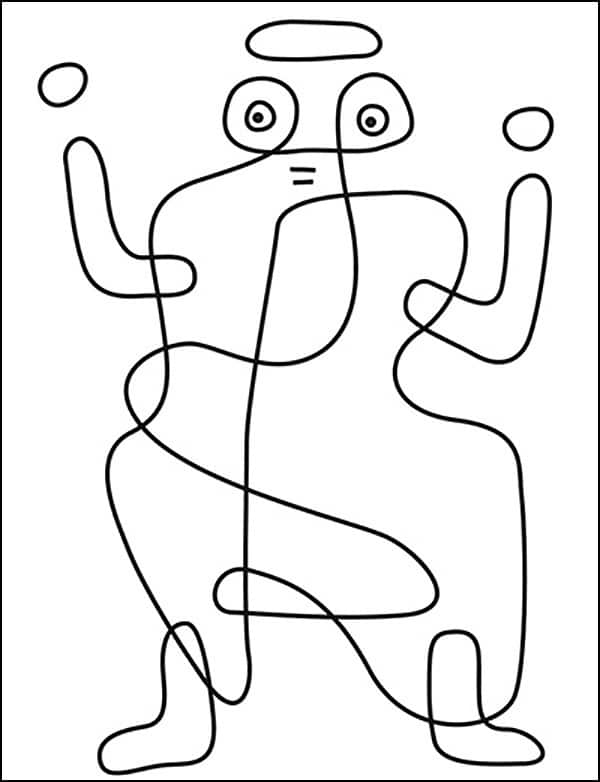
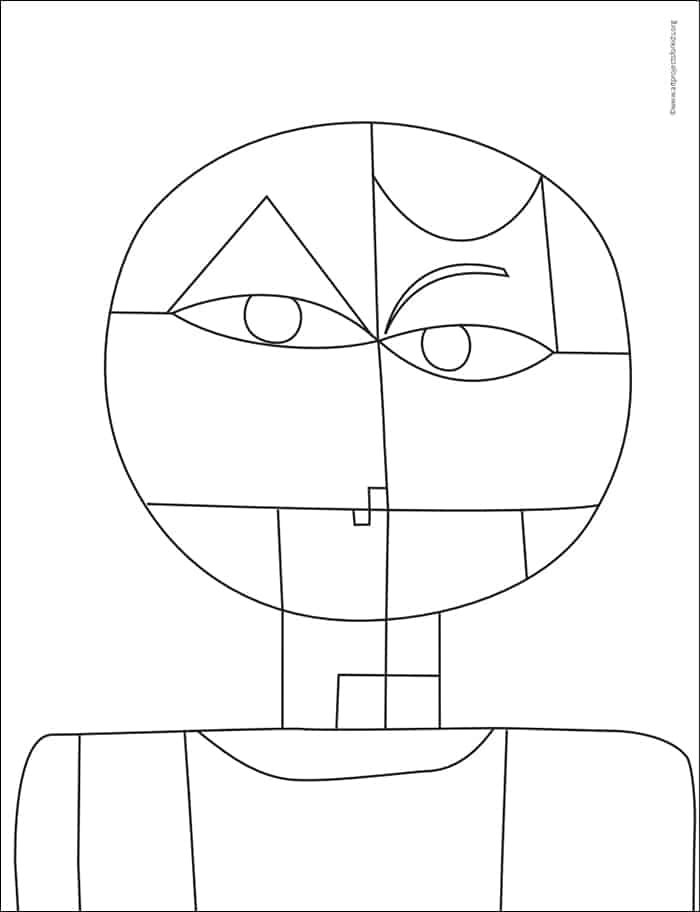
Paul Klee Coloring Page
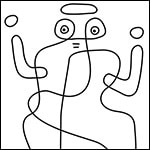
Paul Klee Painting Coloring Page
More media options
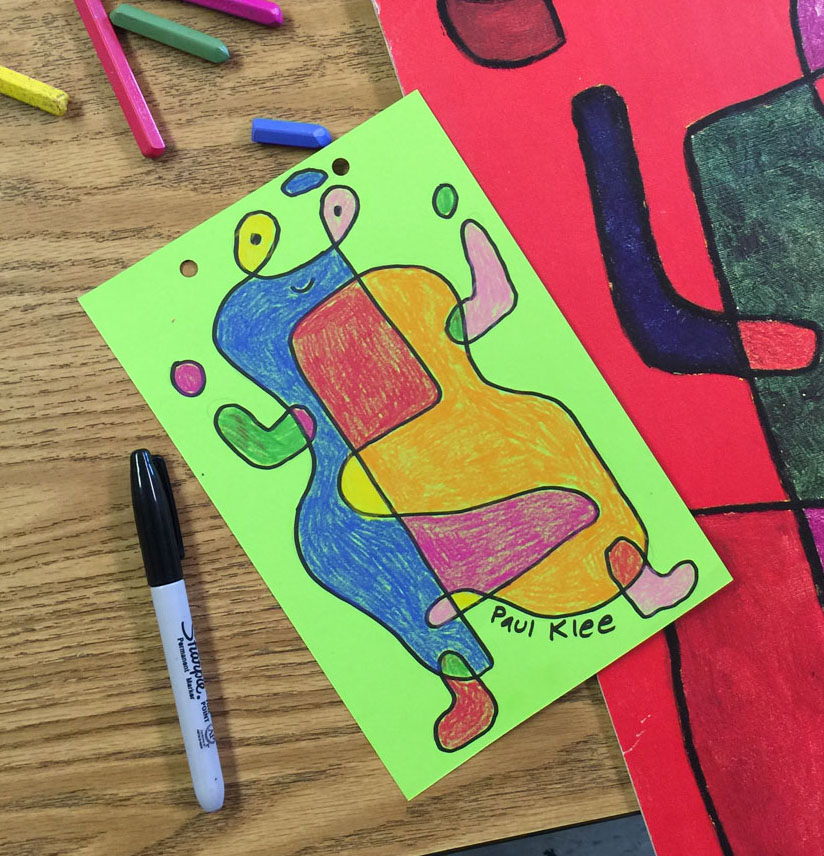
Materials for Paul Klee Project
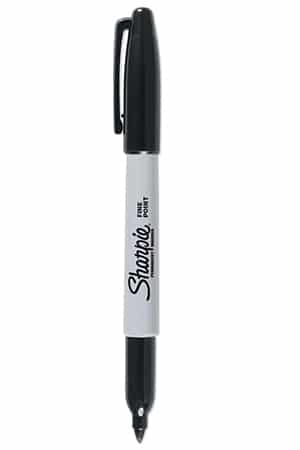
- Black Sharpie Marker. These fine point permanent marker pens make nice black outlines, have a good tip for coloring, and never bleed when they get wet. Use them with good ventilation and add extra paper underneath to protect your tables.
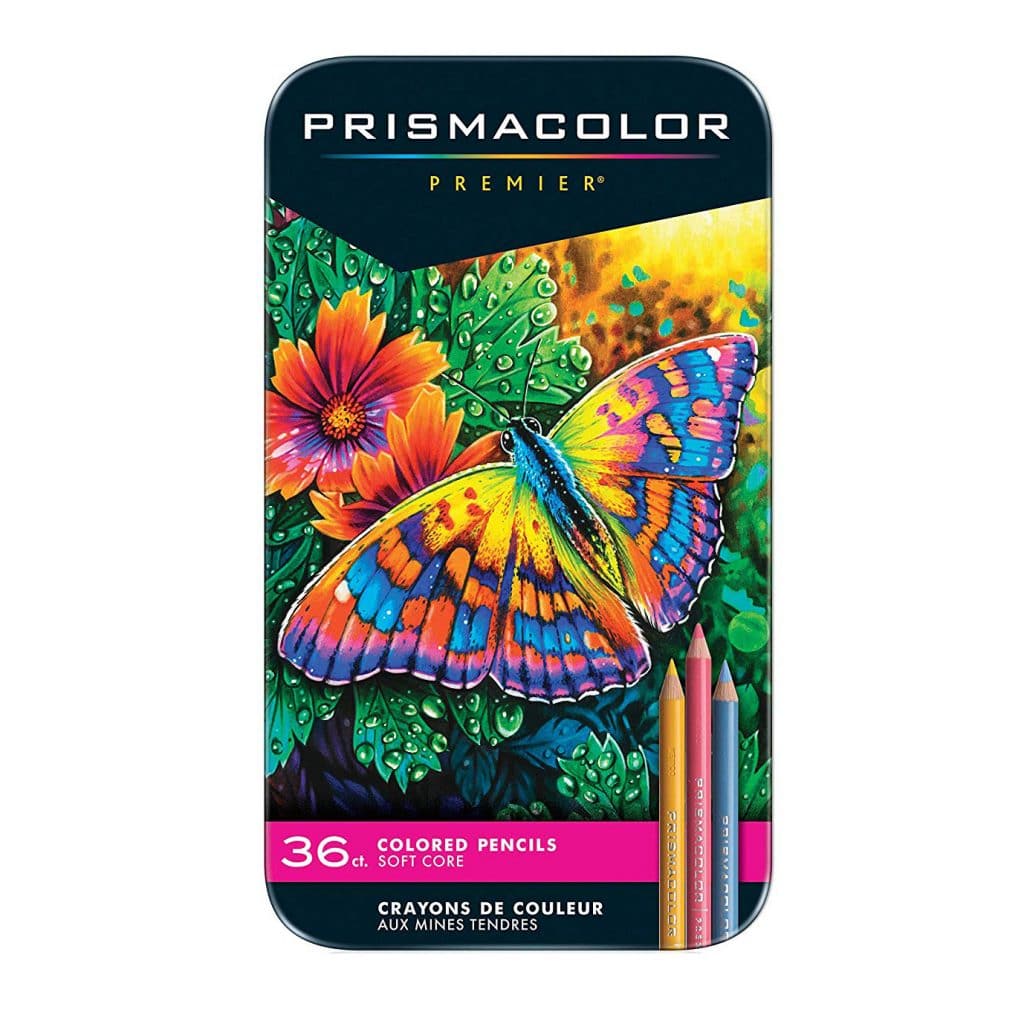
- Colored Pencils. This brand is more expensive than your average one, but if your budget allows, try them out. They are soft and leave color that is SO much brighter than anything else I have ever tried. Perfect for when shading and different values are called for.
Step by Step Directions for Paul Klee Drawing
Time needed: 1 hour
How to Draw like Paul Klee
- Draw a loop for one eye and go down the page.
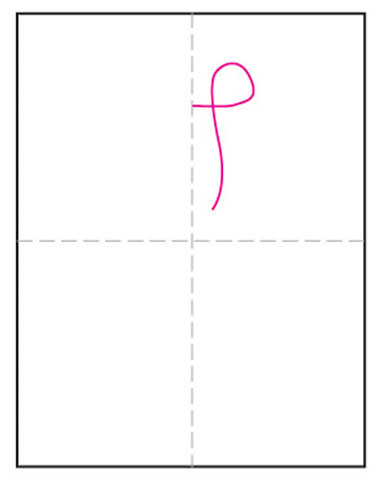
- Add a curve to the left and go down to the right.

- Draw to the left, make loop up and down to the right.

- Continue the line up, dip to the left, right, then left.
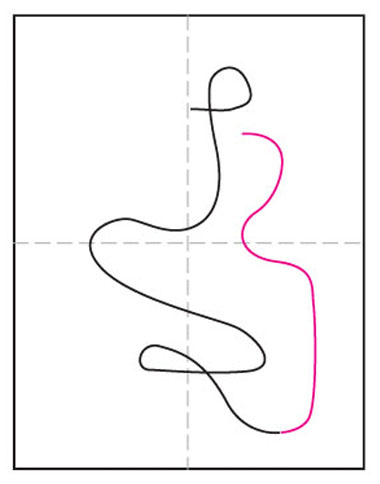
- Cross over the center, and draw down over the other lines.

- Continue the line up, dip to the right, and head towards the eye.
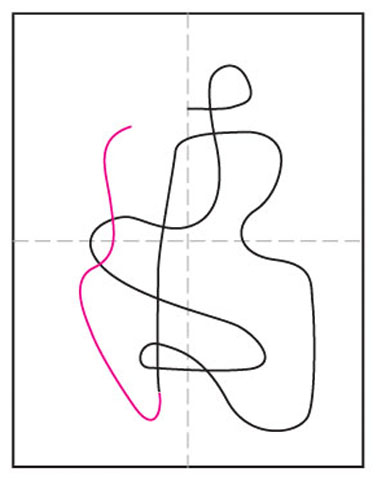
- Make loop for left eye and connect where the line began.
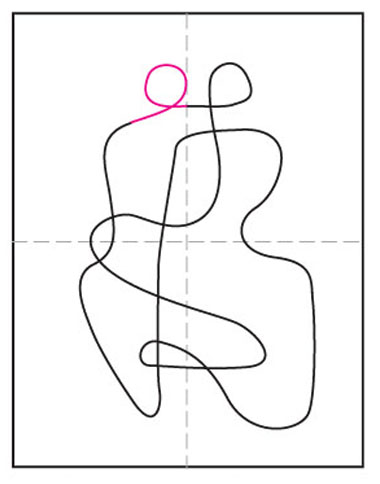
- Draw 4 overlapping “L” shapes for arms and legs.
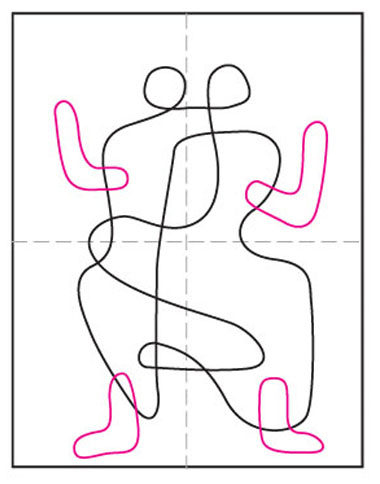
- Add eyes, mouth and floating circles for hands and hat.

Thank you Michael, that’s wonderful to hear! I do have a new iPad and have been meaning to draw with Procreate, as I see so many others do amazing things with it. It might be my goal to figure out this summer.
Thanks again for taking time out to comment, I really appreciate it!
Kathy
I did this project successfully with my Grades 3,4,5,6, and 7 this week as a follow up to a lesson on the Elements of Art (line and shape).
Thank you, again, for all you do. I really appreciate your website and approach to art.
Cheers,
Michael Mayer
Grade 2 and Art, St Anthony of Padua School
Vancouver, BC
P.S. I draw for the children (and myself for that matter) on the iPad and display the work on the SMART board so the children can follow me. Do you draw on the iPad? What drawing app do you use? I use Sketchbook. What iPad do you have? Thanks, again.