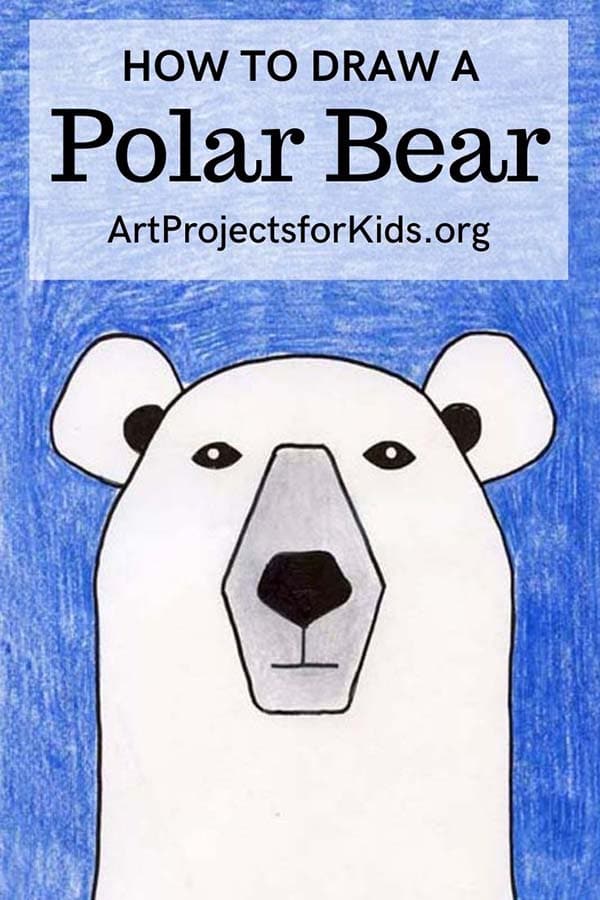
How to Draw a Polar Bear: Easy Step-by-Step Art Lesson for Kids
Below you’ll find an easy step-by-step tutorial video for how to draw a Polar Bear and a Polar Bear Coloring Page. It’s easy for all ages to draw.
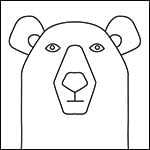
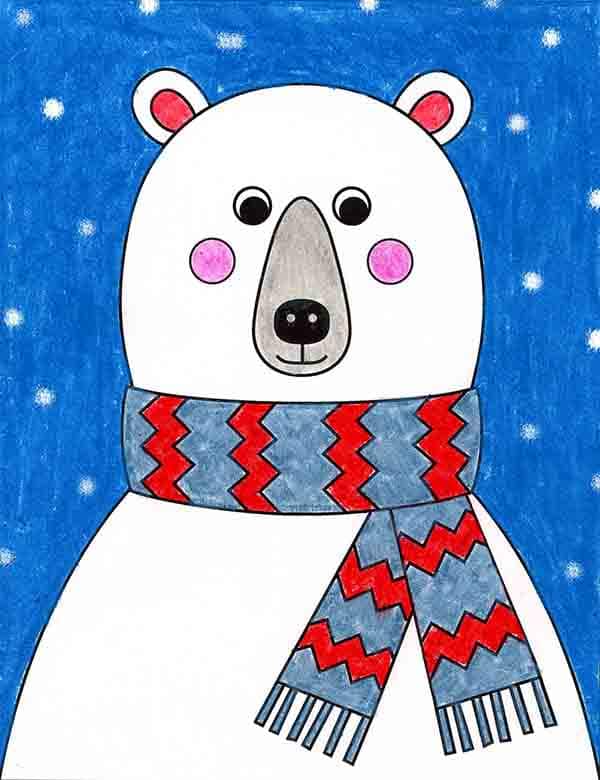
Polar Bear Drawing
More about drawing Polar Bears
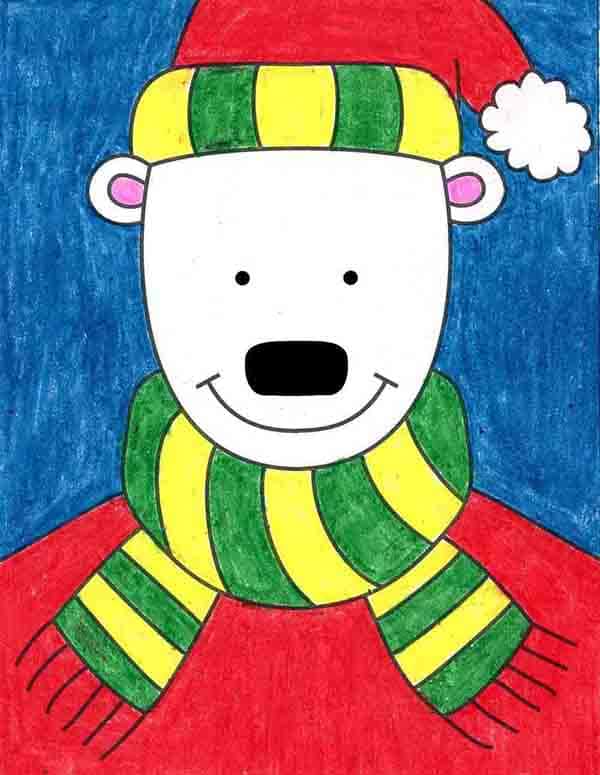
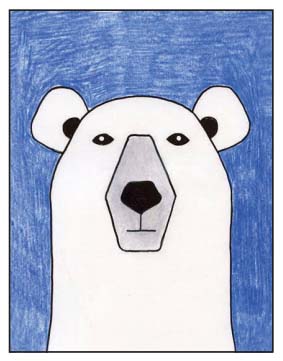
Learning how to draw a polar bear doesn’t always have to show the entire body. Things get much more simple when you just focus on the face. No need to worry about the legs and arms and body — a white bear with a small forehead and long neck will say exactly who he (or she) is!
Now young students that are learning more (or are fans of) polar bears, have an easy option how to draw one. This tutorial will show how the proportions of the eyes, ears, nose and mouth, can make bear look much more like the polar variety, and not so much like the grizzly or other type of bear.
Join “The Daily Draw” to get this free tutorial
Save me to your Pinterest Board!
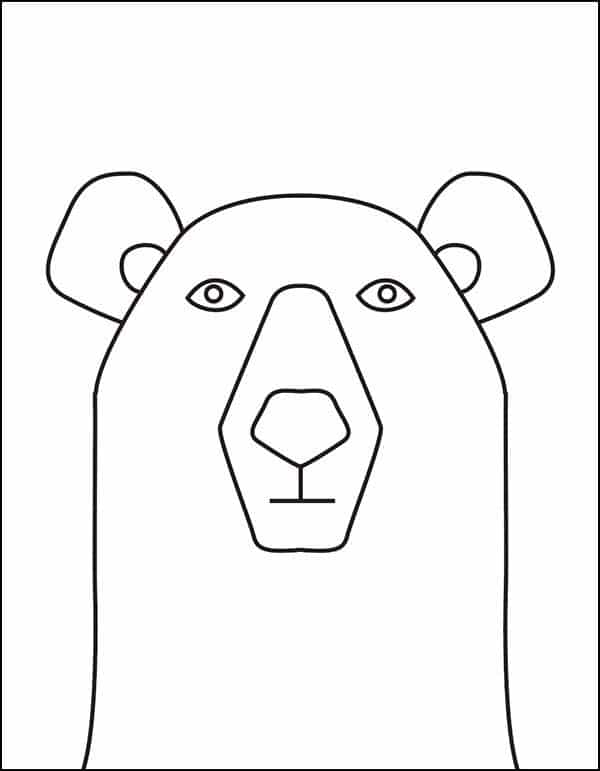
Polar Bear Coloring Page
Materials for Polar Bear Drawing
- Drawing Paper. This is the good stuff you can buy in bulk for a good price.
- Pencils. I like how this brand always makes nice dark lines.
- Black Marker. A permanent marker will give you a dark black color.
- Crayons. The larger packs are nice for more color choices.
- Note: All of the above are Amazon affiliate links.
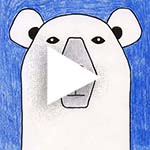
Watch a fun short video of a Polar Bear Drawing
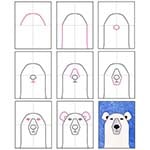
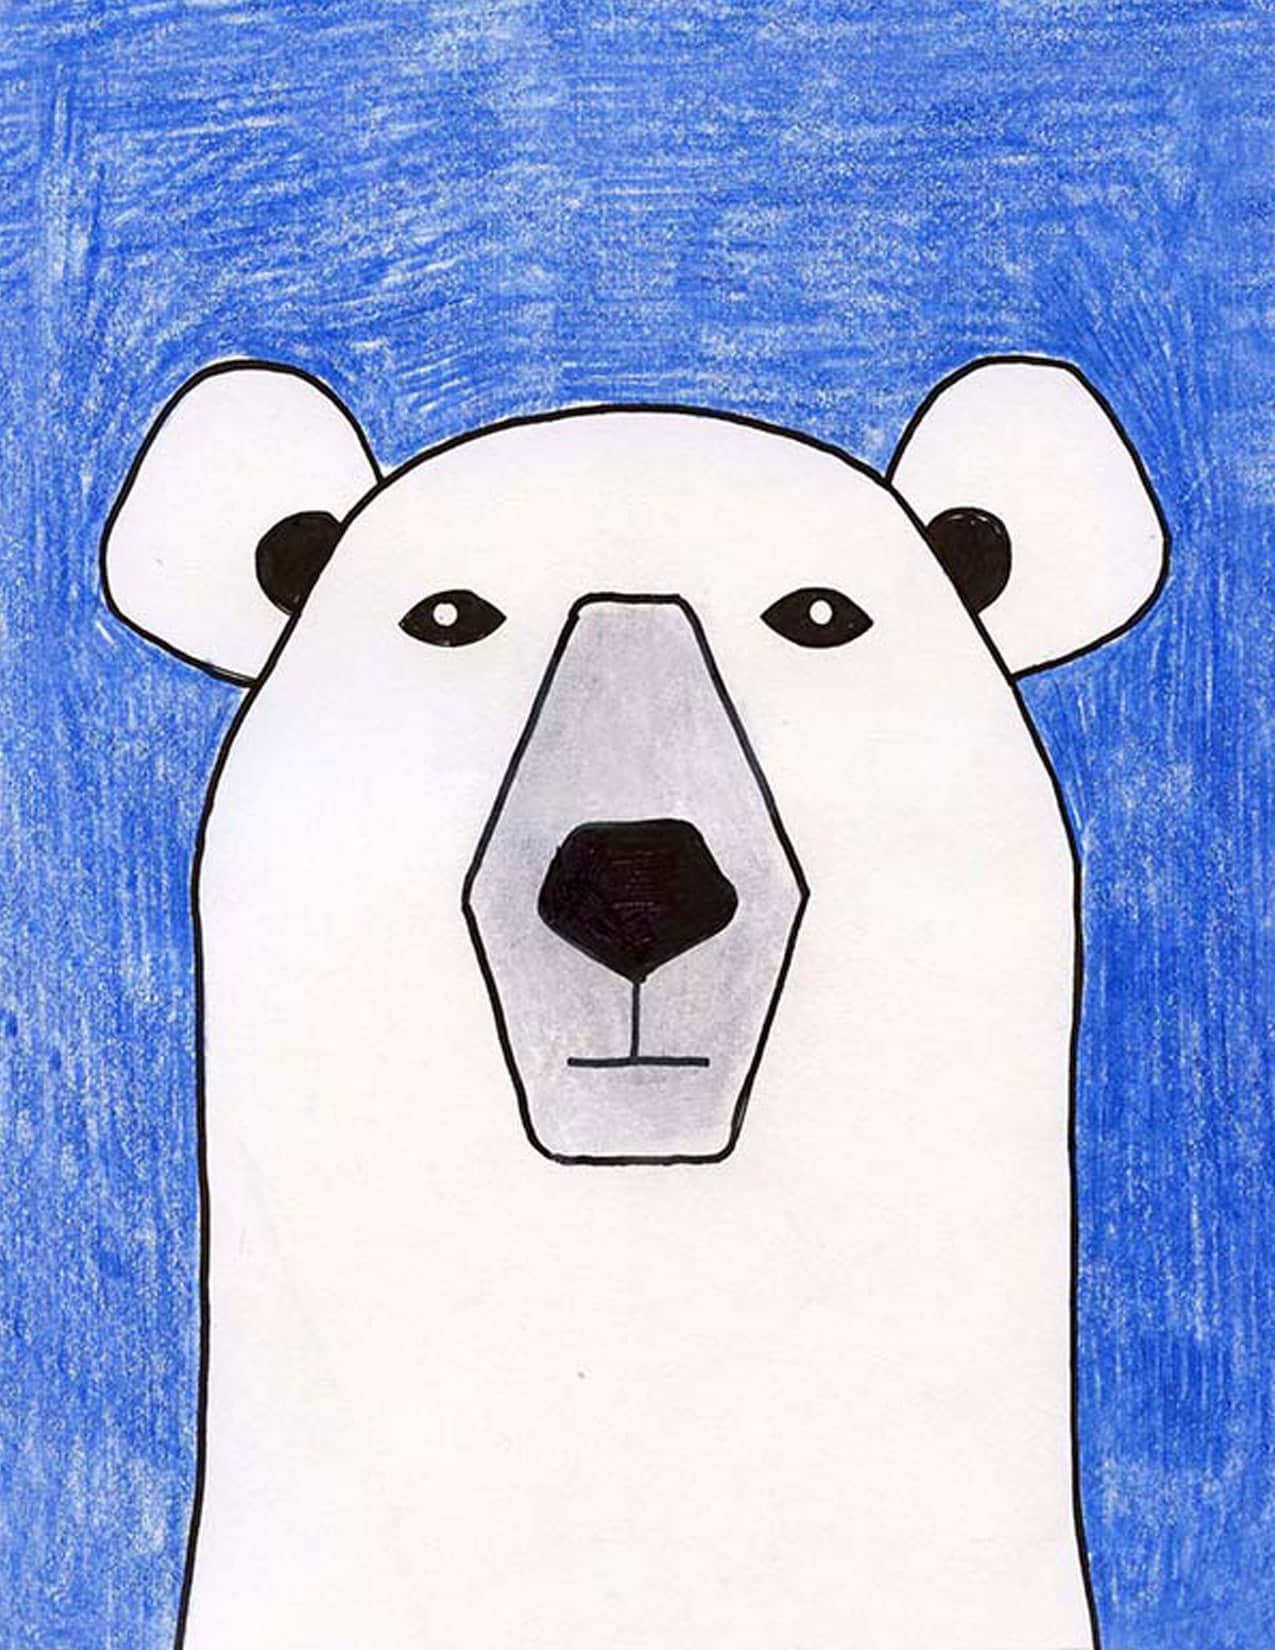
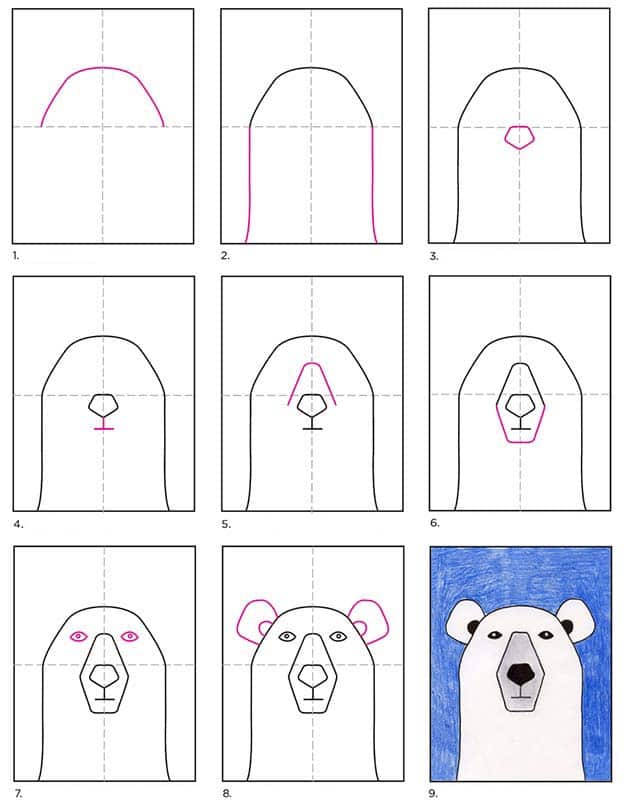
How to Draw a Polar Bear Step by Step
Time needed: 45 minutes
Polar Bear Tutorial
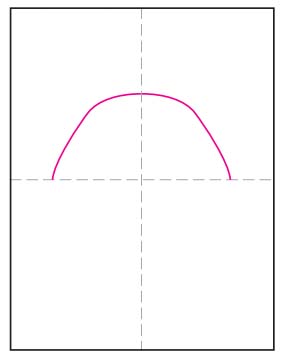
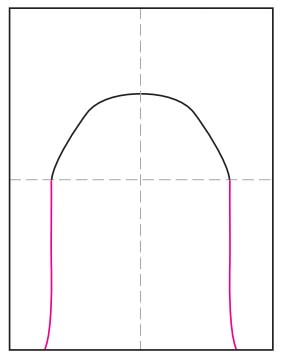
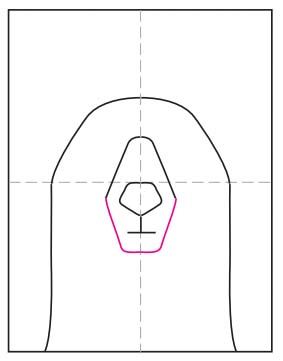
- Make guidelines. Start the top of the head.

- Draw the sides of the head.
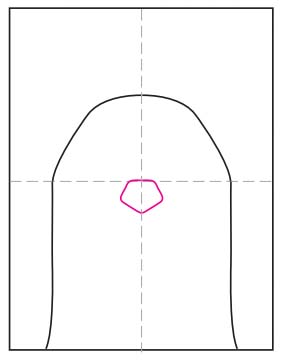
- Add a hexagon nose.
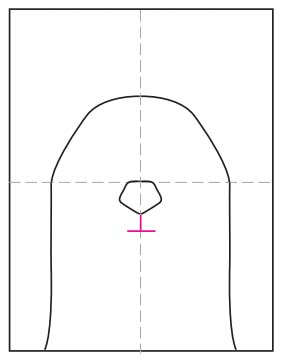
- Add mouth lines.
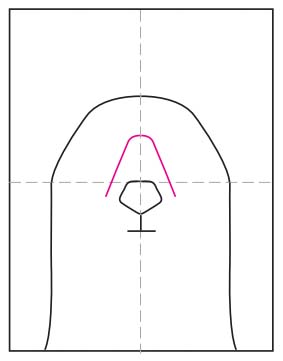
- Start the top of the muzzle.
- Finish the bottom of the muzzle.
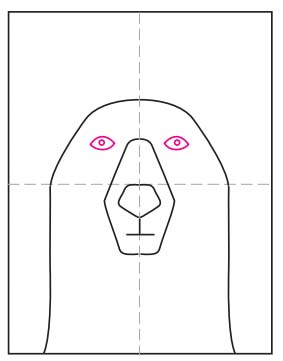
- Draw two eyes.
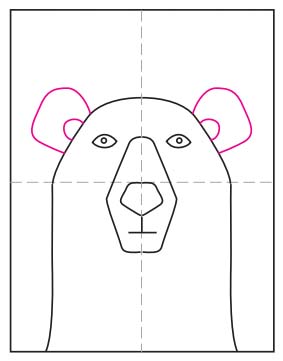
- Add two ears.
- Trace and color with crayons.
Already subscribed to “The Daily Draw”?
Great, then use the download button below to get your free Polar Bear tutorial. And thanks for wanting to bring more step-by-step, no-prep art lessons to your classroom!