Easy How to Draw a One Point Perspective Room Tutorial and Coloring Page
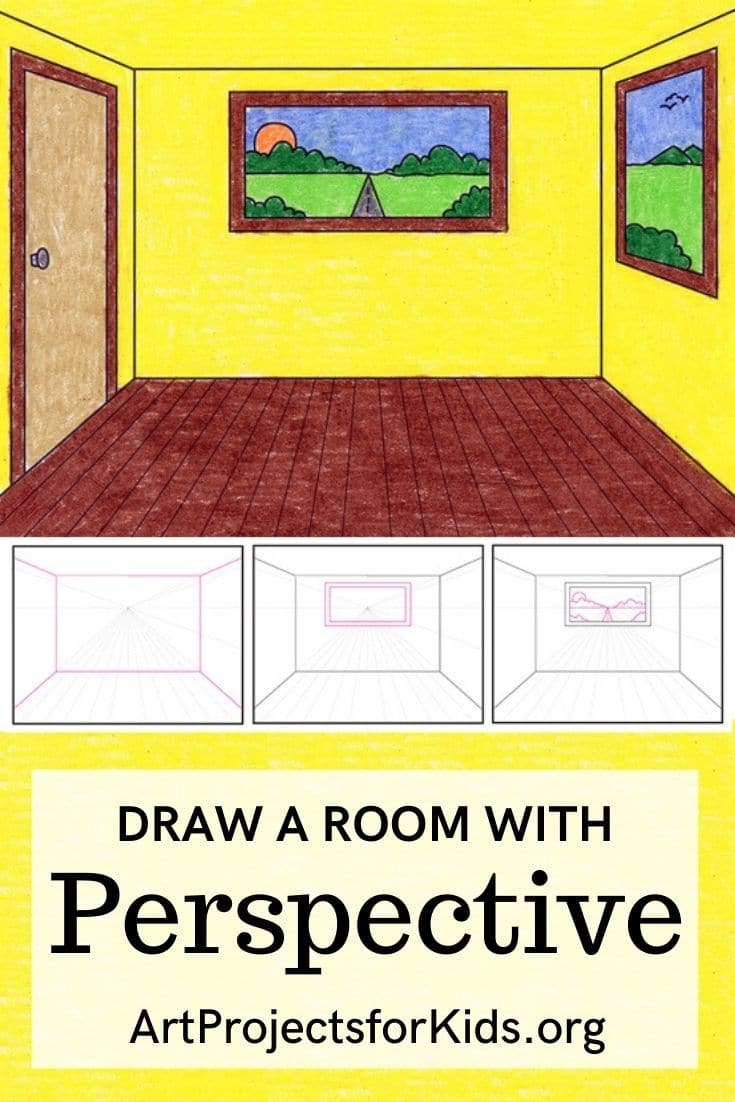
Below you’ll find an easy step-by-step tutorial for how to draw a One Point Perspective Room and Coloring Page. Lots of parallel lines make it easy to spot the vanishing point.


One point perspective is a drawing method that shows how things appear to get smaller as they get further away, converging towards a single ‘vanishing point’ on the horizon line. It’s a way of drawing objects upon a flat piece of paper so that they look three-dimensional and realistic.
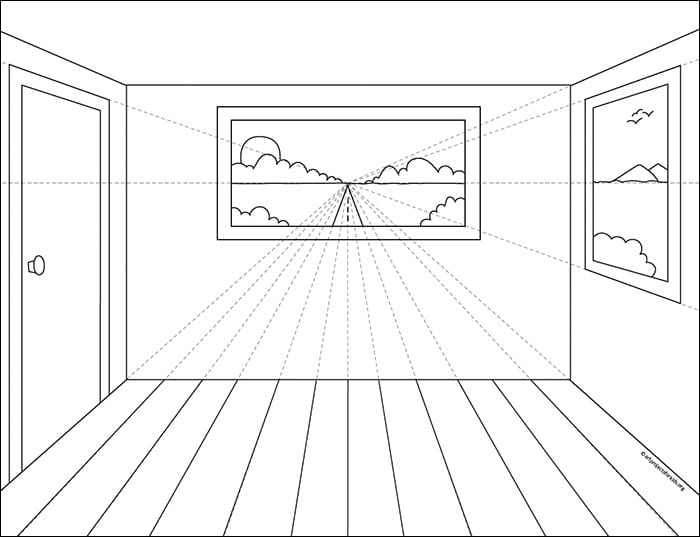
One point perspective can be as dramatic as train tracks converging in the distance or it can be subtle, showing a slightly straight row of trees or group of people. In this tutorial, the example is a simple room with a door and windows. The view outside helps to establish where the horizon line and vanishing point is, so students can see where all the parallel lines converge.
Older elementary students love to learn how to make drawings look more dimensional, so a lesson in one point perspective is a good way to teach them some new concepts. The only catch is that these kinds of drawings usually work best when some kind of guide is in place before getting started.
Template Guides for One Point Drawing
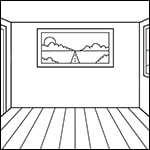
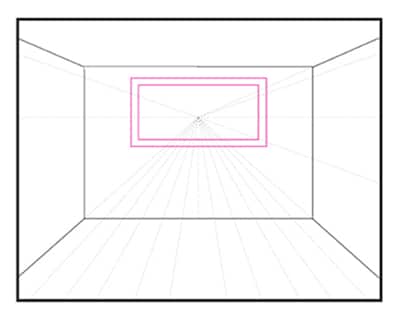
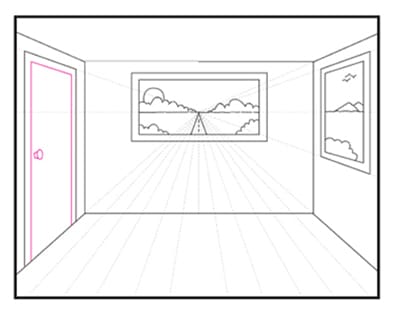
Rather than have students measure out and draw their own guide, which in my experience made class progress come to a crawl and leaves many behind, I created a light template that teachers can print so everyone can get right to drawing. After all, it’s hard for anyone to learn the concept if most of the class is spent trying to draw the perfect guide. Below is a preview of the template, included in the PDF, which includes the outline of the room.
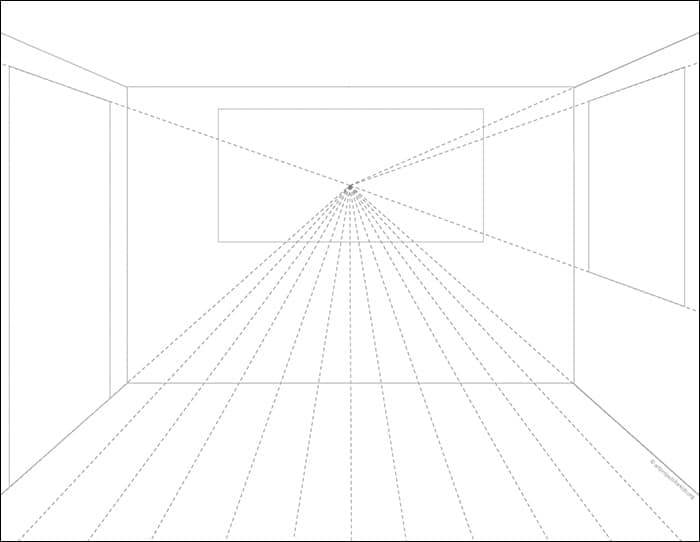
And just for some extra guidance, I added this outline drawing of my sample. It helps to show how all those parallel lines point right to one vanishing point.
Use the Button below to Download a PDF Tutorial
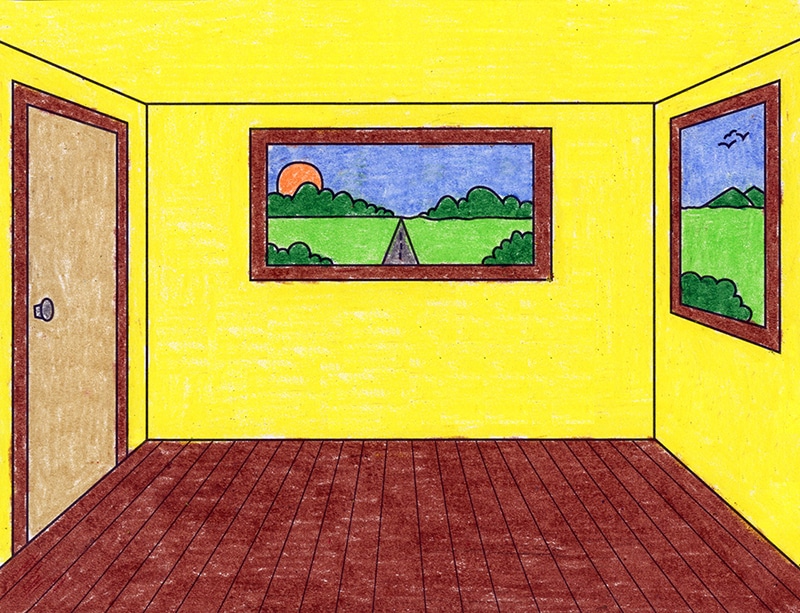
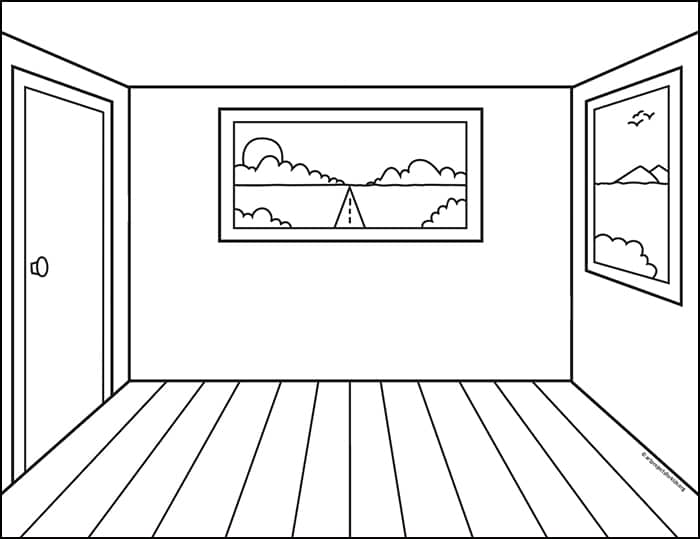
One Point Perspective Room Coloring Page
Materials for a One Point Perspective Room
- Drawing Paper. This is the good stuff you can buy in bulk for a good price.
- Pencils. I like how this brand always makes nice dark lines.
- Black Marker. A permanent marker will give you a dark black color.
- Crayons. The larger packs are nice for more color choices.
- Note: All of the above are Amazon affiliate links.
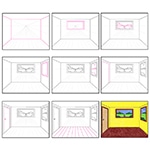
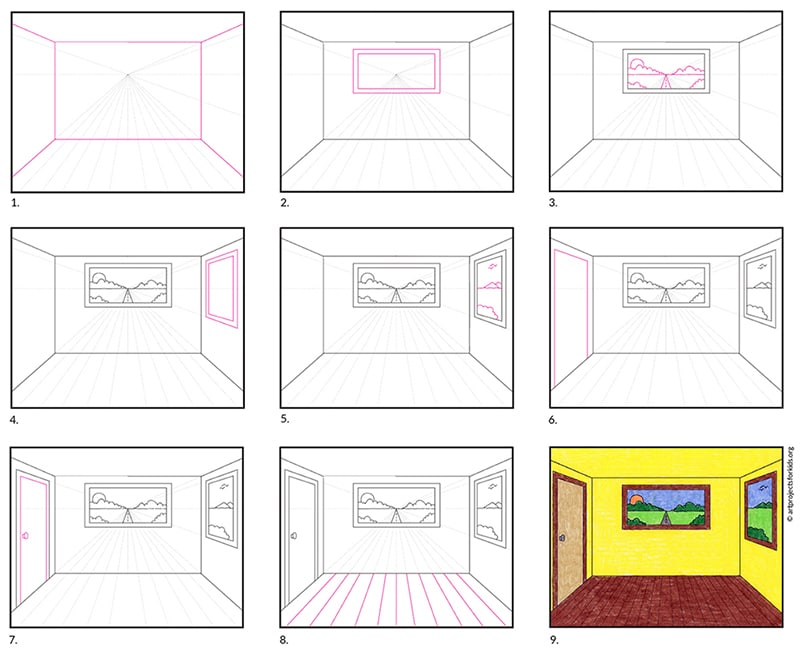
Directions How to Draw a Room
Time needed: 45 minutes
How to Draw a Room in One Point Perspective
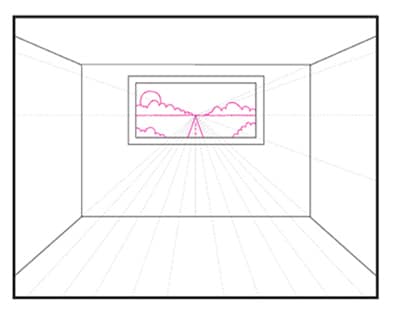
- Start by tracing the basic room shape.

- Add the frame for a window.
- Draw a horizon line and landscaping.
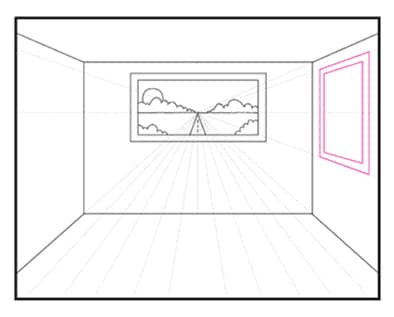
- Add the right frame for window.
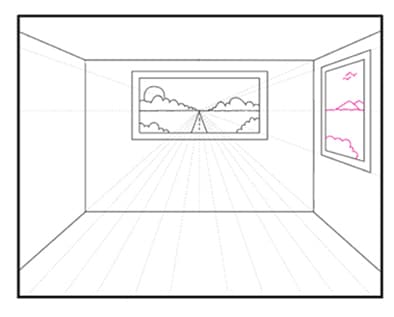
- Fill in a horizon line and more landscaping.
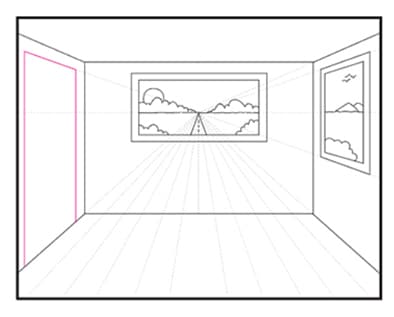
- Draw a frame for a door.
- Finish the inside door.
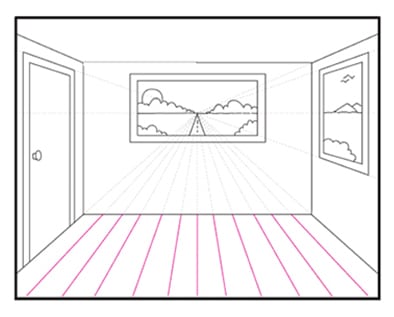
- Add floor panel lines as shown.
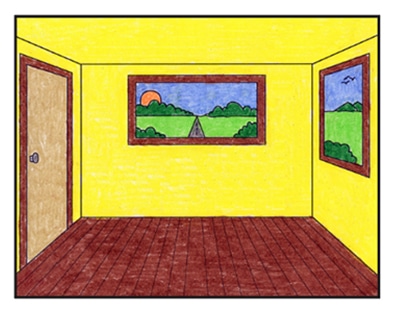
- Trace with a marker and color.

Save me to Your Pinterest Board