Pumpkin Collage: Easy Positive and Negative Space Art Lesson
Create a pumpkin collage with this easy elementary art lesson! Teach positive and negative space, symmetry, and cutting skills with step-by-step help.

Pumpkin Collage Art Lesson for Kids
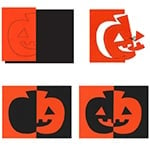
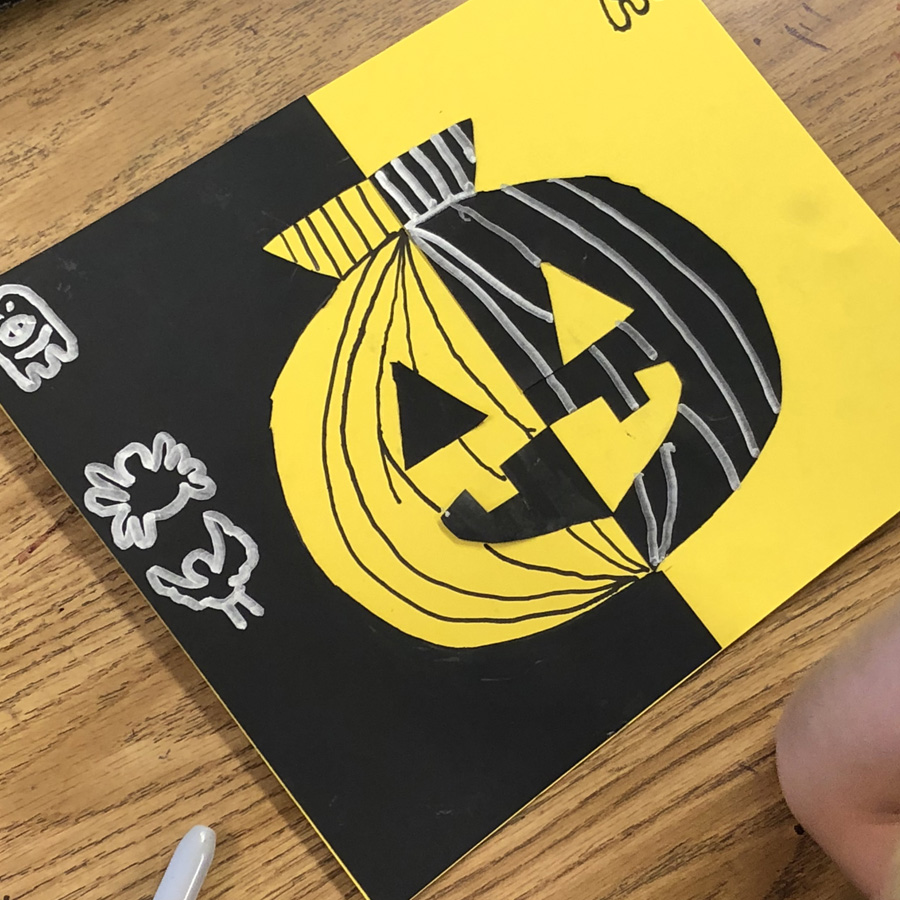
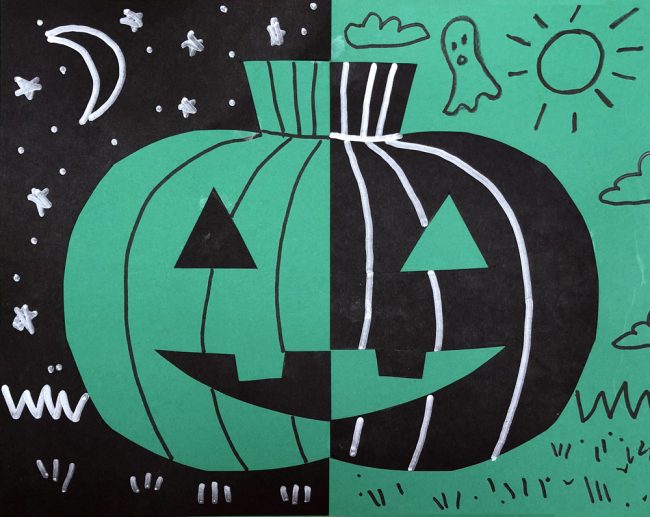
This pumpkin collage is a fun way to introduce your students to positive and negative space, symmetry, and the element of art, shape. Using just paper, scissors, and glue, students will cut out half of a pumpkin, flip the shapes to create the other half, and discover how positive and negative spaces work together to create a complete picture.
The same cutting and flipping technique is used to create a symmetrical jack-o’-lantern face, giving students plenty of opportunities to practice their cutting skills and explore different shapes. With simple materials and easy-to-follow steps, this fall art project is a great way to teach important art concepts while encouraging creativity.

Exploring Positive and Negative Space with Pumpkin Collage
Positive and negative space are important art concepts that help students understand how shapes work together to create a picture. Positive space is the main subject or shape in an artwork, while negative space is the area around and between those shapes.
In this pumpkin collage lesson, students will explore both types of space by cutting out half of a pumpkin and flipping the cut paper to create the other half. They’ll discover how the shapes they cut out and the spaces left behind work together to form a complete pumpkin.
This project is also a great way to introduce symmetry, which occurs when two sides of a shape mirror each other. By flipping the cut paper shapes across an imaginary centerline, students will create a symmetrical pumpkin and jack-o’-lantern face.
Using contrasting colors like orange and black makes it easy for students to see the difference between positive and negative space. It’s a simple but effective way to explore the element of art, shape, while creating a bold and colorful fall art project!
Join “The Daily Draw” to grab this PDF tutorial!

Pumpkin Collage Art Lesson Materials List
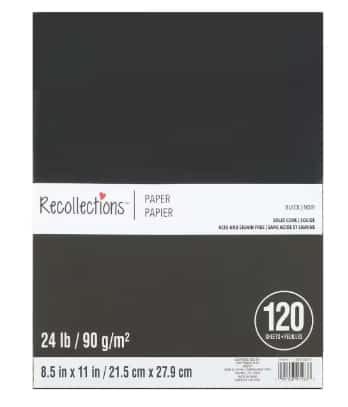
Black Card Stock Paper
Size: 8.5″ x 11″

Orange Card Stock Paper
Size: 8.5″ x 11″
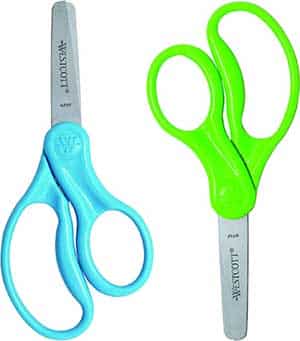
Scissors
Sturdy, color great and can take some abuse *affiliate link
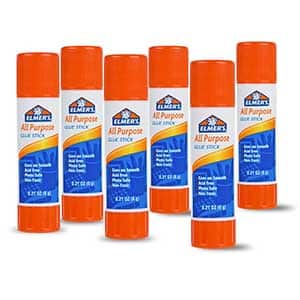
Glue Sticks
Wonderful color, but need to be handled with care. *affiliate link
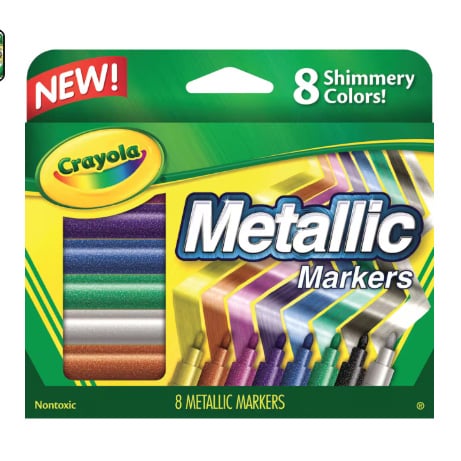
Metallic Marker
Wonderful color, but need to be handled with care. *affiliate link
Step-by-Step Pumpkin Collage Instructions
Time needed: 45 minutes
Make a Pumpkin Collage
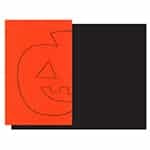
- Supplies: Full sheet of black paper, half sheet of orange, scissors, glue stick, markers. Draw half of a pumpkin face on the orange.

- Cut out the half pumpkin. Cut mouth and eye, both in ONE piece. Make a slit as shown to get to the eye. It will not show when glued back down.
- Glue the outside shape of the orange pumpkin to one side of the black paper.
- Line up and glue down the half pumpkin face to the other side,
- Take the cut out eye and half mouth, line them up and glue to the left side of the paper.
- Use a black marker to draw the details on the orange pieces of paper, and a metallic silver marker to draw the matching lines on the black sheet.