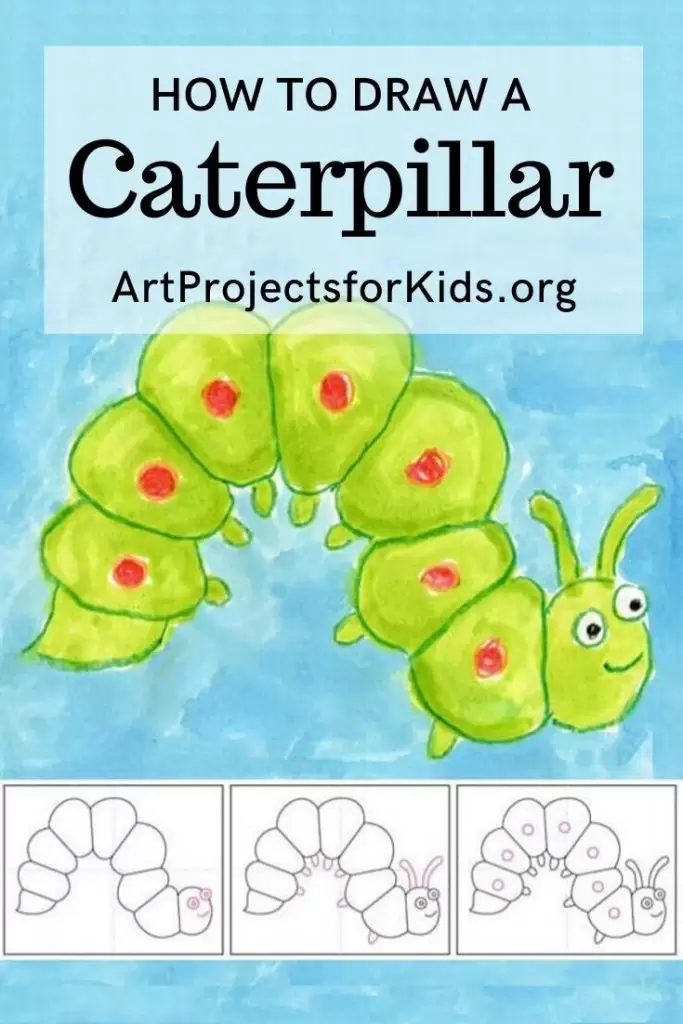
How to Paint a Caterpillar
Here’s how to draw and paint a caterpillar with a guaranteed squishy look. Start with the spine, add lines for sections, and have fun connecting them.
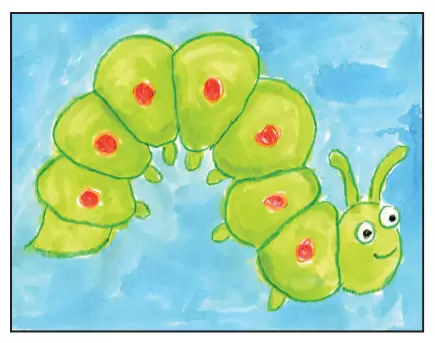
Painting of a Caterpillar

I saw this idea for drawing a caterpillar in a book years ago, and wish I could credit the genius who thought it up. It’s a great way to make a pretty realistic looking insect.
Just be sure to draw lightly so that the spine line can easily be erased. Everyone will wonder how you made those cool shapes!
Materials
Note: This post contains affiliate links. If you click and take action, I will be compensated a small amount at no expense to you.
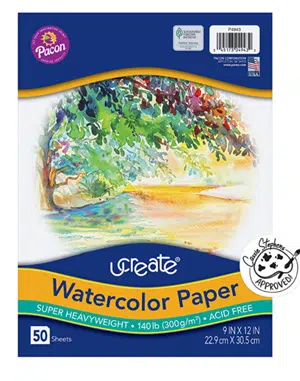
- Watercolor Paper.
- Real watercolor paper always makes the watercolor paint much more vibrant.
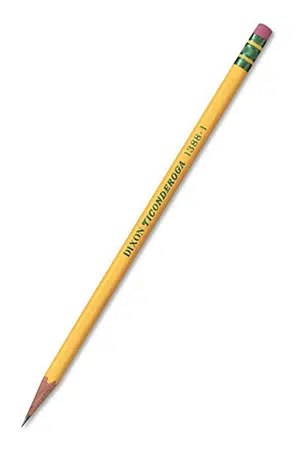
- Pencil.
- The Ticonderoga brand are the most reliable, make nice dark lines when you need them, and are the easiest to erase.
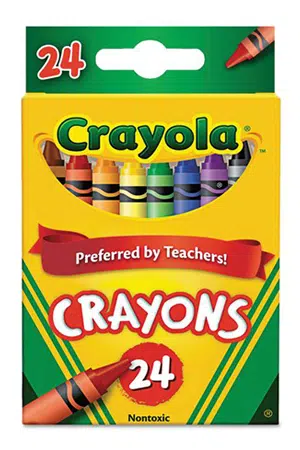
- Crayola Crayons.
- This classic brand always works well.
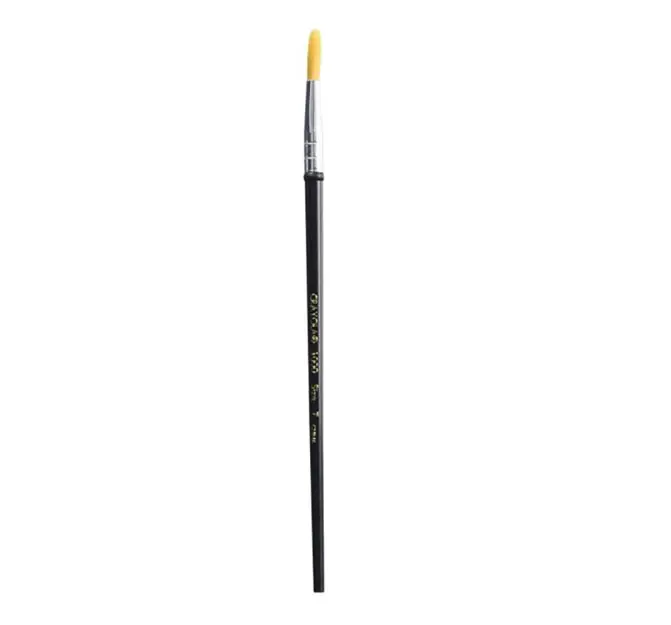
- Rounded Watercolor Brush.
- A good paint brush can make all the difference in the world. Who can paint small details with one of those big floppy brushes? This style with a sturdy rounded tip were my hands down favorite.
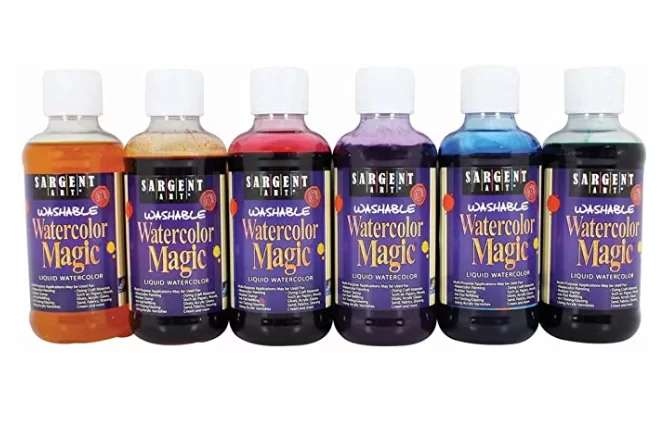
- Liquid Watercolor Paint.
- These paints are so easy to work with, leave such bright colors and last for a long, long time. Well worth the investment.
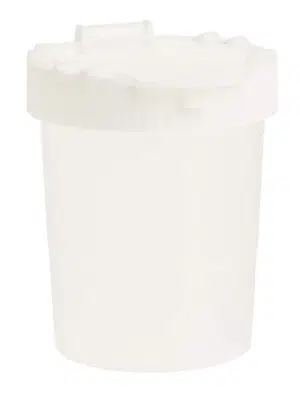
- Non-Spill Paint Cup.
- Train your students to leave the matching brush in each cup after they use it, and you have an easy system with very little cleanup.
Directions
Time needed: 1 hour
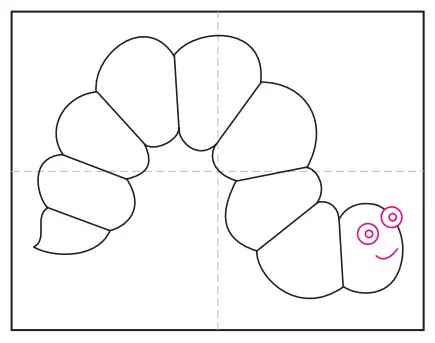
How to Draw a Caterpillar
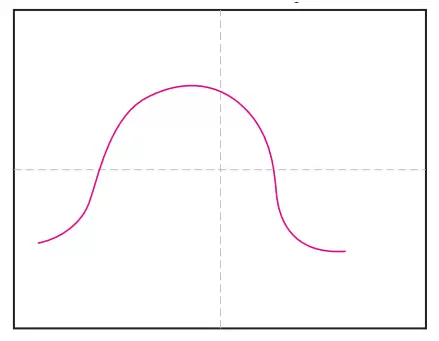
- Draw the center spine (lightly).

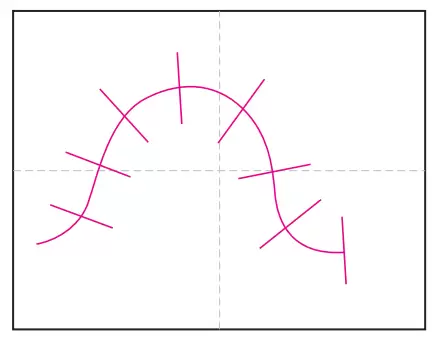
- Draw about 8 crossing lines as shown.
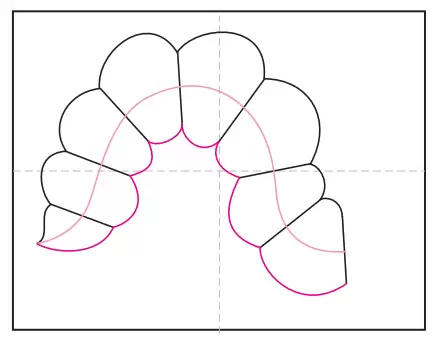
- Connect the top side with curved lines.
- Connect the bottom side with curved lines.
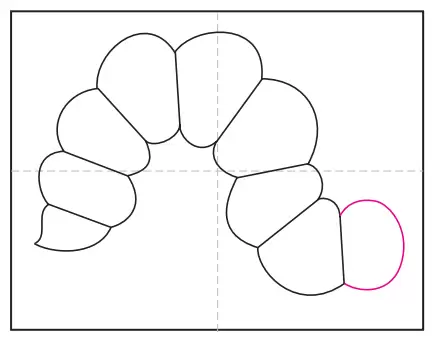
- Add a head on the end.

- Draw eyes and mouth.
- Add antennae and lots of feet.
- Finish with spots in the middle.
- Trace with crayon, fill and paint with watercolor.