How to Draw the Mandalorian: Easy Step-by-Step Art Lesson
Inside you’ll find an easy, step-by-step how to draw the Mandalorian lesson video and PDF. Stop your search and grab yours now.
How to Draw the Mandalorian Art Lesson
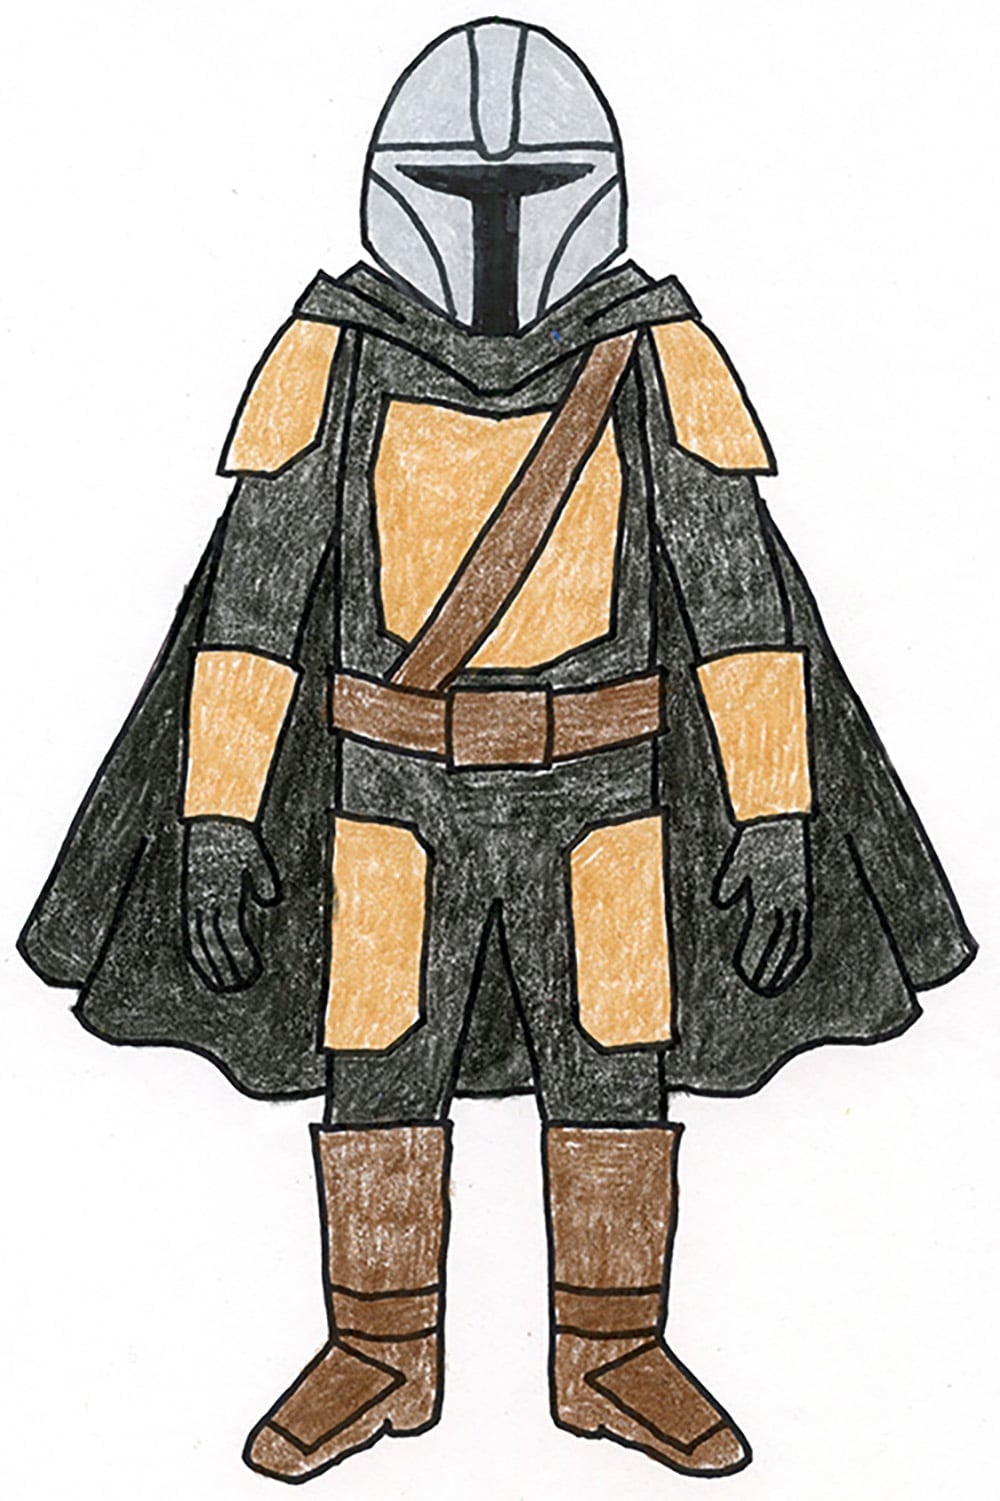
This How to Draw the Mandalorian art lesson is a fun, confidence-boosting way to get Grades 3–5 practicing full-body drawing without the usual frustration. Students love the instant connection to a familiar character, and you’ll love how quickly engagement goes up when the subject feels “cool” and recognizable.
The lesson is built around simple shapes first, so kids can focus on proportions and placement before they worry about details. Starting with the helmet and working down the body helps students keep the figure balanced, while the armor and robe make the body structure easier to understand (and easier to draw) because the clothing creates clear sections.
This project is also a great way to teach careful observation and craftsmanship. The Mandalorian’s outfit is packed with repeatable details—helmet lines, armor plates, belt shapes, gloves, and boots—so students get tons of practice slowing down, looking closely, and drawing what they see step-by-step.
And because it’s a crayon project, every student can be successful with materials you already have. Crayons make it simple to add value and texture: light pressure for base color, heavier pressure for shadows, and tiny uncolored spots for highlights that make the armor look shiny. The result is a finished piece that looks impressive on the wall while building real drawing skills along the way.
Cartoon Character Design: Shape, Proportion, and Expression
Character designers use visual “clues” to show who a character is before they even speak. One of the most important is shape language—using simple shapes to suggest personality. Circles feel friendly, squares feel strong and steady, and triangles can feel sharp or intense. Once students learn this, they start spotting it in characters everywhere.
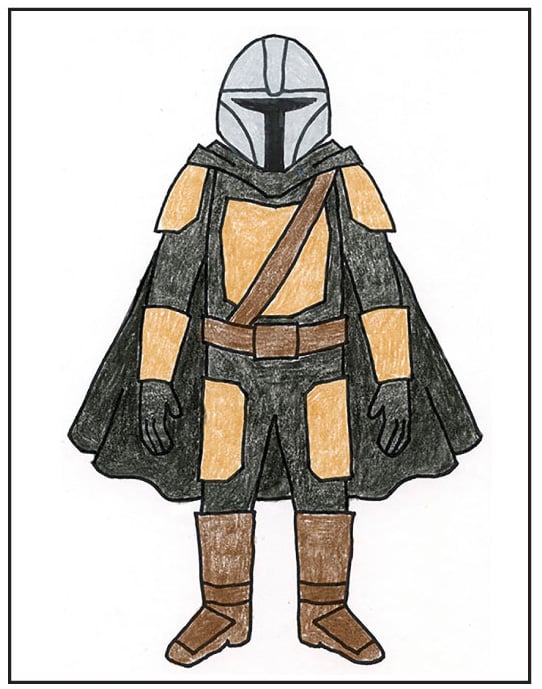
In How to Draw the Mandalorian, shape language shows up through the armor. The helmet and chest pieces are built from sturdy, structured shapes that make the character feel protected and powerful. The Mandalorian is also easy to recognize because of a strong silhouette—the helmet shape, broad shoulders, and cape create an outline you can identify quickly, even from far away.
Costume details tell a story too. Belts, straps, gloves, boots, and armor sections hint that the character is equipped and ready for action. To keep details from getting overwhelming, students can draw in layers: big shapes first (head, body, cape), then medium shapes (armor plates, belt), and finally small details (seams, pouches, edges). Clean, darker lines make armor feel “hard,” while softer fold lines make the cape feel like fabric—especially once students add light and dark crayon shading.
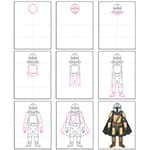
Step by Step Mandalorian Tutorial
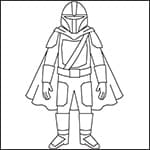
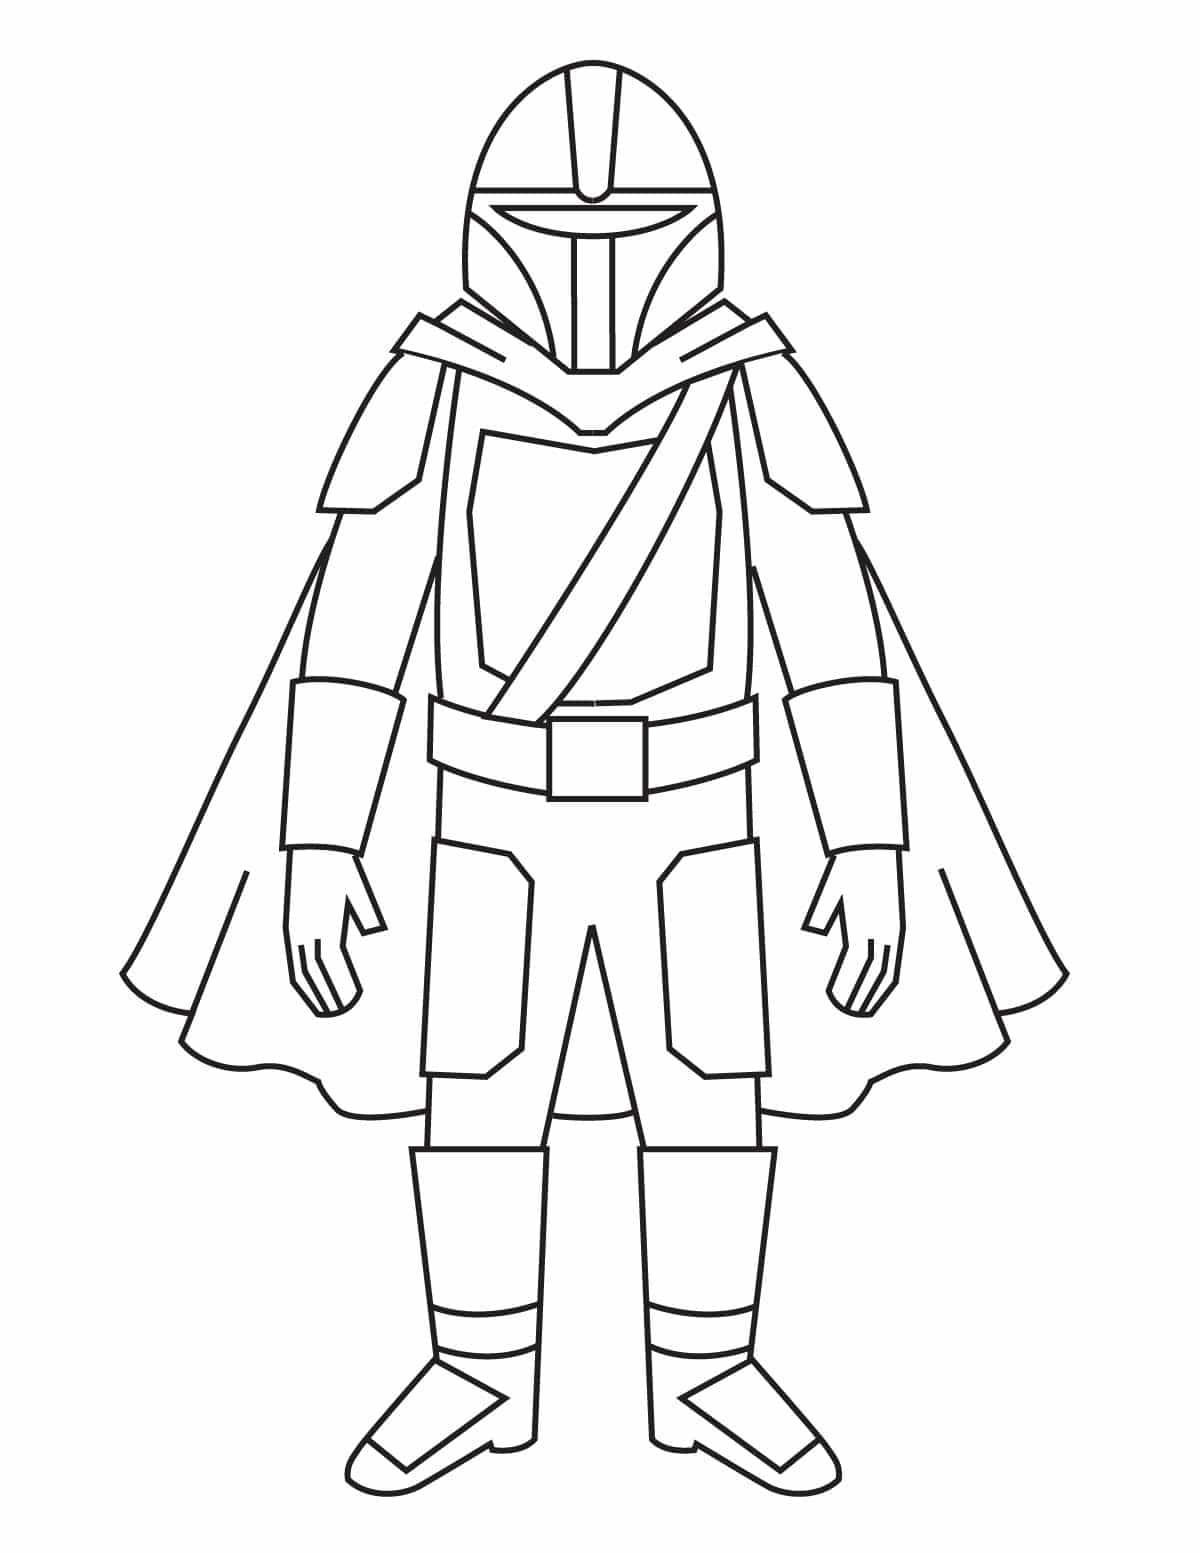
Mandalorian Coloring Page
Mandalorian Drawing Lesson Materials List


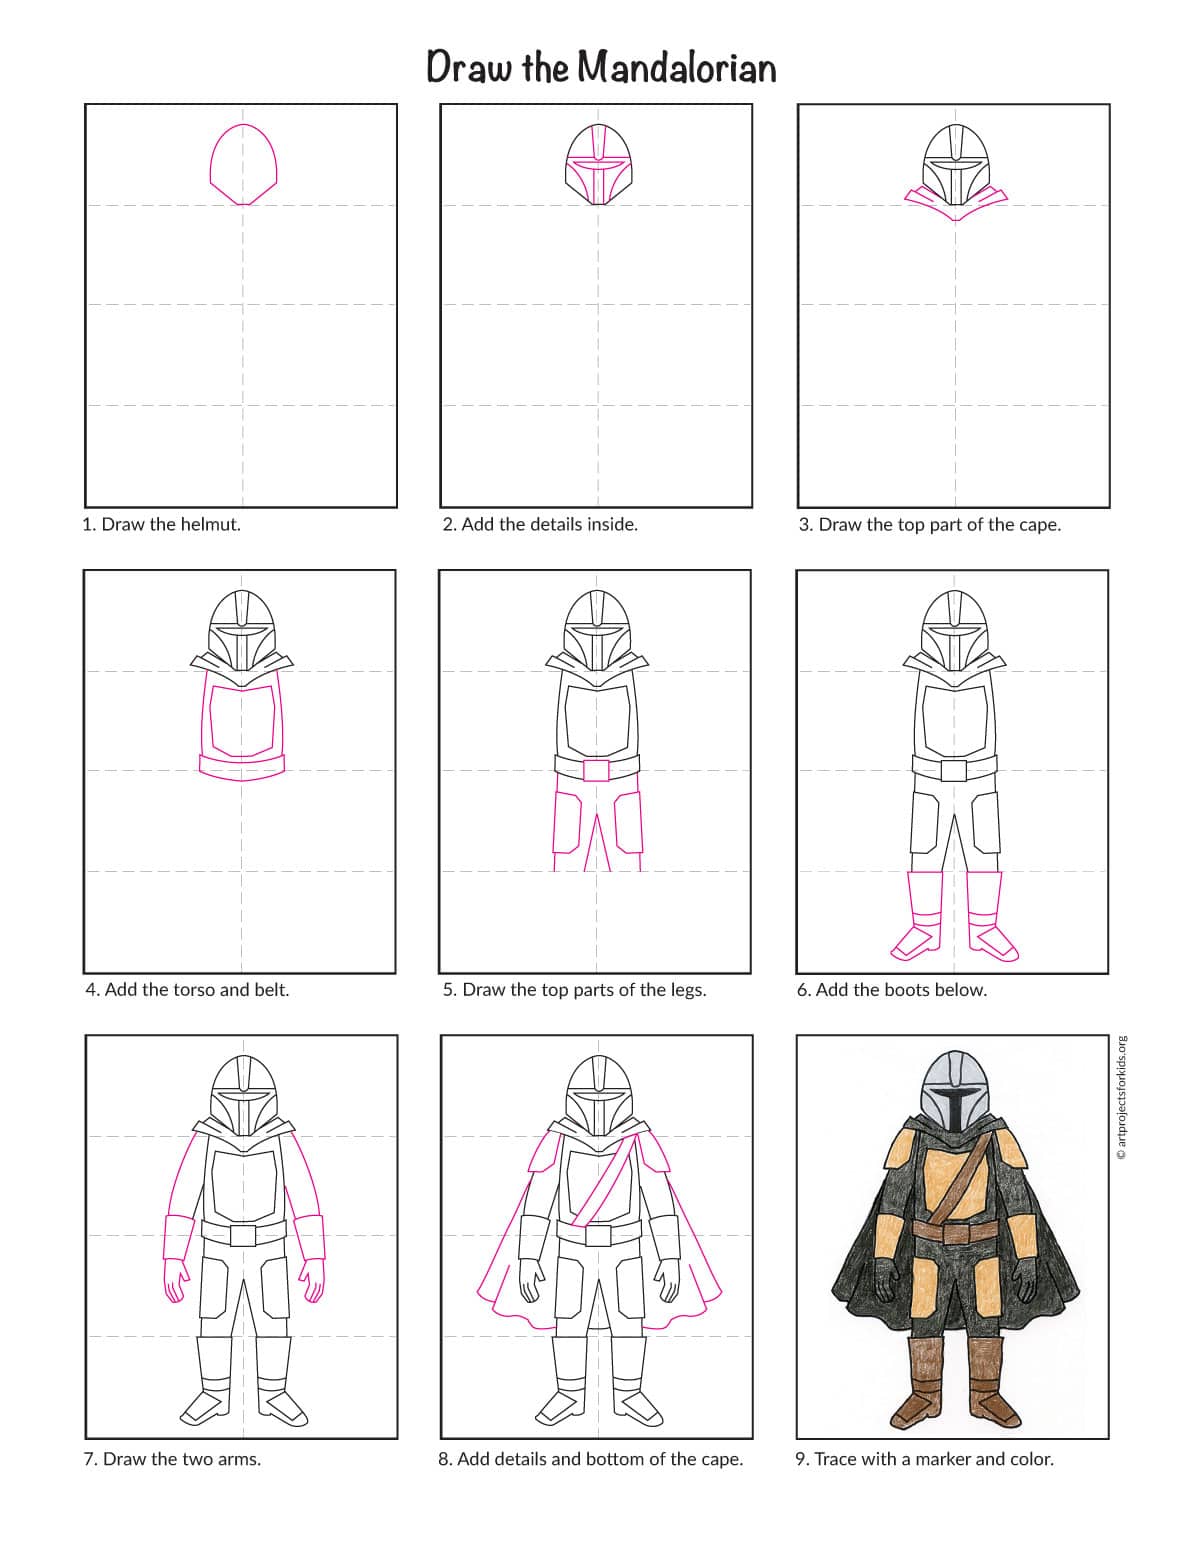
Step-by-Step Mandalorian Instructions
Time needed: 45 minutes
How to Draw the Mandalorian
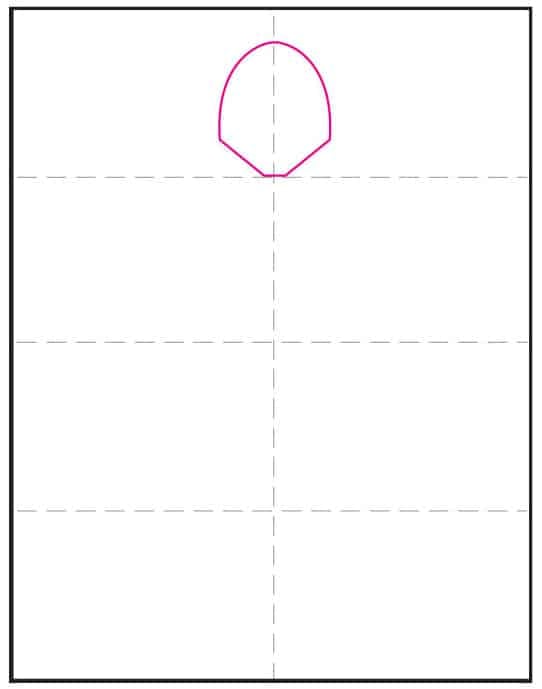
- Draw the helmet.

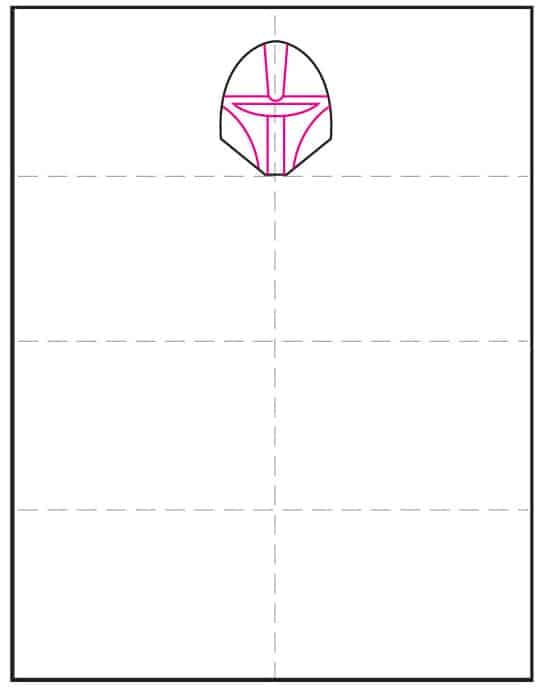
- Add the details inside.
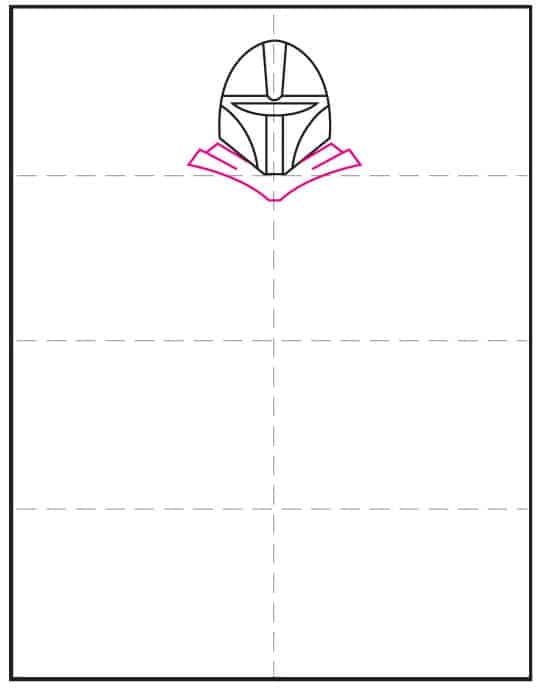
- Draw the top of the cape, which goes around his neck.
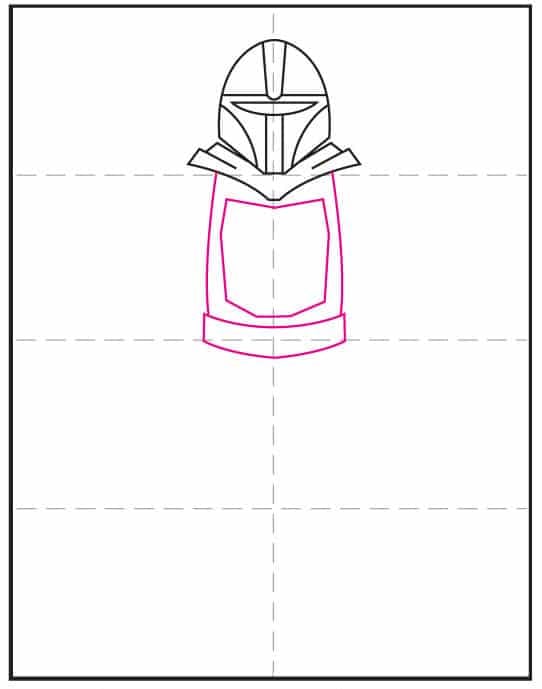
- Add his torso and belt.
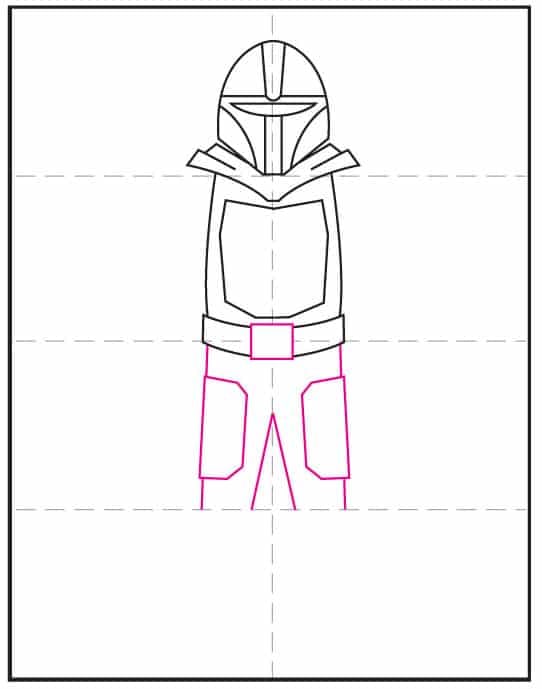
- Draw the top of his legs, and add shields.
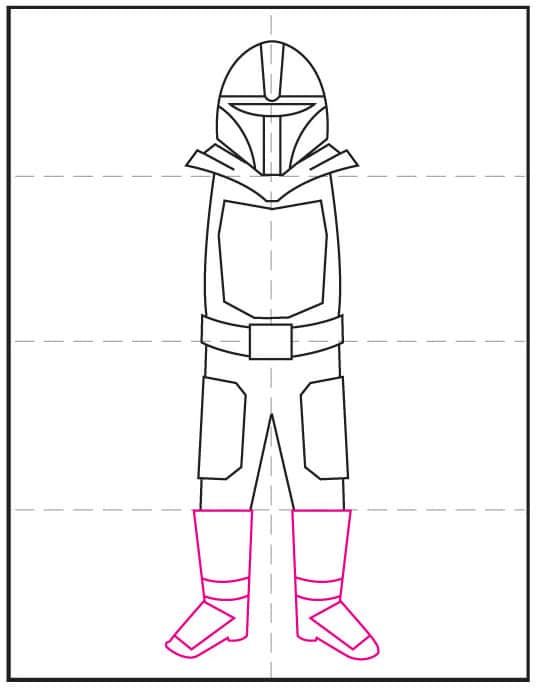
- Draw his boots, with the details inside.
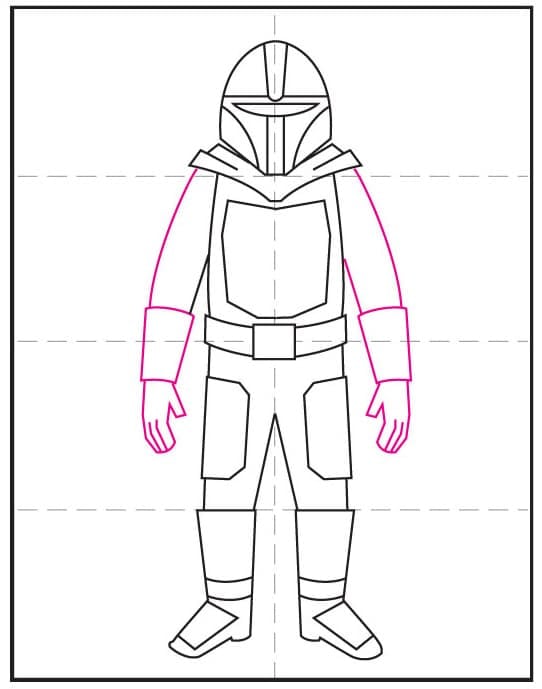
- Add his arms, with cuffs and gloves
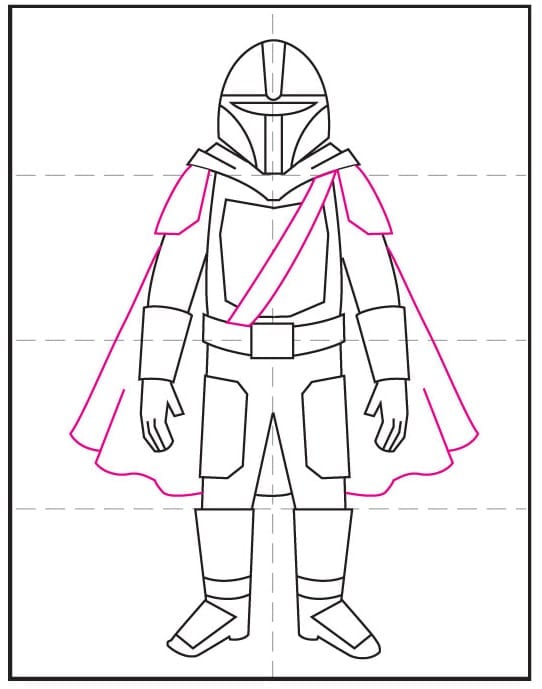
- Finish with strap, shoulder shields and the bottom of the cape.
- Trace with a marker and color.