Coffee Filter Halloween Art: Easy Painting Craft for 2nd to 5th Grade
Here you’ll find an easy step-by-step tutorial for how to paint a bat on a coffee filter. They are great replacements for watercolor paper.
Bat Paintings on Coffee Filters
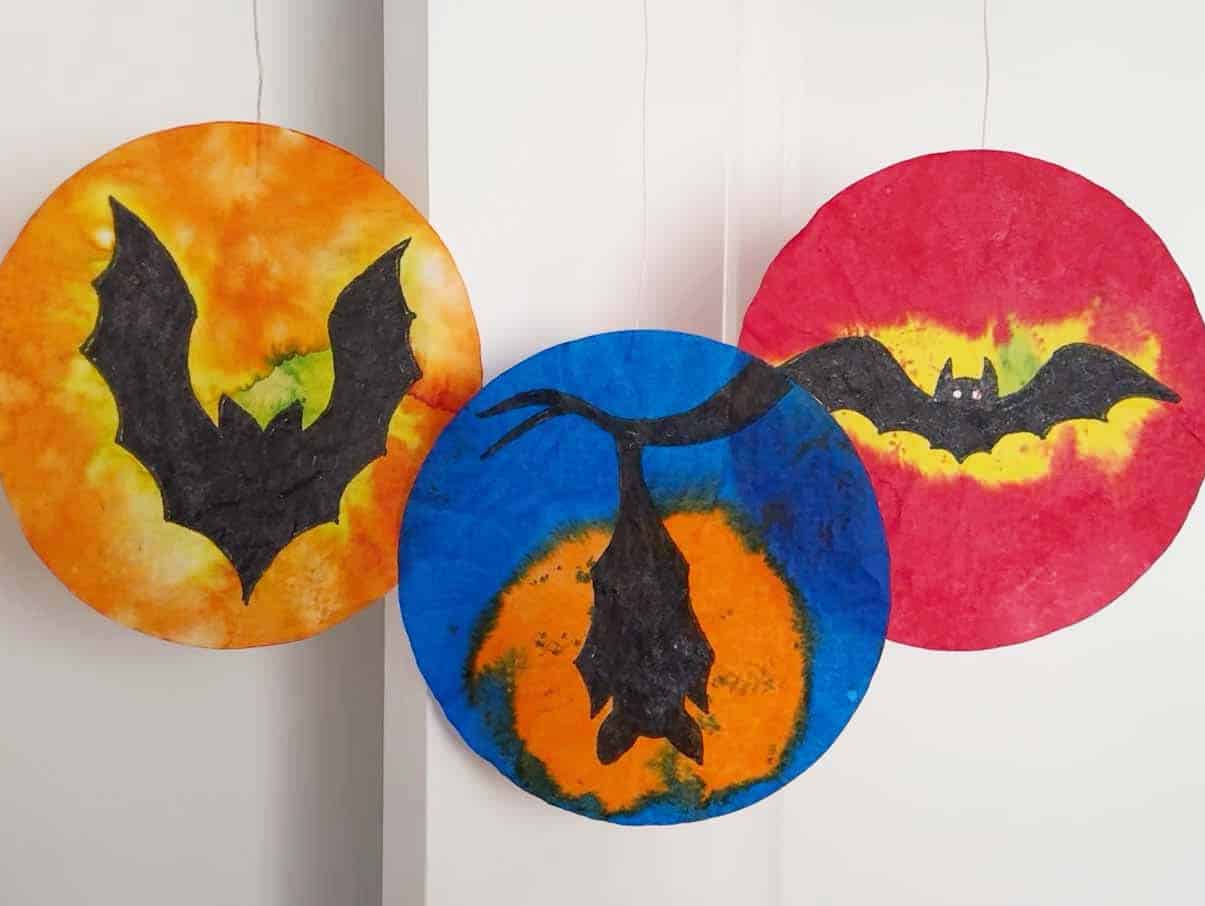
A sunset silhouette drawing always makes for a colorful and dramatic classroom project. Add in a few Halloween shapes — bats, cats, pumpkins, or spooky trees — and you’ll have a seasonal art lesson students love.
One of the best parts of this project is how easily it can be adapted for different grade levels:
2nd Grade: Focus on tracing and filling in the black shapes neatly. The goal is to make the silhouettes solid and bold against the bright sunset sky.
3rd–4th Grade: Encourage students to add a bit more detail, like extra branches on trees, or fun things flying around the bat.
5th Grade: Challenge students to scale their shapes — smaller bats in the distance and larger ones up close — to create a sense of space and perspective.
Remind everyone that the impact of their silhouette depends on contrast. The darker and more carefully filled in their black shapes are, the more dramatic the artwork will look. Scribbles or streaks will lessen that bold effect — and this project is all about those strong, clean silhouettes glowing against a vibrant fall sky.
Pro Tip: When the filters have dried, try ironing them with an old iron. They will look like crisp rice paper and look amazing hanging from a thread somewhere!
Use the button below to grab these PDF templates!

Materials for a Halloween Silhouette Painting
*affiliate links
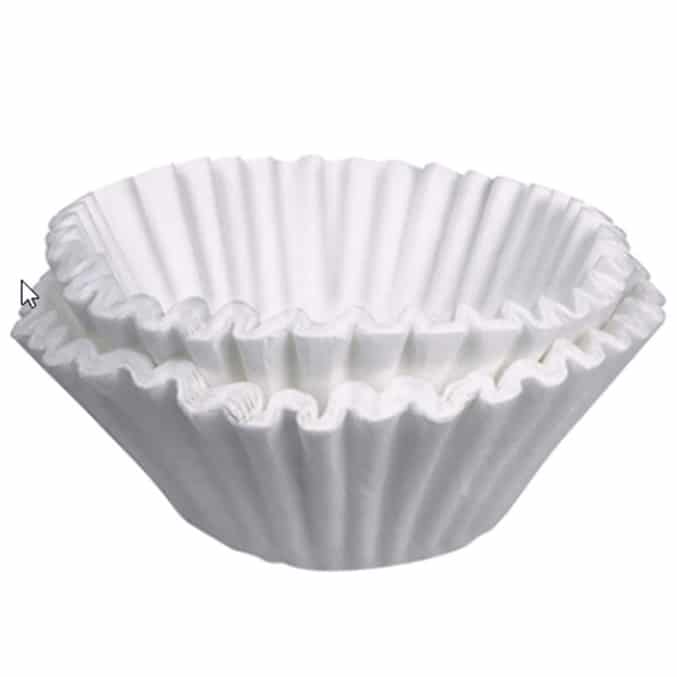
Coffee Filters*
Liquid Watercolor Paint*

Black Sharpie*
Step by Step Directions for a Bat Painting
Time needed: 30 minutes
Make a Bat Painting Step by Step
-
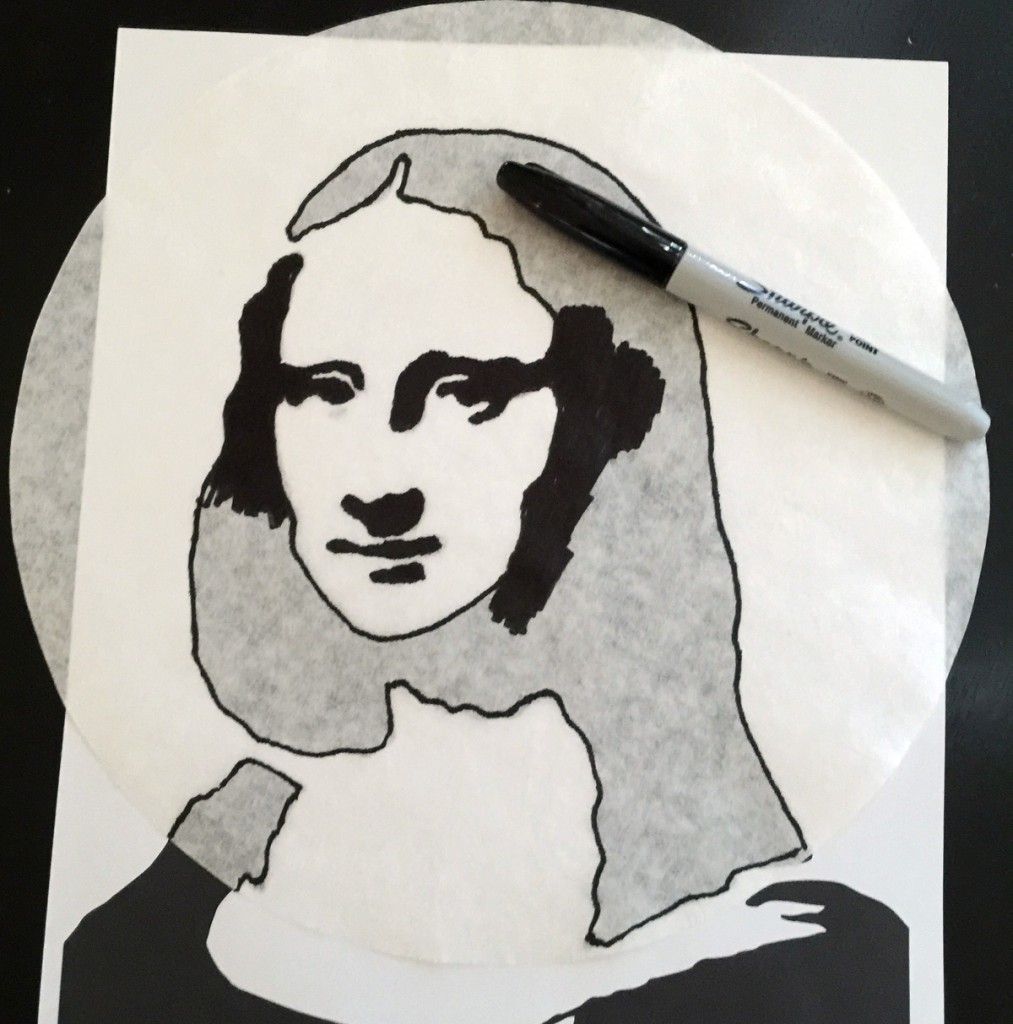
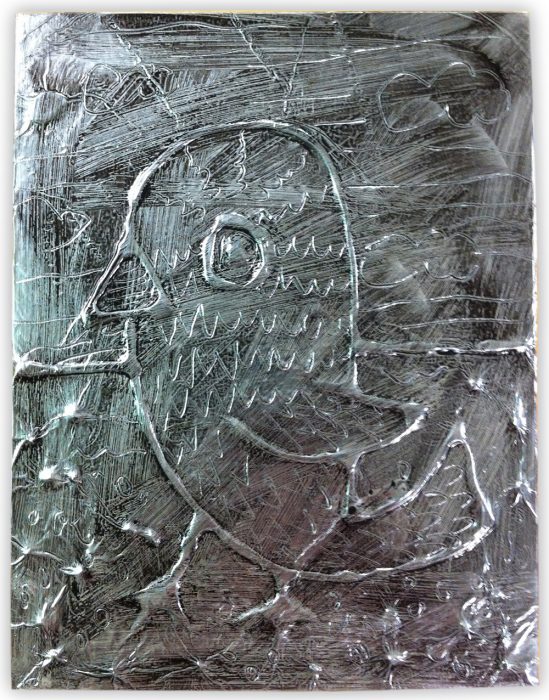
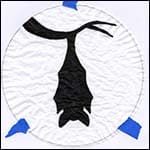
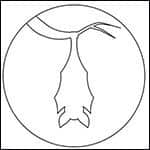
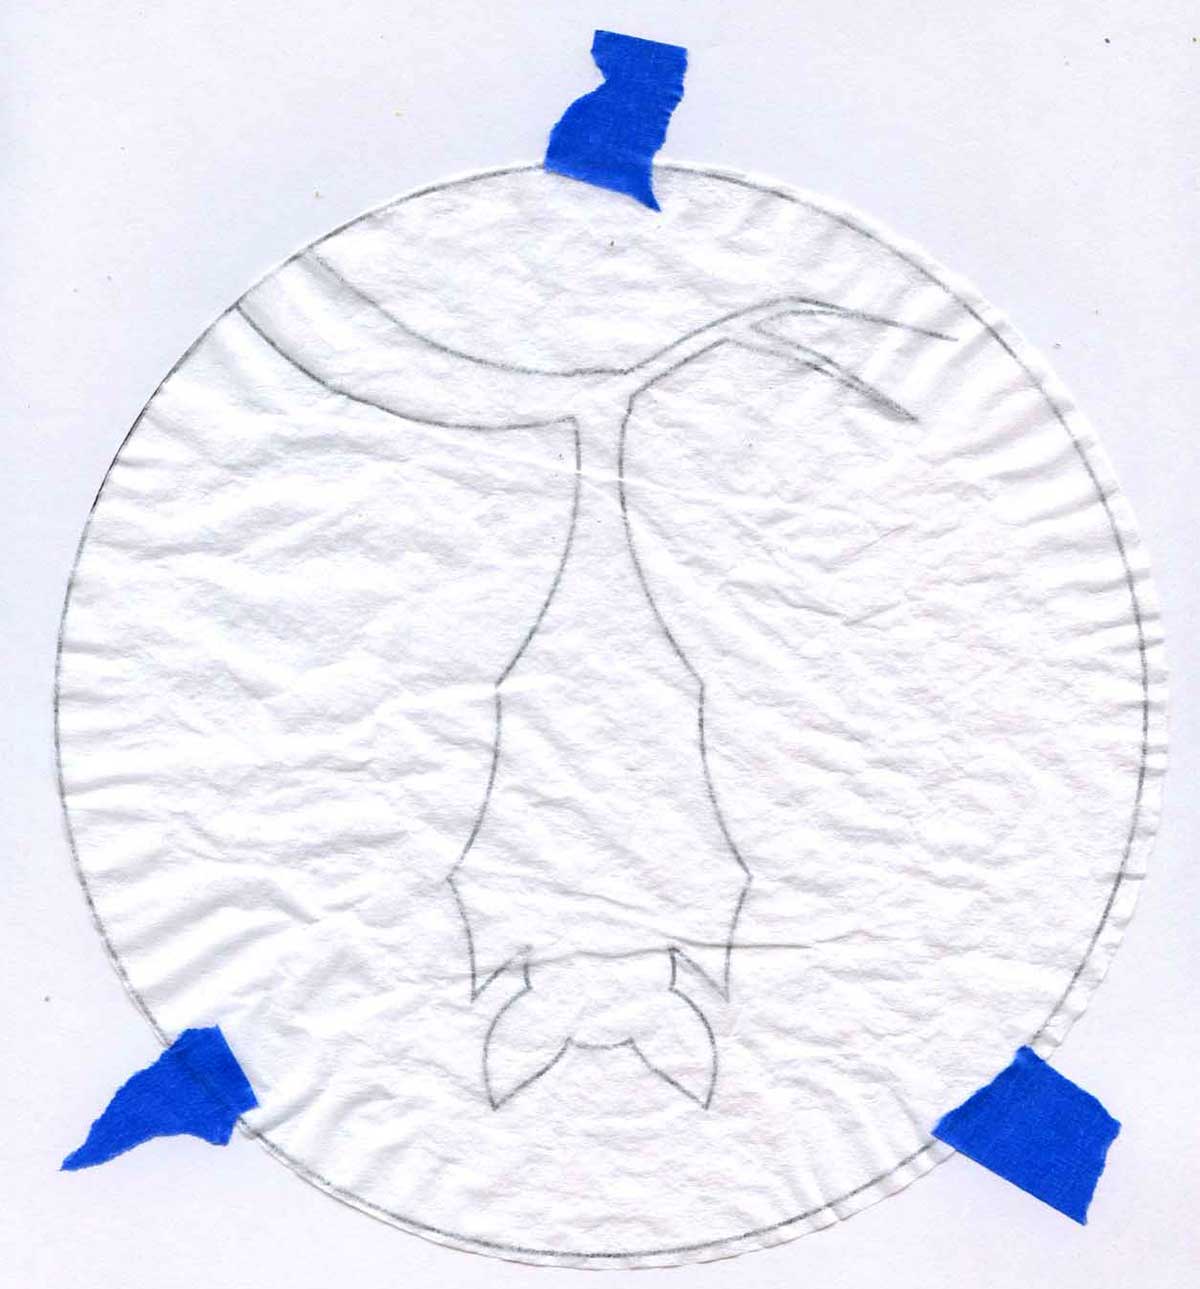
Print one of the three bat templates, tape a filter on top. You’ll be able to see through it.

-
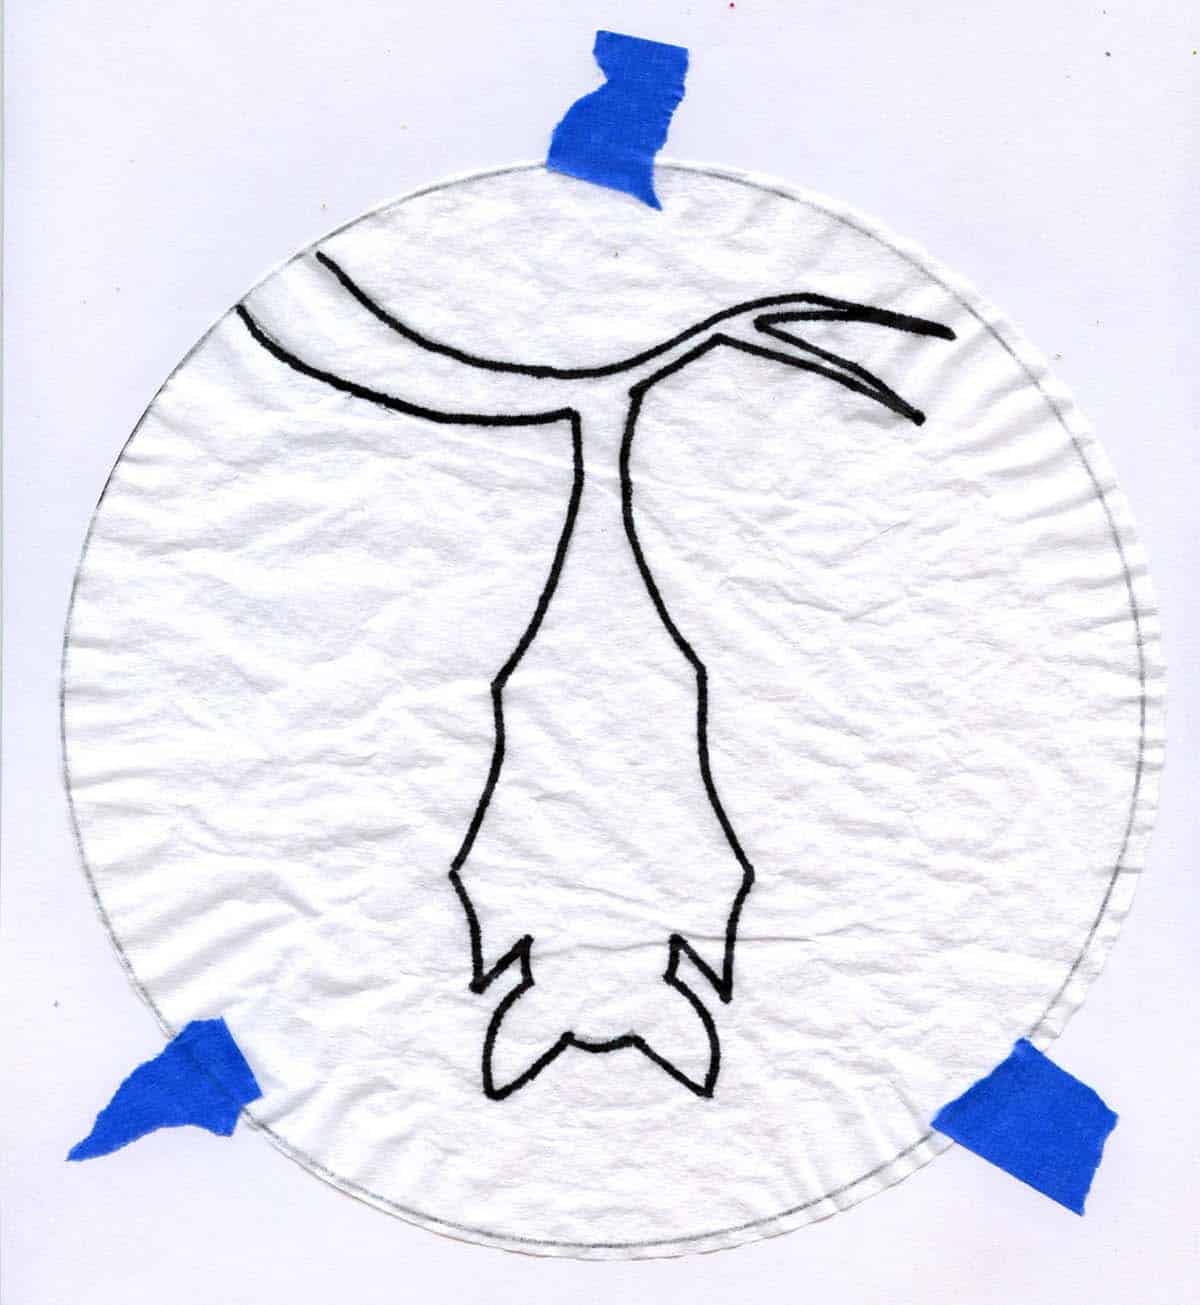
Trace the drawing with a black PERMANENT marker.

-
Fill it in to make a silhouette.

-
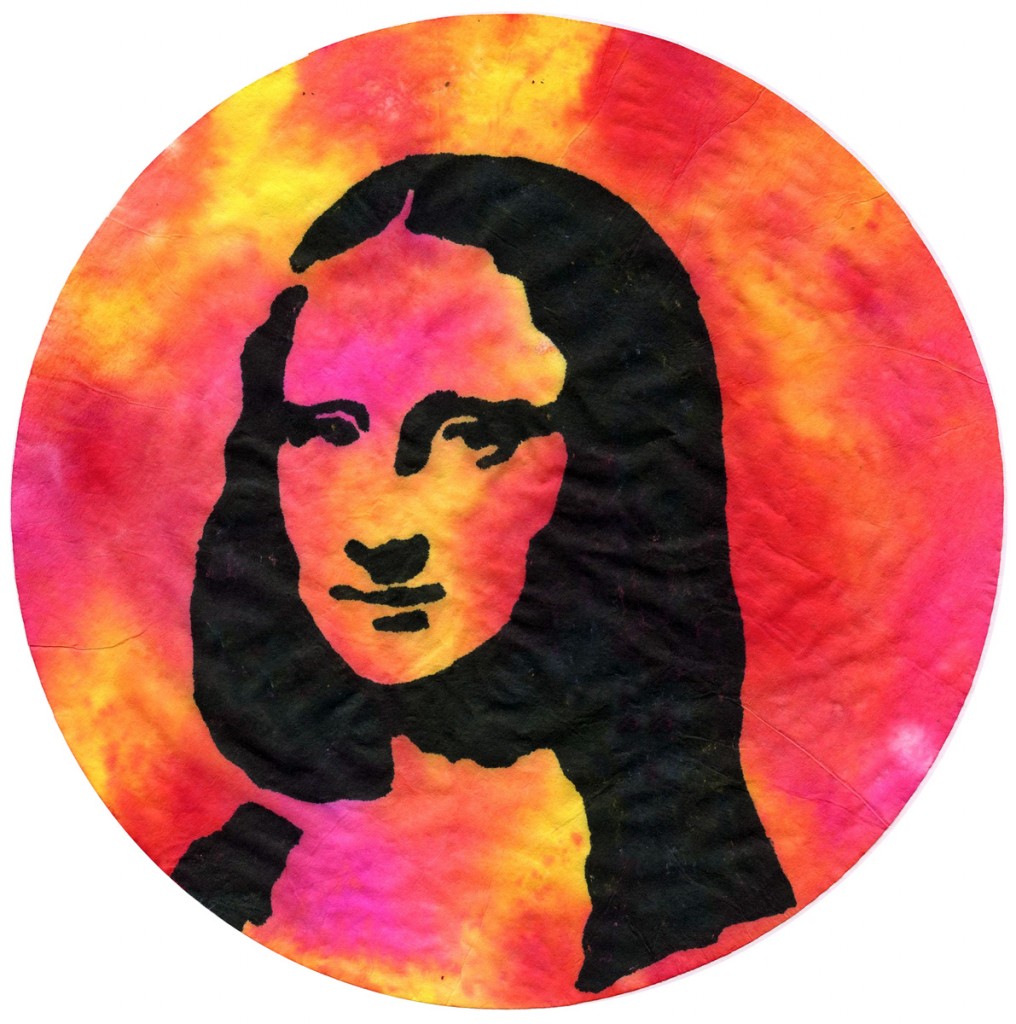
Remove the tape and paint over everything with watercolor paint. (Liquid watercolor works best.) The colors will run together, but that’s what makes it so fun to do!


More Coffee Filter Painting Ideas
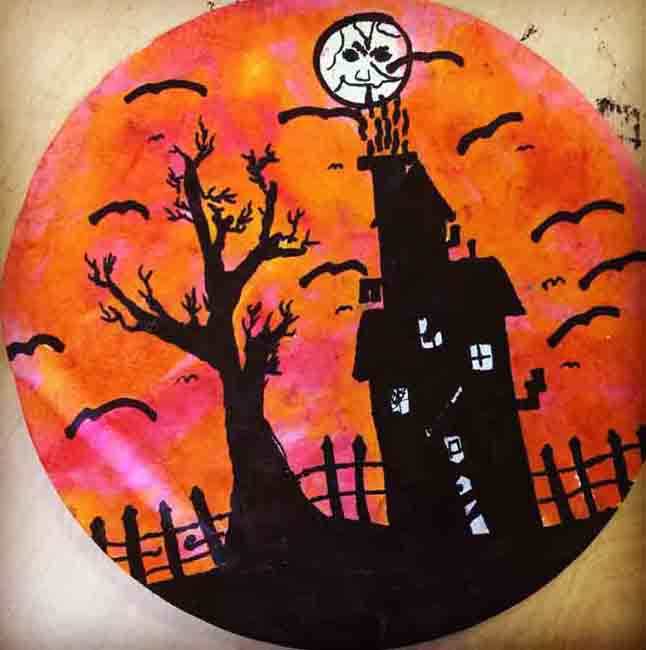


I opted to make a simple line drawing of a house and tree and fence for the students to trace, just for a starting point. They were to add as many Halloween details as they could. Given that the filter material is tricky to draw on with a pencil, I recommend jumping in and just drawing with a permanent marker.
President’s Day Penny on a Coffee Filter
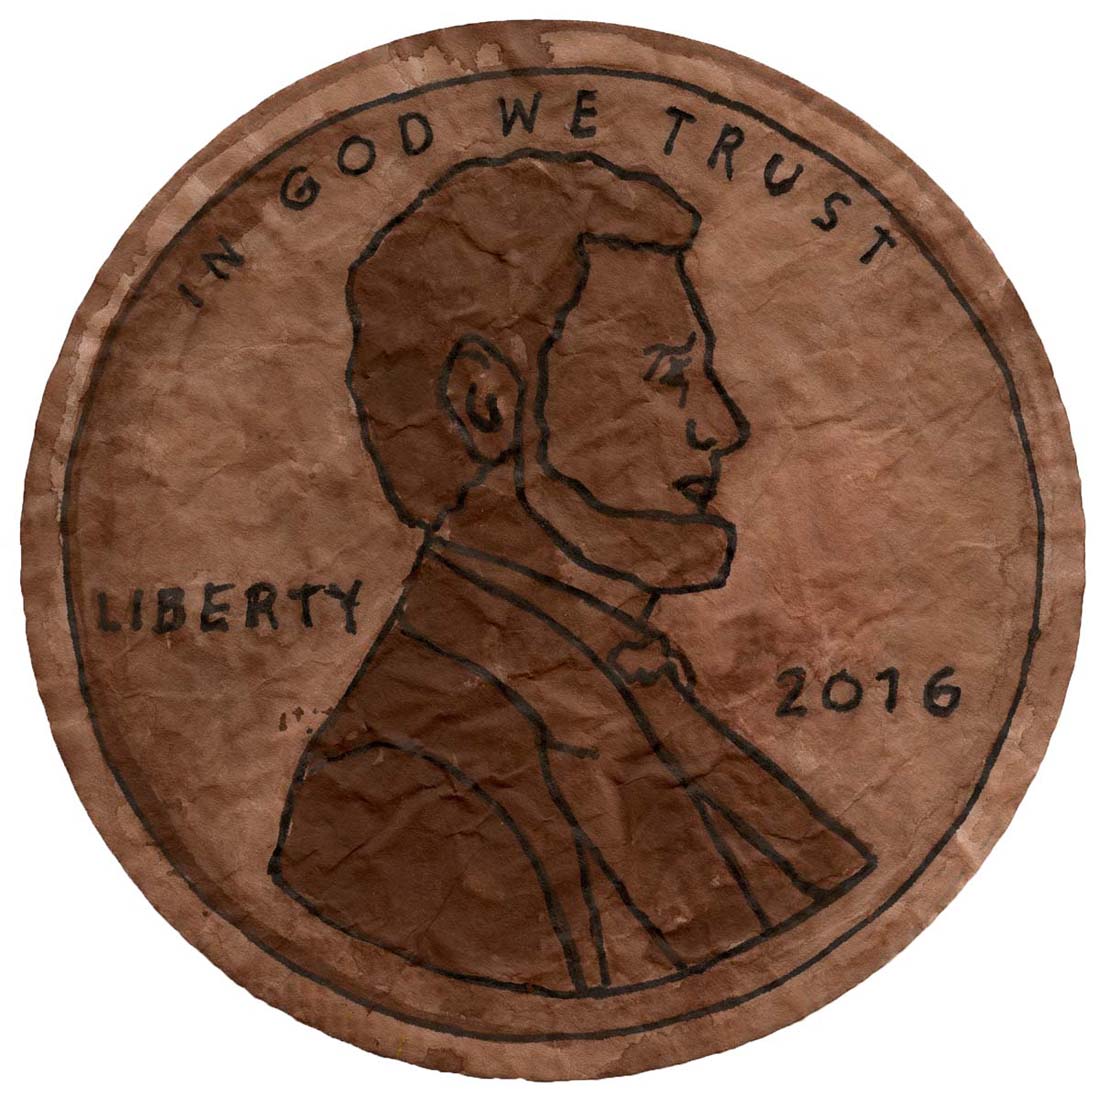
You can even try some shading by adding an extra layer of brown to Mr. Lincoln so that he stands out from the background. Make a traditional penny, or go crazy and make a pop art, tie dye version. Either way, you have a fun way to mix art with a little history.
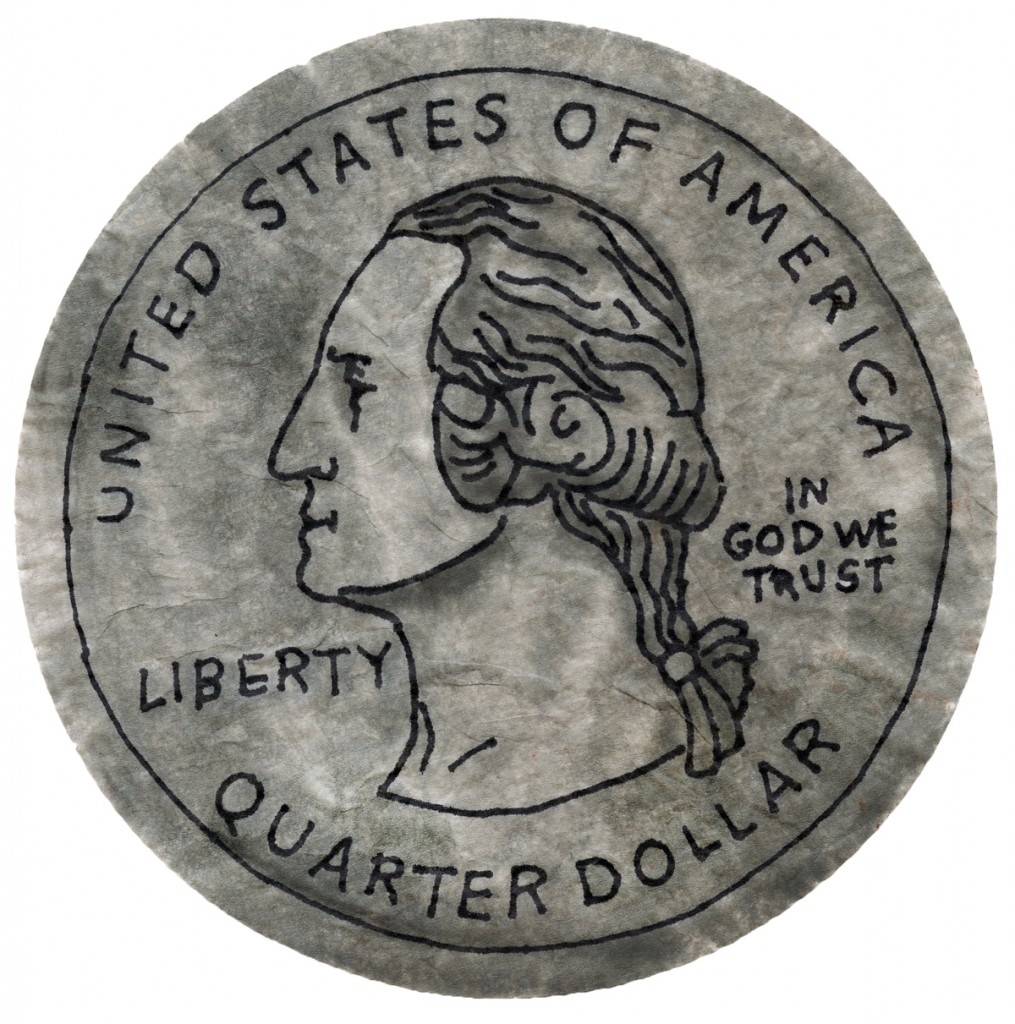
President’s Day Quarter
Paint like Miro on a Coffee Filter

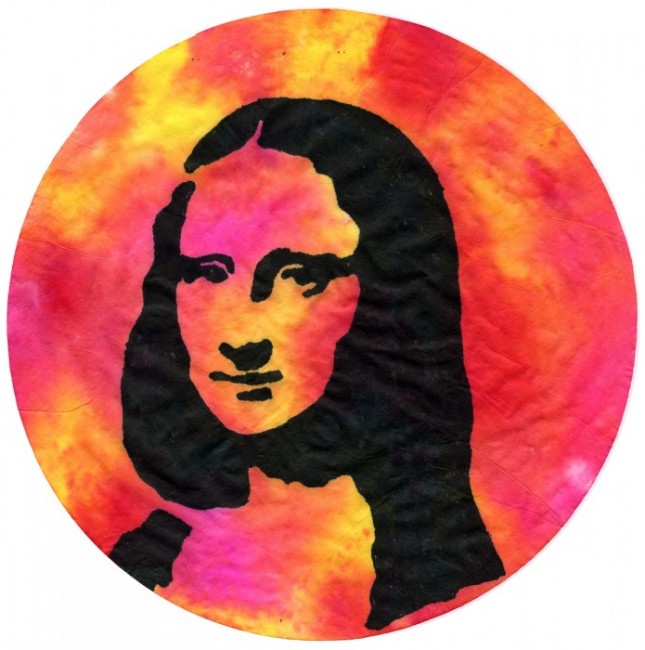
Mona Lisa Drawing on a Coffee Filter
It’s possible to make really brilliantly colored paintings without expensive watercolor paper. Large, industrial coffee filters will give you a colorful look for a fraction of the price.