Halloween Painting Idea for Kids: Easy Step-by-Step Art Lesson for Elementary
Mix your paper up and work with a tall format for this Halloween Painting Idea for Kids. It might give your artwork an even spookier look to it!


Halloween Painting Idea Projects

Halloween and Painting for Kids
Halloween is full of fun, imaginative themes that kids already love—like pumpkins, ghosts, and haunted houses. It’s a great way to channel their excitement into focused creativity.
Painting Halloween scenes lets students explore bold colors and expressive brushwork. The spooky theme also encourages storytelling and mood, all through paint.
A sunset silhouette always makes for a colorful drawing, but if you add in a few Halloweenish elements, then you get a fun seasonal project as well.
One of the great thing about drawing a silhouette like this is that it’s so easy to fix little oops-es. Not happy with how your cat looks? Turn it into a bush. Thinking your tree looks too thin? Add more black to thicken it up.
Whatever students end up drawing, just make sure they know that the drama of their black shapes against the colorful sky depends on how well they fill in the black. Scribbles will only take away from the contrast, which is what makes this kind of work so fun to look at.
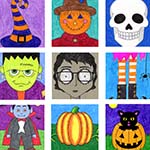
Preview of the Halloween Painting Tutorial

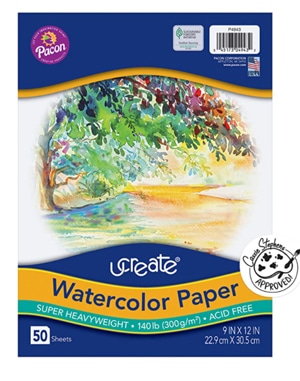
Materials for Halloween Painting


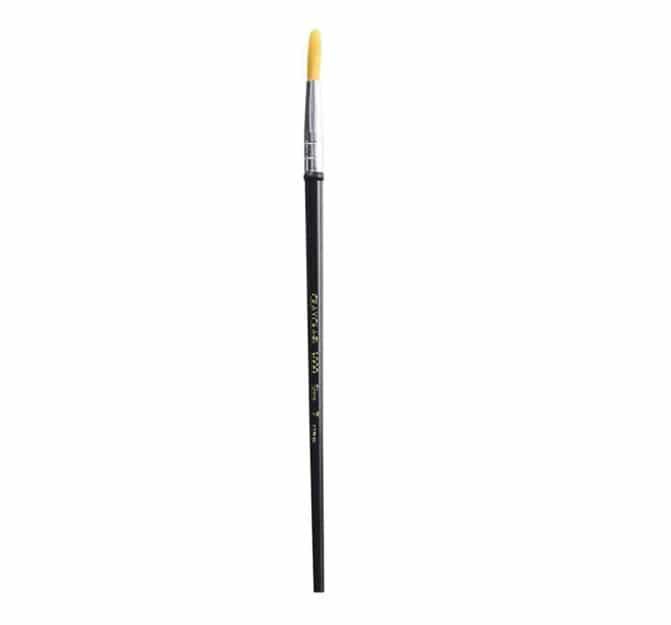

Pencils
Ticonderoga Wood-Cased Pencils *Affiliate link
Time needed: 45 minutes
- Cut two sheets of 6″ x 9″ paper or one that is 6″ x 18″.
Draw the ground and the beginning of a tree.
- Start adding owls, cats, pumpkins, bats and more.

- Trace with a PERMANENT black marker and fill.

- Use a thin black permanent marker to add skinny lines to the tree. Paint over all the background with watercolor.


Halloween Silhouette Painting Idea


If you haven’t tried this trick for making a textured background before, I hope you give it a try with this silhouette drawing. The shapes of the pumpkin and trees will pop even more and it’s very easy to do.
The process is to draw the halloween shapes on watercolor paper, and trace and fill it in with permanent black marker. Students then brush over the entire painting with a single color of watercolor paint, sprinkling salt on the wet surface as they go. It takes a few minutes, but the salt will start to absorb the paint, and create the blotch look! Leave the salt on until it is totally dry, and brush it off to get to maximum effect.