How to Draw a Bald Eagle: Easy Step-by-Step Art Lesson for Kids
Finished Drawing of a Bald Eagle Head
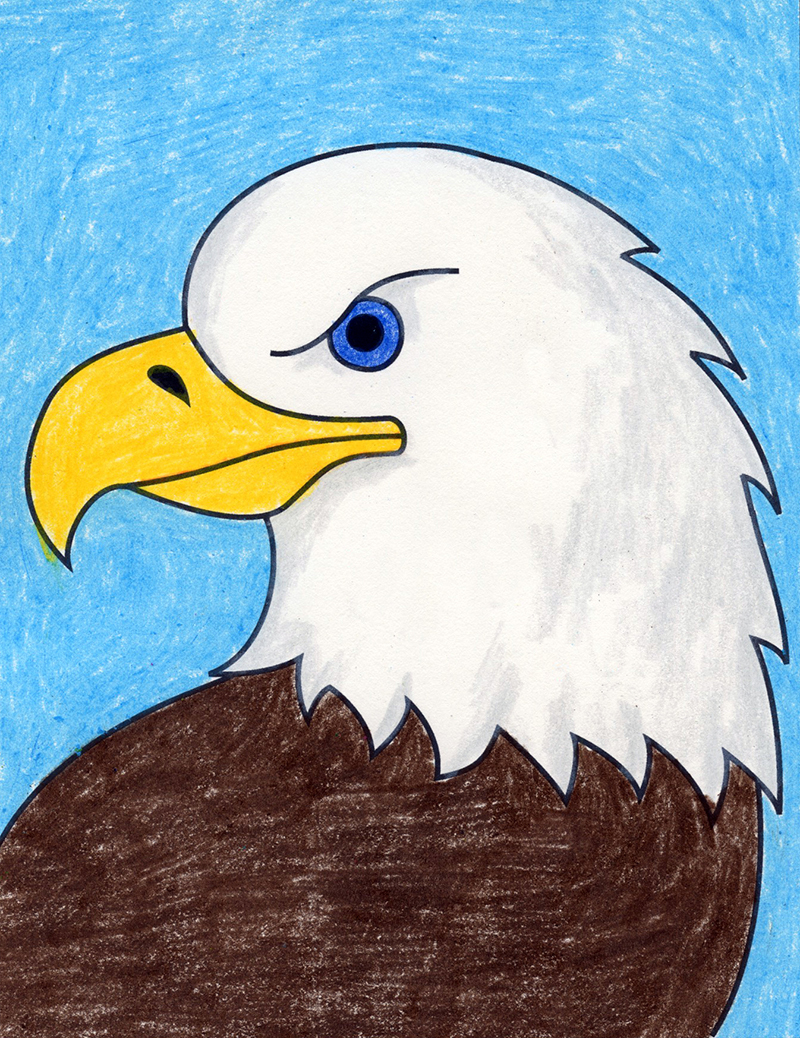
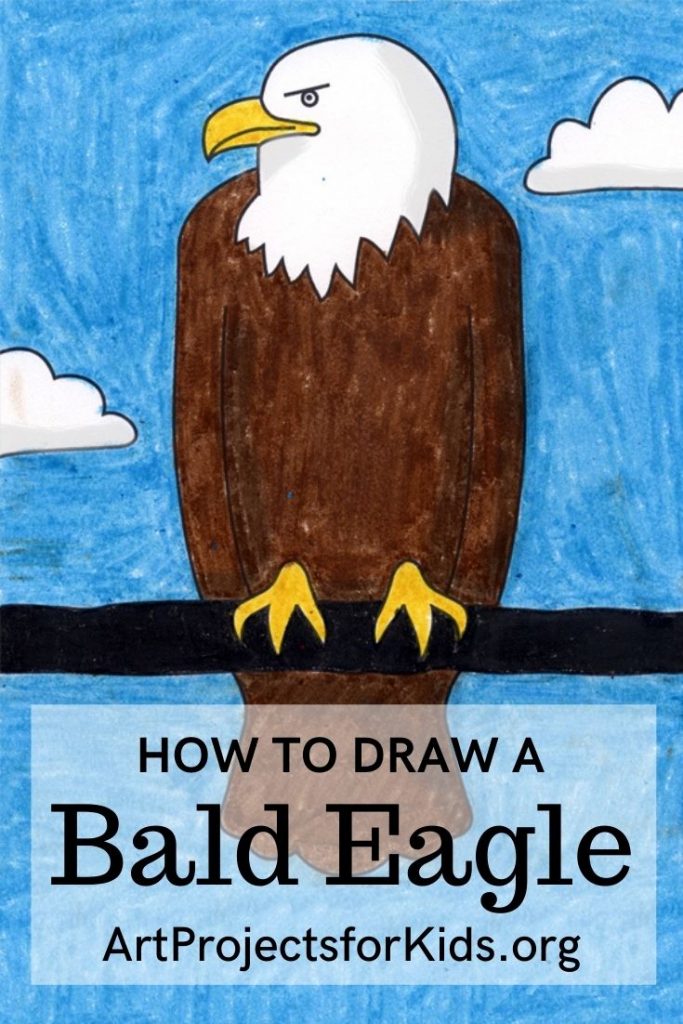
Here you’ll find an easy step-by-step tutorial video for how to draw a Bald Eagle. It’s perfect for young students learning about American symbols.

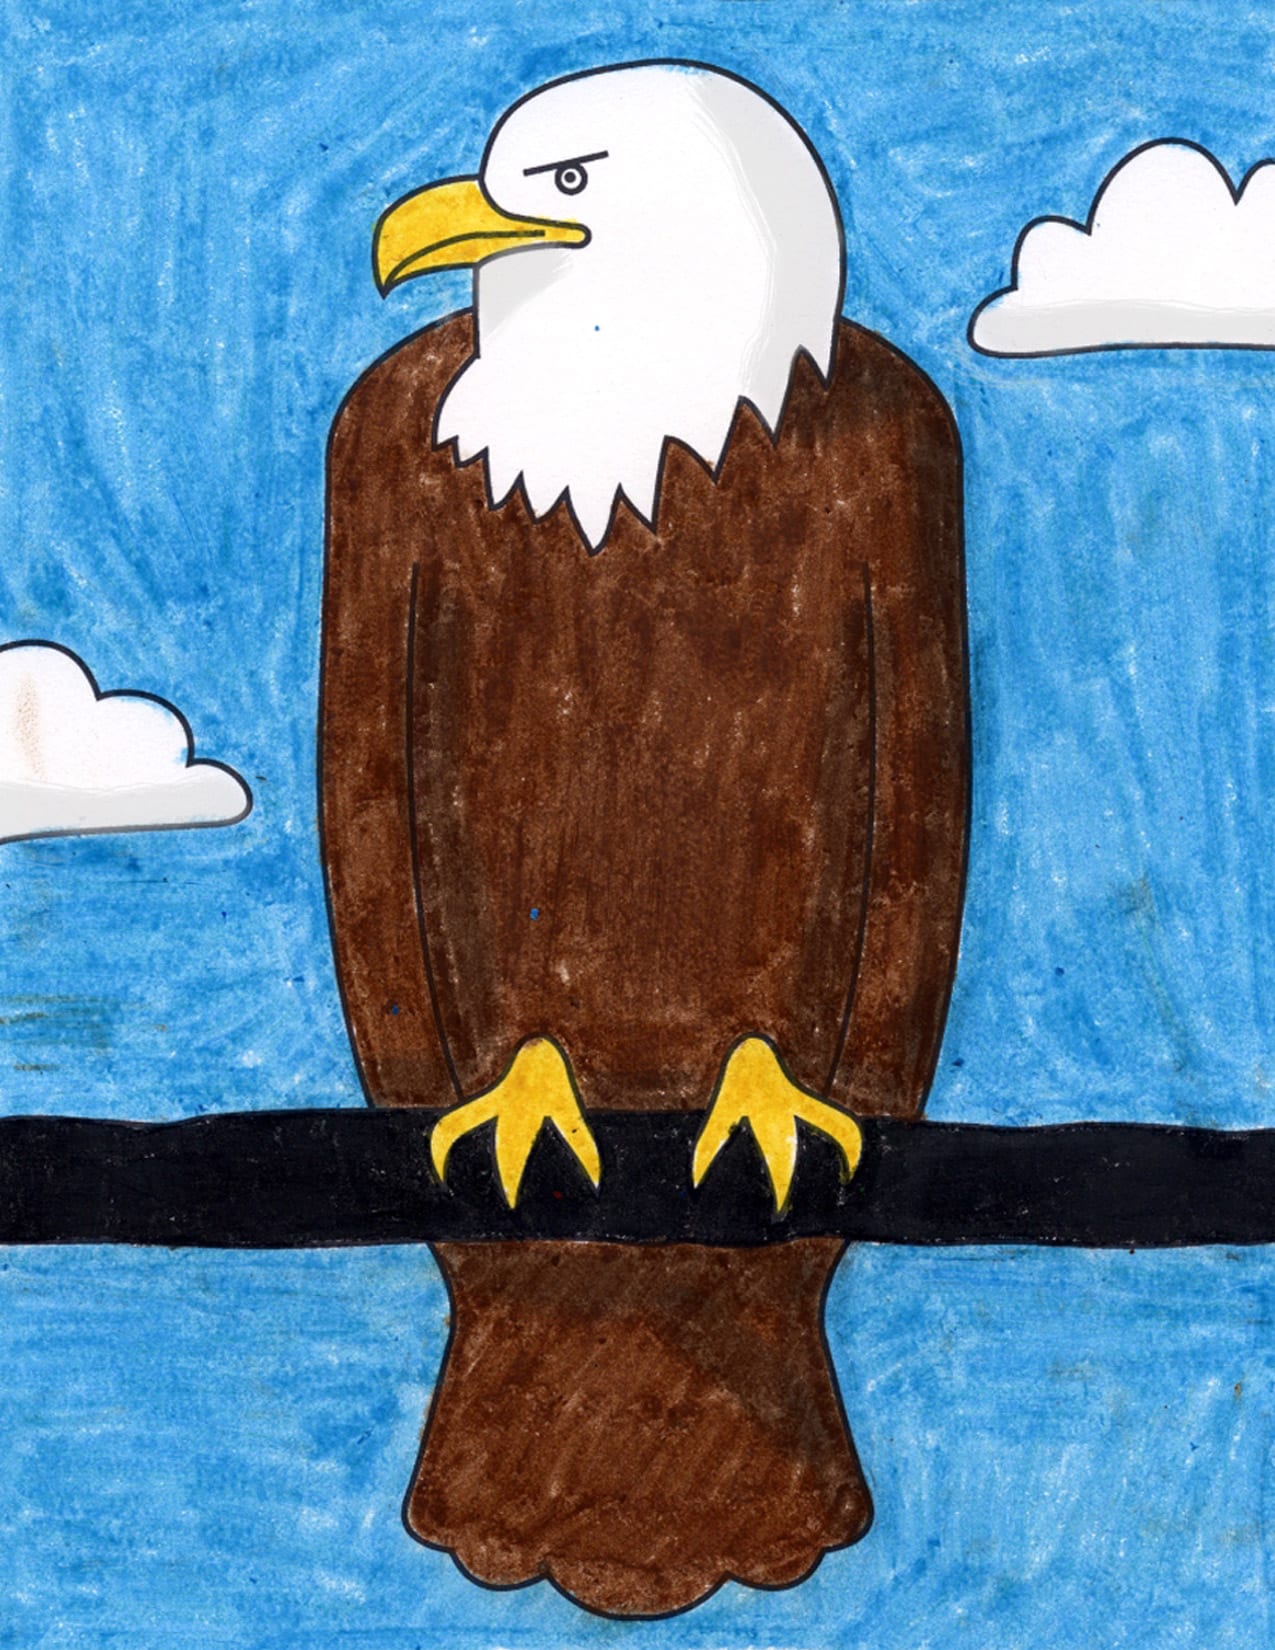
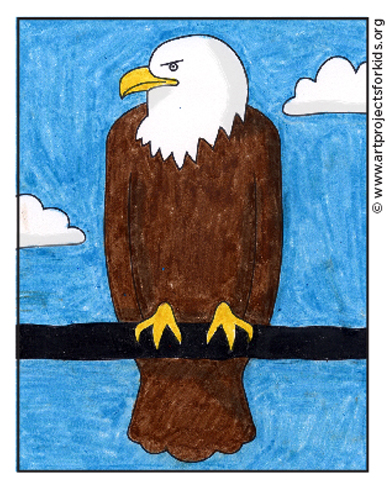
Bald Eagle Drawing
More about drawing Bald Eagles
For a classroom-tested drawing project that relates to studies about American symbols, you can’t get much better than learning how to draw a Bald Eagle. I used this tutorial many times while teaching in the classroom, both as a coloring and a painting project. The simple steps worked for students even as young as kindergarten.
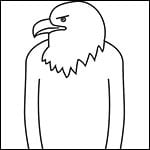
This tutorial uses lots of basic shapes, and just a few that overlap each other. The head is in front of the shoulders, and the feet in front of the branch. Young artists need practice with these concepts before they go on to other ones.
Older students could go on to add a little more shadow, like ones that are hinted at in the sample drawing. Simply pressing harder on one side with the brown crayon, or adding a touch of gray to the head, will make the bird instantly look more round. Shadows are great that way, and testing them out on simple shapes is a smart way to start.
Two options for painting your Eagles

Tempera Paint 
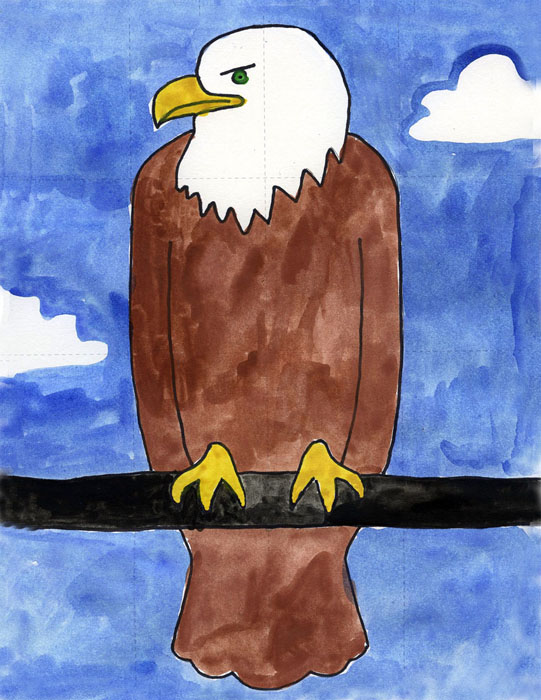
Watercolor Paint
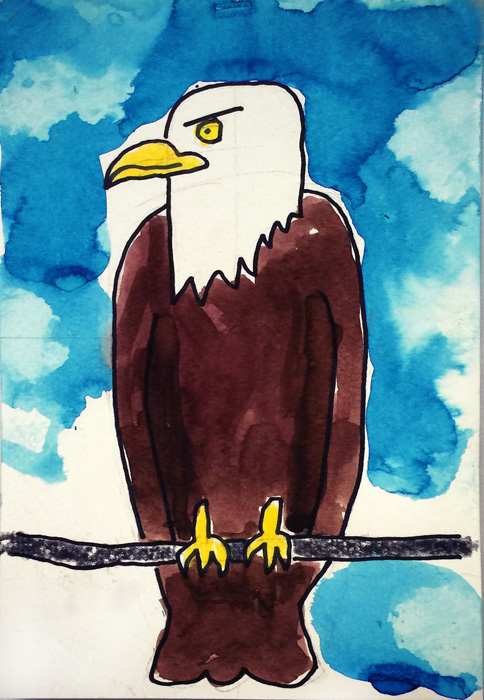
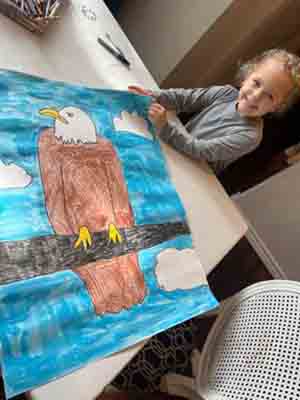
Student Art Gallery
Join “The Daily Draw” below to get this tutorial!
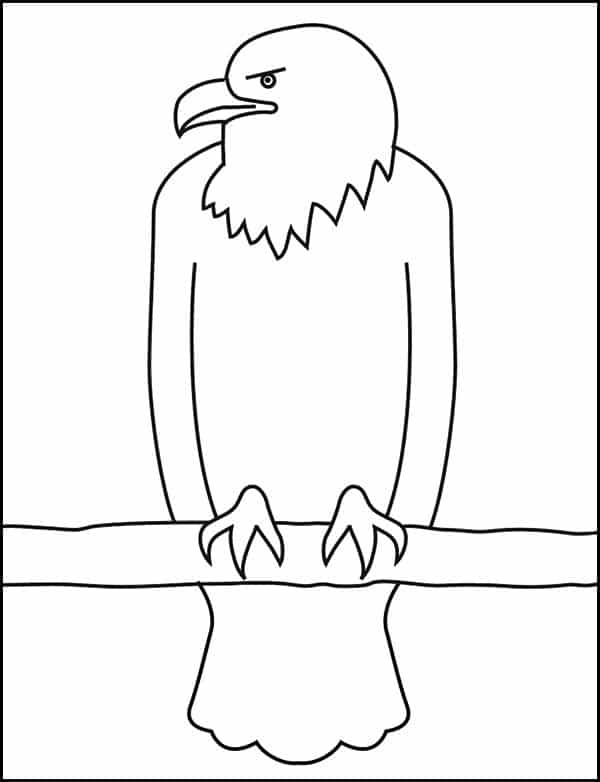
Bald Eagle Coloring Page
Materials for a Bald Eagle Drawing


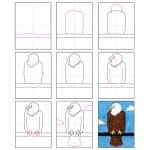
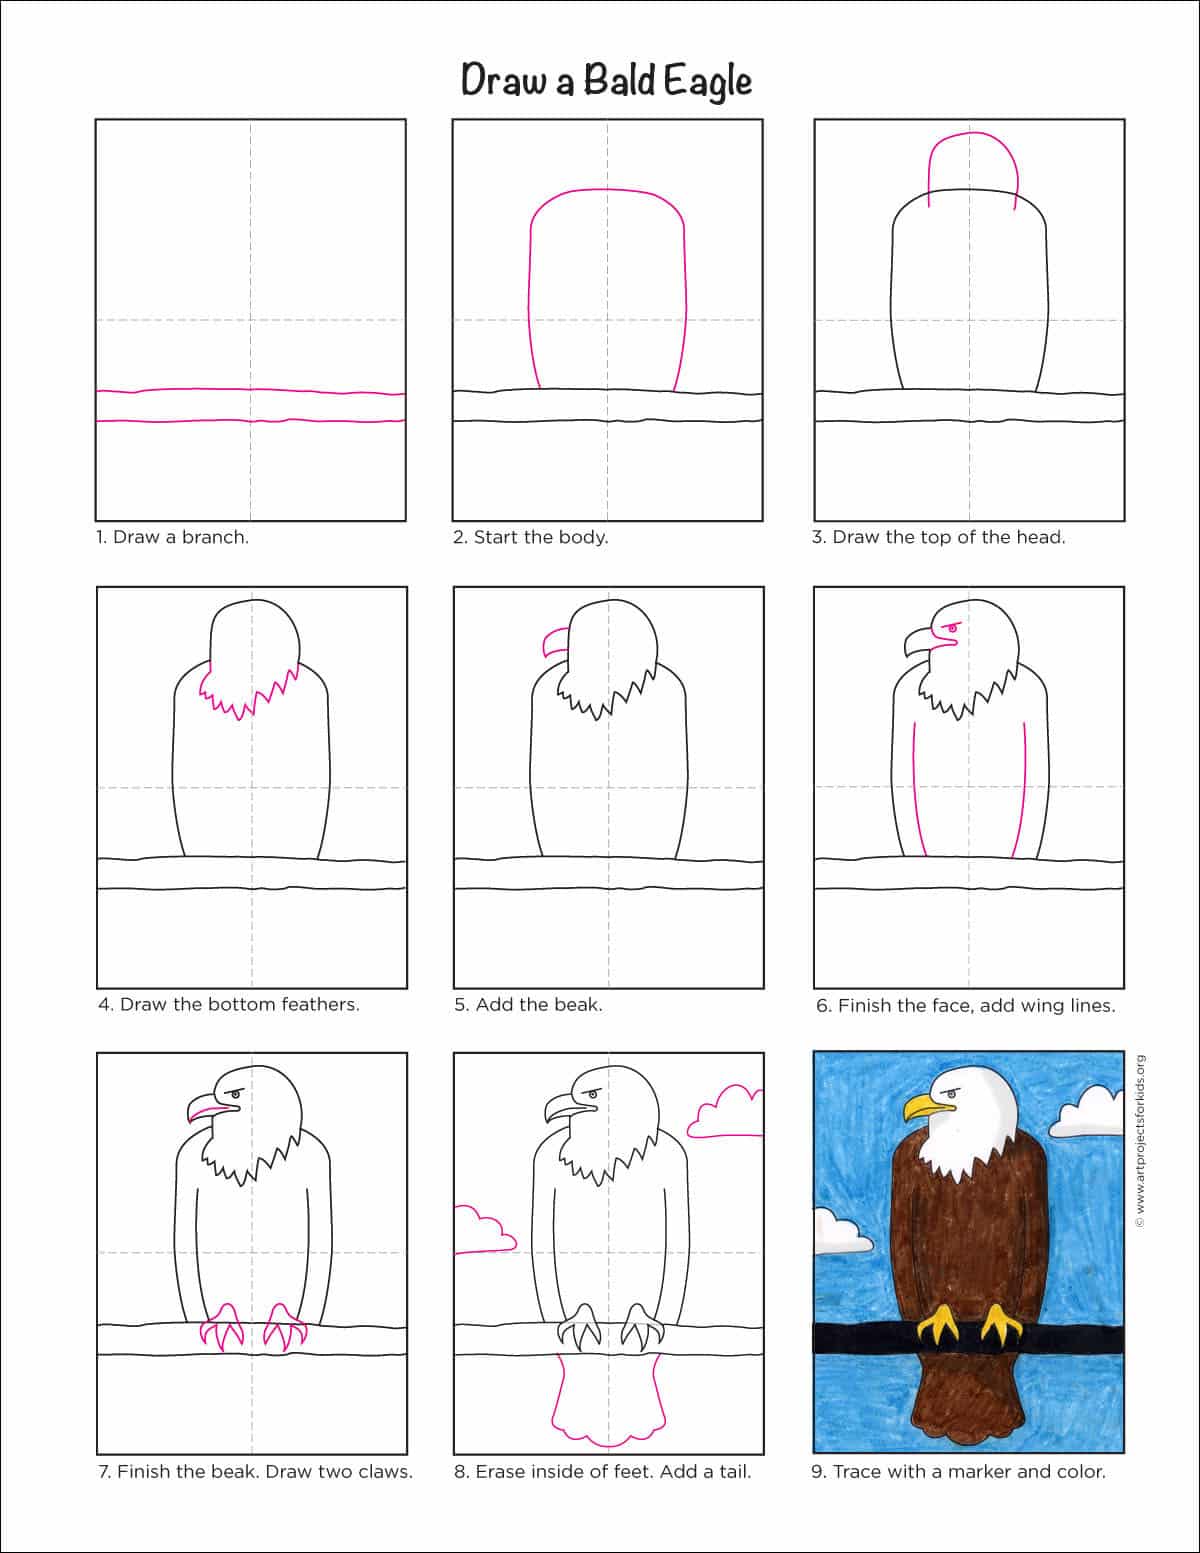
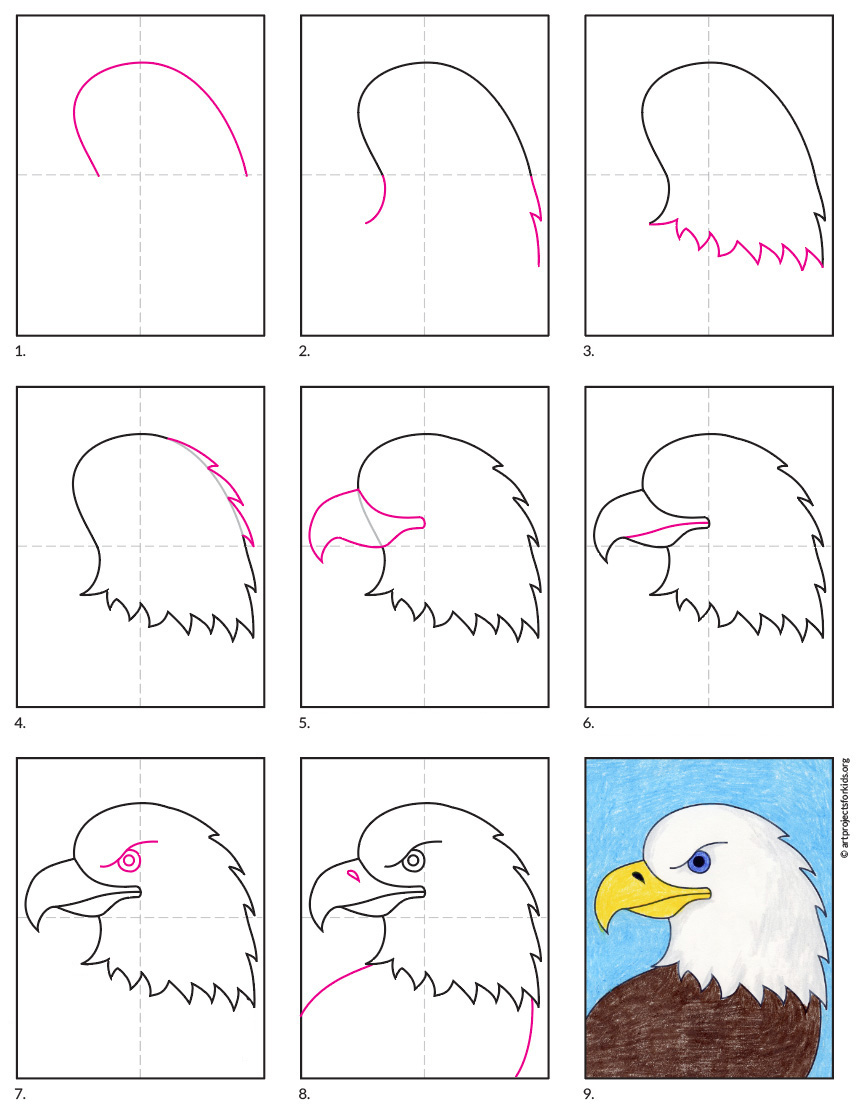
How to Draw an Eagle Step by Step
Time needed: 45 minutes
How to Draw an easy Eagle in 9 steps
- Draw two lines for a branch.

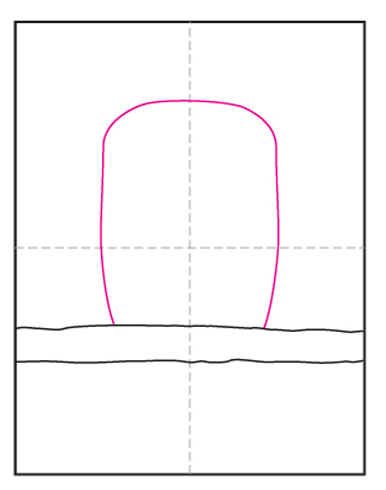
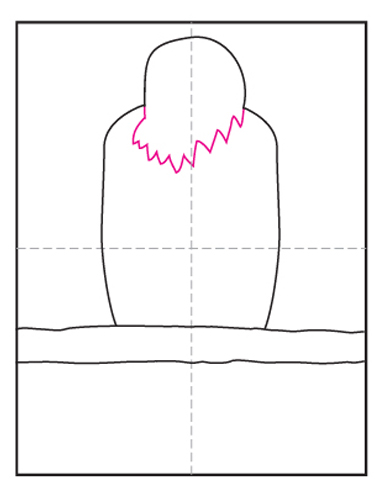
- Start the body with a large upside down U shape.
- Draw the top of the head, making the lines down into the body a bit.
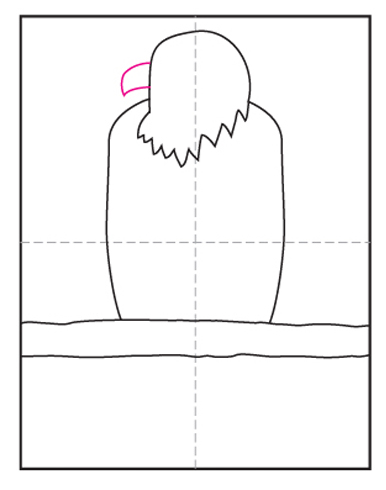
- Draw a zig zag line for the bottom of the feathers.
- Add the beak to the side of the head.
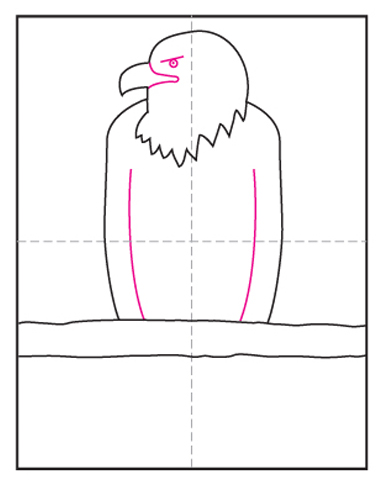
- Finish the beak and eye and draw the wing lines.
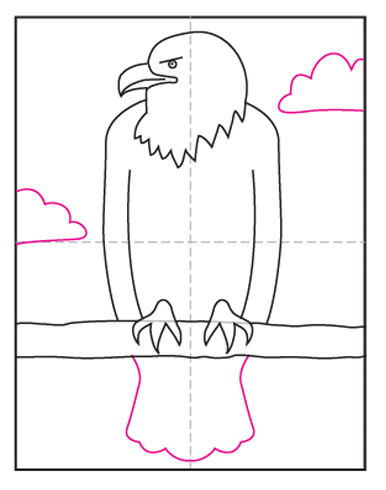
- Finish the beak with a line and add two claws.
- Erase inside of the feet and add a tail.
- Trace the drawing with marker and color.


Already subscribed to “The Daily Draw”?
Great, then use the button below to get your free Bald Eagle tutorial. And thanks for wanting to bring more step-by-step, no-prep art lessons to your classroom!
Pin me to your Pinterest Board!
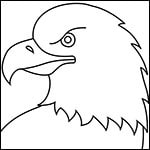
Draw a Bald Eagle Head
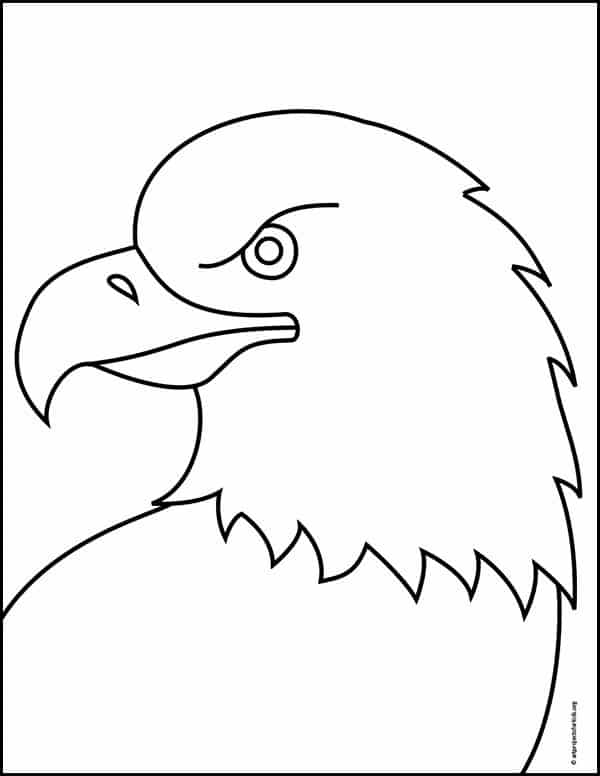
Bald Eagle Head Coloring Page


Read More – How to Draw an Eagle
Read More – How to Draw an Apple