How to Draw a Cube: Easy Step-by-Step Art Lesson for Kids
Below you’ll find an easy step-by-step tutorial video for how to draw a Cube and a Cube Coloring Page. This one works great for beginners.


How to Draw a Cube
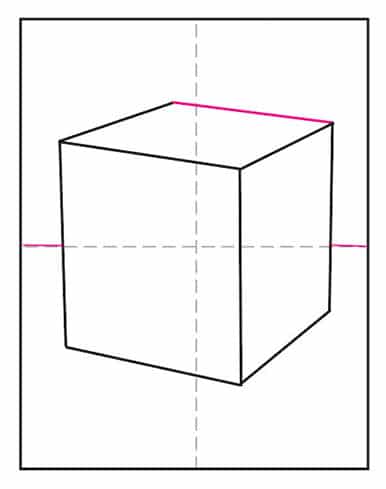
Some How to Draw a Cube tutorials you might find on the internet involve drawing the front and then the back, and then connecting the two. That involves a little more dimensional thinking though, so for that reason I like this version of just drawing the front, then the sides, and then connecting the ends. There’s no need to erase anything, and is perhaps a little easier to understand.
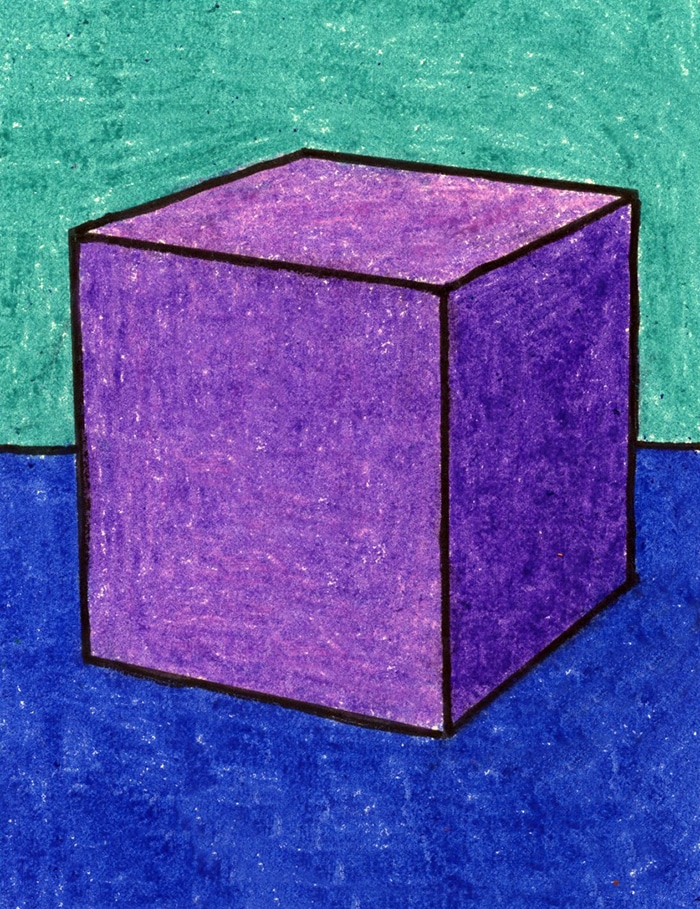
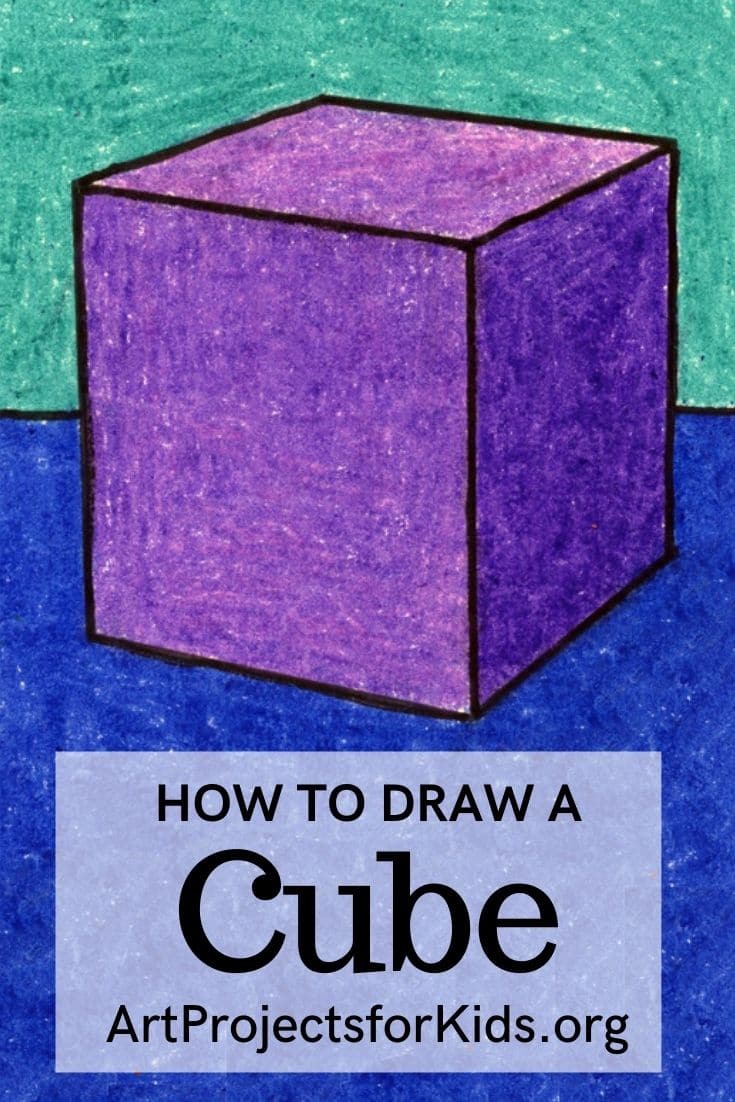
A cube is a solid three-dimensional figure with 6 square faces. Many students learn how to make one for math or geometry class by cutting out a cross shaped template and folding it together so they can understand how it goes together.
Use Button below to grab a PDF Tutorial

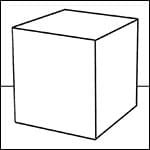
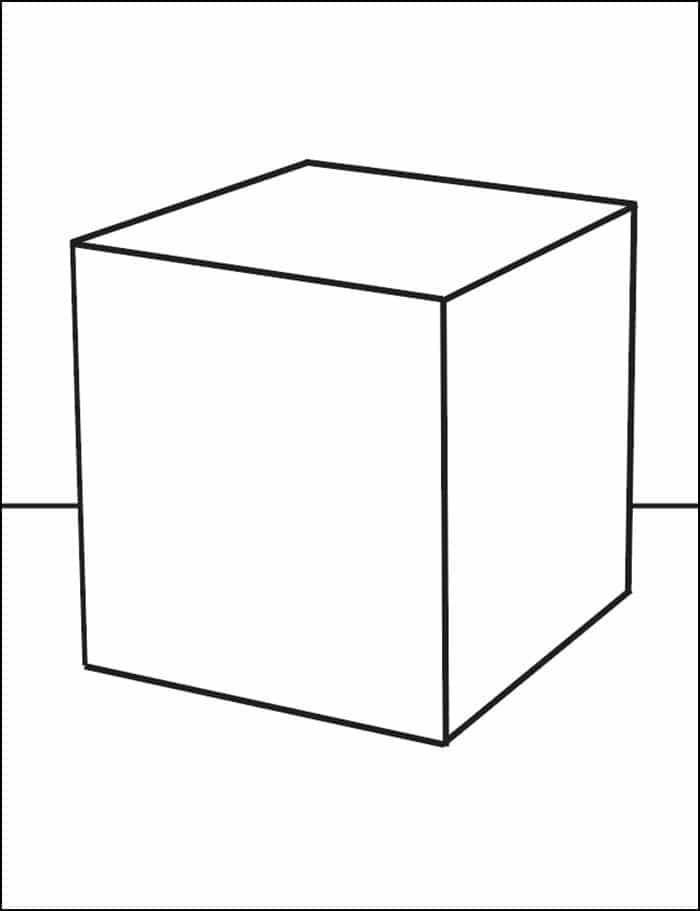
Cube Coloring Page
Materials to Draw a Cube
- Drawing Paper. This is the good stuff you can buy in bulk for a good price.
- Pencils. I like how this brand always makes nice dark lines.
- Black Marker. A permanent marker will give you a dark black color.
- Crayons. The larger packs are nice for more color choices.
- Note: All of the above are Amazon affiliate links.
Directions for Kids to Draw a Cube
Time needed: 30 minutes
How to Draw a Cube
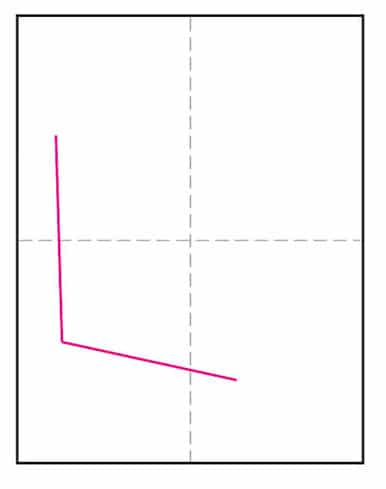
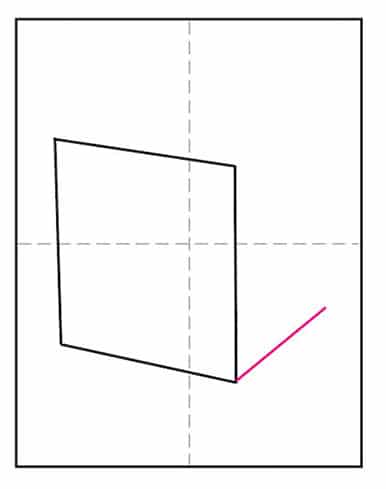
- Start by drawing an L shape as shown.

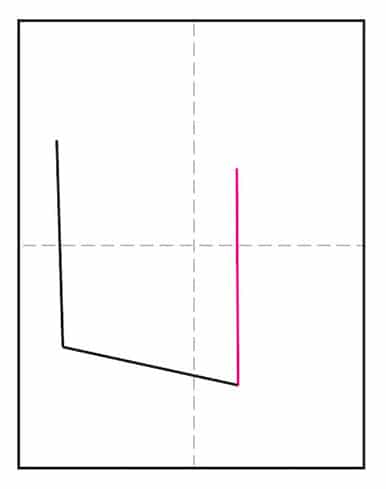
- Add a vertical line.
- Connect at the top to complete the square.
- Draw the first side line.
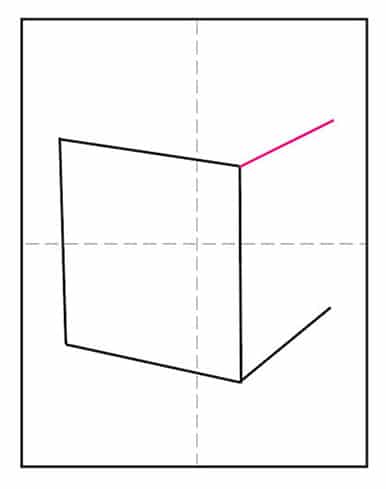
- Add the second side line.
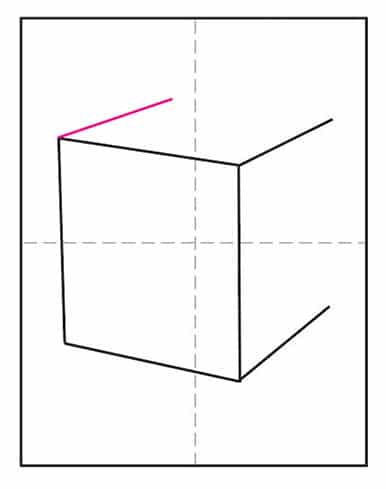
- Draw the third side line.
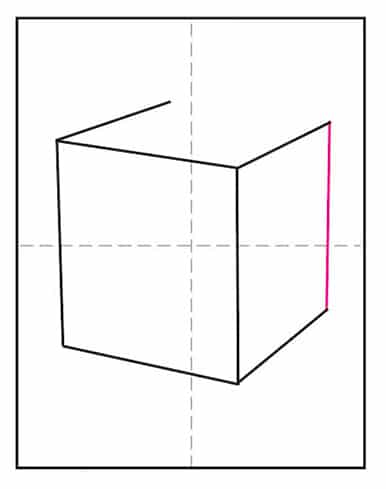
- Connect the ends on the right side.
- Connect the ends on the top.
- Trace with a marker and color. Shading will help your cube look even more 3D.


Save me to your Pinterest Board!
More Fun Graphic Drawing Projects

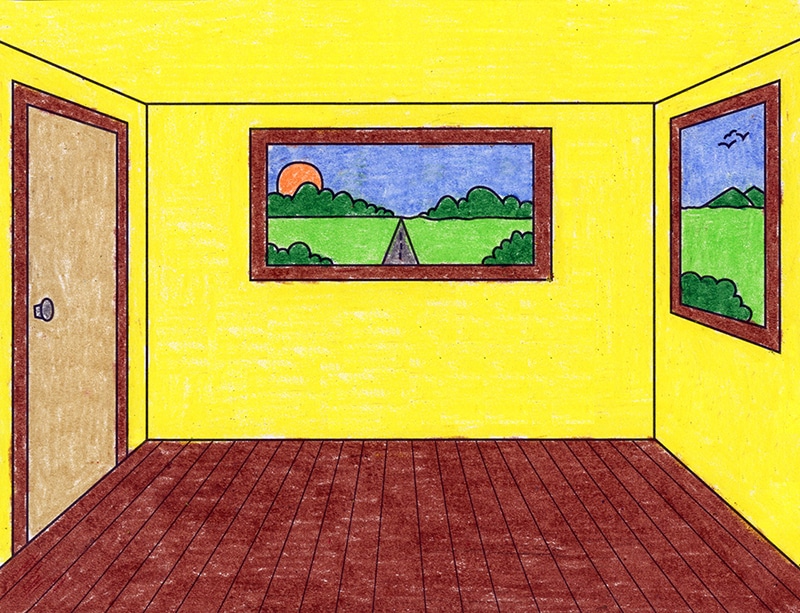
Perspective for Beginnners 
Room in Perspective 
Letters in 3D 
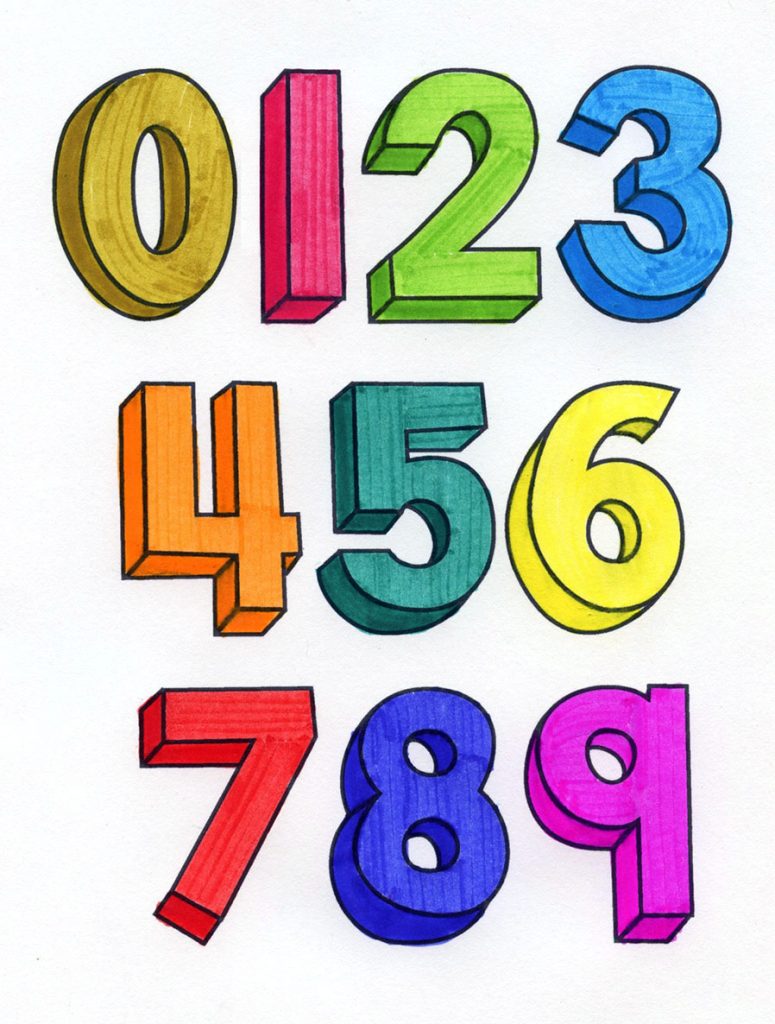
Numbers in 3D 
3D Buildings