Easy How to Draw a Lizard Tutorial and Lizard Coloring Page
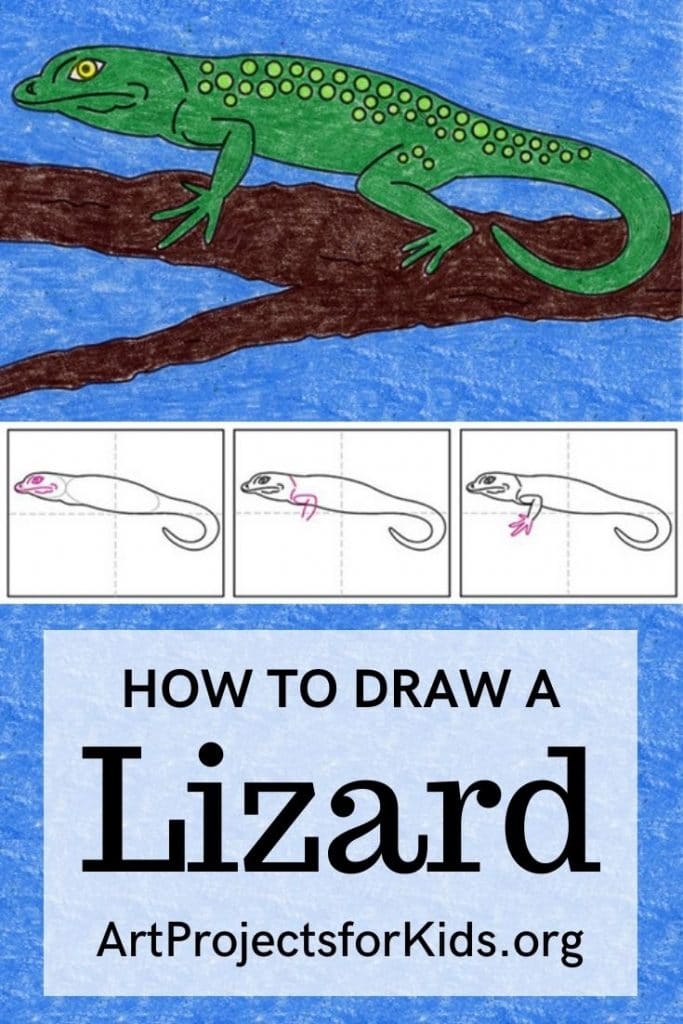
Below you’ll find an easy step-by-step tutorial for how to draw a Lizard and a Lizard Coloring Page. The head, legs and tail get easier to do when you take it one step at a time.
Lizard Drawing
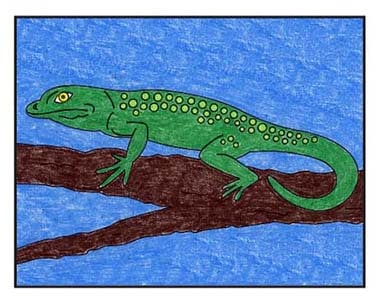
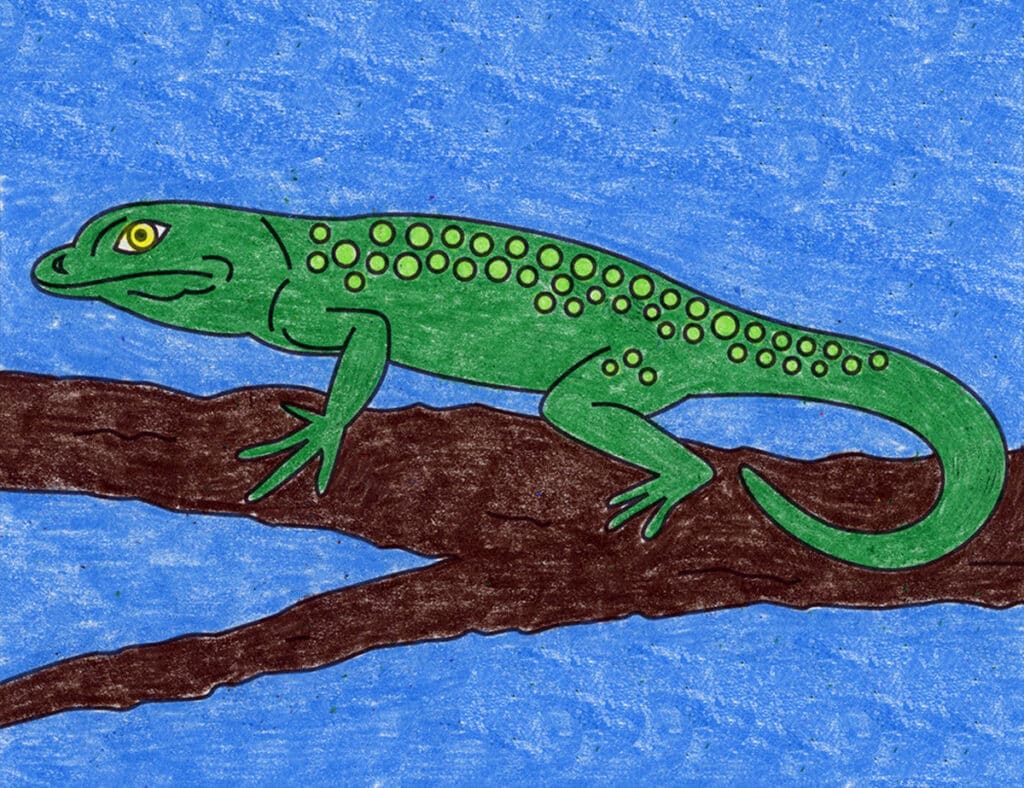
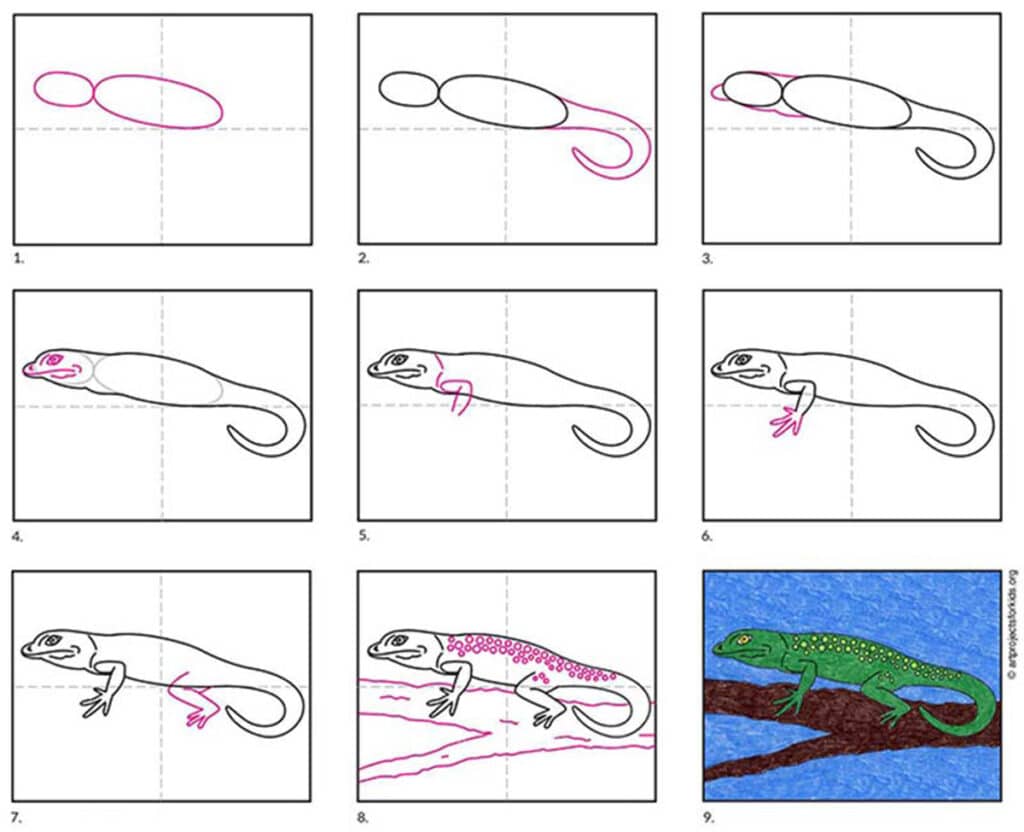
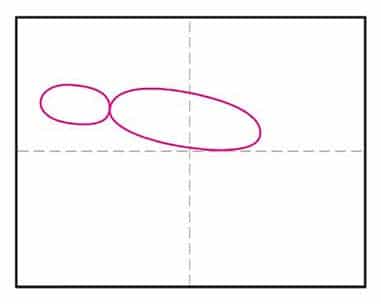
This tutorial is designed to show students how to draw a pretty realistic-looking lizard. By starting with a long oval for the body, and a short one for the head, the basic body shape will be off to a good start. Remind students to sketch lightly so those ovals can be easily erased once they are done. Lizards have an unusual profile, with lots of rounded connecting body parts, so beginning with some very simple shapes will ensure that the lizard fills the page, by the time the drawing is done.
There are about 3800 lizard species found all over the globe. They come in all colors and sizes, but every one of them does have four legs and a tapered tail. One of the more interesting things about lizards is that they can detach that tail, if need be, to get out of danger. That’s a pretty cool defense mechanism.
Use the Button below to Download a PDF Tutorial
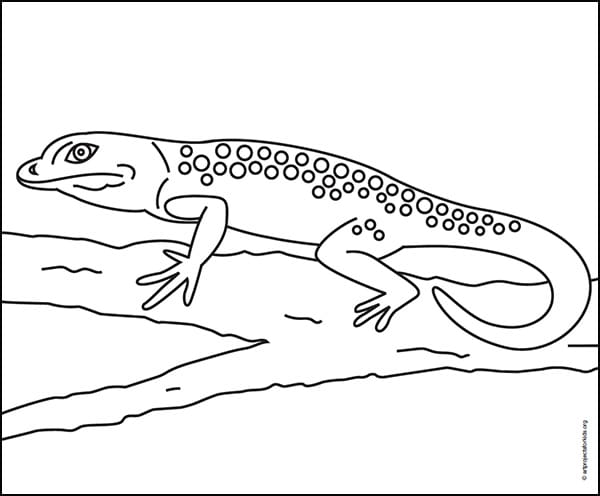
Lizard Coloring Page
Materials for How to Draw a Lizard
- Drawing Paper. This is the good stuff you can buy in bulk for a good price.
- Pencils. I like how this brand always makes nice dark lines.
- Black Marker. A permanent marker will give you a dark black color.
- Crayons. The larger packs are nice for more color choices.
- Note: All of the above are Amazon affiliate links.
Directions for How to Draw a Lizard Step by Step
Time needed: 45 minutes
How to Draw a Lizard
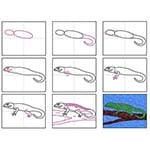
- Draw a large and small oval as shown.
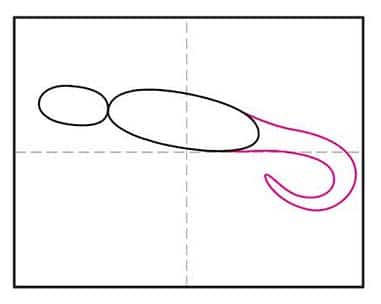
- Add a tail.
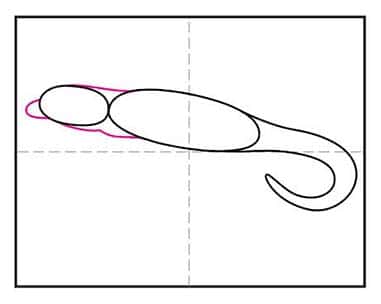
- Connect the head to the body and add a mouth.
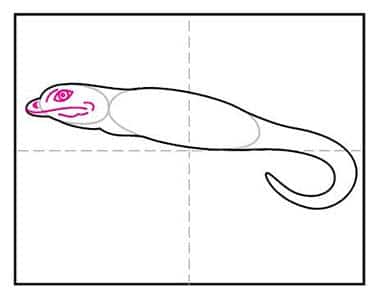
- Erase the inside ovals and draw the face.
- Add skin lines and start the arm.
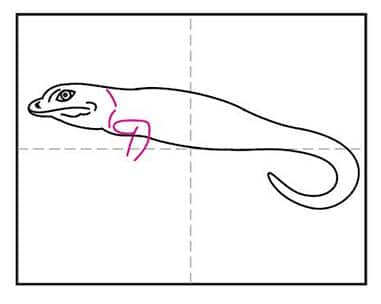
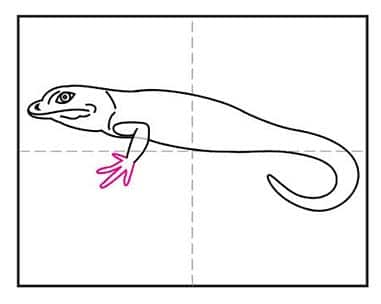
- Draw a hand with fingers and erase inside line.
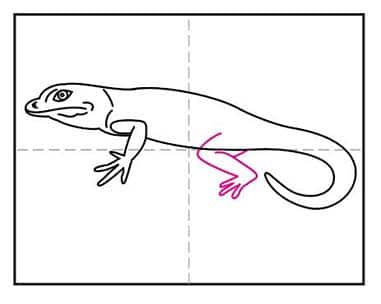
- Add the back leg with toes.
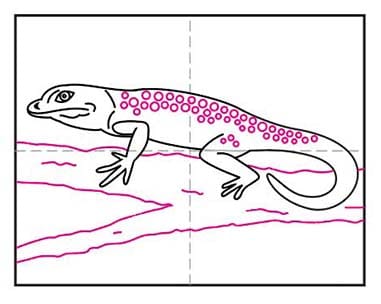
- Erase the line and add spots and draw a branch.
- Trace the drawing with a marker and color.
