Easy How to Draw a Pear Tutorial and Pear Coloring Page
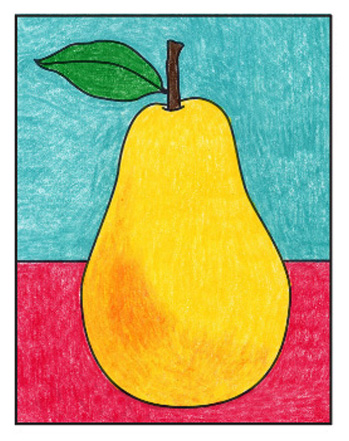
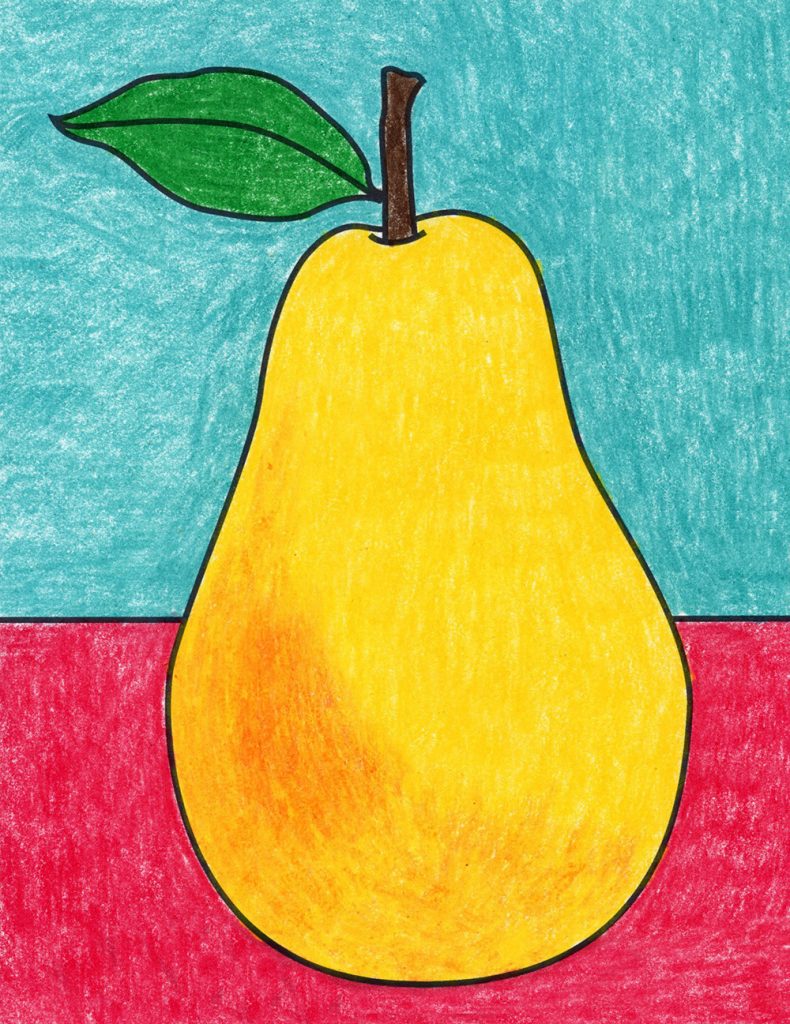
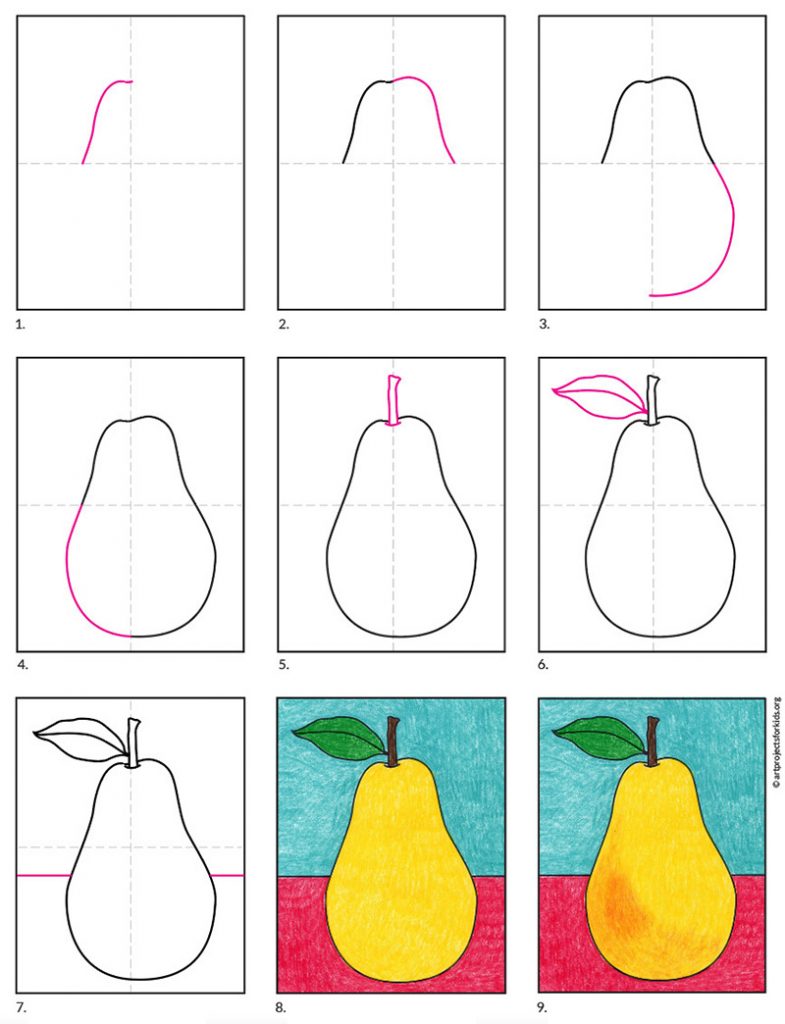
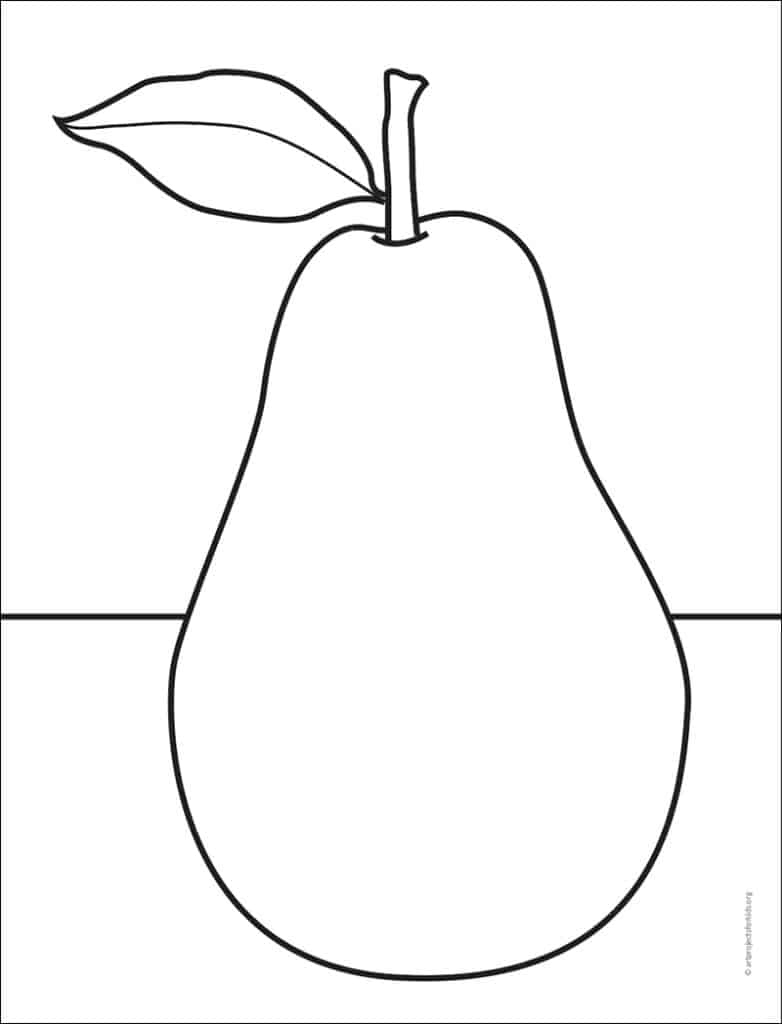
Below you’ll find an easy step-by-step tutorial for how to draw a Pear and a Pear Coloring Page. It’s graceful shape has been so popular in still life paintings, over the years.
Pear Drawing
While many art teachers would recommend students look at a real pear to learn how to draw one, sometimes that’s just not possible. No need to skip the lesson though, as there’s still a lot to learn from a detailed step by step tutorial like this one. Looking closely at its shape, and then filling it with some layered color will always be good practice for those that want to improve their drawing skills.
Paul Cézanne, one of the great Post-Impressionist painters of the 19th century, is famous for his radiant landscapes, portraits, and still life paintings. In 1895, he had his first one-man show, which proved a revelation to a new generation of avant-garde artists and critics. Both Renoir and Degas were so enamored with his Three Pears painting that they were forced to draw straws to see who would buy it. See, there’s a art history added to your pear drawing lesson!
Use the Button below to download a PDF Tutorial
Pear Coloring Page
Materials for a Pear Drawing
- Drawing Paper. This is the good stuff you can buy in bulk for a good price.
- Pencils. I like how this brand always makes nice dark lines.
- Black Marker. A permanent marker will give you a dark black color.
- Crayons. The larger packs are nice for more color choices.
- Note: All of the above are Amazon affiliate links.
Step by Step Directions for a Pear Drawing
Time needed: 30 minutes
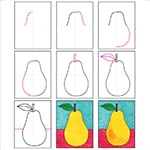
How to Draw a Pear
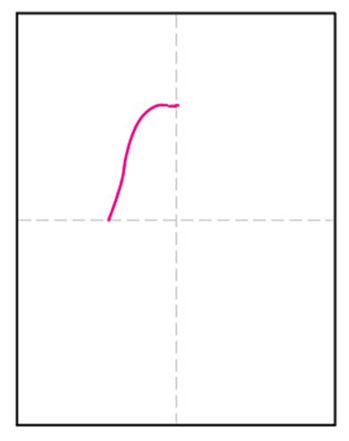
- Start with the top left side of the pear.
- Continue drawing the right side.
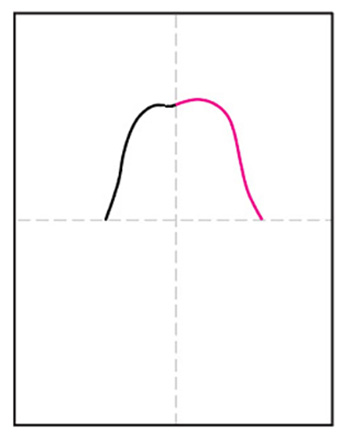
- Add the bottom side of the pear.
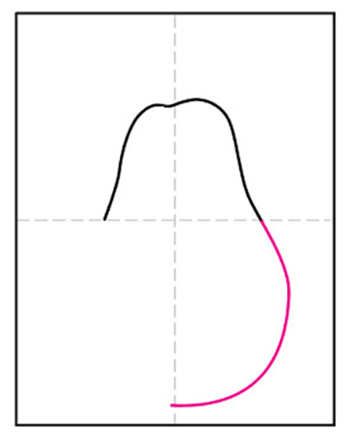
- Finish with the bottom left side.
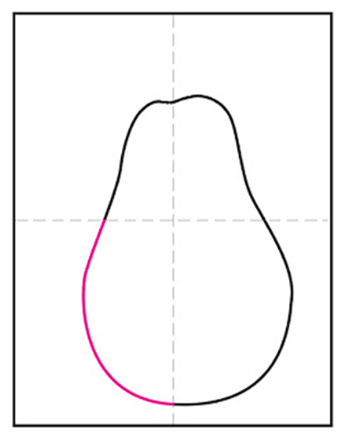
- Draw a stem on the top.
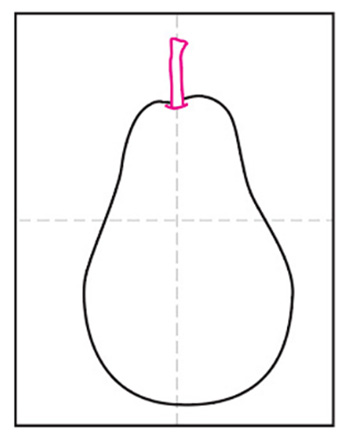
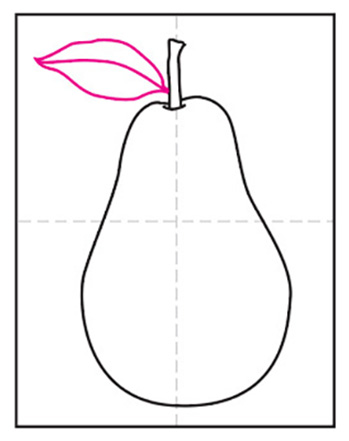
- Add a leaf to the stem.
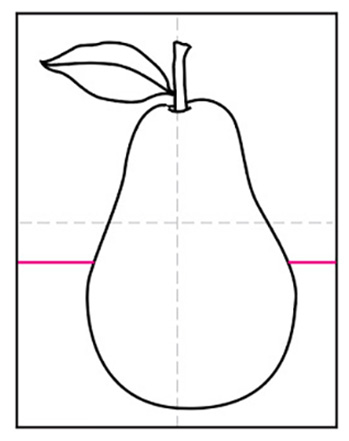
- Draw the back table line.
- Trace with a marker and color.
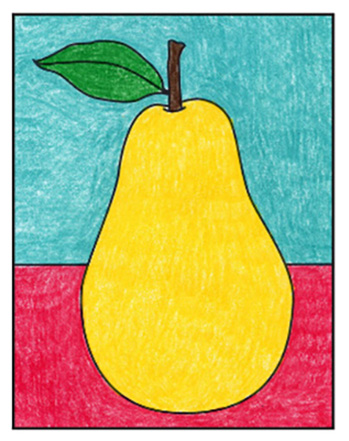
- Add some orange color for shading.
