Easy How to Draw a Lemon Tutorial
Learn how to draw a lemon with a step by step tutorial. It includes how to draw a whole or half one, with all the lovely sections inside.
For those looking ahead to summer plans, here’s some help with making some classic lemonade stand art. A bright and colorful sign will go a long way in attracting customers, and having one that is hand drawn by kids just doubles the charm.
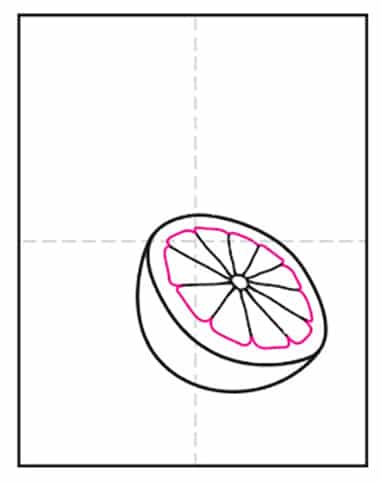
This tutorial shows students how to take an extra step in adding dimension to their sliced lemon. Looking at one straight on would call for an even circle shape, but tilting it back a bit just means you need more of an oval instead.
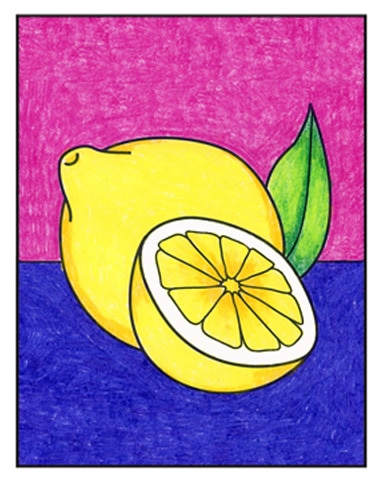
The lines for the sections inside need to be adjusted too, with some being spread apart more than others. It’s not hard though, and the result is a a lemon that looks much more 3D and not so flat. Heavy coloring with yellow and yellow orange crayons finish off the look. Extra elbow grease is called for to make those light colors show up, but the result is well worth it!
Use the Button below to Download a PDF Tutorial
Materials for a Lemon Drawing
Directions to Draw a Lemon Step by Step
Time needed: 45 minutes
How to Draw a Lemon
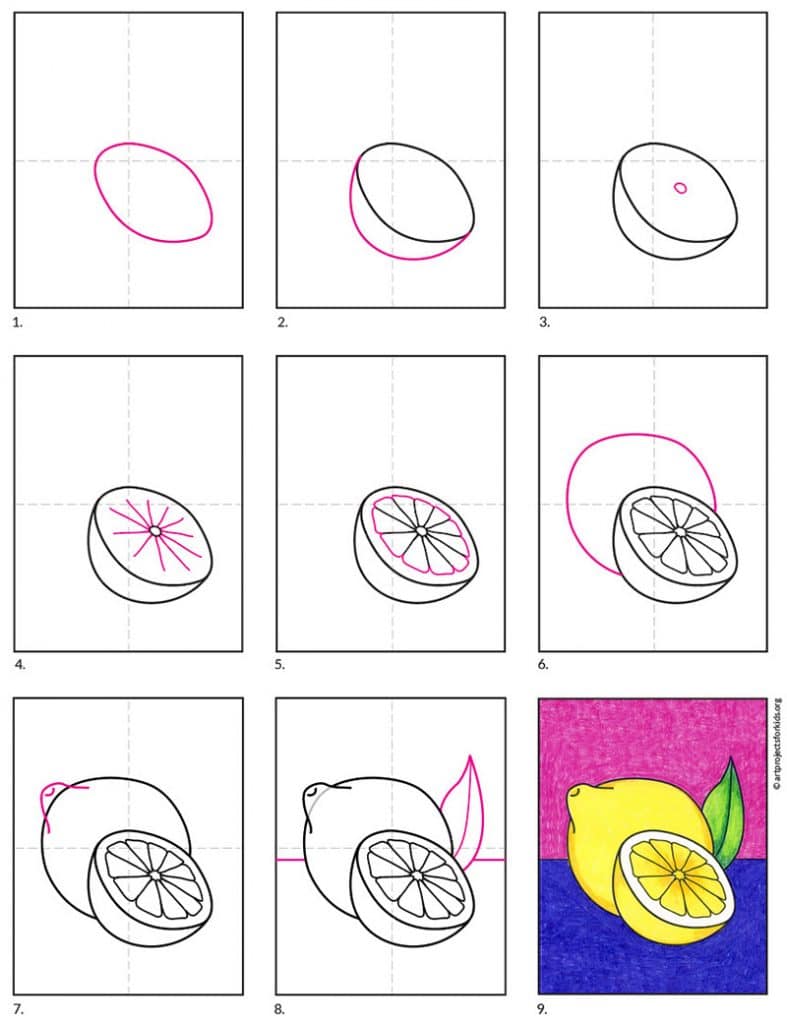
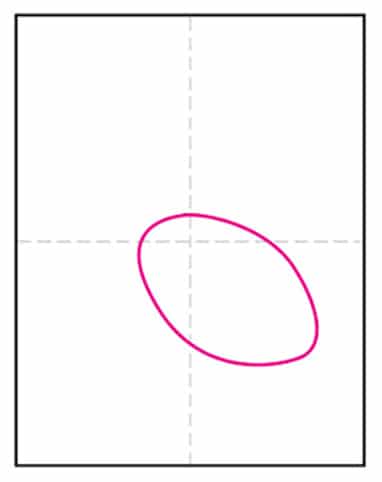
- Draw a tilted oval.

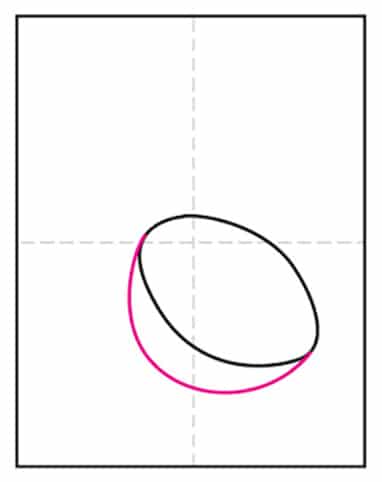
- Add the bottom of the lemon below.

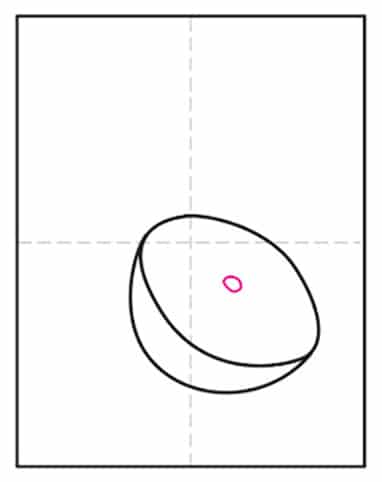
- Start the center with a small circle.

- Add the radial lines as shown.

- Connect the lines with rounded ends.

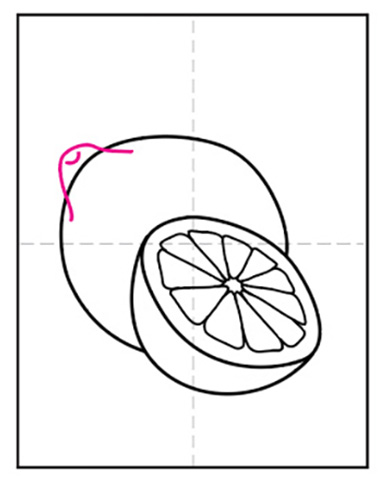
- Draw a circle shape behind.

- Add the lemon end on one side.

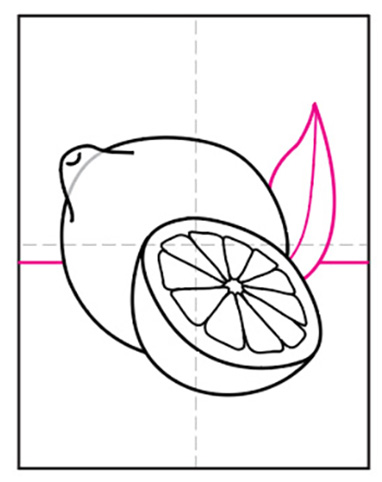
- Erase gray line, add leaf and line.

- Trace with a marker and color.


