Kandinsky Art Project: Make an Easy Tree Collage Tutorial Video
Below you’ll find an easy step-by-step tutorial for how to make a Kandinsky Art Project that mixes his love of circles with trees.


Kandinsky Tree Collage

Kandinsky is perhaps most famous for his circle painting titled “Squares with Concentric Circles”. This Kandinsky art project turns those rings into round leaves, but with paper instead of paint. It’s an easy way for young artists to get a similar look, without the chance of all of those colors running together. Plus, all that cutting makes for some good fine motor skill practice!
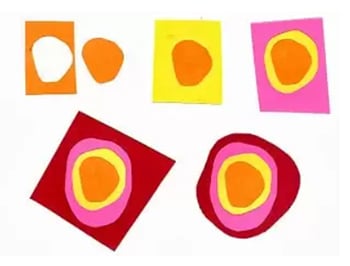
The tutorial below shares a tip for making those leaves. The best approach is to start with the center spot, and then work out, making each “leaf” as large or small as desired. Remember, a variety of sizes and shapes will create a collage that is the most interesting to look at.
Wassily Kandinsky was a Russian painter who began life as a lawyer, but ended up as one of the great masters of modern art. He was shaped greatly by the work of French Impressionist painter Claude Monet. This Kandinsky art project uses his belief that color is more important than subject matter, when it comes to making art.
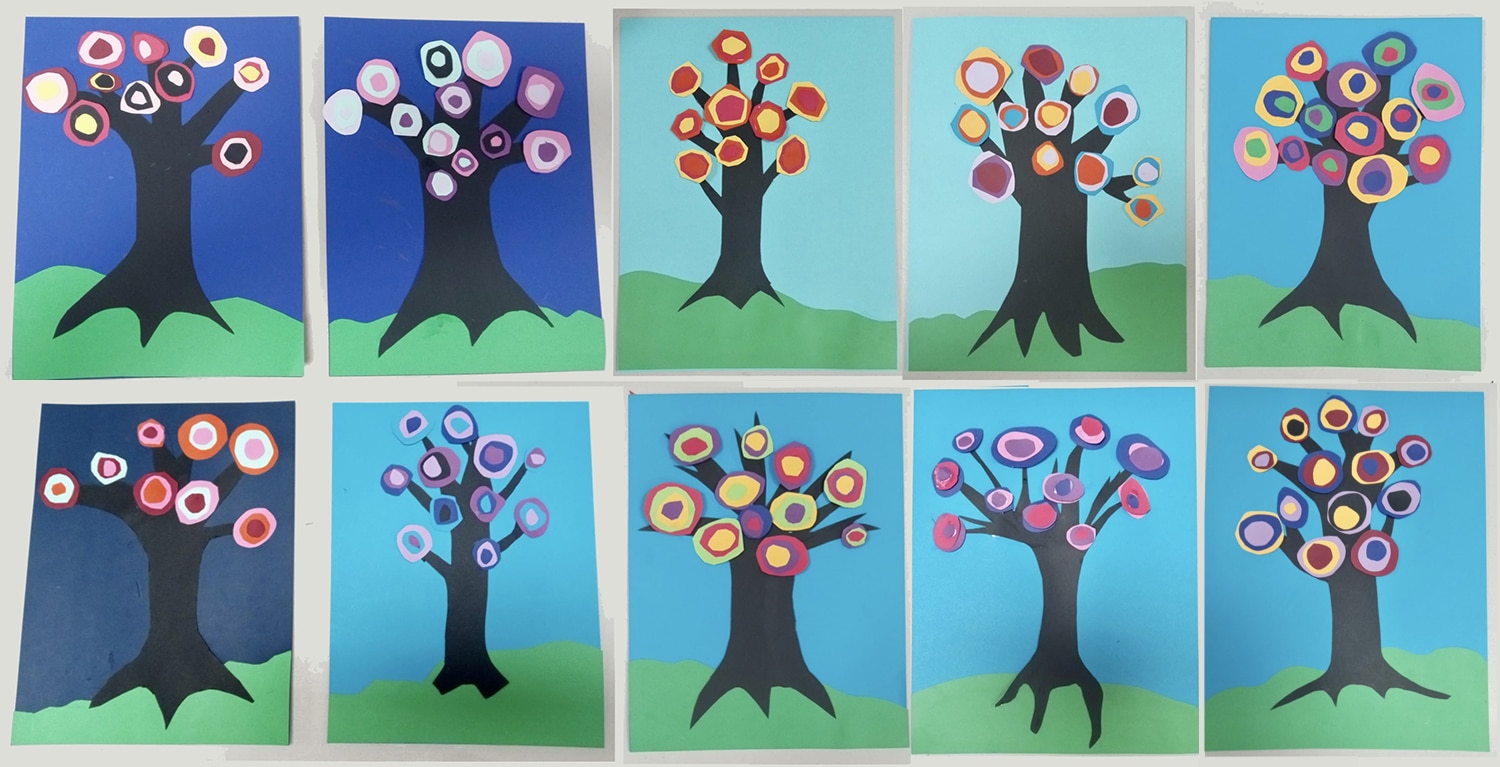
Student Kandinsky Art from New York
Use the Button below to Grab a PDF Tutorial

Materials for a Kandinsky Tree Project
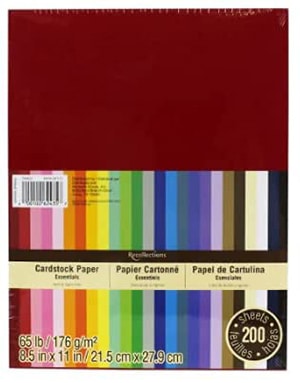
- Card Stock Paper. A large variety pack is best so you have lots of choices of warm colors. Card stock, as opposed to your average grad construction paper, will offer the brightest colors. *Amazon affiliate link.
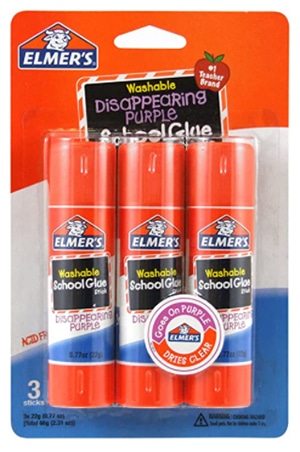
- Glue Sticks. The only good way to glue papers to each other is to use a glue stick. Everything else gets too messy. This one with the disappearing purple color will keep the art looking neat. *Amazon affiliate link.
Directions for a Kandinsky Tree Art Project
Time needed: 1 hour
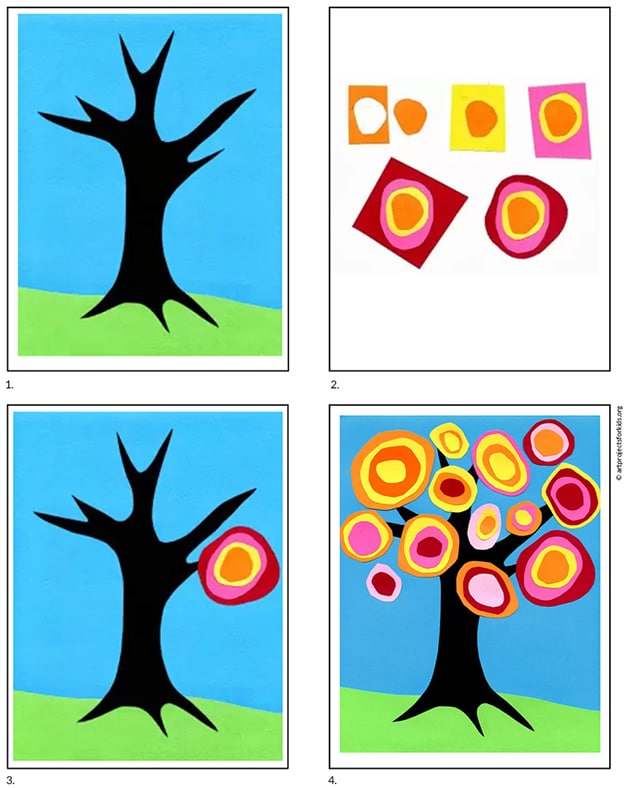
How to Make a Kandinsky Tree Collage
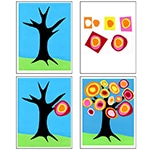
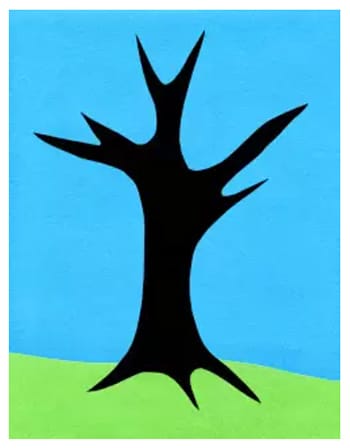
- Cut a grass shape and glue it down. Then cut out a tree shape and glue it with a glue stick.

- Cut a round shape out and glue it to a larger square. Cut it out leaving a small edge all around and repeat to make one leaf.

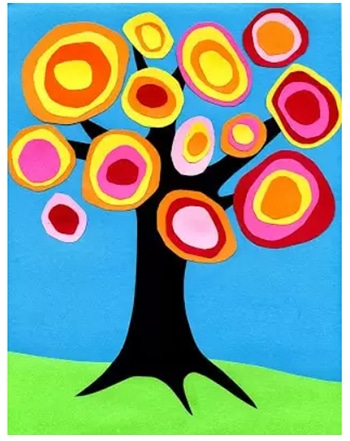
- Glue the leaf to the end of one branch. Repeat and make more leaves, some large and some small.

- Try to fill the tree, leaving spaces between each leaf. Glue them down well.

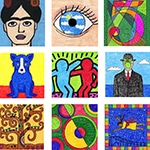
More Kandinsky Art Projects for Kids
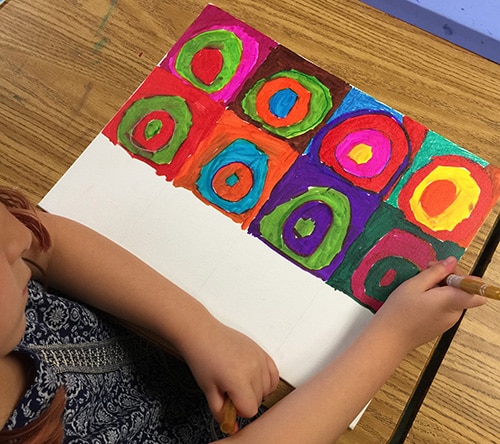
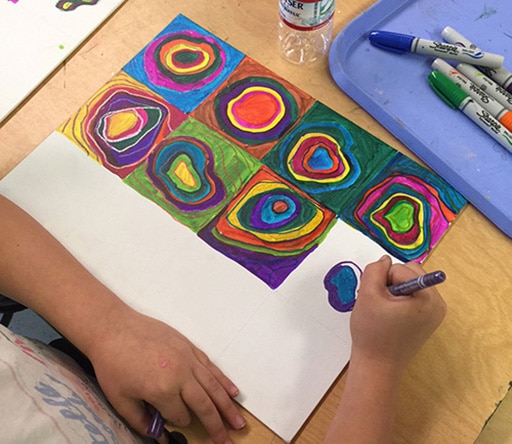

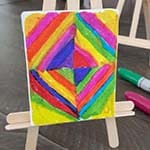
The easiest way to make some Kandinsky-inspired art? Use Sharpie Brush markers on canvas board, and then add some metallic rings on top. Lightly draw a grid with a pencil, and start with a round shape in the middle of each. Add rings, making some thick and some thin.
This project was a favorite in after school classes where I had a little more of a budget to work with. The Sharpie brush markers are not cheap, but they do make the most brilliant color that even little hands can control.
Kandinsky Drawing on a Plastic Plate
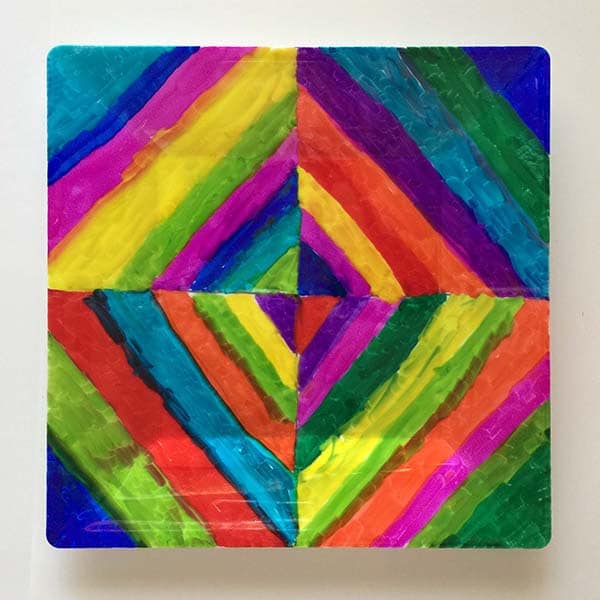
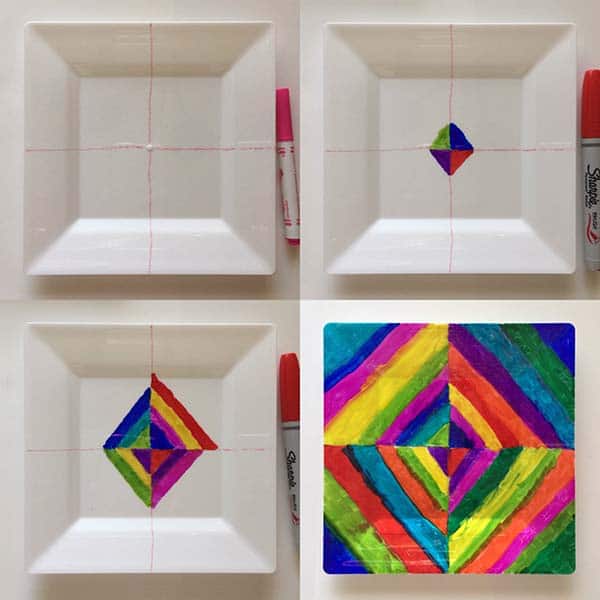
Here’s another fun surface to color on with Sharpie Brush markers. These plastic plates were found at a local grocery store, and made for some fun and easy abstract drawing. Kandinsky’s Color Study painting was the inspiration.
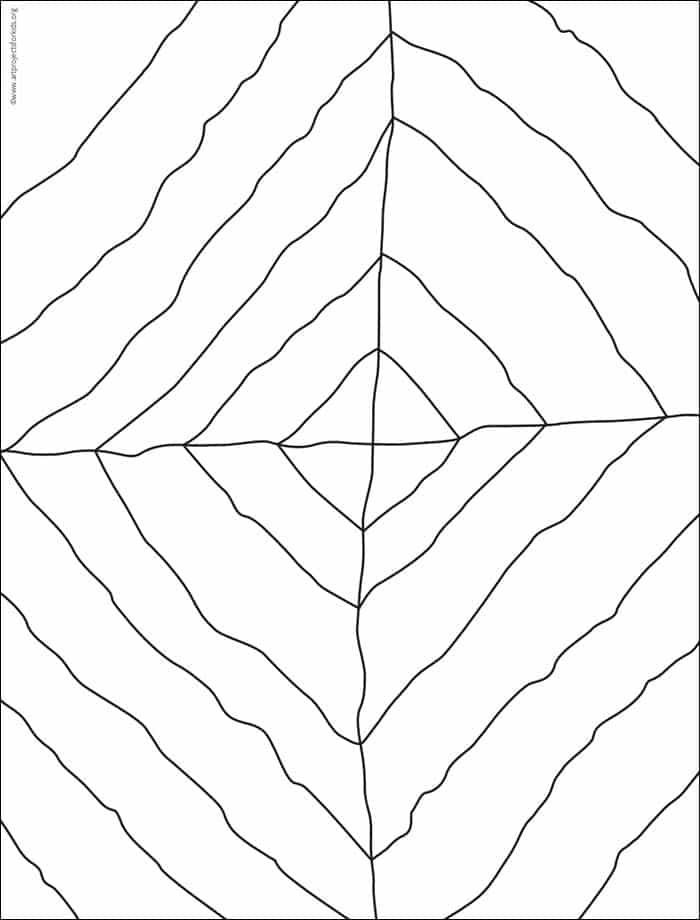
Kandinsky Diamond Coloring Page

5 Comments