How to Draw Circle Roses: Easy Step-by-Step Art Lesson for Kids
Below you’ll find an easy step-by-step tutorial for how to draw a rose for Kids and a Rose Coloring Page. It has the look of a flower that is just beginning to bloom.


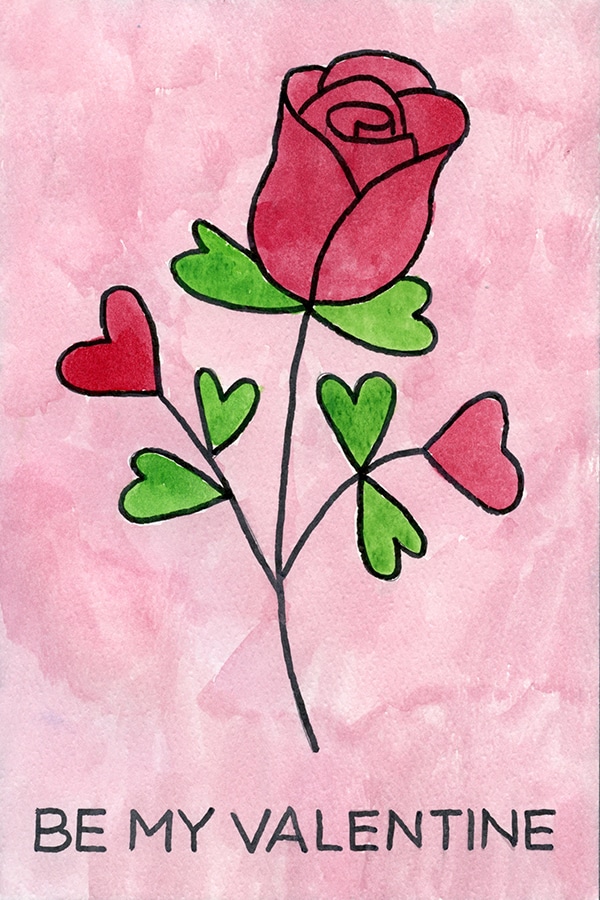
A Circle Rose Painting
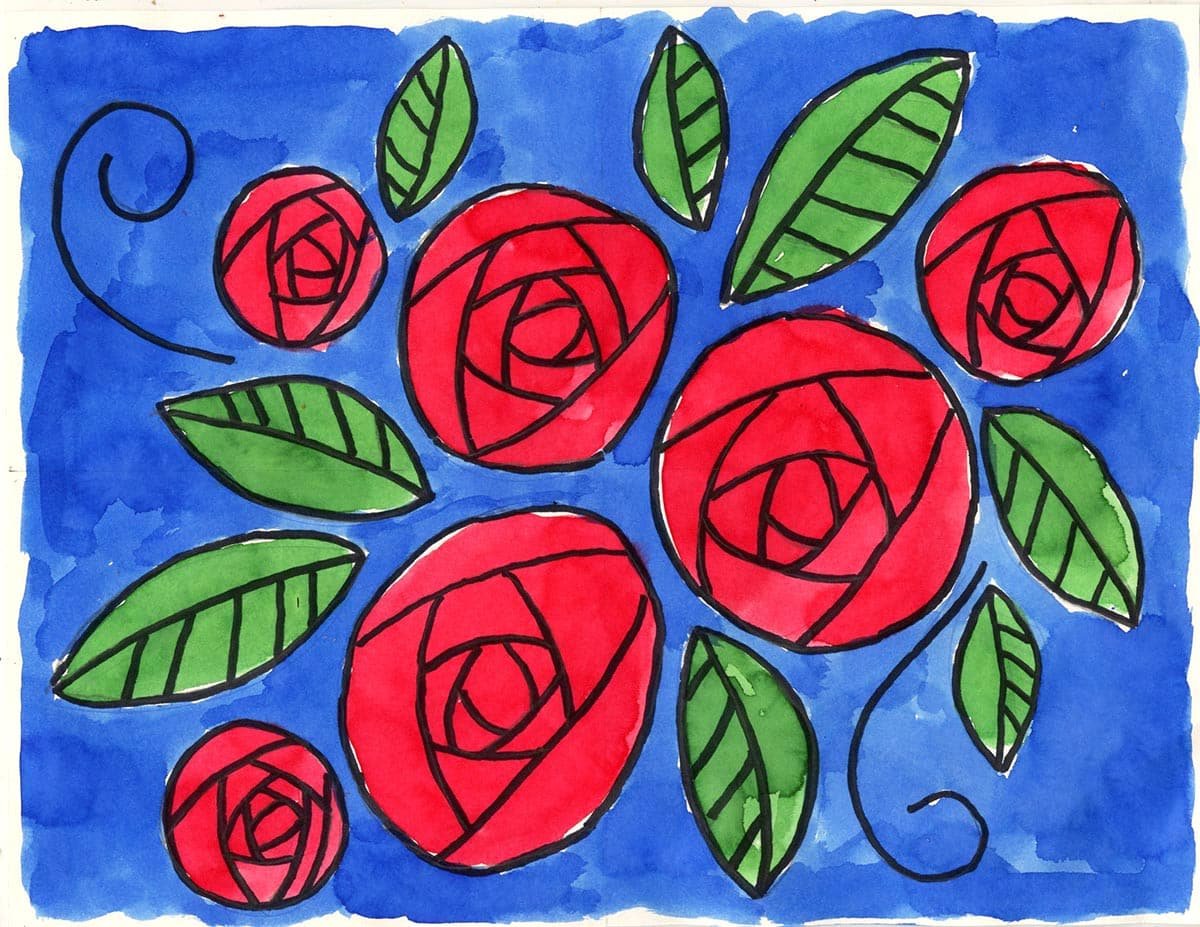
Learn how to draw some simple roses that look like they are about to bloom. Young students can just draw lines inside to make the petal shapes, but older ones may be able to see a pattern with the lines, and how they kind of rotate within the circle.
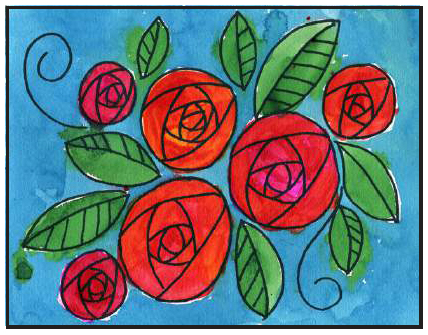
This simple drawing also makes for a good painting project. It’s always easier to paint circles than it is to paint tiny little petals. For some really vibrant color, try layering some hot pink and orange for an extra pop of color. This sample was made with liquid watercolor paint or watercolor paper, which will always get you your brightest colors.
Use the Button below to grab a PDF Tutorial
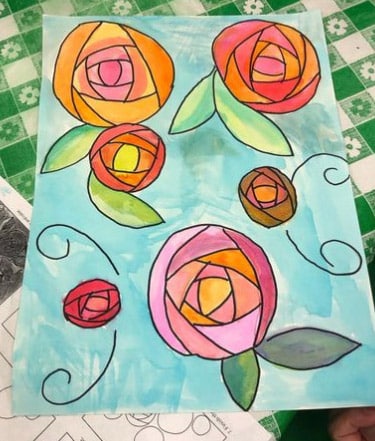
Student Painting
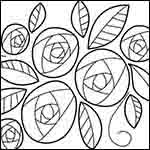
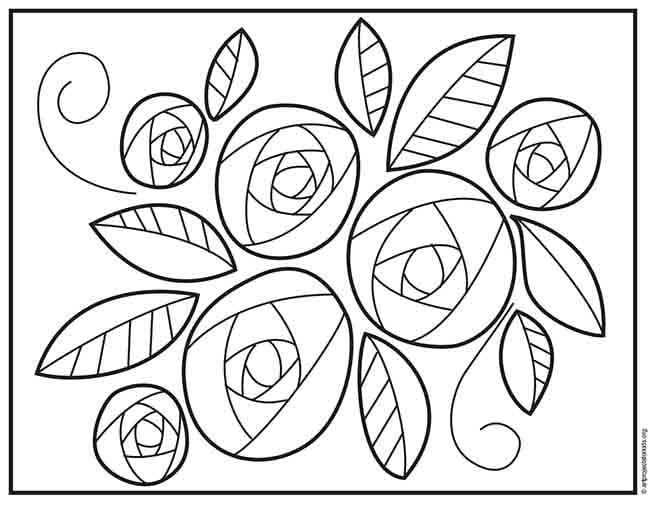
Rose Coloring Page
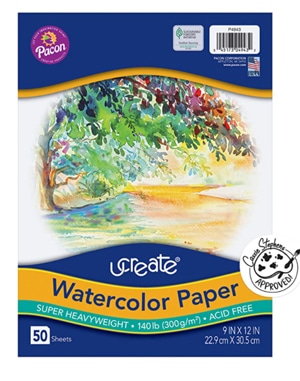
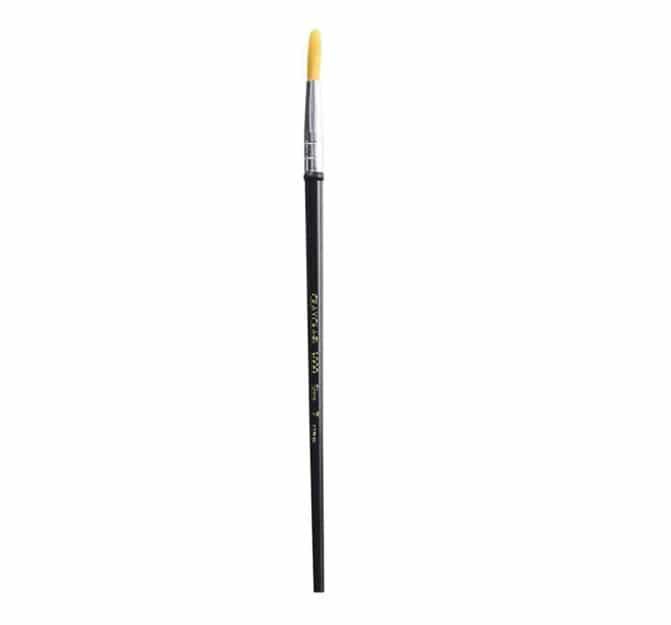
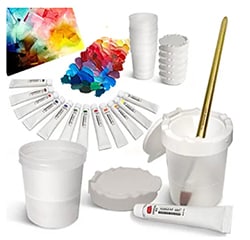
Materials to draw a Rose for Kids
• Affiliate links. If you click I may be compensated in a small way.
Mini Canvas*
Acrylic Paint*

Thick Marker

Rounded Paintbrush
Pencil*
Non Spill Paint Cups*
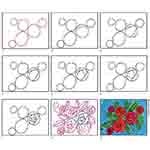
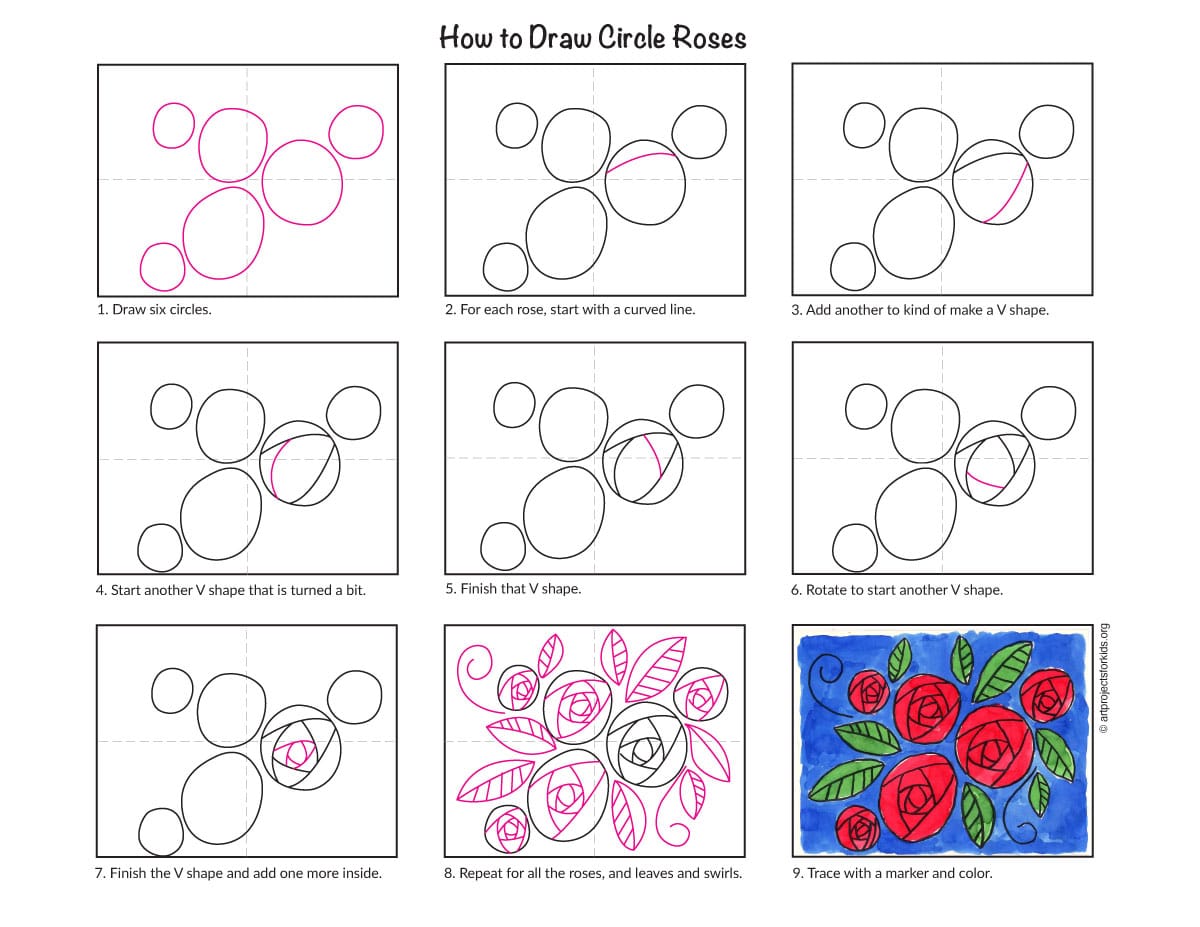
Step by Step Directions to Draw a Rose
Time needed: 1 hour
How to Draw a Rose for Kids
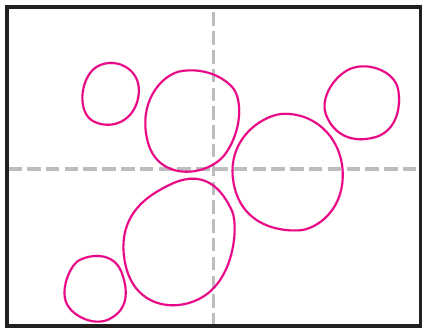
- Draw 6 circles.

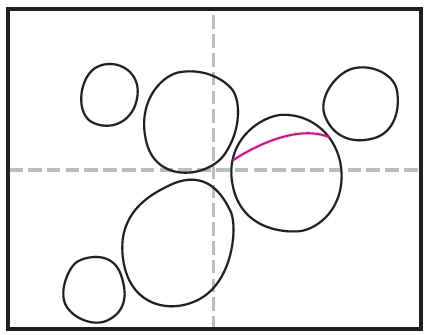
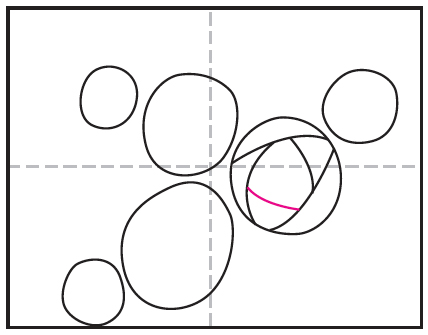
- For each rose, start with curved line.
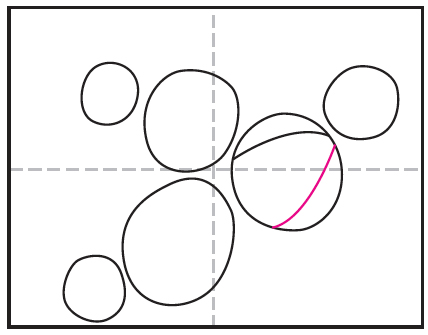
- Add another to kind of make a V shape.
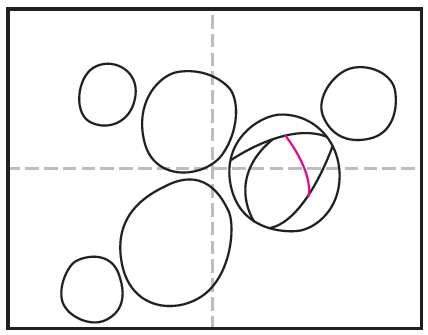
- Start another V shape that is turned a bit.
- Finish that V shape.
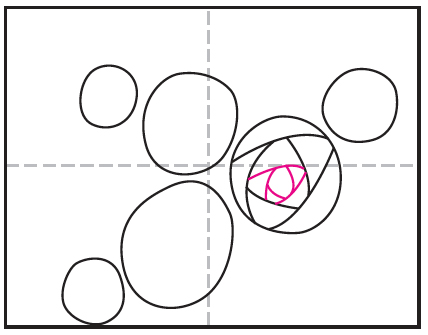
- Rotate to start another V shape.
- Finish that V shape and add one more inside.
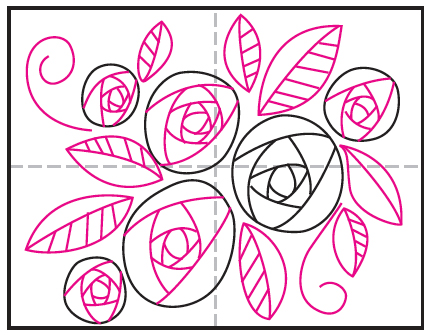
- Repeat for all the circle flowers. Add leaves and vines.
- Trace with permanent black marker and paint with watercolors.