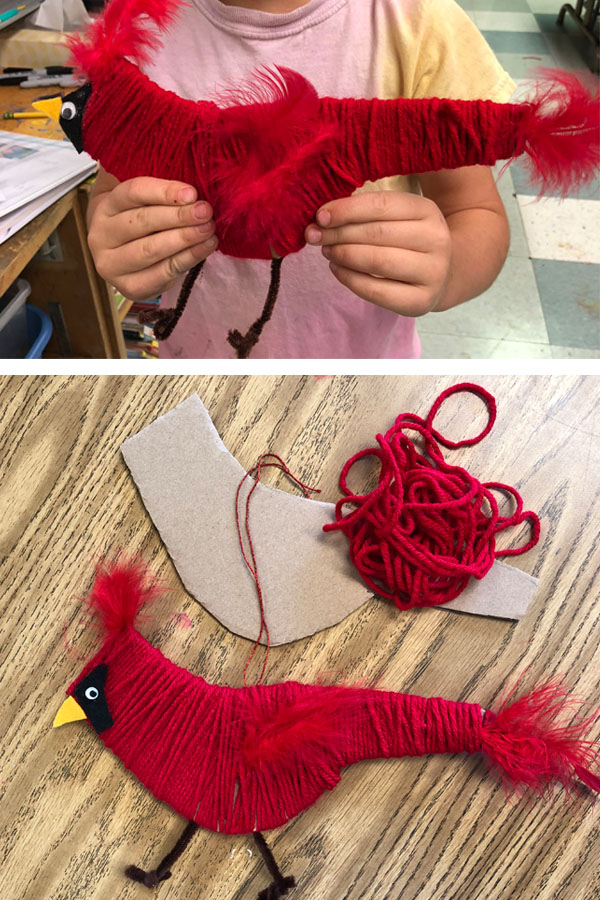
Easy Cardinal and Kitten Craft Projects
Students of all ages can make an adorable Cardinal when all they have to do is wrap a cardboard frame. Scroll down for more ideas of what to make with cardboard.


Use the button below to grab Instructions and a Template


Materials
- Old, clean corrugated cardboard, about 10″ x 5″ rectangles
- Bird template (PDF shared here)
- Yarn
- Utility scissors
- Felt, black and yellow
- Googly Eyes
- Red Feathers
- Craft Glue
- Black Pipe Cleaners
- Decorative string for hanging
Directions
PREP: Cut a bird shape for each student as it takes a sharper scissors than the standard child’s scissors. Add a 1/4″ slit in the tail to begin the wrapping. I also cut lengths of yarn into about a 4 yard length for each student to start wrapping. It generally took about 3 or 4 of these for each student to completely cover their bird.
- Place one end of their yarn in the slit in the tail and then start wrapping about a 4 yard length of yarn. This seemed to be a good length that kept them supplied for awhile, but didn’t get tangled as they worked.
- Whenever a length was done, cut a small slit cut to tuck their end into. Kinders needed help with this, but older made their own slit. They continued with more string until the face was covered. They made a final slit for the end, and then adjusted the yarn to cover it.
- The felt pieces were precut for kinders, but older could make their own. They were attached to the face with a small amount of craft glue.
- A pipe cleaner was cut in half for each leg. Students formed their feet and toes as they wished. An embroidery needle was used to poke a hole INSIDE the cardboard to create space for each leg to be inserted.
- Tucked feathers into the tail and face and wing area as desired.
- A decorative string was hooked through the back body. The embroidery needle helped for this too as it took just one stitch through the yarn before tying a knot.
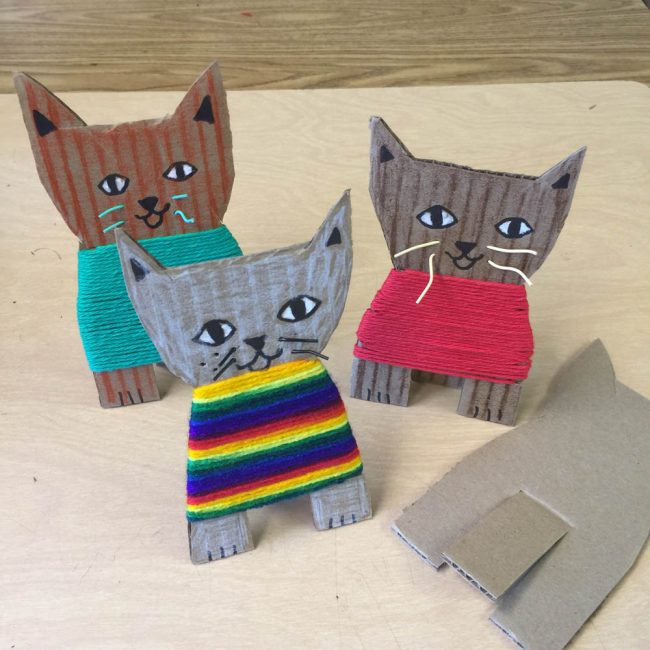
More Cardboard Crafts