How to Draw the Lorax: Easy Step-by-Step Art Lesson for Kids
Below you’ll find an easy step-by-step tutorial for how to draw a Lorax Tutorial Video. He is a caring creature who loves the environment.


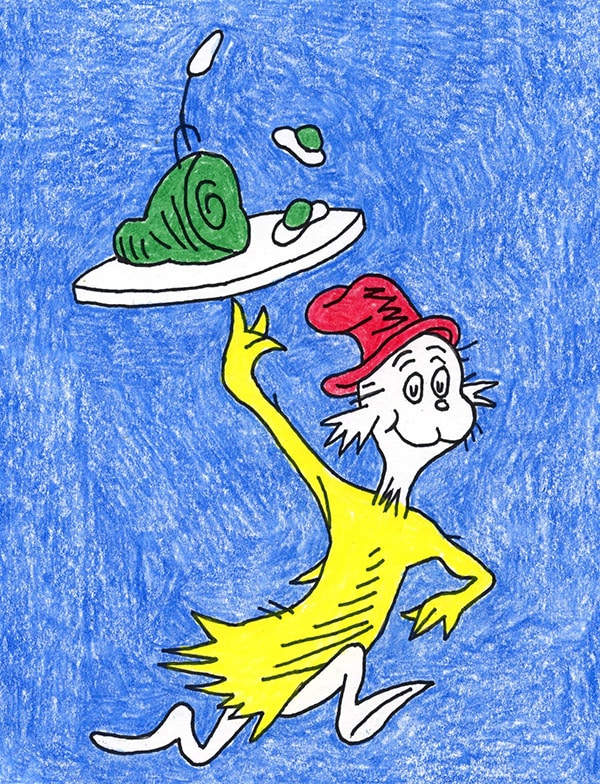
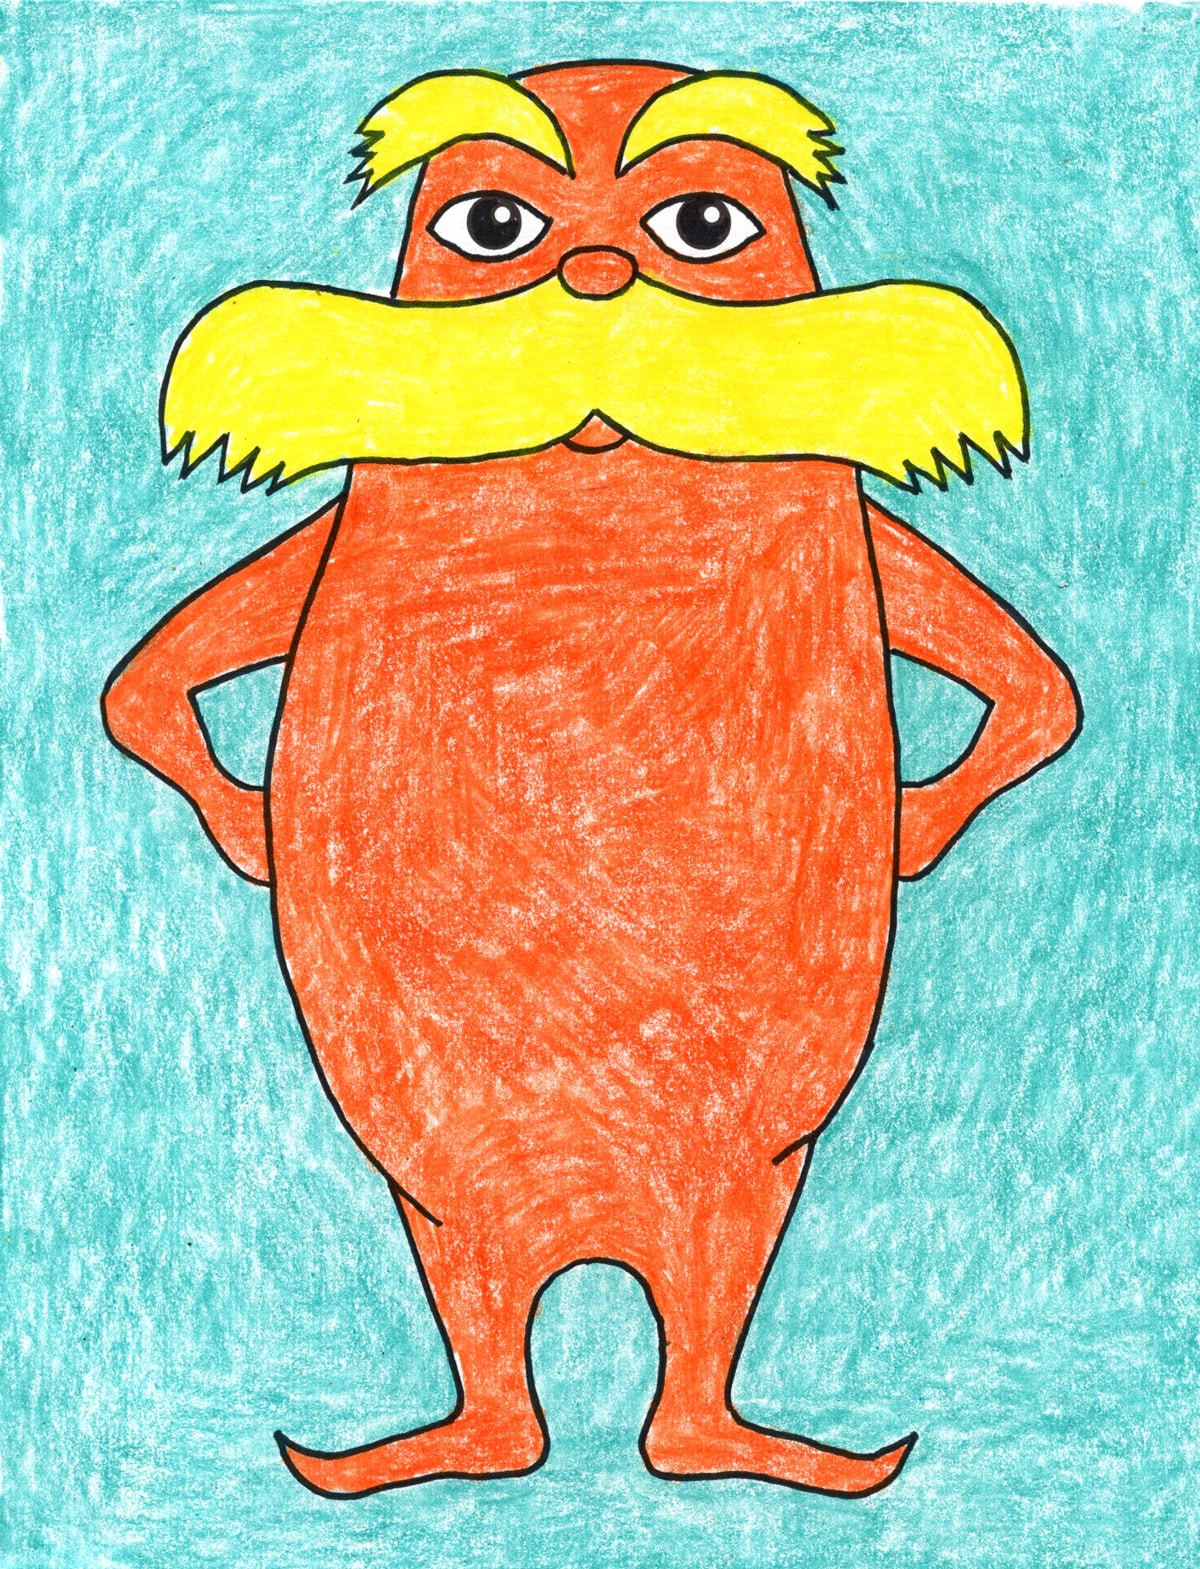
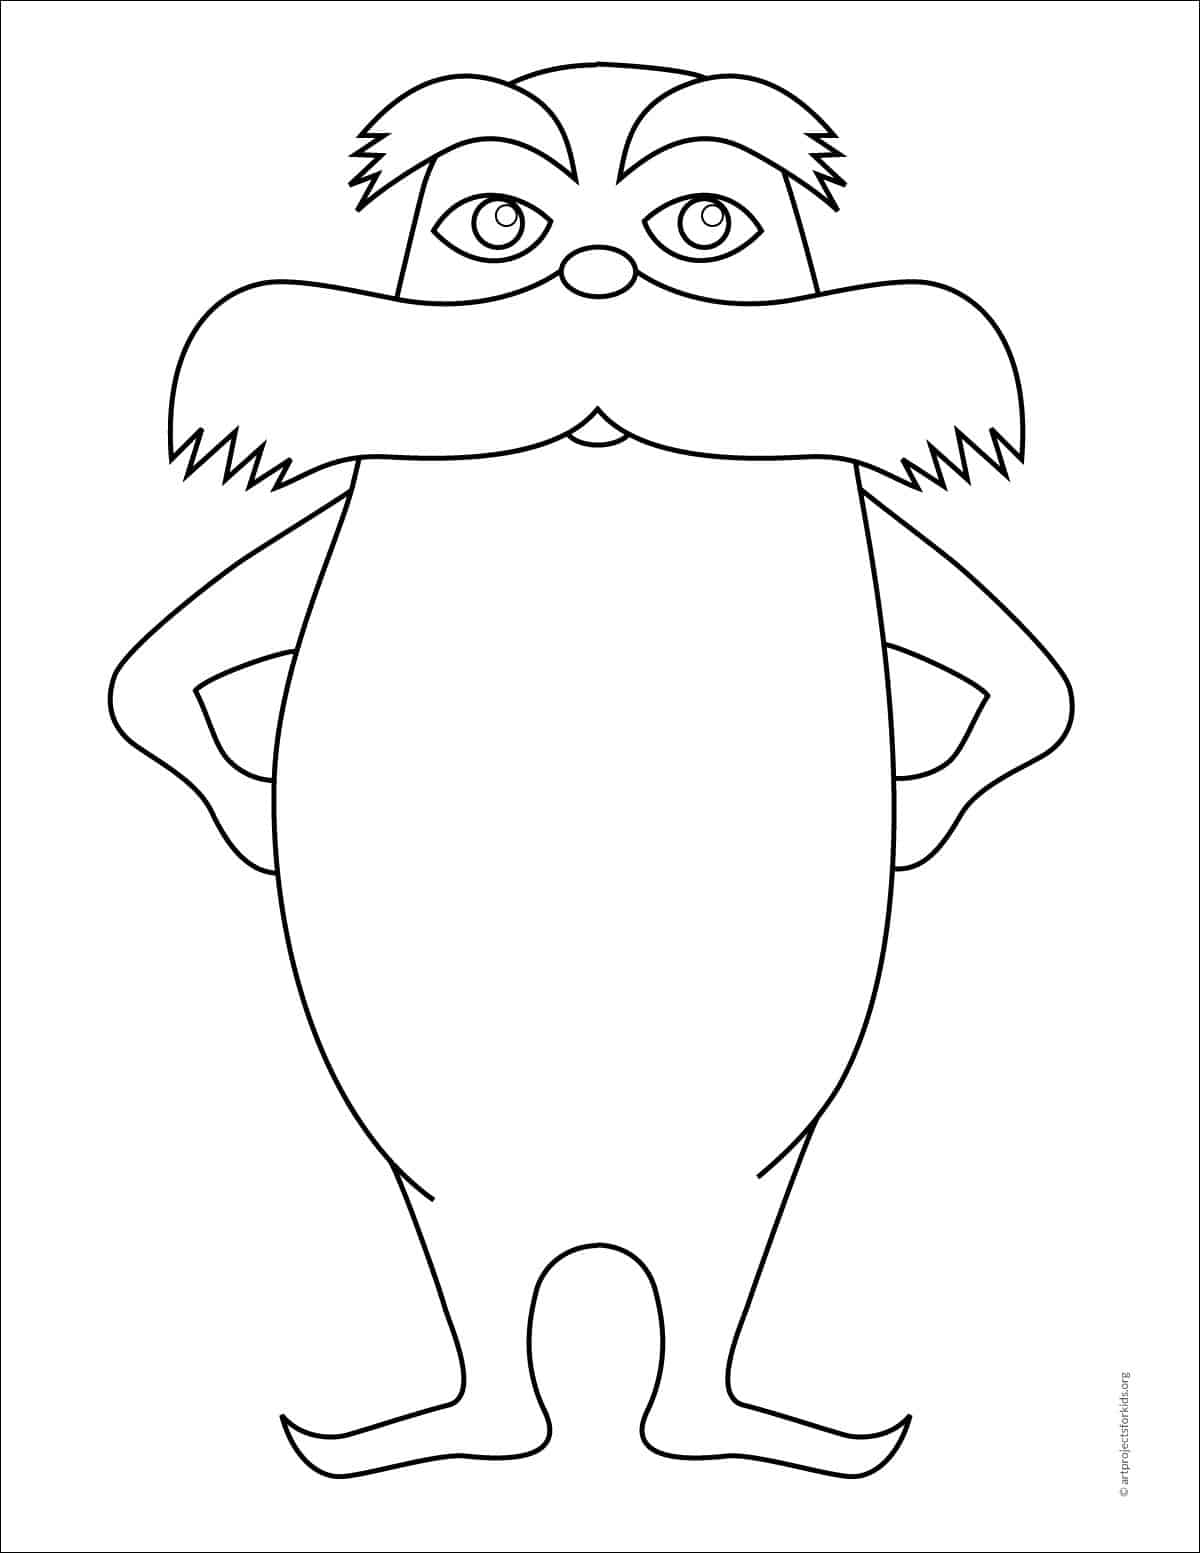
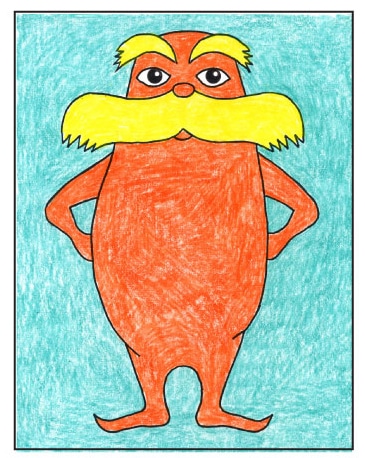
Lorax Drawing
Who is the Lorax?
The step by step tutorial is designed to help children of all ages draw a Lorax, the main character in Dr. Seuss’ book of the same name. He does have a rather unusual look, but when you take it one step at a time, he might be easier to draw than you think!
The Lorax is a children’s book written by Dr. Seuss. It follows the plight of the environment and the Lorax, the main character, who “speaks for the trees” and confronts the Onceler, a business magnate who causes environmental destruction.
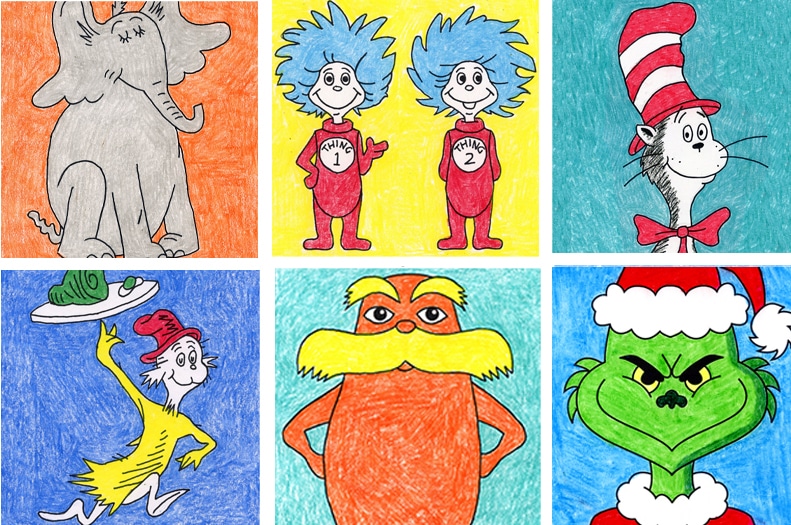
Student Art Gallery

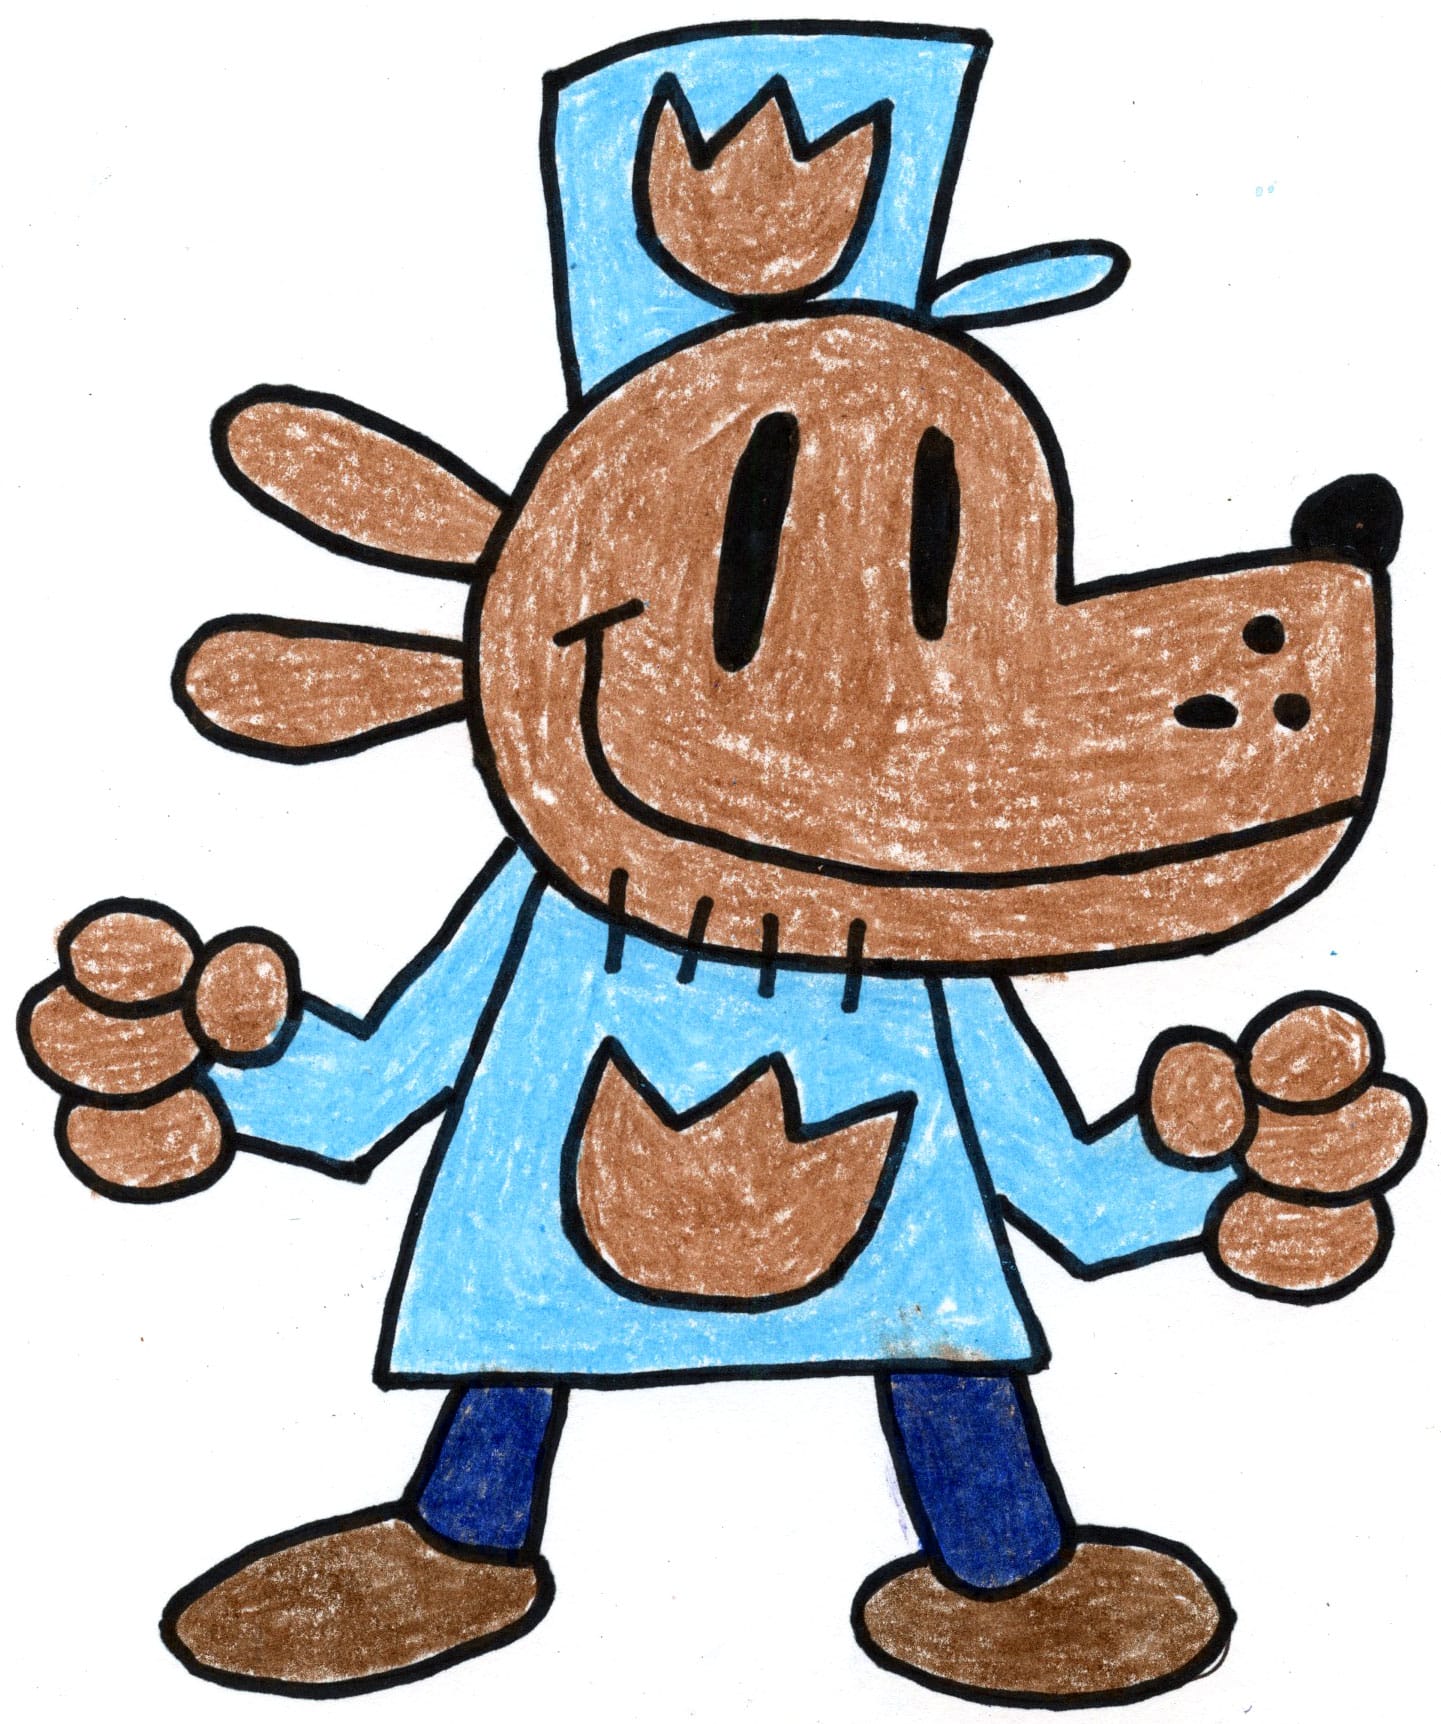
Kinder drawing 
Kinder drawing 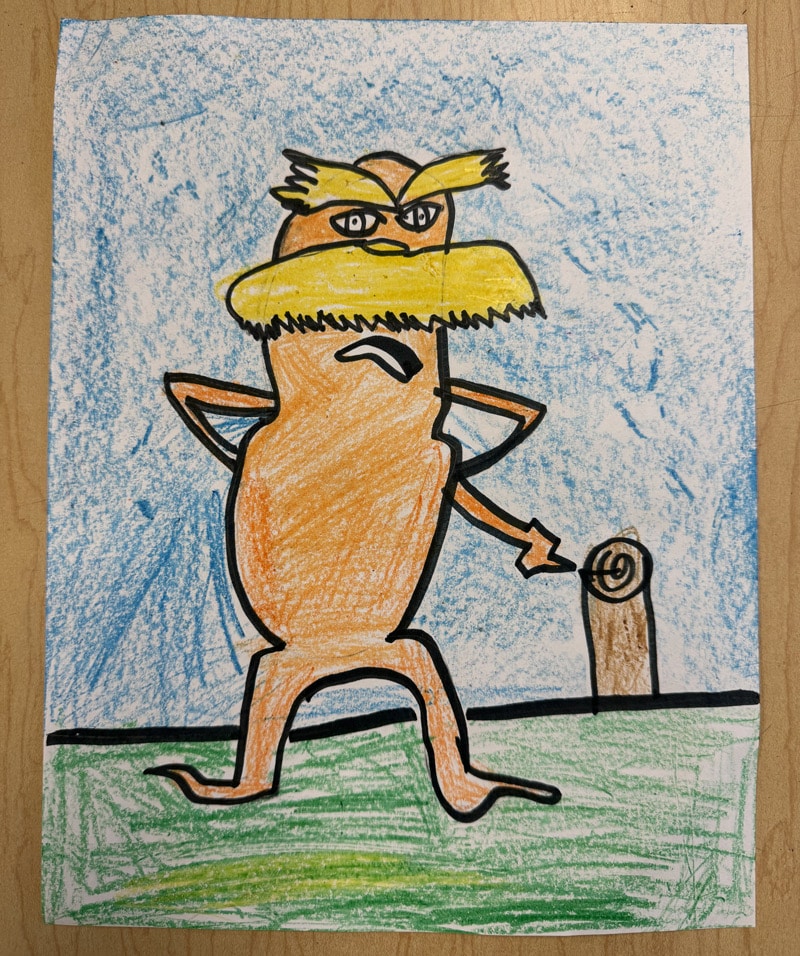
2nd grade
Subscribe to “The Daily Draw” to get this instant tutorial!
Lorax Coloring Page
Materials for a Lorax Drawing


Directions
Time needed: 45 minutes
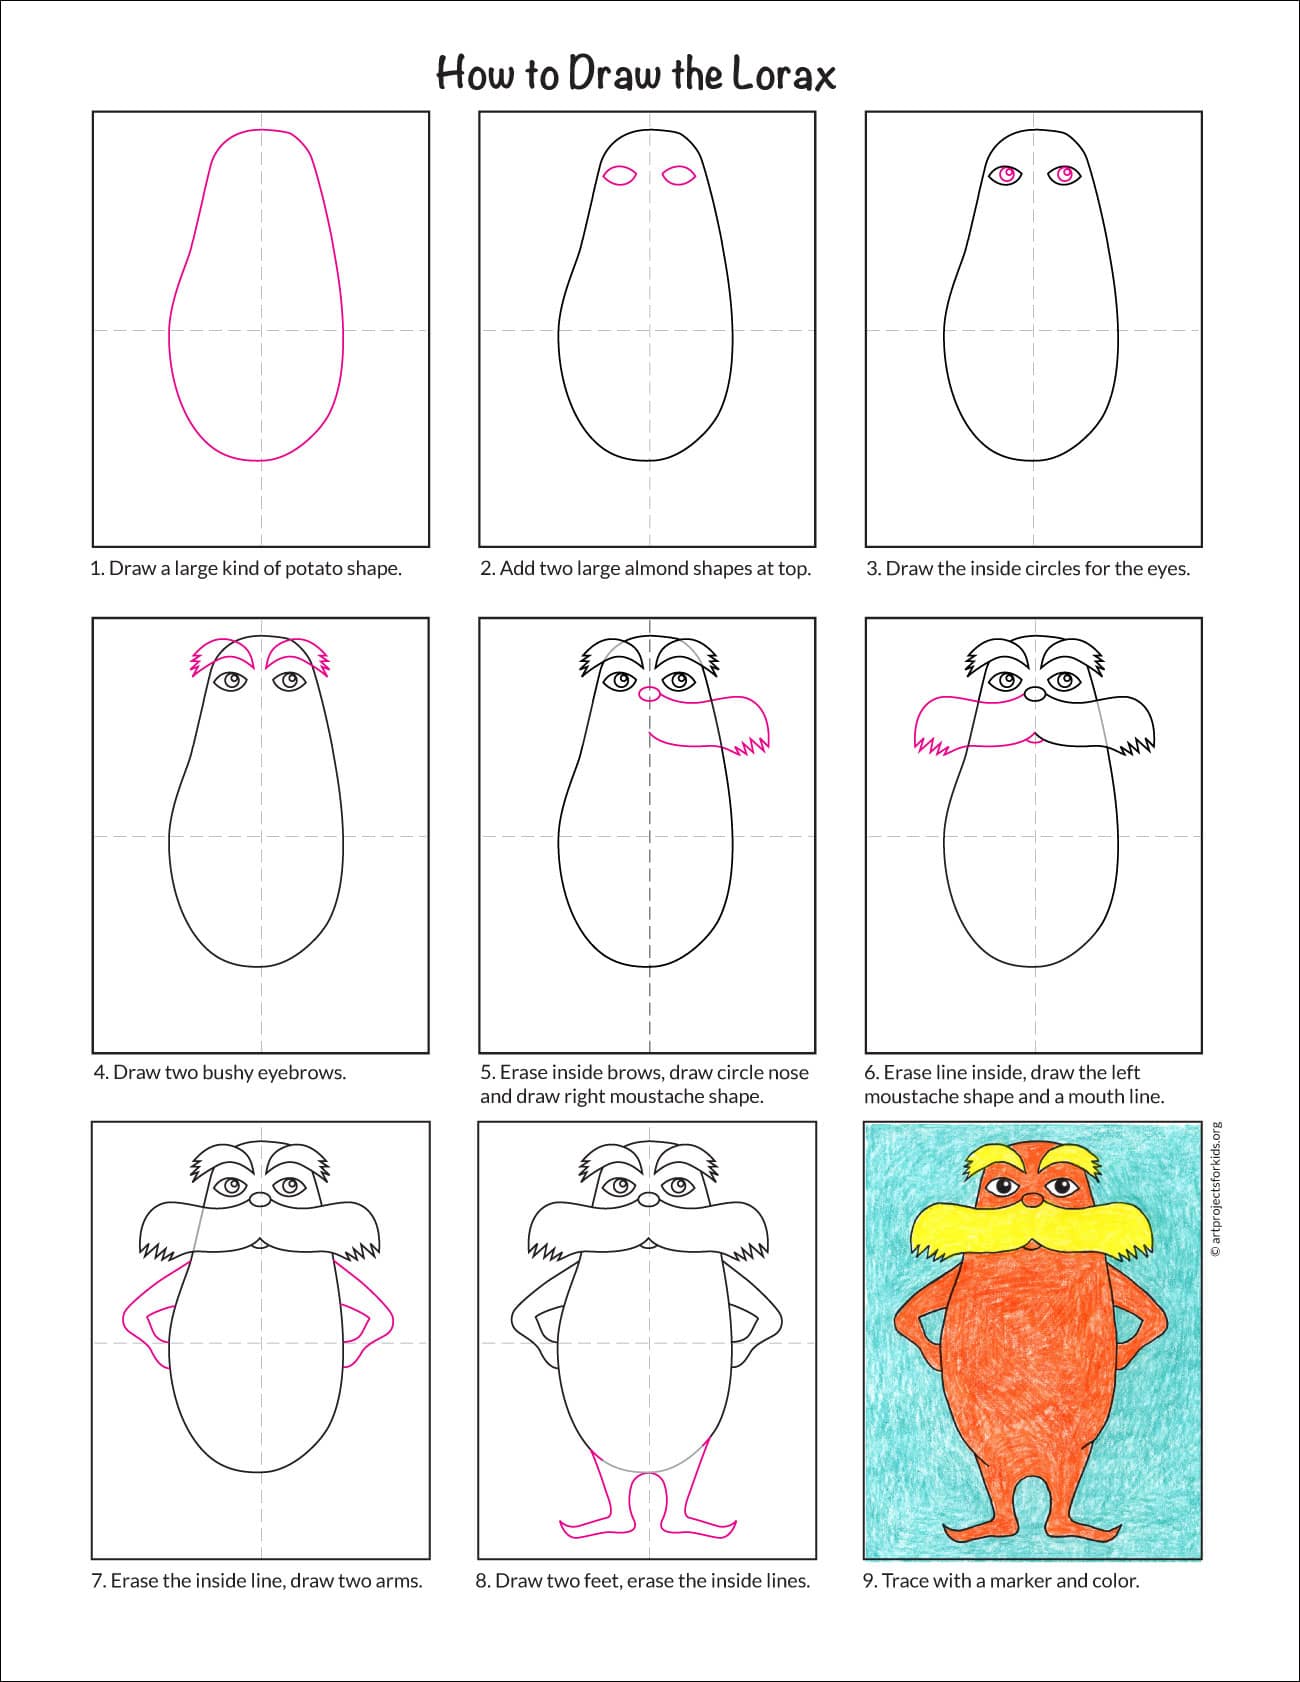
Step by Step directions for a Lorax Drawing
-
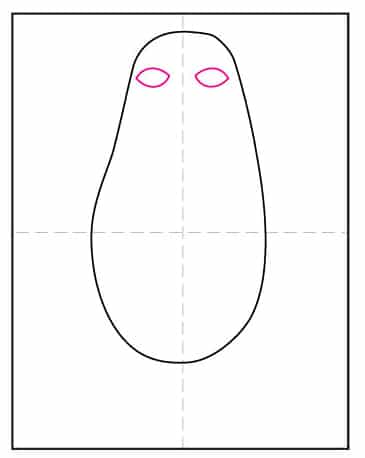
Draw a large kind of potato shape.

-
Add two large almond shapes at the top.
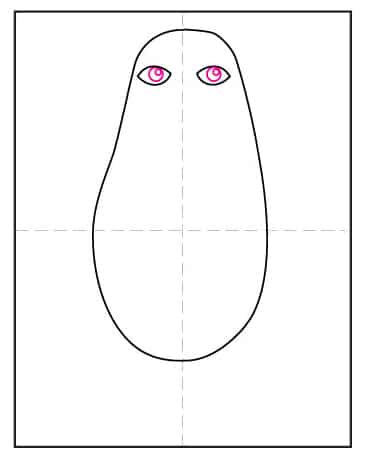
-
Draw the inside circles for the eyes.
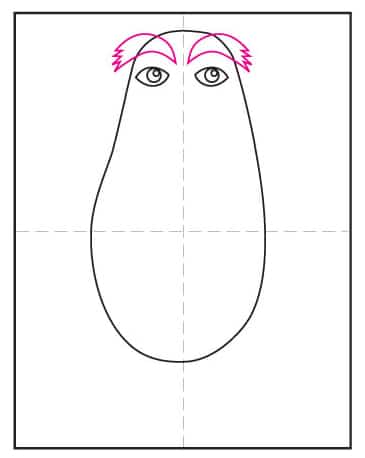
-
Draw two bushy eyebrows.
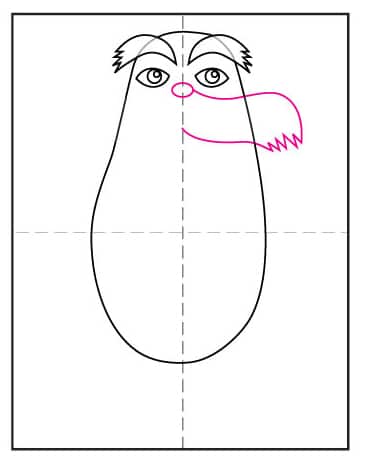
-
Erase inside brows, draw circle nose and draw right moustache shape.
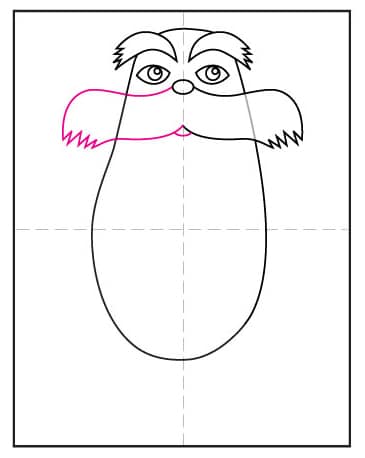
-
Erase line inside, draw the left moustache and mouth line.
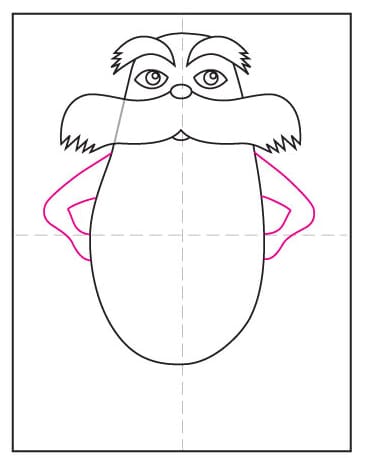
-
Erase the inside line and draw two arms.
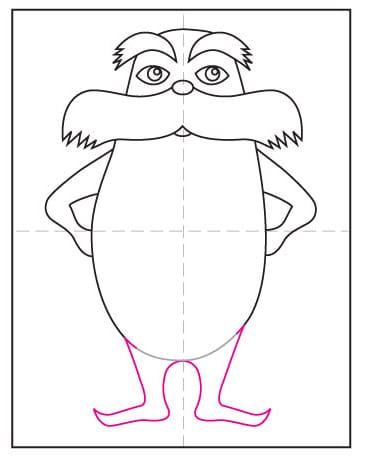
-
Draw two feet and erase the inside lines as shown.
-
Trace with a marker and color your Lorax.
Already subscribed to “The Daily Draw”?
Great, then use the download button below to get your Lorax tutorial.
And thanks for wanting to bring more step-by-step, no-prep art lessons to your classroom!