How to Make a Clay Cupcake, Easy Art Project for Kids
Below you’ll find an easy step-by-step tutorial for how to make a clay cupcake. It’s perfect as an intro to working with clay too!
If you are looking for a fun clay cupcake project, especially for those that are maybe first timers, you can’t do much better than this lesson. It uses specifically air dry clay, which is easy to work with, and can make one heck of a cute — and sturdy — little cupcake. And thanks to some of the newer cooking supplies, it’s pretty much fool-proof too!
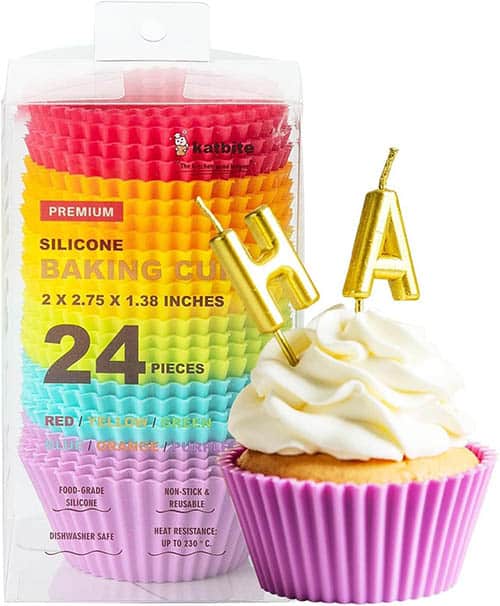
If you haven’t browsed the cooking aisle at your local Michaels store lately, there are these very cool new little silicone cupcake holders that, to be honest, I’ve never baked with, but I am a huge fan of how well they work with clay. They are soft and rubbery, but have those cupcake holder ridges that stay, and transfer to any soft clay that is pressed inside them.
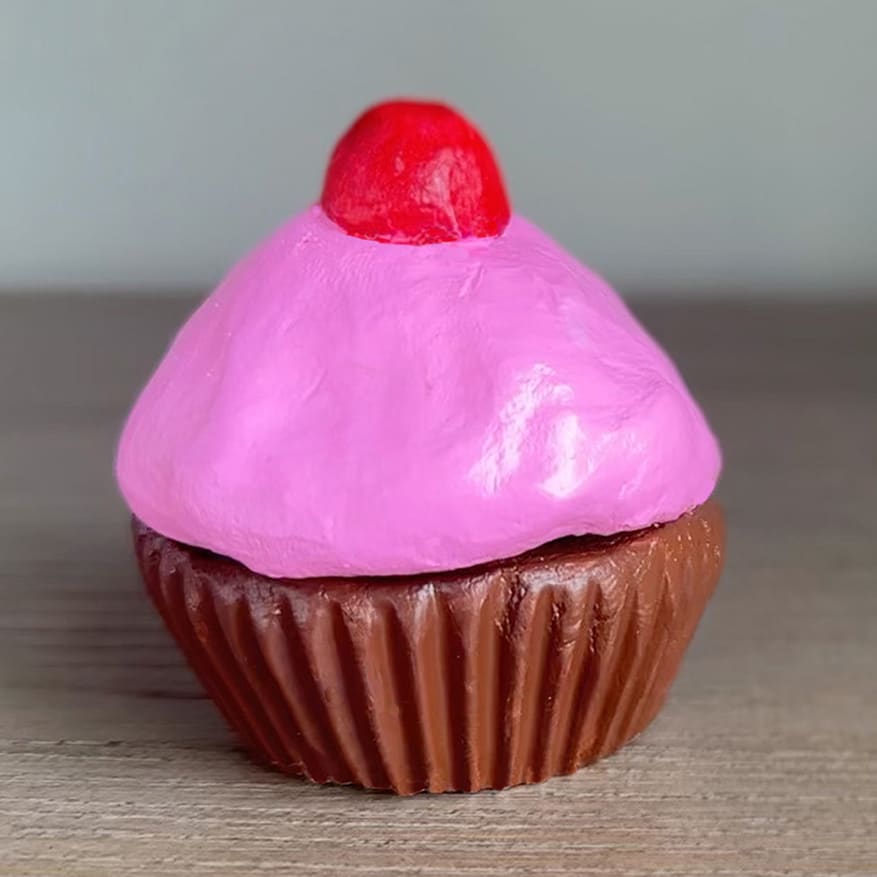
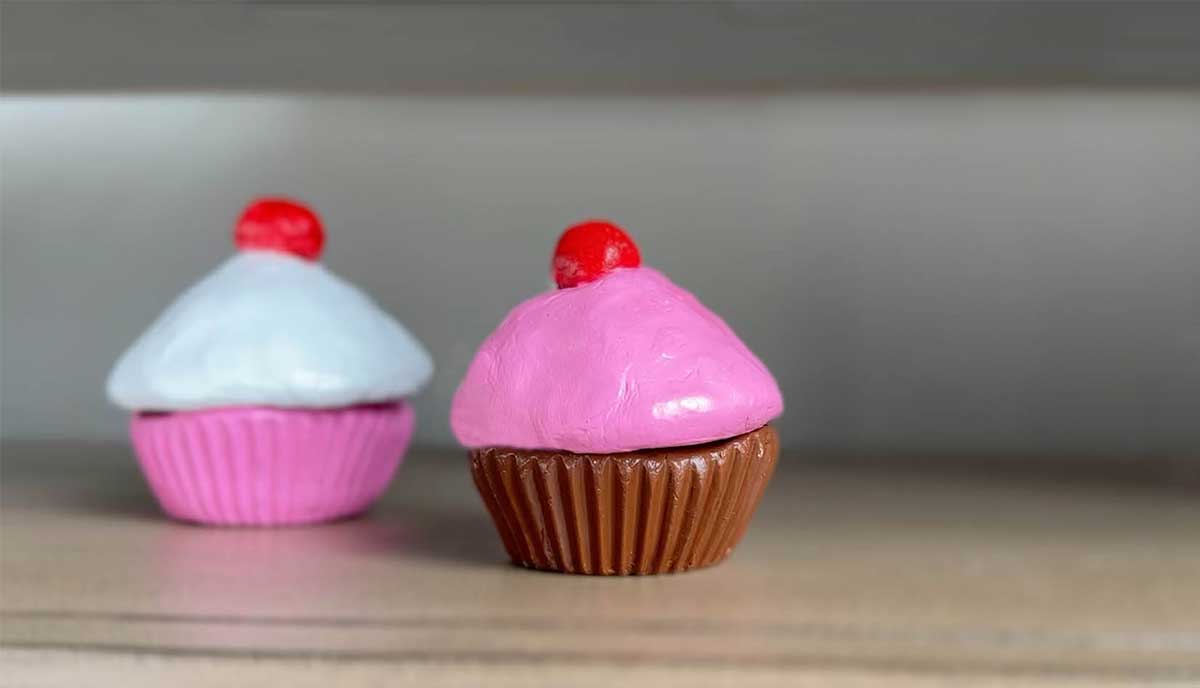
All this project requires, thanks to these silicone holders, is to press one bowl shape inside them, and make another little bowl pinch pot for the top, with a cherry firmly attached. A little bit of patience is required to let the cupcake completely dry, and then paint it with all kinds of yummy colors.
Join “The Daily Draw” below to get this free tutorial!

*denotes an affiliate. If you use the link and take action, I may be monetized in a small way, but not at any expense to you.
How to make a Clay Cupcake
Time needed: 2 days and 30 minutes
Step by step instructions to make a clay cupcake
-
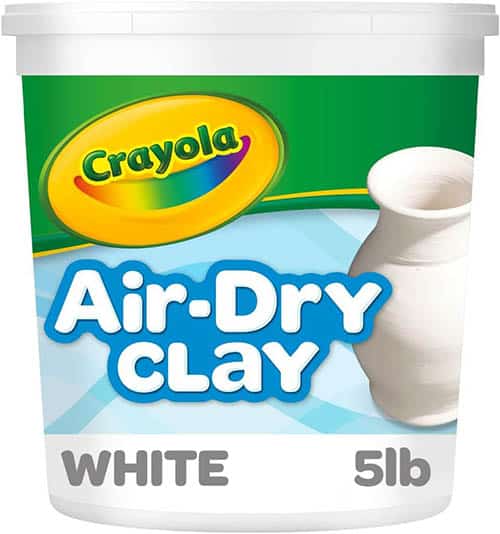
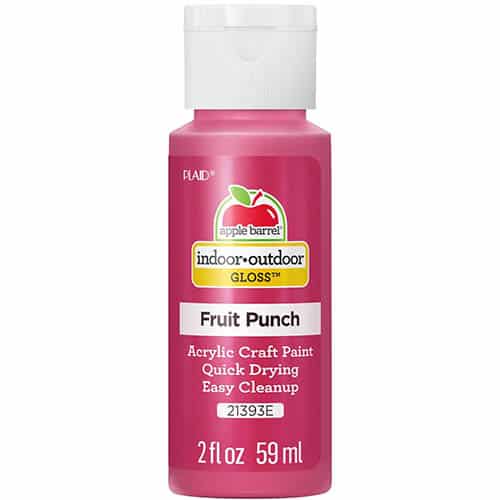
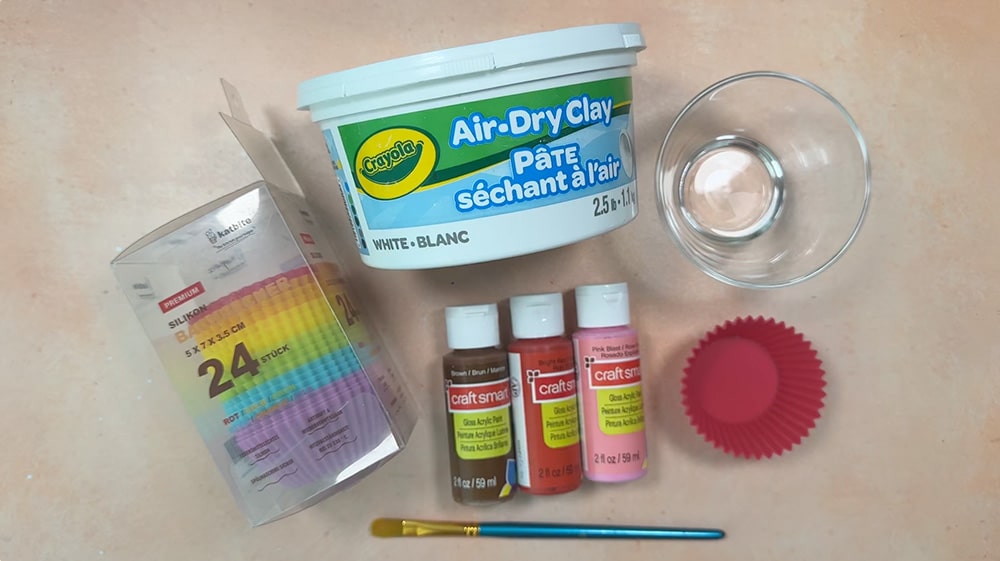
Gather your supplies of: silicone cupcake holders, air dry clay, glossy acrylic paint in your colors of choice, paint and water.
-
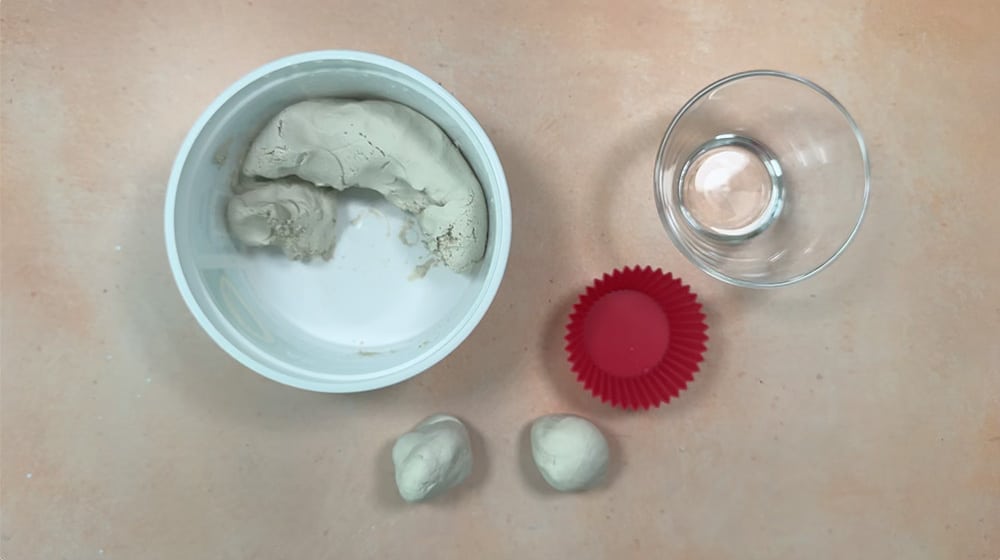
Make two balls from the clay, about this size of a golf ball. Rub with a small amount of water to make it soft and sticky.
-
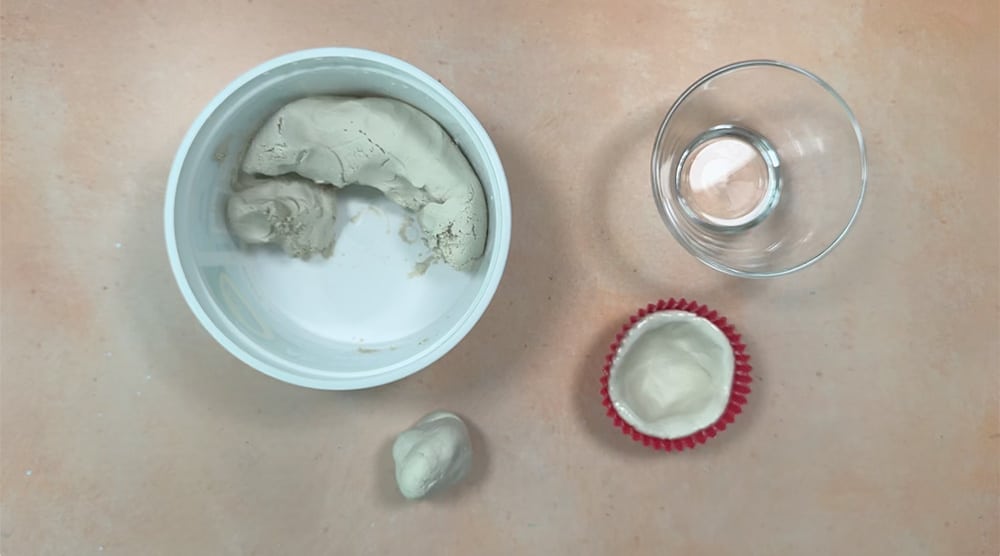
Press one ball into the silicone cup to form a thick little bowl.
-
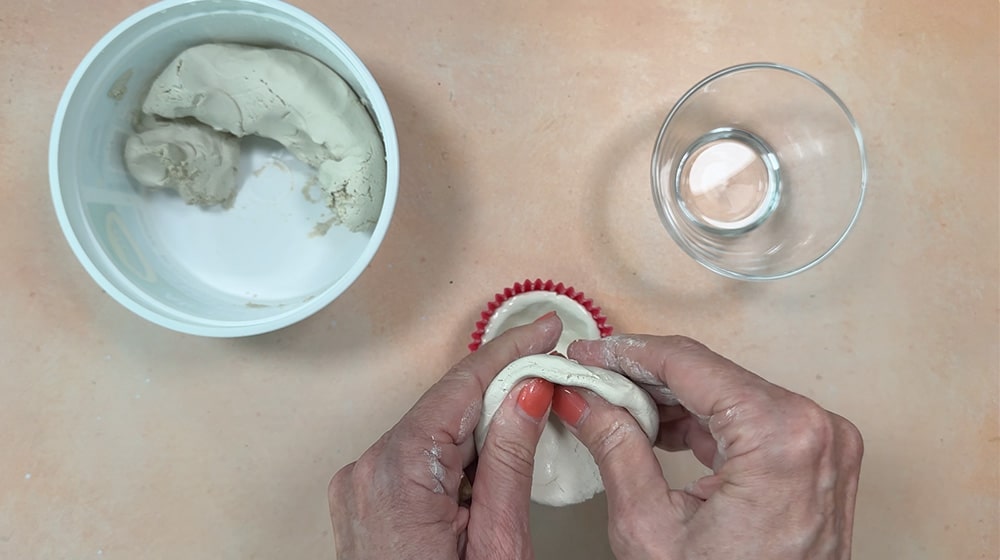
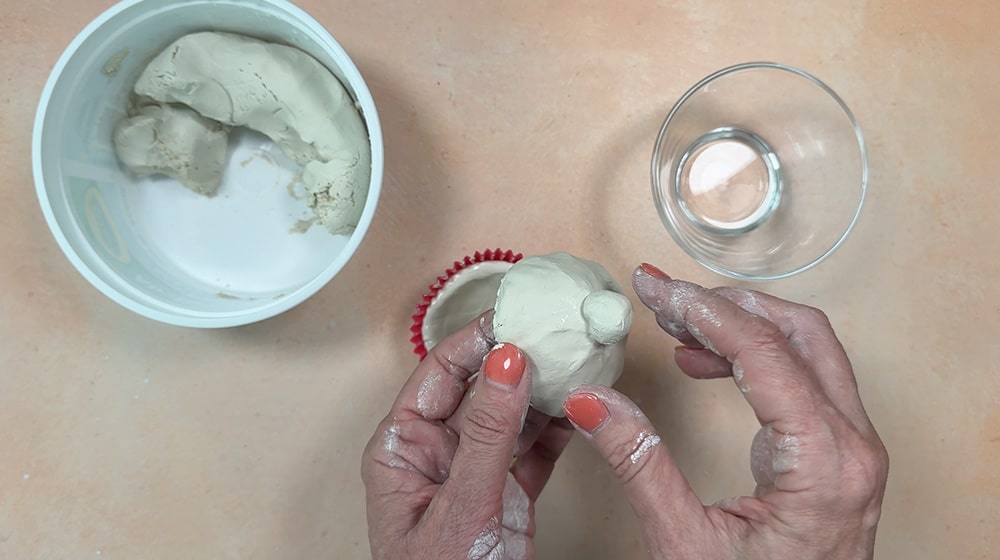
Take the other ball, press your thumb inside, and form a small pinch pot for the top.
-
Soften and wet a little more clay to make a cherry. Press and wiggle to make sure it is securely attached.
-
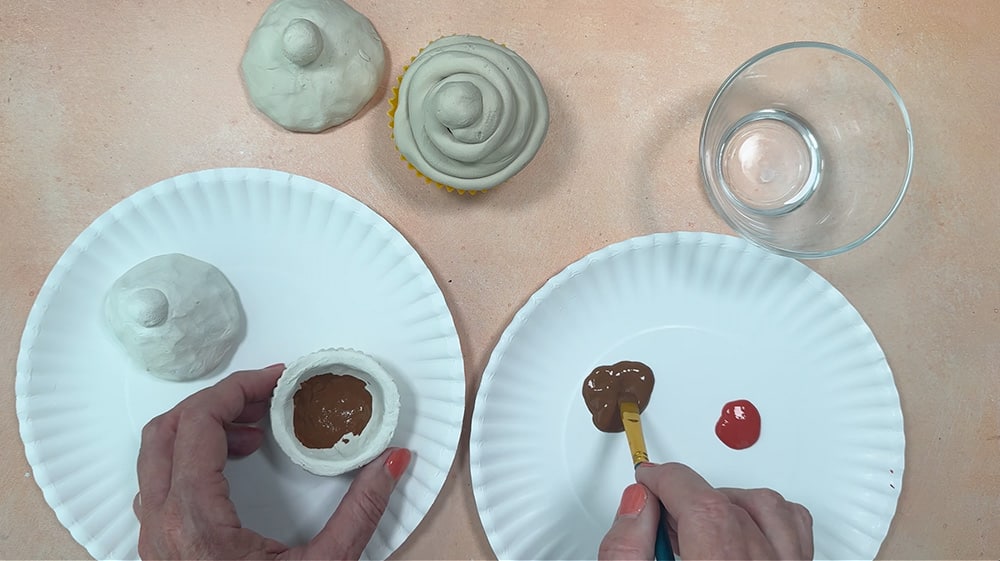
Let dry for 2 to 3 days, or in the sun until clay turns white and feels like a stone. When it is ready, paint all of the surfaces with glossy acrylic paint.
-
Optional: For extra protection, spray with clear sealer.