How to Make a Cat from Modeling Clay: Easy Step-by-Step Art Lesson for Kids
Here you’ll find an easy step-by-step tutorial for how to make a Cat from Modeling Clay. Making little sculptures with little hands was never so easy to do.
Modeling Clay Cat
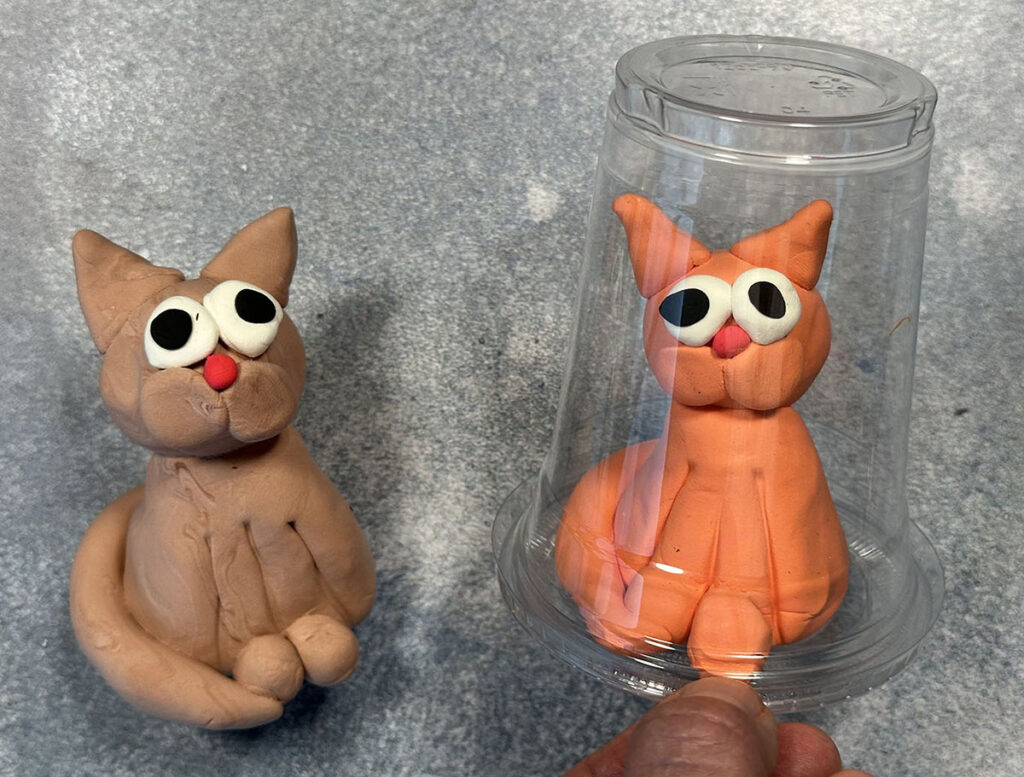
Learn how to make a cat from modeling clay with the tutorial below. It’s a wonderful way for young children to work with making little sculptures, without the difficulties of working with hard, actual clay, and then somehow trying to apply color afterwards. When they use Model Magic, it’s really soft and soothing to squeeze, sticks to itself like crazy, and has the color built in. Display the art in a little cup and it travels safely and looks great for quite awhile too!
Use the button below to get this free PDF Tutorial!
Materials
Step by Step Directions
Time needed: 45 minutes
Make a Cat from Modeling Clay Step by Step
-
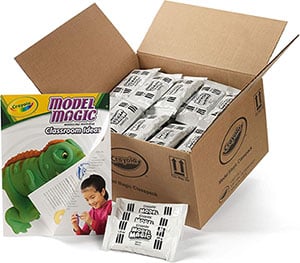
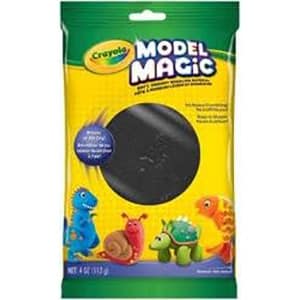
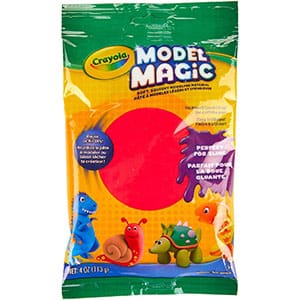
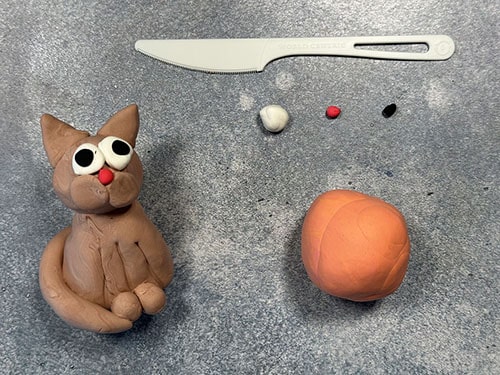
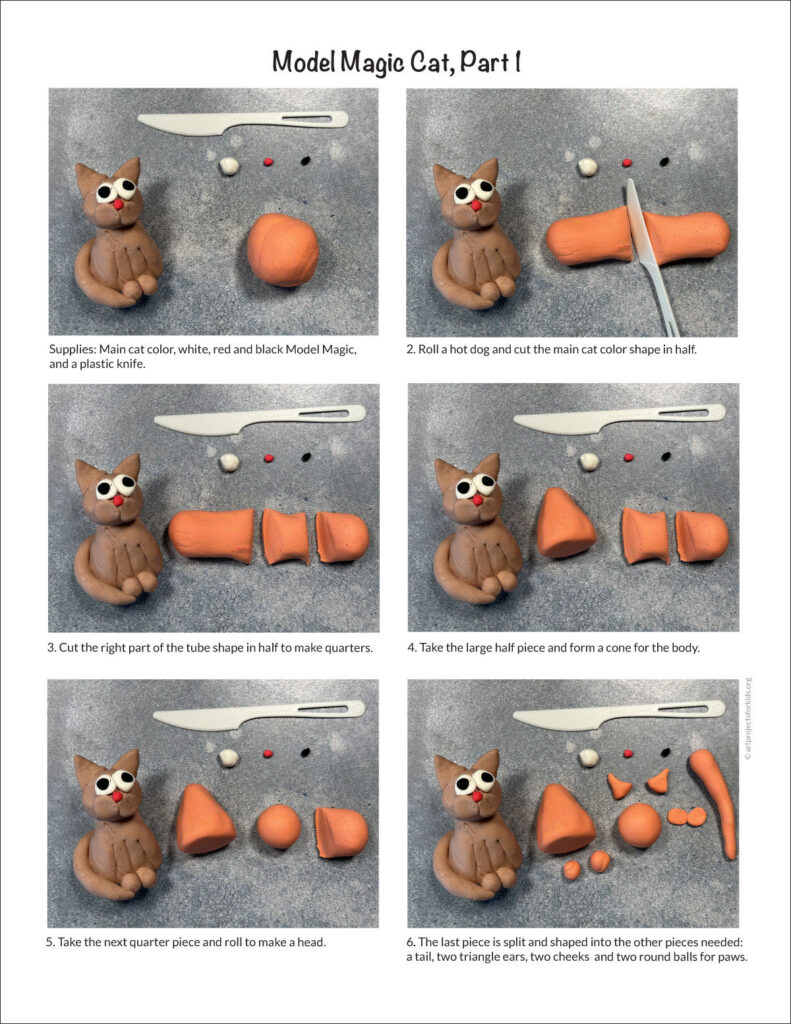
Supplies: Main cat color, white, red and black Model Magic,
and a plastic knife.
-
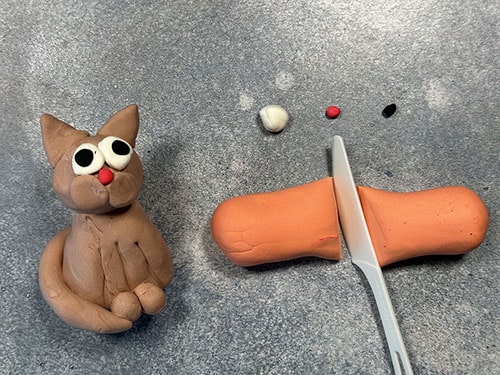
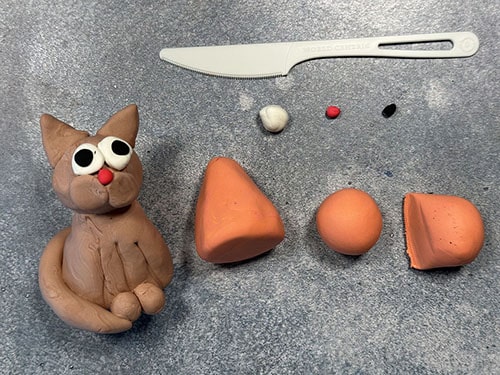
Roll a hot dog shape and cut it in half.

-
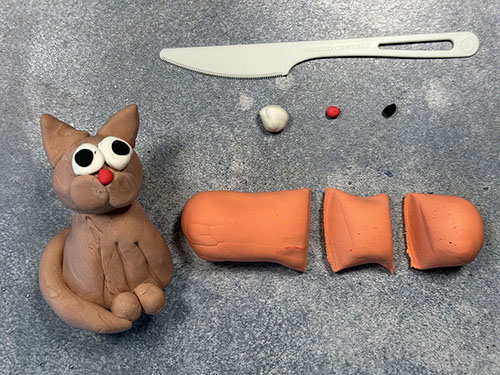
Cut the right part of the tube shape in half to make two quarters.

-
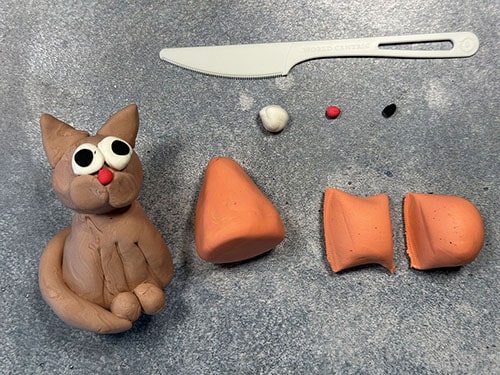
Take the large half piece and form a cone for the body.

-
Take the next quarter piece and roll to make a head.

-
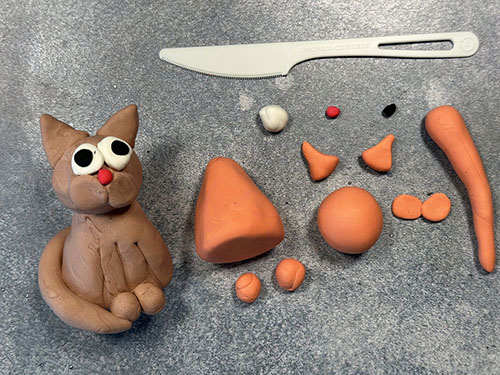
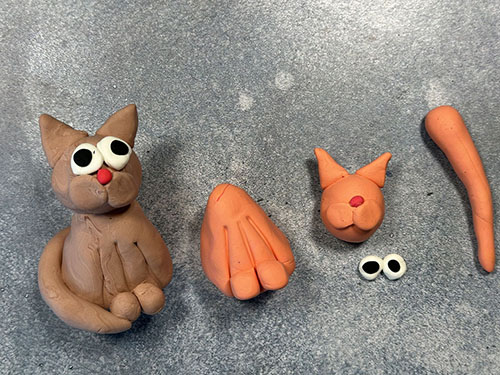
The last piece is split and shaped into the other pieces needed: a tail, two triangle ears, two cheeks and two round balls for paws.

-
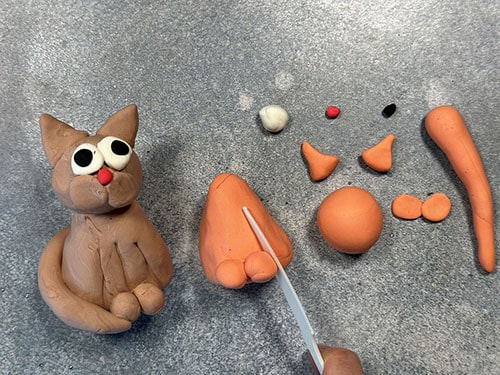
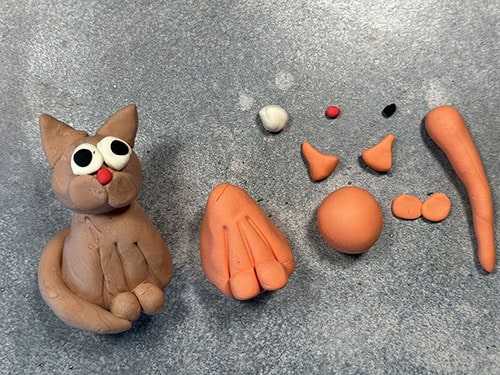
Place paws on the body and press the knife to make leg lines.

-
Repeat to make the other two legs lines.

-
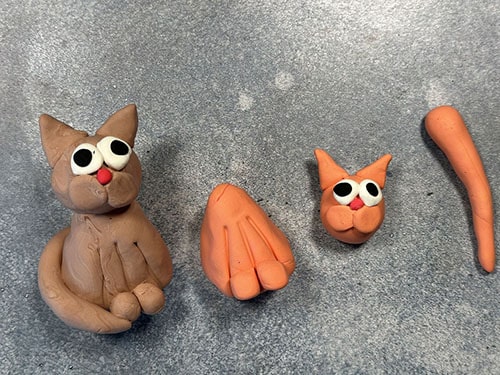
Assemble the head with the cheeks, nose and two ears. Make
two eyes with small black circles on small white discs.
-
Carefully place the eyes on the face.

-
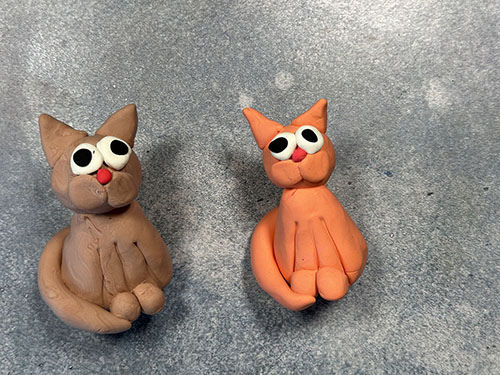
Place the head on the body and attach the tail from the back to make it
wrap around the side.
-
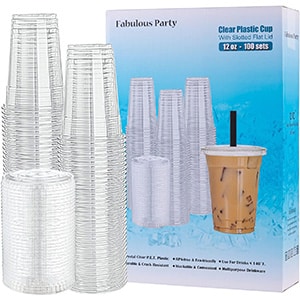
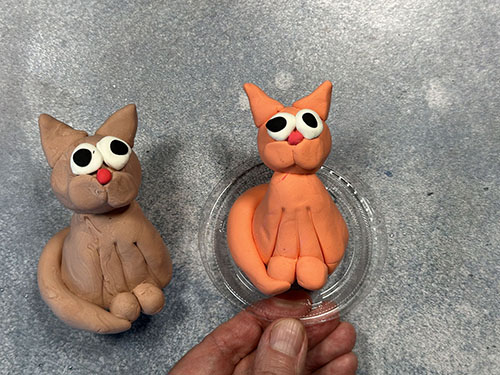
Place your cat on the inside of a lid. If it doesn’t stick too well,
press a small amount of Model Magic first, to act as glue. Snap the
plastic cup on top.
