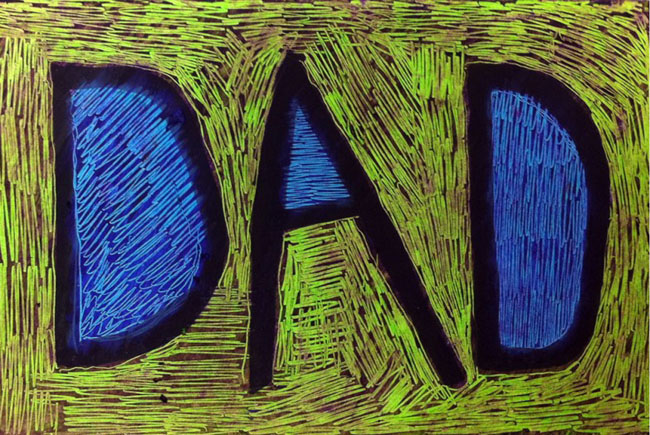
Easy DIY Father’s Day Card and Coloring Page
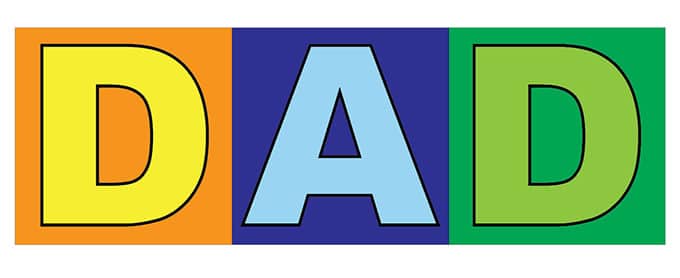
Here’s a little help for a DIY Father’s Day card. Print, tape and color or paint for a Z fold card that can even stand up when complete. A pretty card and gift in one!
Use the Button below to grab a PDF Tutorial
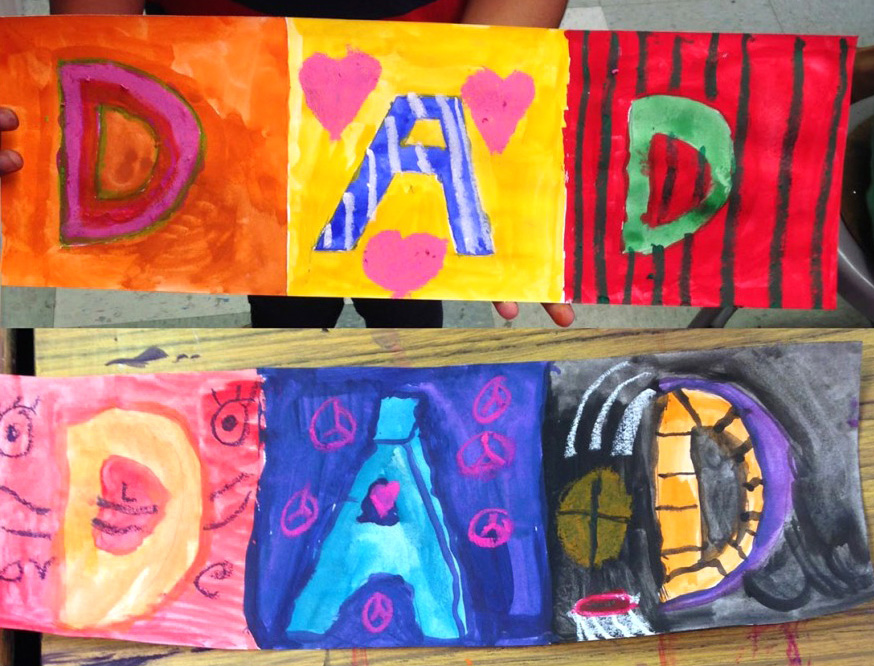
This project was a teacher favorite back in my classroom days. Making a large Z-fold card that everyone could decorate in their own way, was simple and always produced lots of amazingly original works of art. Over time, I came up with many versions of how to prep for it, depending on the age of the students, and the amount of time I could devote, and the type of paper I had on hand.
If I had large white construction paper I would cut it into thirds the long way, fold the paper into a Z fold, and trace the letters with a chip board template. It was quick and I could do it all without needing any kind of printer, perfect for kinders as they needed something ready to go.
No long paper on hand? Print out my own individual letters on letter size card stock, trim them to size, and then slap a quick piece of tape on the back. The only catch was that piece of tape would sometimes leave and edge when colored over. It could be I was the only one who noticed that, but still…
These days, if teachers have limited supplies, I recommend printing my template onto 8.5″ x 11″ card stock paper, trim it to size, and have students color/paint each panel by itself. Taping them together could be last the last step.
Materials for a DIY Father’s Day Card
- Dark marker or crayon for tracing
- White card stock paper
- Oil pastels
Step by Step Directions for a Father’s Day Card
Time needed: 1 hour
Make a DIY Father’s Day Card
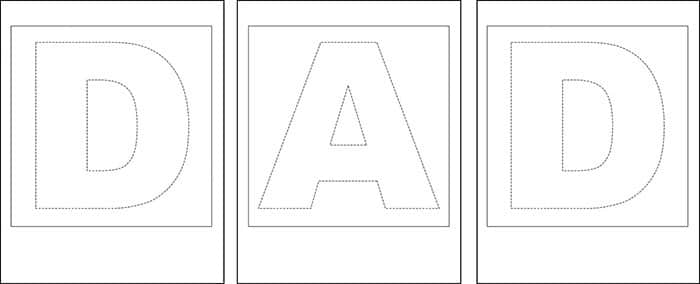
- Print letters on separate sheets of card stock paper.

- Trim and tape together on the back.

- Color or paint the letters.

- Option B: Trim, color and paint first and then connect pages from the back.
This will eliminate any tape edges from showing, if coloring.
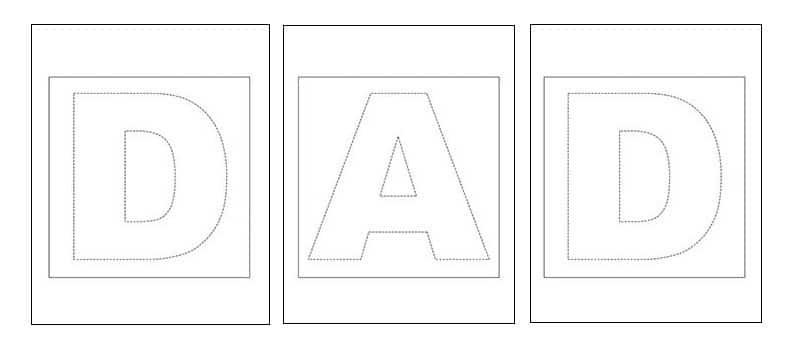

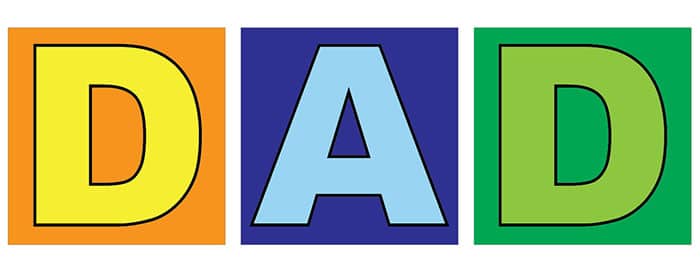
Another DAD Card Option