How to Draw a Day of the Dead Skull: Easy Step-by-Step Art Lesson for Kids
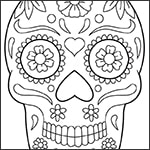
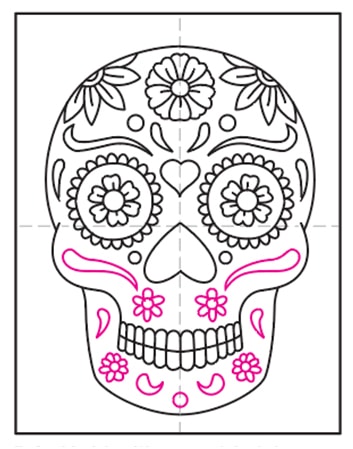
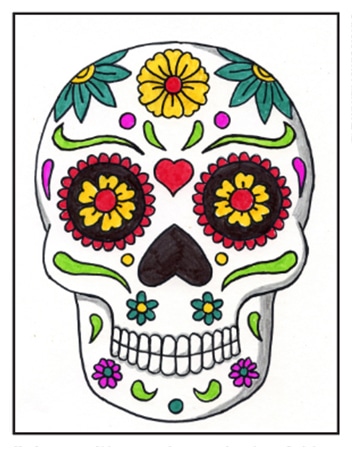
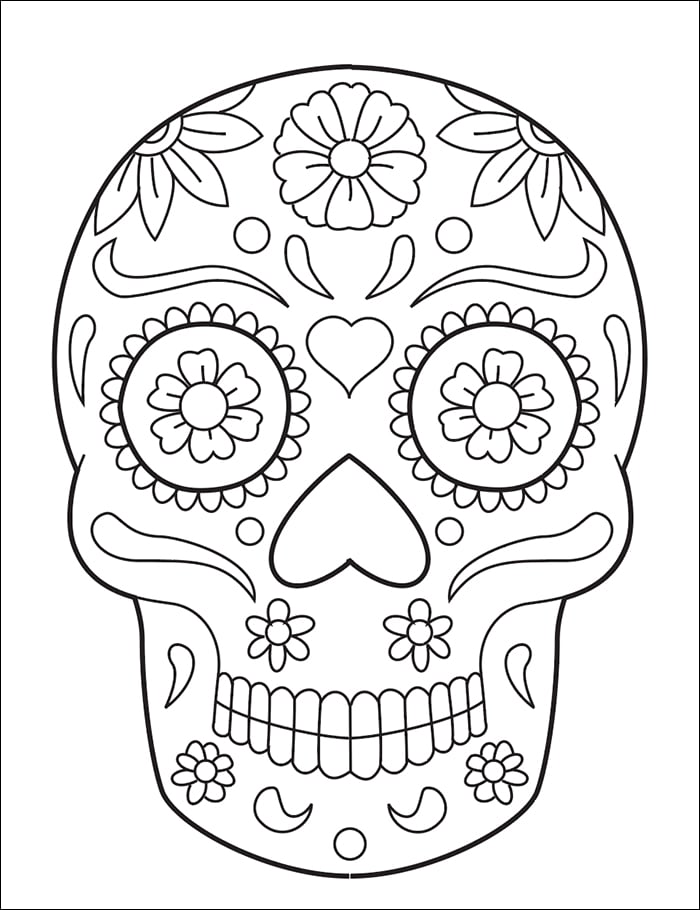
Below you’ll find an easy step-by-step tutorial for how to draw a Day of the Dead Skull and a Day of the Dead Skull Coloring Page.

Day of the Dead and Drawing
Since ancient times, Mexican people have seen skulls as an important symbol of life. Now students have some help learning how to draw a Day of the Dead skull, and a few ideas for how to decorate one.
Day of the Dead skulls represent a departed loved one and are usually placed on an altar, an ofrenda, as an offering to the spirit of the dead. They are often highly decorated, including the deceased person’s name. This tutorial will help students draw a simple skull, and give them some ideas for how to add flowers and other fun and pretty shapes.
Join “The Daily Draw” below to get this printable!
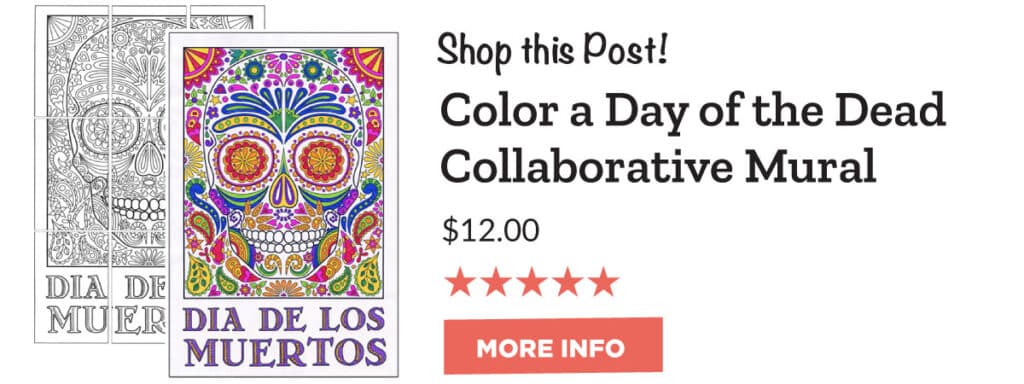
Day of the Dead Skull Coloring Page
Why Draw with Guides?
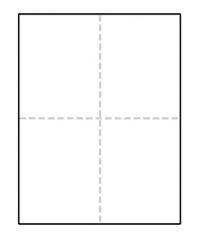
You may have noticed that all of the tutorials on this website have a dashed vertical line and horizontal line running through each step. If students make their own centered lines on their own paper, before drawing, they will have an easy reference to follow. All they need to do is fold their sheet of paper in half both ways, and make a crease. The best part is, by the time the drawing is done, the creases will have disappeared!
Materials for a Day of the Dead Drawing
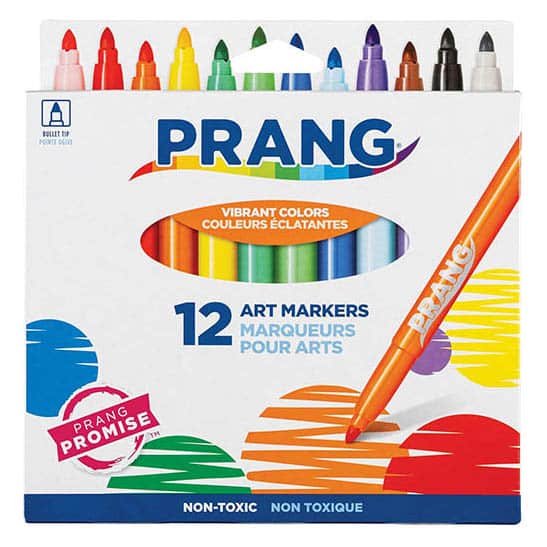
- Prang Classic Art Markers, Bullet Tip. Special marker formula won’t smudge, bleed through paper, or dry out even after 24 hours with the cap off *affiliate link
Directions for a Skull Drawing
Time needed: 1 hour
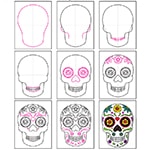
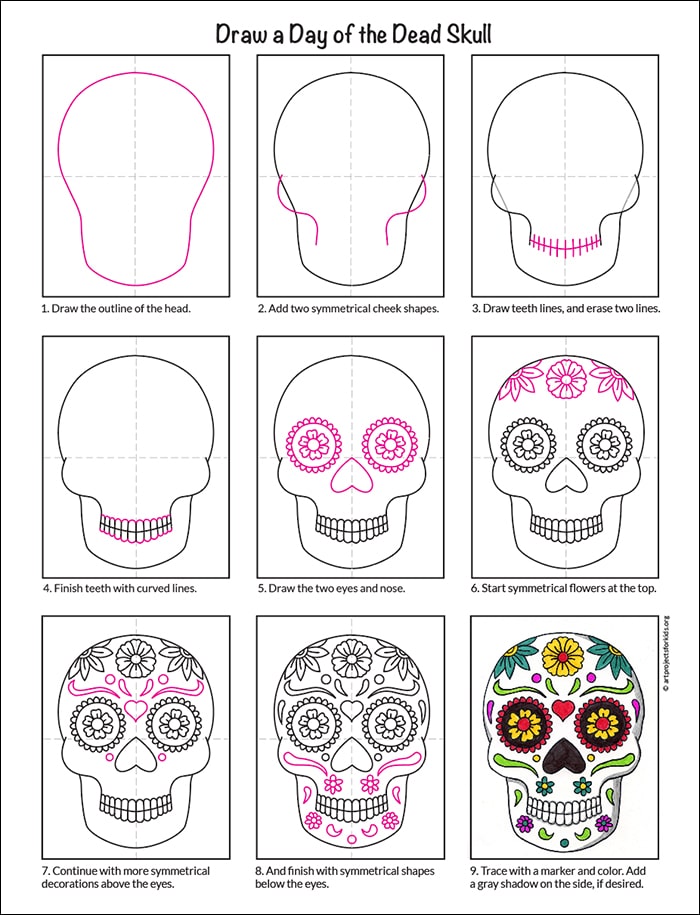
Draw a Day of the Dead Skull
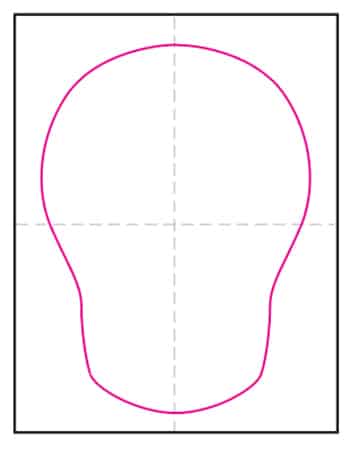
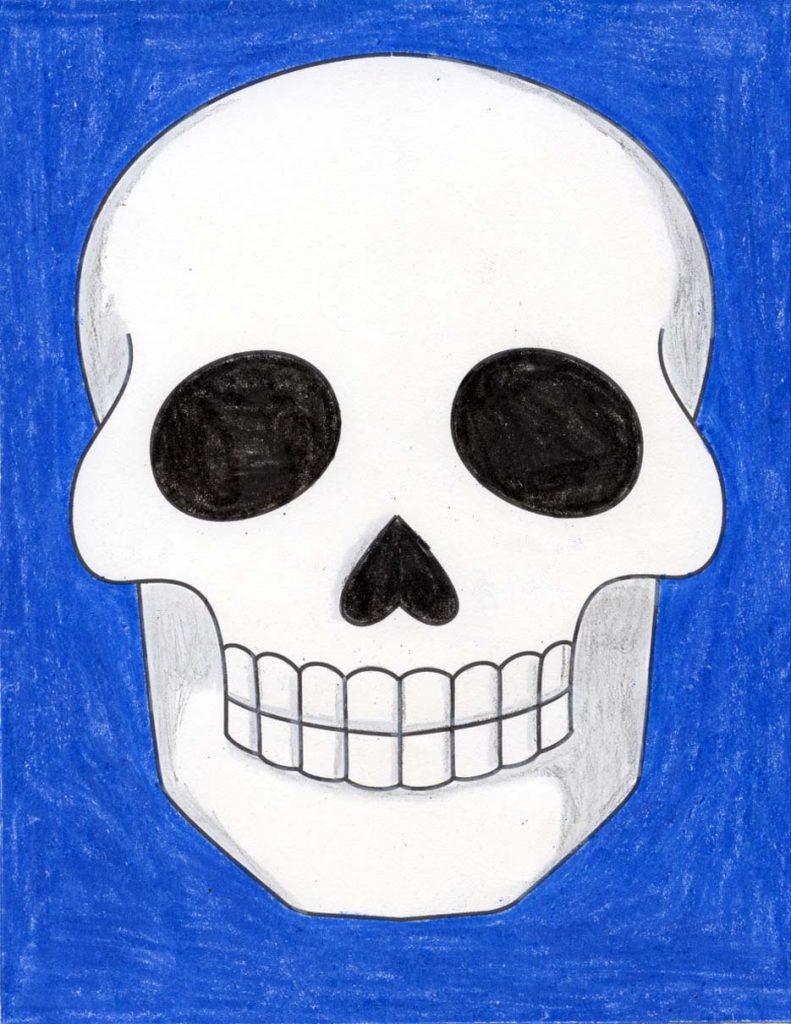
- Draw the outline of the head.

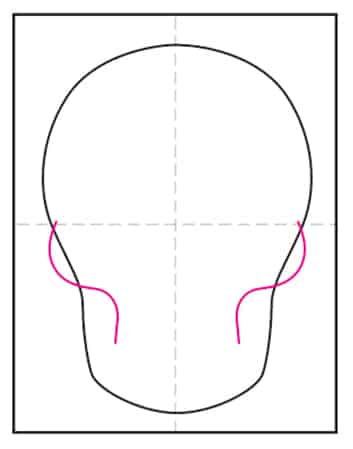
- Add two symmetrical cheek shapes.

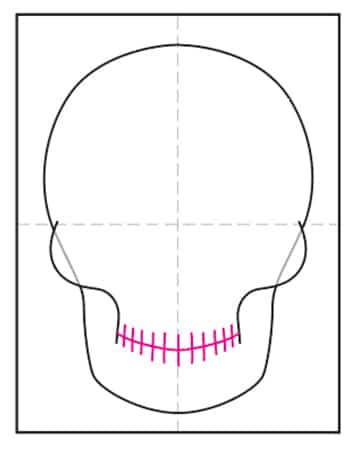
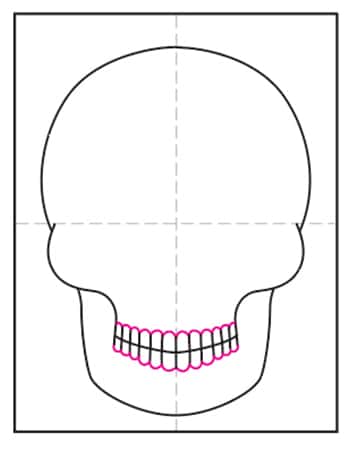
- Draw teeth lines and erase two lines.

- Finish teeth with curved lines.

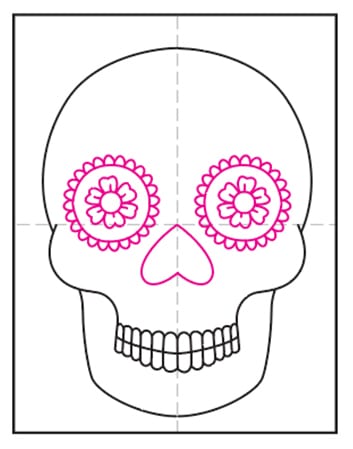
- Draw the two eyes and nose.

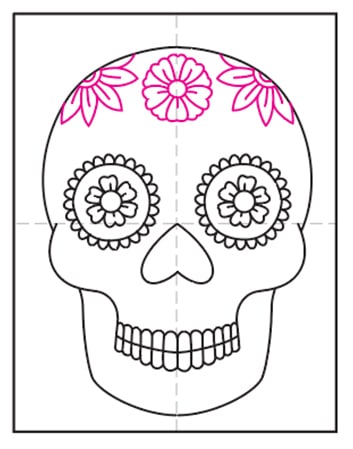
- Start symmetrical flowers at the top.

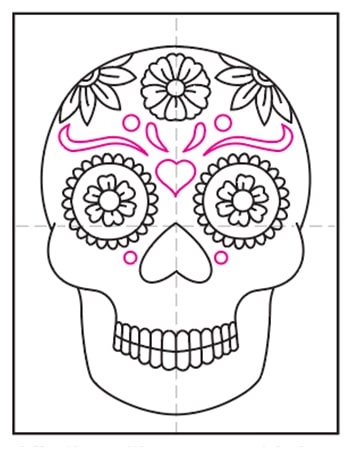
- Continue with more symmetrical decorations above the eyes.

- And finish with symmetrical shapes below the eyes.

- Trace with a marker and color. Add a gray shadow on the side, if desired.

More Fun Skull Projects

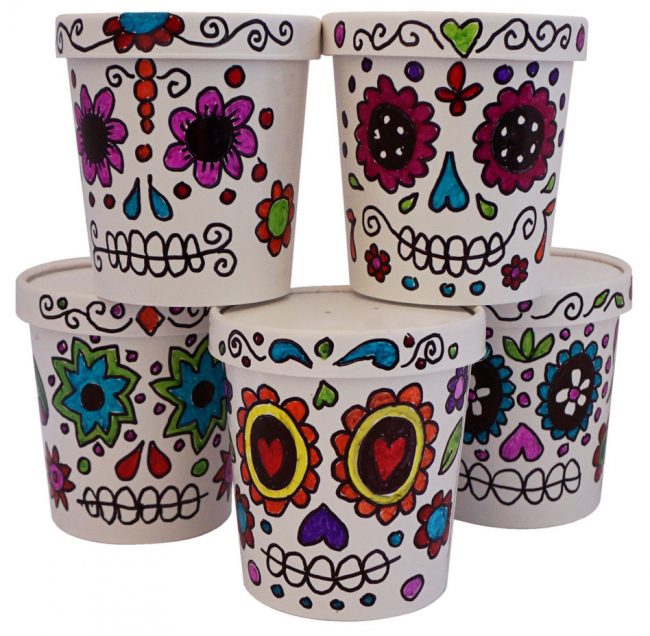
Sugar Skulls drawn on food containers
