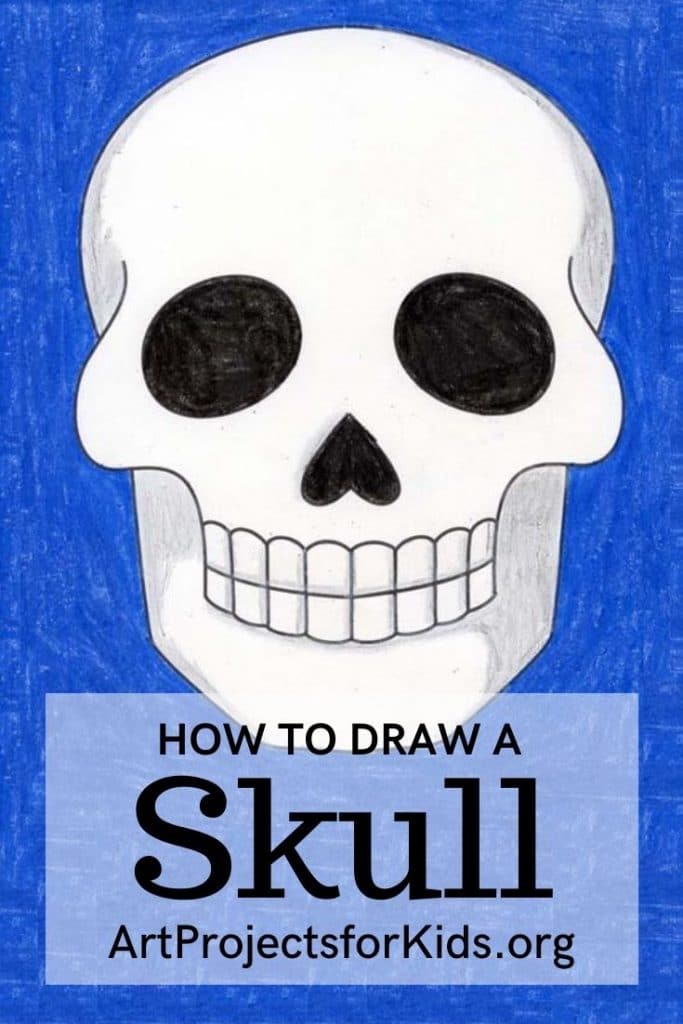
How to Draw a Skull: Easy Step-by-Step Art Lesson for Kids
Below you’ll find an easy step-by-step how to draw a Skull Tutorial and Skull Coloring Page. Scroll down to learn more.

How to Draw a Skull
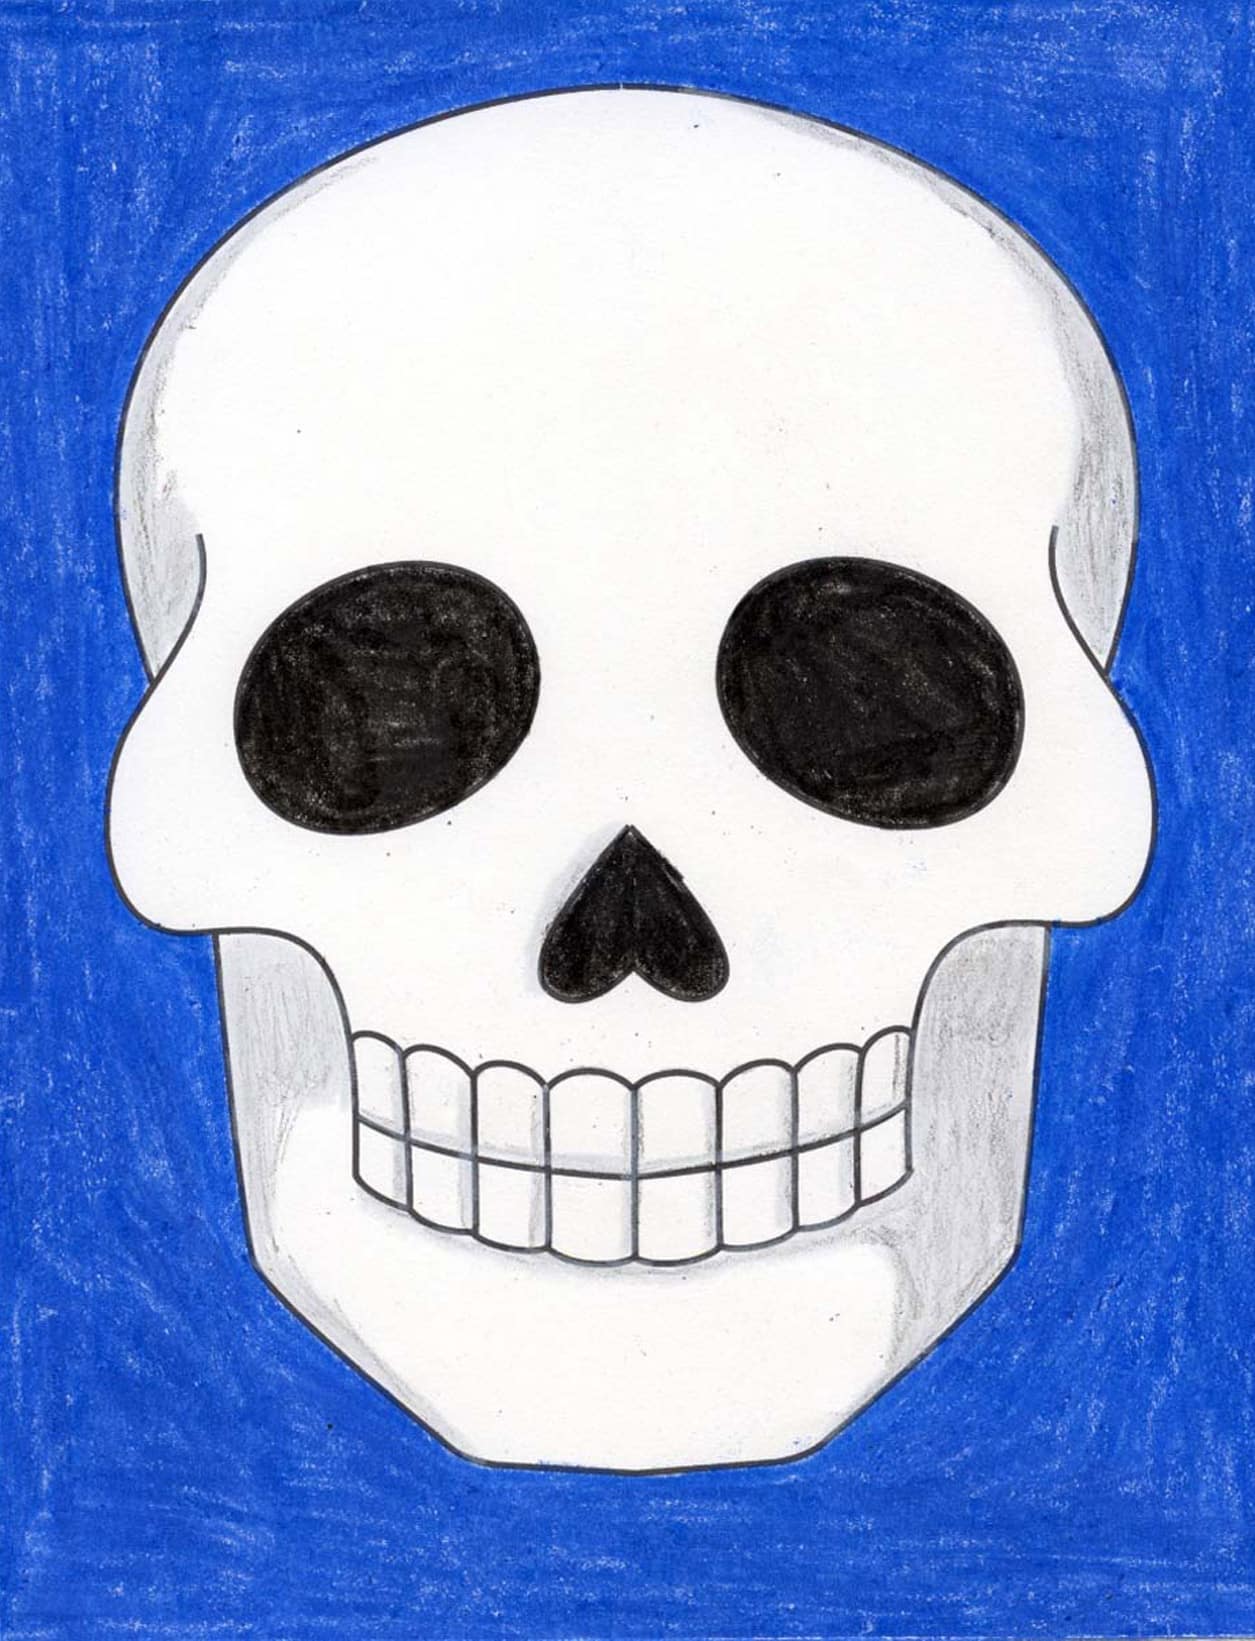
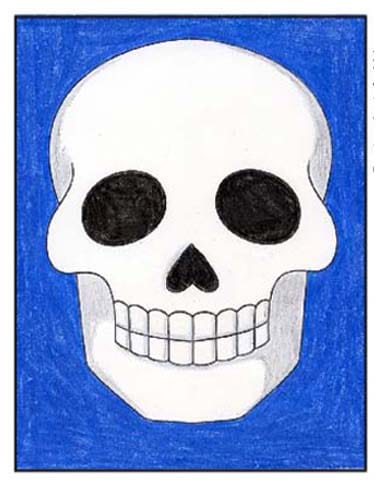
When your students are ready to learn how to draw a skull that is more than just an oval shape with a few circles for nose and eye holes, it might be time to share this tutorial with them. A few more details can make all the difference in the world.
A skull, or cranium, is a set of bones that make up the shapes of our heads. It supports the structures of the face and forms a protective cavity for the brain.
A real skull actually has 22 bones, but this drawing lesson will simplify quite a few of them. The important parts — the nose hole, cheeks and teeth are there, so the drawing looks pretty realistic, but doesn’t get too hard for the younger artists.
Save this skull drawing project for:
Halloween (that’s a no-brainer)
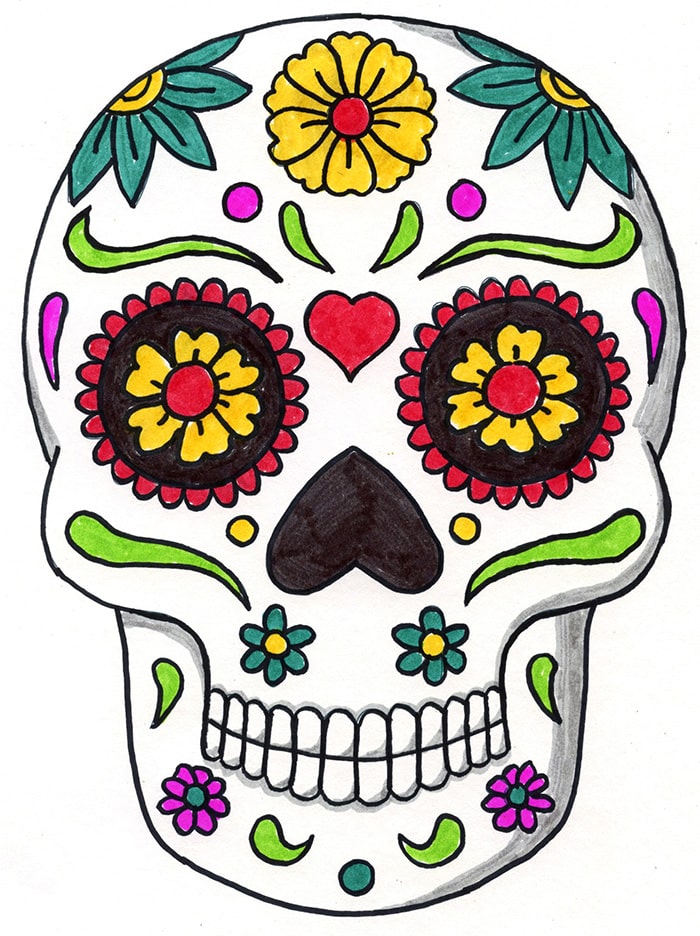
Day of the Dead (not to be confused with Halloween, more of a celebration of past lives)
Anatomy (it’s simple, but still pretty accurate)
Symmetry practice (you can never have too much!)
Also, this basically white drawing is a great place for students to practice shading. Students that seem to easily master the shapes of this skull, might like to see what they can do with making shadows. A few well placed gray shapes will turn this flat drawing into something that looks like it has some shape and depth.
Use the button below to get this printable!
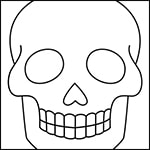
Skull Coloring Page
Materials for Skull Drawing
- Drawing Paper. This is the good stuff you can buy in bulk for a good price.
- Pencils. I like how this brand always makes nice dark lines.
- Black Marker. A permanent marker will give you a dark black color.
- Crayons. The larger packs are nice for more color choices.
- Note: All of the above are Amazon affiliate links.
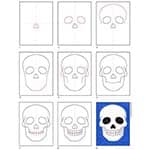
Directions to Draw a Skull Step by Step
Time needed: 45 minutes
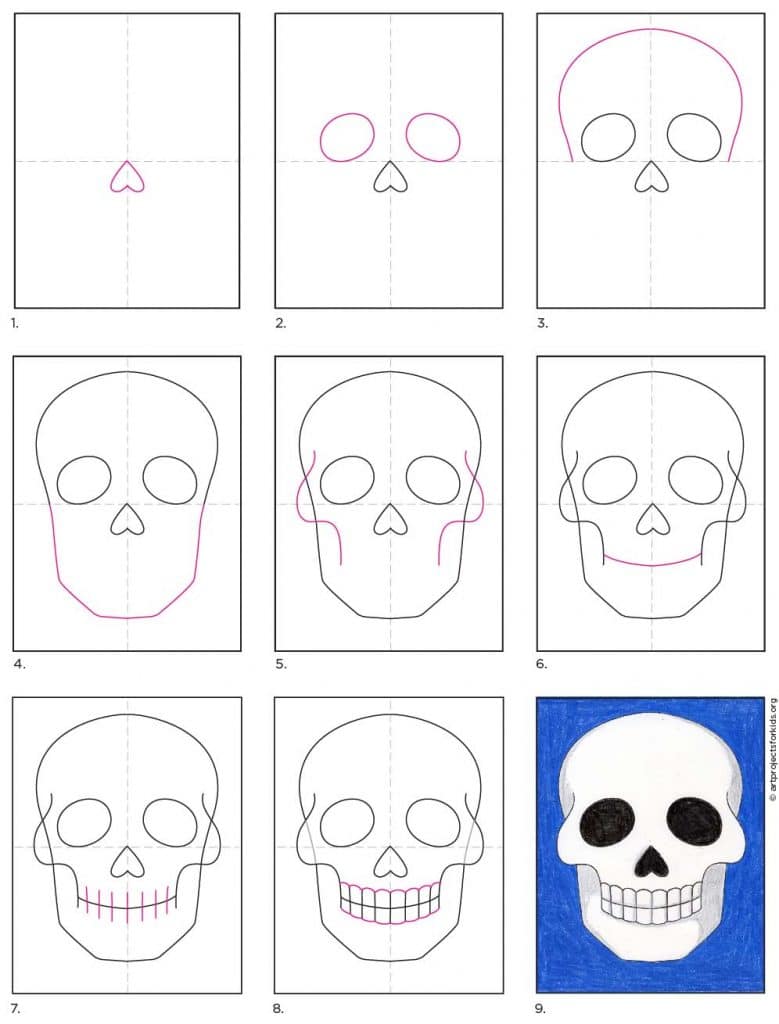
Skull Step by Step Instructions
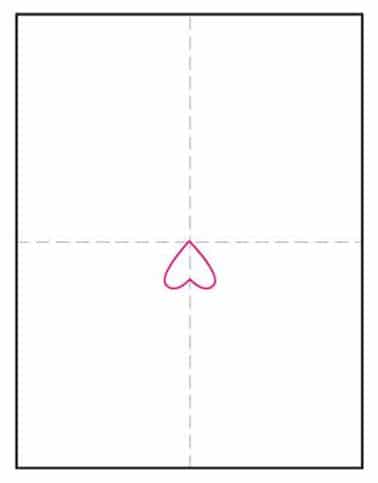
- Draw an upside down heart for a nose.

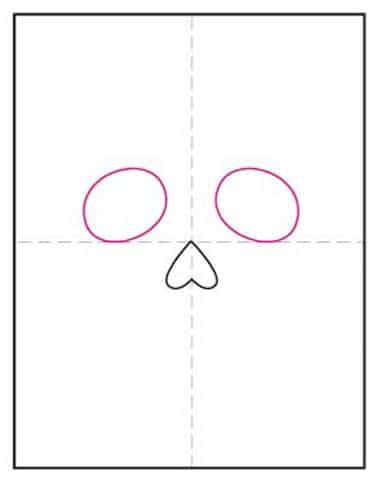
- Add two ovals for the eye sockets.
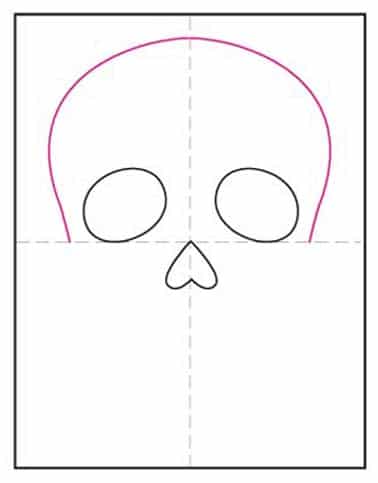
- Start the top of the skull that curves in at an angle.
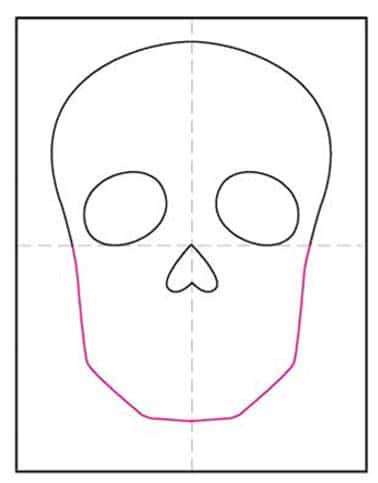
- Finish the bottom of the lower jaw.
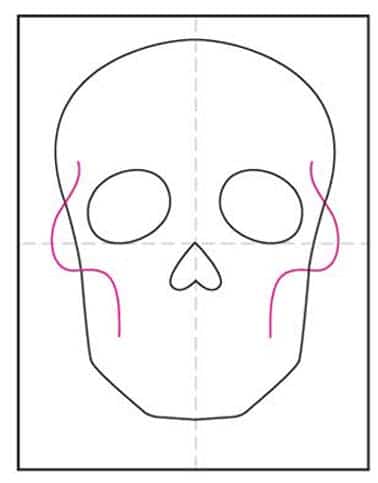
- Add the curve of the matching cheekbone lines.
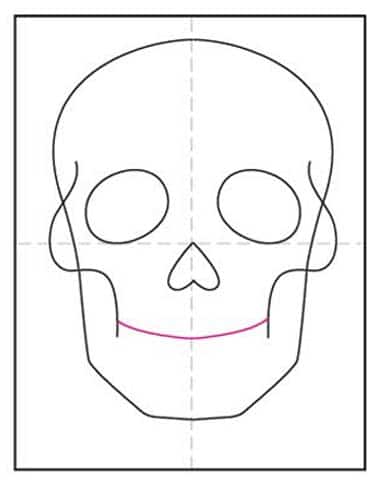
- Draw the middle line of the teeth.
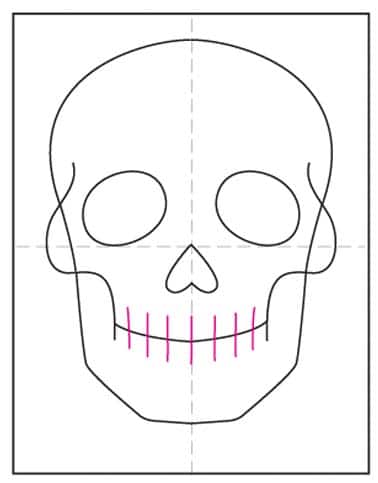
- Add even number of lines for both the upper teeth and the lower teeth.
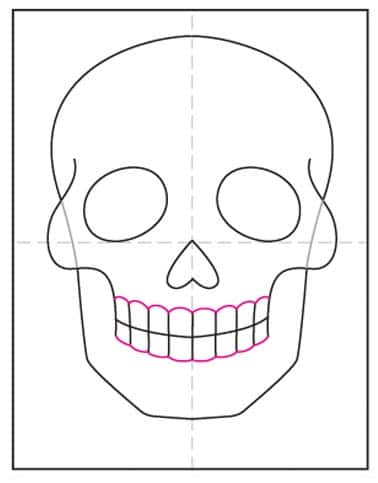
- Connect with curved lines.
- Trace with a marker and color.