How to Draw a Skeleton: Easy Step-by-Step Art Lesson for Kids
Below you’ll find an easy step-by-step tutorial for how to draw a Skeleton and a Skeleton Coloring Page. A few extra details make it look pretty realistic.
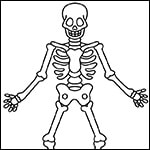


Skeleton Drawing
Skeletons and Drawing
The thing about skeletons is that they are, of course, pretty detailed. Even a pro would probably sweat at the thought of trying to draw a skeleton with all the bones included. That doesn’t mean though that skeletons have to be off limits for children. OR that they can’t learn how to draw one that is a bit more realistic.
This tutorial is made to show older elementary students how to draw a skeleton with bones that look a little more like the real thing, without getting too overwhelming. It starts with a simple skull that includes the cheek bones, and works down, always matching one side to the other. The pose is symmetrical, which helps when trying to draw new shapes. If any of your students look a little hesitant about taking this on, encourage them to just simplify things as needed. The point is, even generalizing a few of those shapes will help them learn a LOT more than if they never even tried at all.
Use the button below to get this free tutorial!

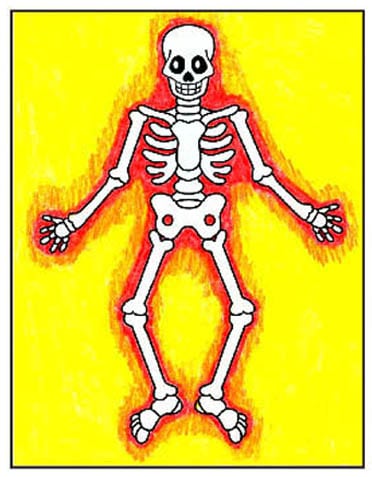
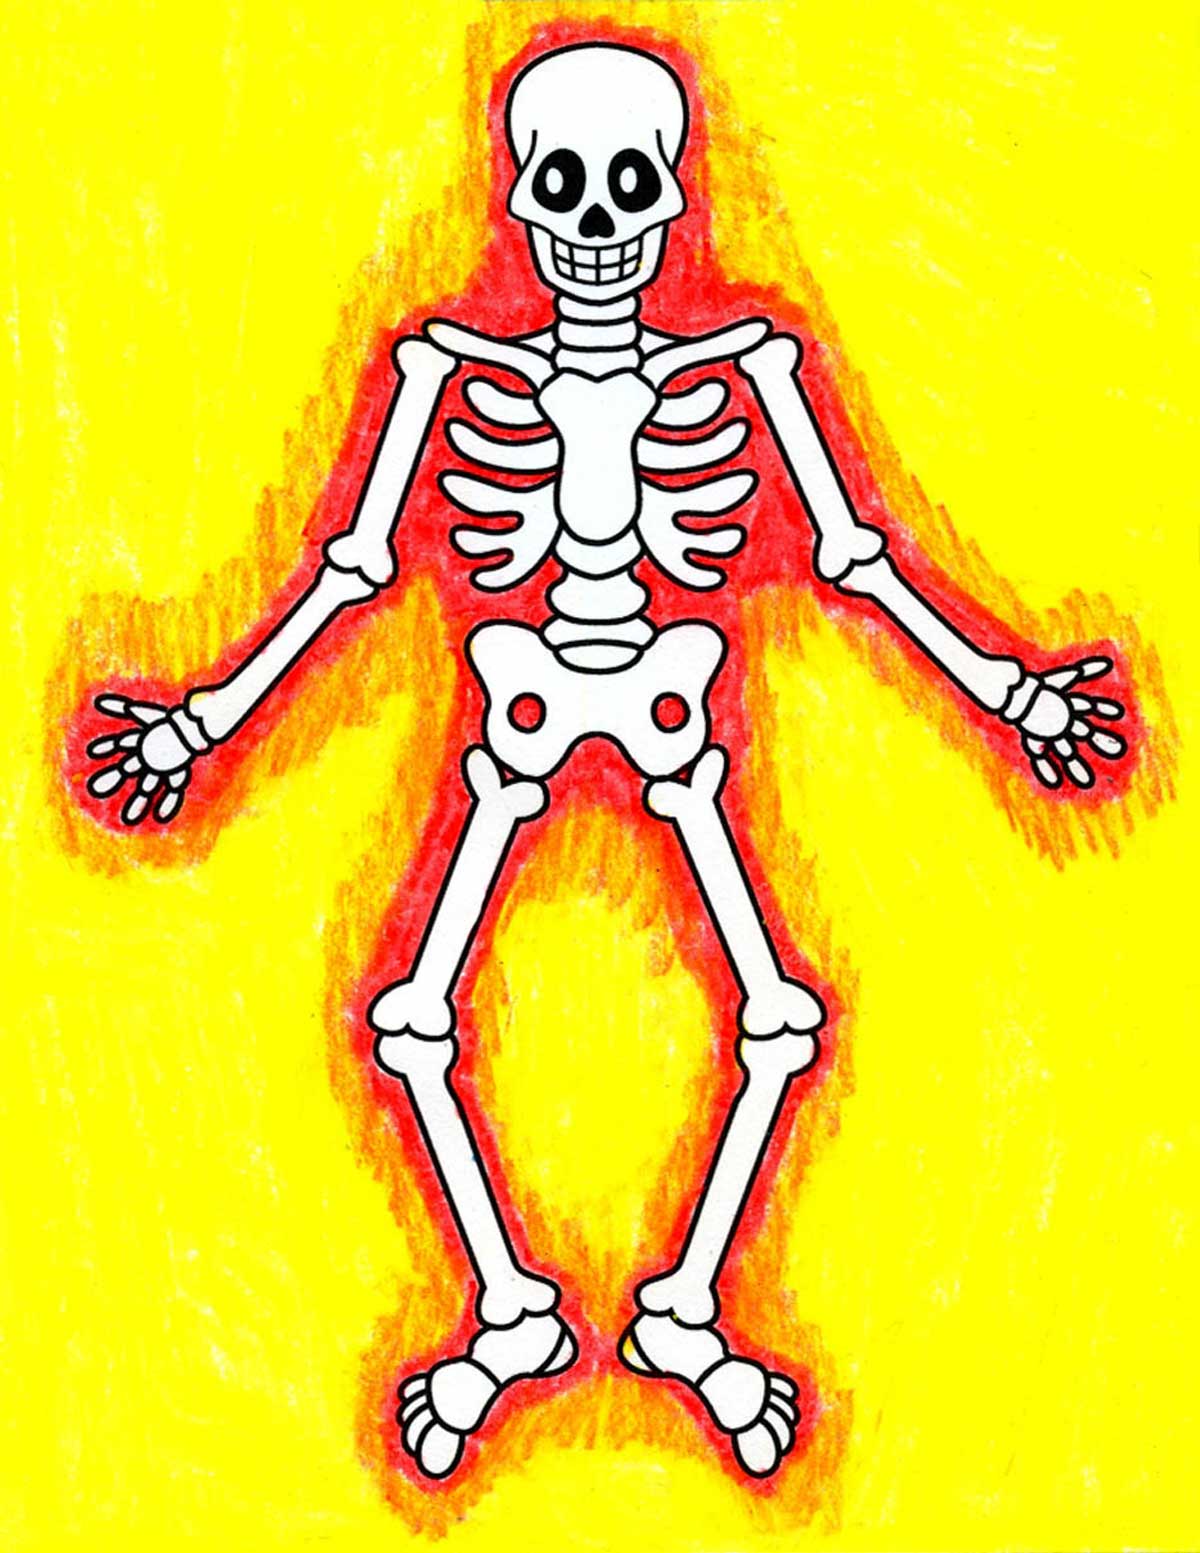
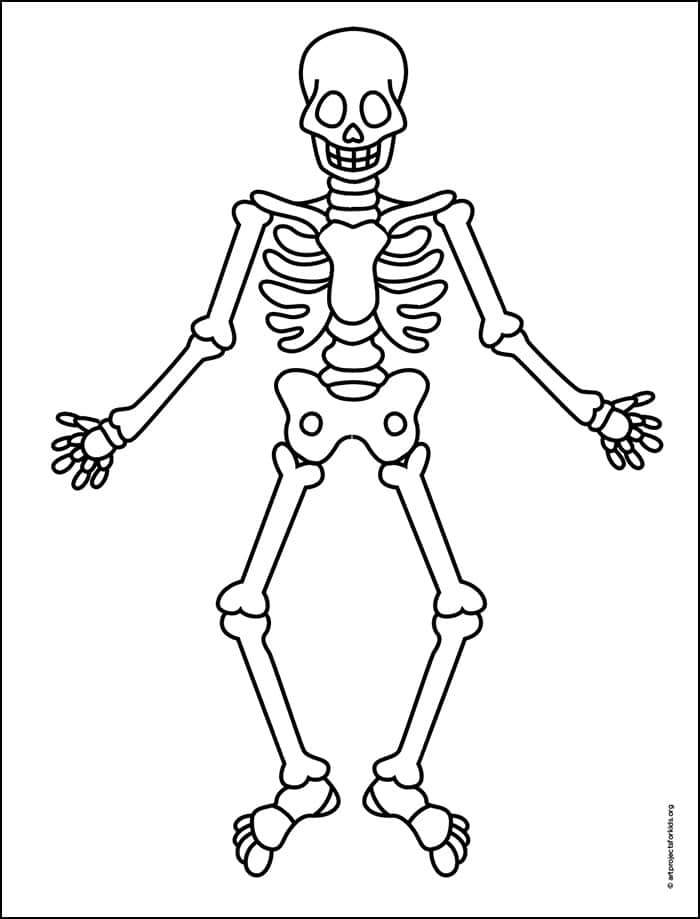
Skeleton Coloring Page
Materials for a Skeleton Drawing


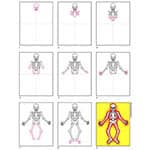
Directions to Draw a Skeleton Step by Step
Time needed: 45 minutes
Skeleton Drawing
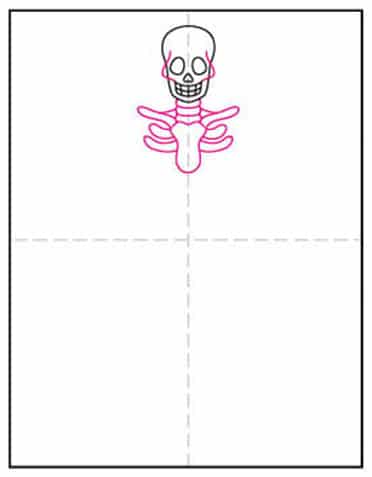
- Draw a head with eyes, nose, teeth.

- Add cheeks, start neck and ribs.
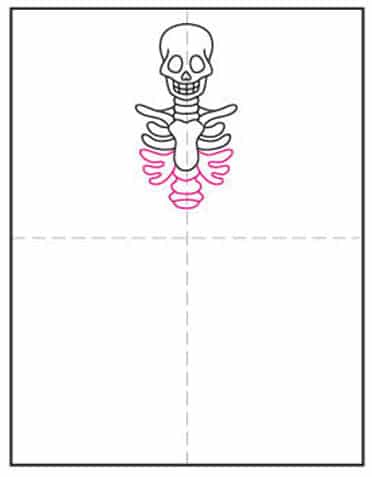
- Finish the ribs and spine.
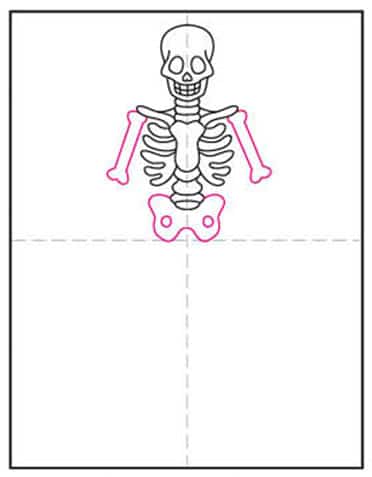
- Add the hips and start the arms.
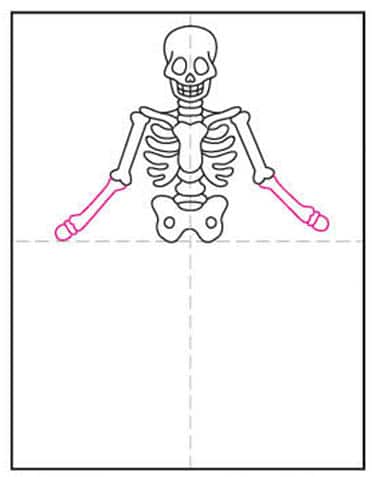
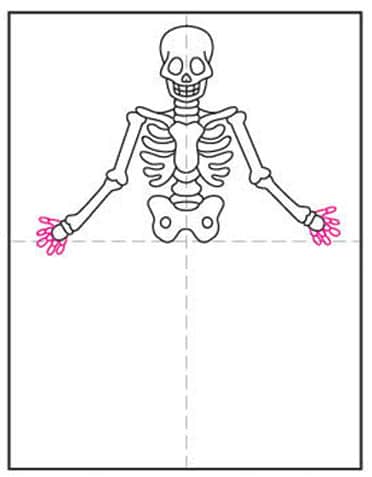
- Add lower arm and hand shapes.
- Draw fingers on each.
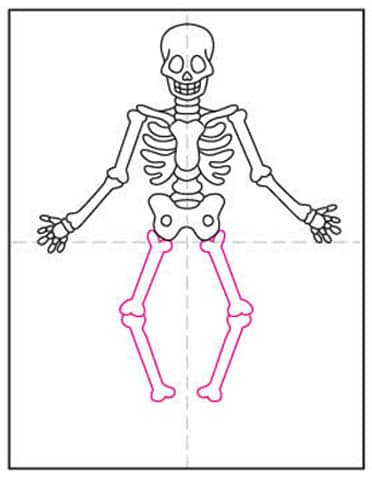
- Draw two leg bones.
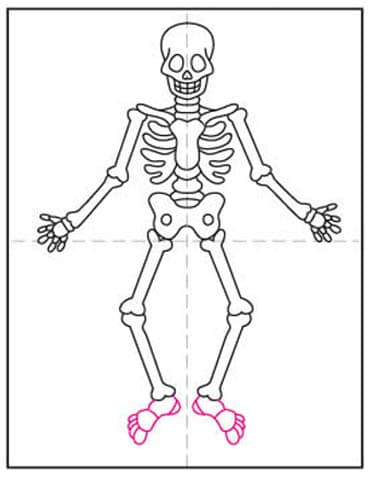
- Add the feet with toes.
- Trace with marker and color.