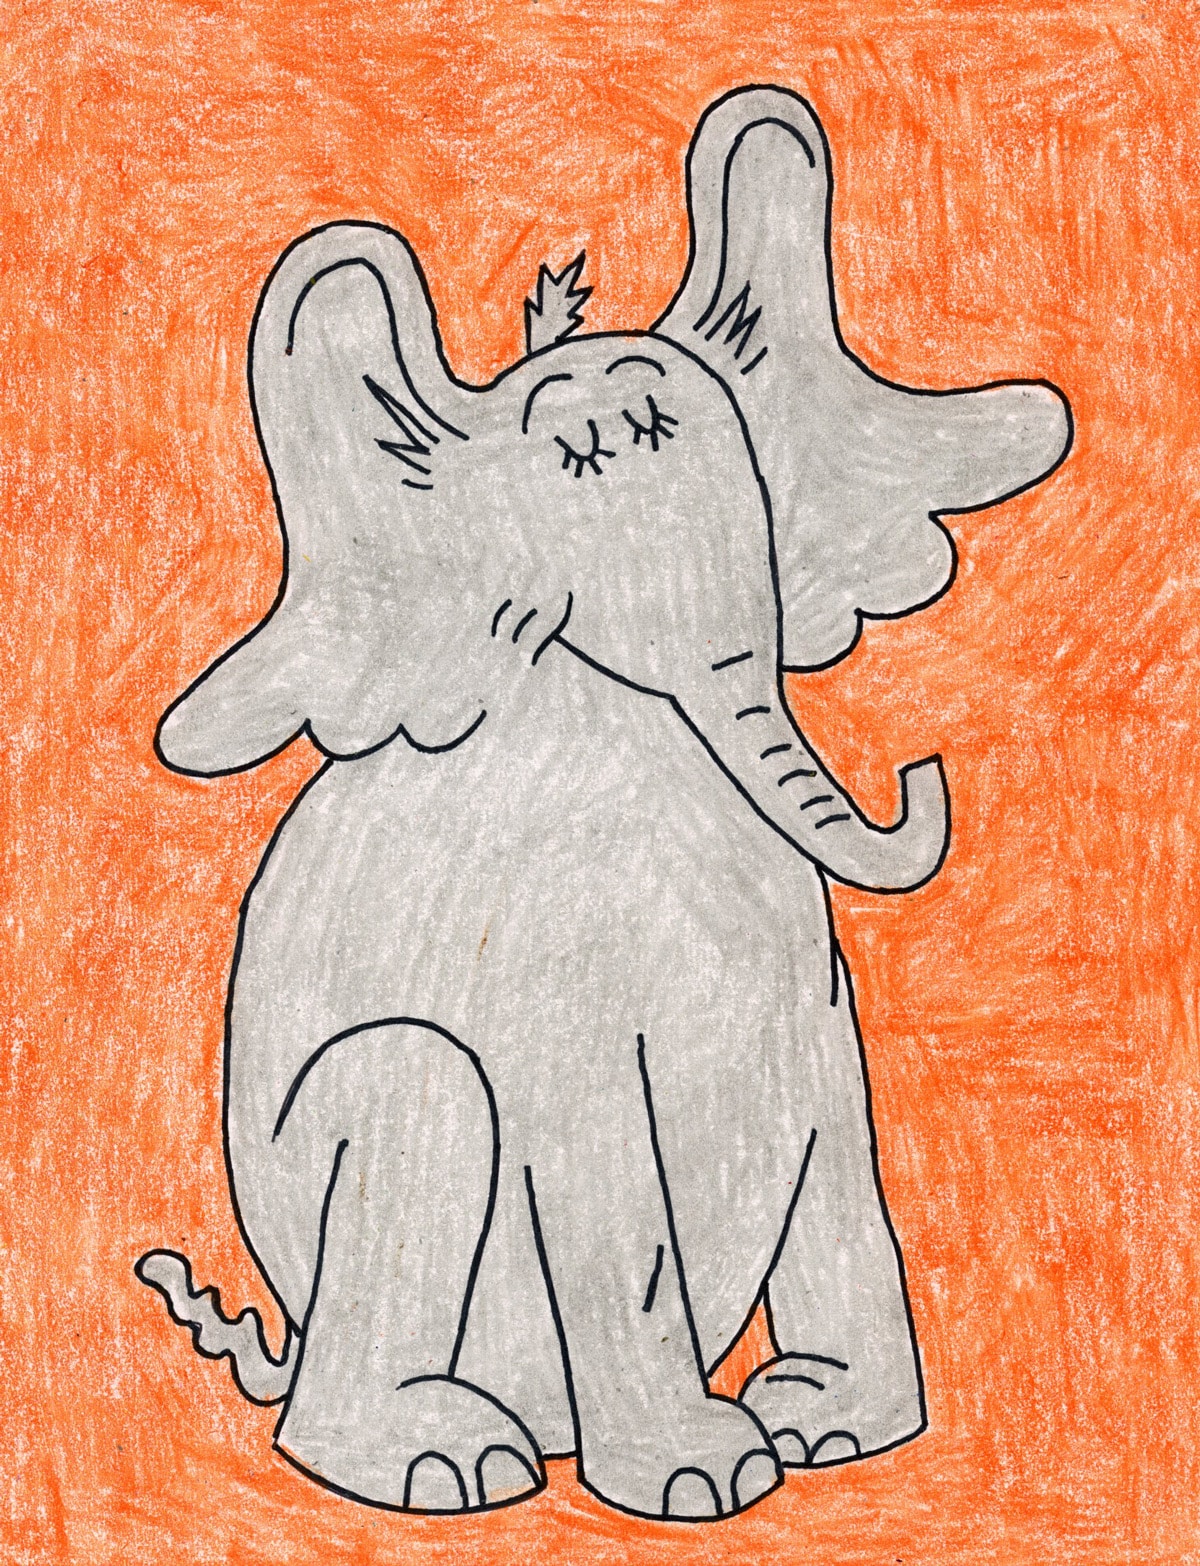
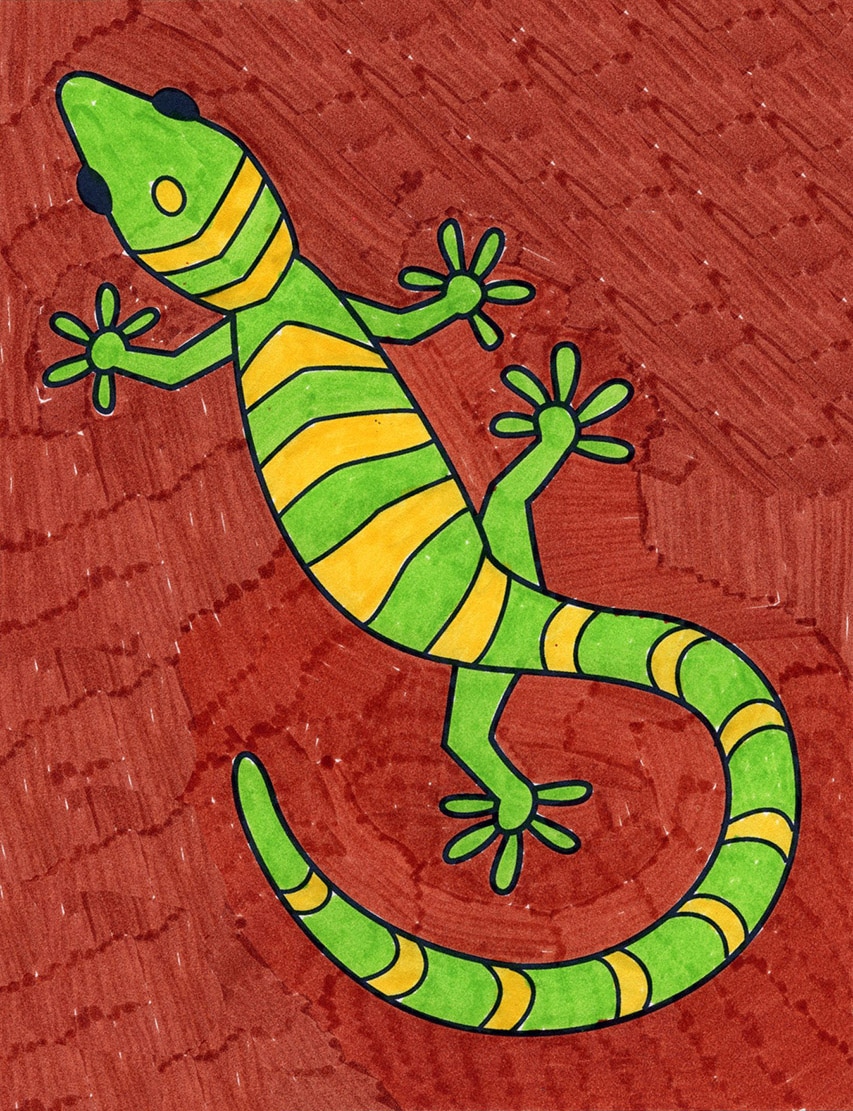
Easy How to Draw a Tie Tutorial and Tie Coloring Page
Below you’ll find an easy step-by-step tutorial for how to draw a Tie and a Tie Coloring Page. Adding a fox to the drawing makes it a little more fun!
Fox with a Tie
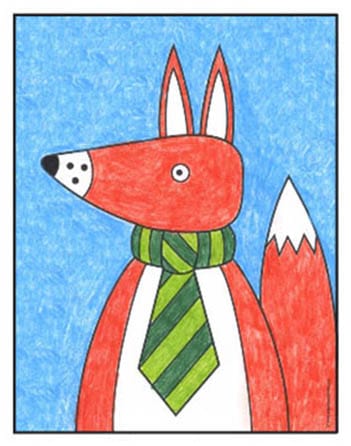
A Tie and Fox Drawing
The drawing was inspired by some stock art illustrations I saw somewhere, and I just love how simple he is. No worries about how to draw arms and legs, etc. Just a simple fox head, body and tail. In fact, it’s just as much about learning how to draw a tie as it is about learning how to draw a fox. Those oversized tie shapes could be filled with all kinds of other patterns, instead of just stripes.
This drawing was colored with crayons, but the simple shapes would probably work well with oil pastels too. Anytime a drawing project doesn’t call for lots of detail, like little eyelashes or tiny fingers, it’s a good time to bring them out. What they lose in precision they gain in color.
Do you like to mix writing with your art projects? Students could draw their version of this and then write a bit about why the fox is wearing a tie, and where they are about to go. Giving animals human story lines is always a fun way to go.
Use the Button below to download this free tutorial!
Pin Me to Your Pinterest Board!
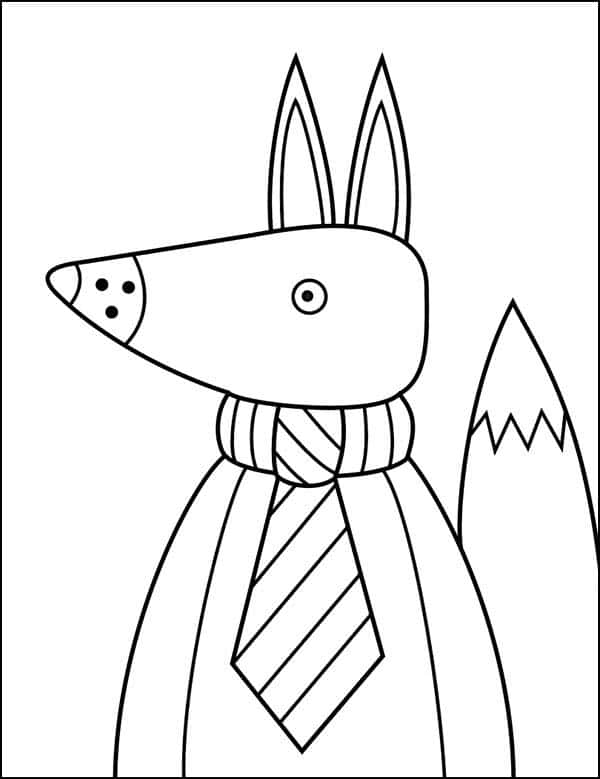
Tie Coloring Page
Drawing Materials
- Drawing Paper. This is the good stuff you can buy in bulk for a good price.
- Pencils. I like how this brand always makes nice dark lines.
- Black Marker. A permanent marker will give you a dark black color.
- Crayons. The larger packs are nice for more color choices.
- Note: All of the above are Amazon affiliate links.
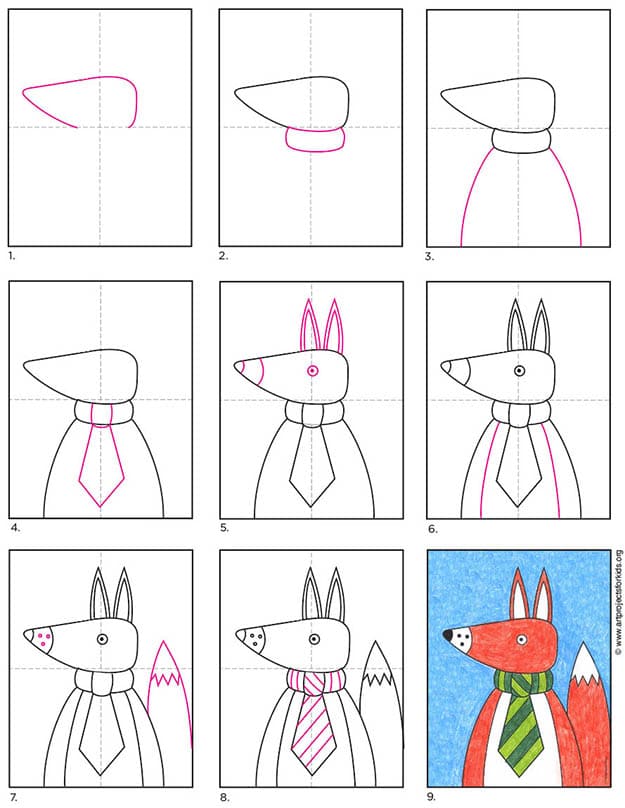
Step by Step Directions to Draw a Tie
Time needed: 45 minutes
Draw a Tie
- Start the head on the middle line.

- Draw the neck of the tie below.
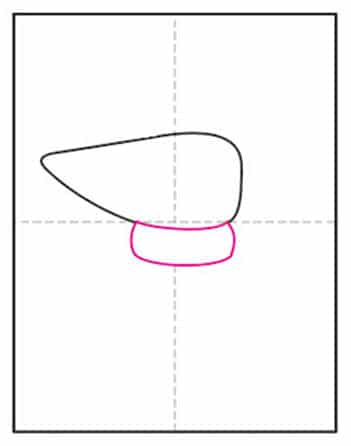
- Add two shoulders.
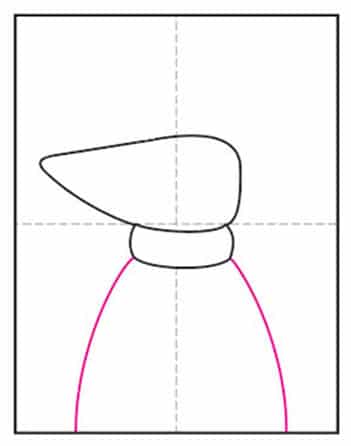
- Finish the tie shape.
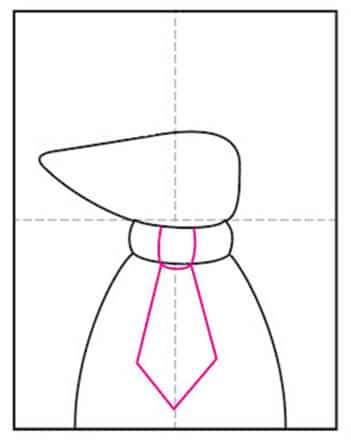
- Draw two pointy ears.

- Add the body details shown.

- Finish with a tail behind.
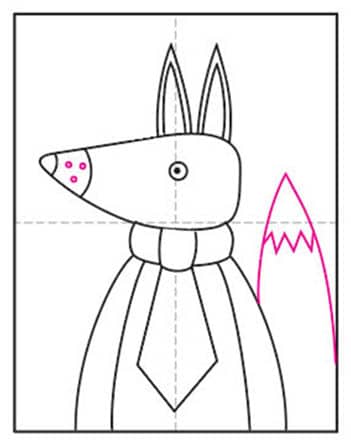
- Add patterns to her tie.
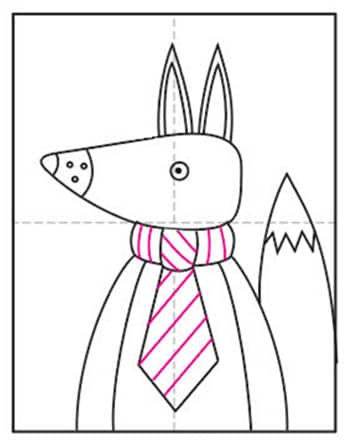
- Trace with a marker and color.
