Easy Mother’s Day Drawing Idea Tutorial and Mother’s Day Coloring Page
Below you’ll find an easy step-by-step tutorial video for a Mother’s Day Drawing idea and a Coloring Page. These simplified birds are easy for all ages.
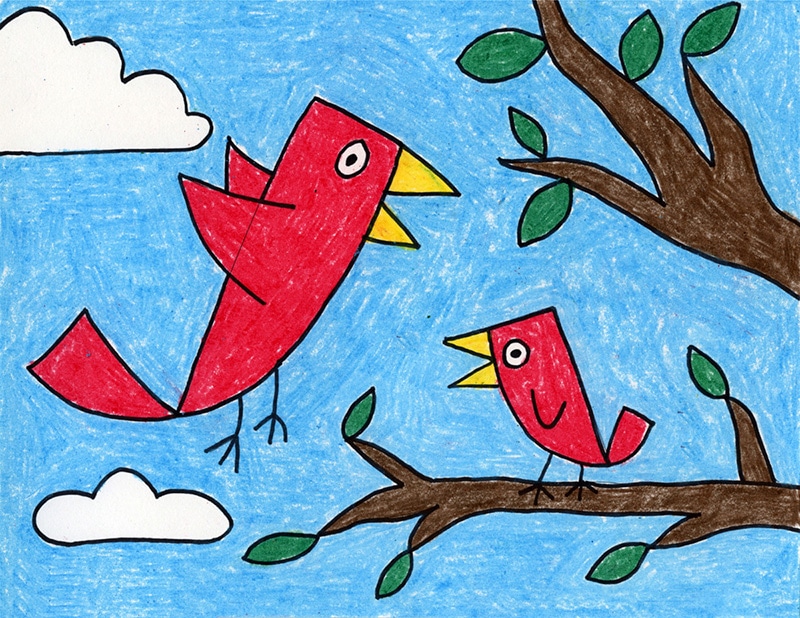
If you need a sweet drawing for a Mother’s Day card, this one works great for even the youngest of students. The bodies are made from just a few simple shapes, and the flat head and large beaks give them a little bit of a cartoon style too. Careful tracing and coloring with crayons will make the drawing extra charming.
If your students happen to have more that one child in their family, this idea is easy to adapt. Once they practice drawing one baby bird, they can easily add more to match the size of their own family. Have a larger family? Draw a longer branch.
Please note that there’s what I call a tracing page option too. Students can use a Sharpie marker to trace over the lines to get more of a hand drawn look before they begin to color. It also provides some fine motor skill practice too!
Use the Button below to grab a PDF tutorial

Mother and Baby Coloring Page
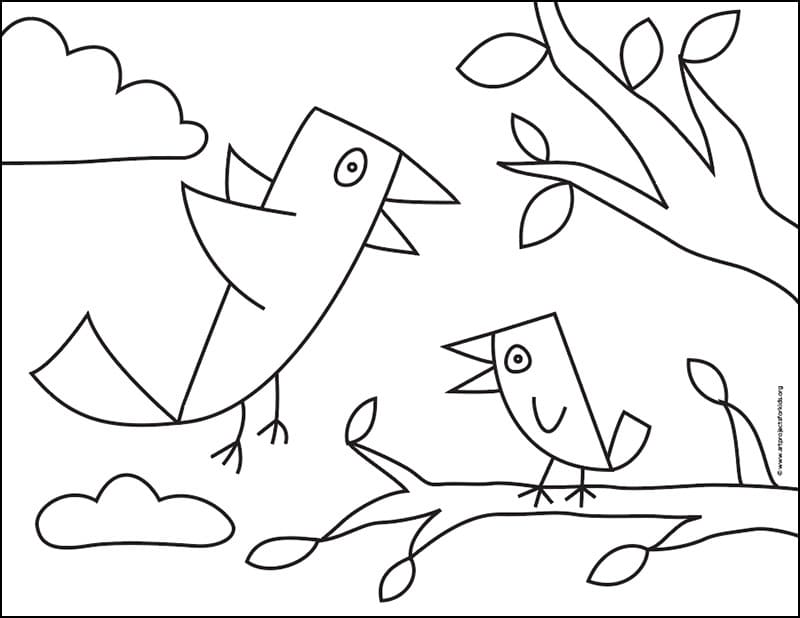
Mother and Baby Bird Tracing Page

Materials for a Mother’s Day Drawing
- Drawing Paper. This is the good stuff you can buy in bulk for a good price.
- Pencils. I like how this brand always makes nice dark lines.
- Black Marker. A permanent marker will give you a dark black color.
- Crayons. The larger packs are nice for more color choices.
- Note: All of the above are Amazon affiliate links.
Directions for a Mother’s Day Drawing
Time needed: 45 minutes
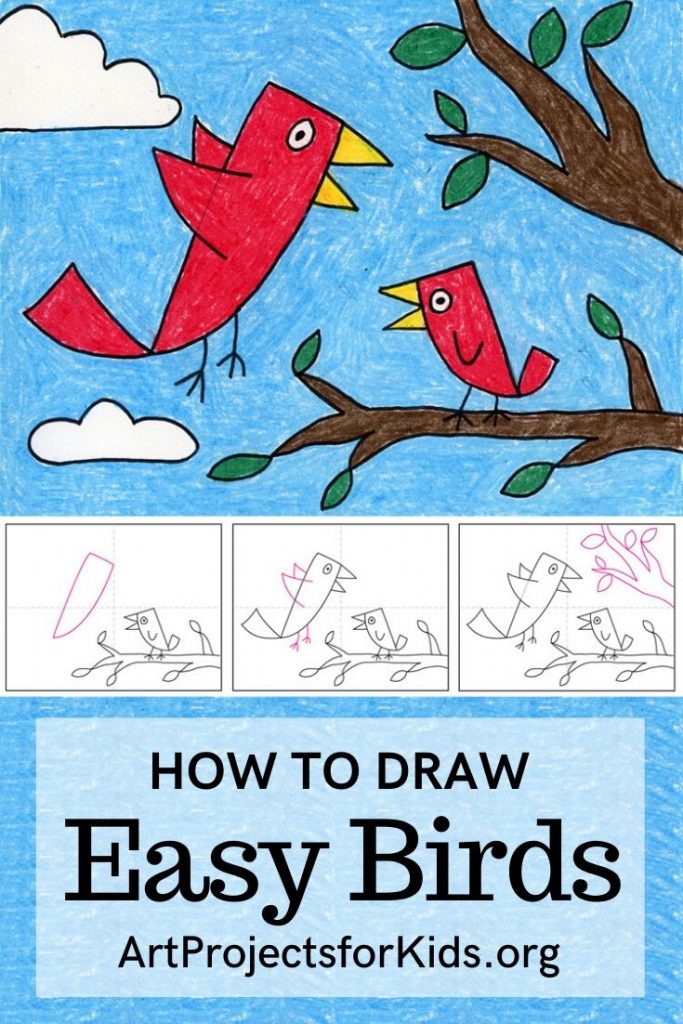
How to Draw Easy Birds
- Draw a branch.

- Start the small baby bird.

- Add the beak, eye, wing and tail.

- Start the large bird.

- Add the eye, beak and tail.

- Finish the large bird with wings and feet.

- Fill in top right with a branch.

- Add clouds in the space left over.

- Trace with a marker and color.







Read More Articles- Baby Bird Drawing