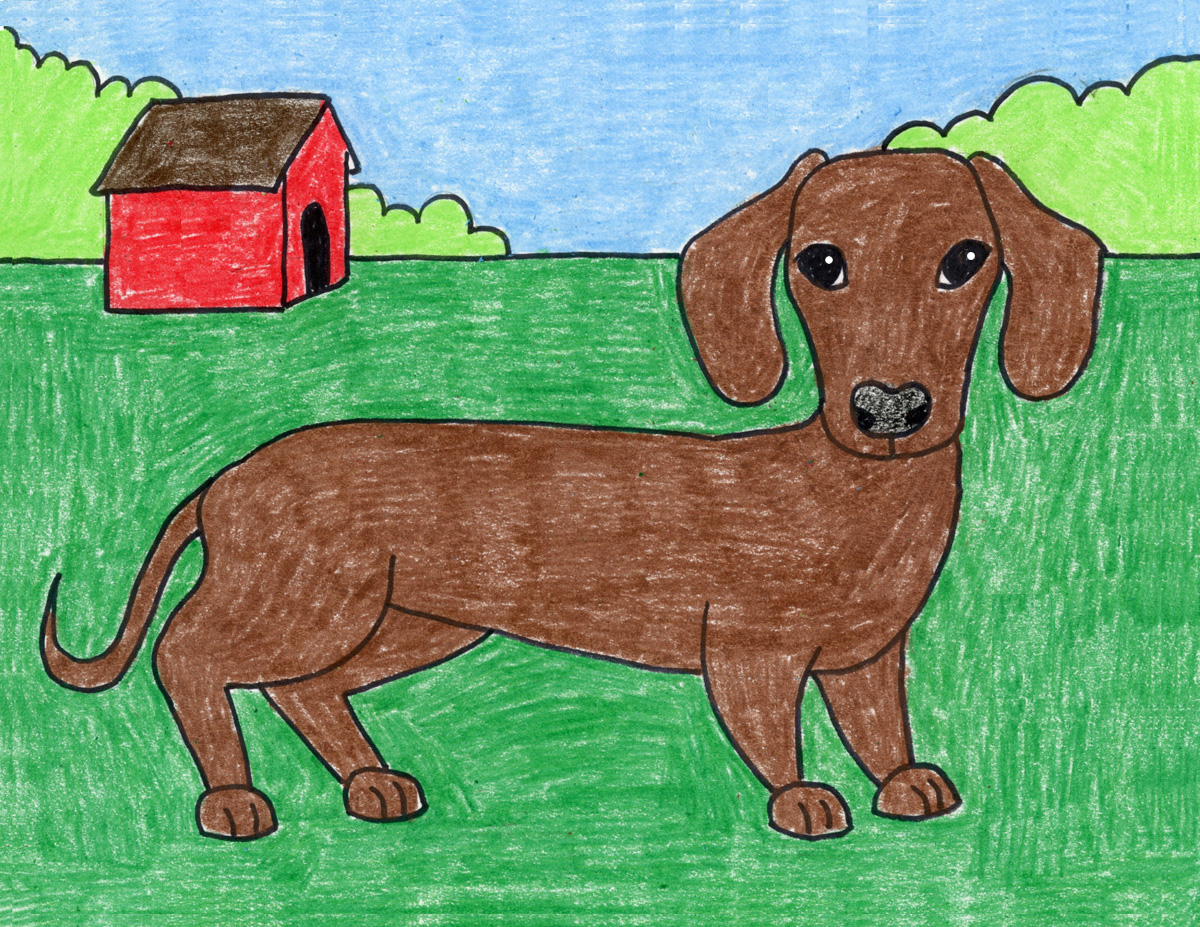
Easy How to Draw a Coffee Cup Tutorial
Learn how to draw a coffee cup and you have the beginning of all kinds of different projects, from shading lessons to abstract art and more.
The great thing about learning how to draw a coffee cup is that it can be used as a sort of canvas for so many other projects. For instance, you could draw the cup and…
- see how curved lines can make something look more 3D
- design your own ultimate coffee cup
- add a tea bag or something for Mother’s Day
- color each shape with a different color to see how flat you can make it look
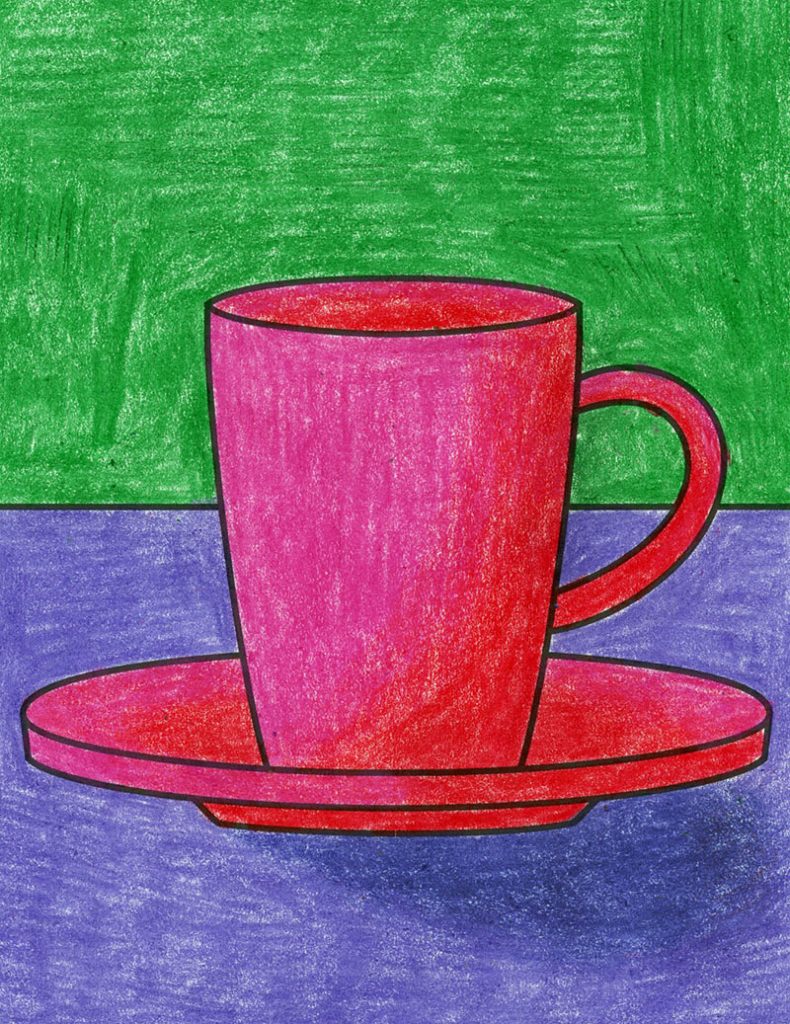
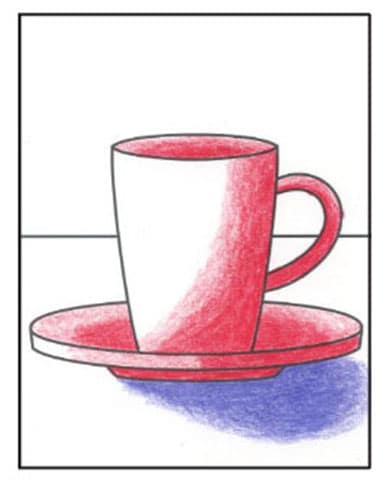
- color it with some shadows as shown above
- paint it with watercolor for a pretty still life
- color it with oil pastels for some really rich color
- color it with marker and see if layering can also add shadows
- color it with pastels, color black over all and then scratch it away with a stylus
- cut it apart and trace each piece on colored paper to make a collage
- skip the plate add some hot chocolate and steam for a fun winter project
- use this for your next art fundraiser so parents can order a drawing of a coffee cup ON a coffee cup
See? All kinds of possibilities. The great thing about simple drawings is that they can be the stepping stone to so much more. And my sample shown here is to show off how much color and definition you can get even if you only have the most basic of supplies — a black marker and crayons.
Pin me to your Pinterest Board
Use the Button below to Download a PDF Tutorial
Materials for How to Draw a Coffee Cup
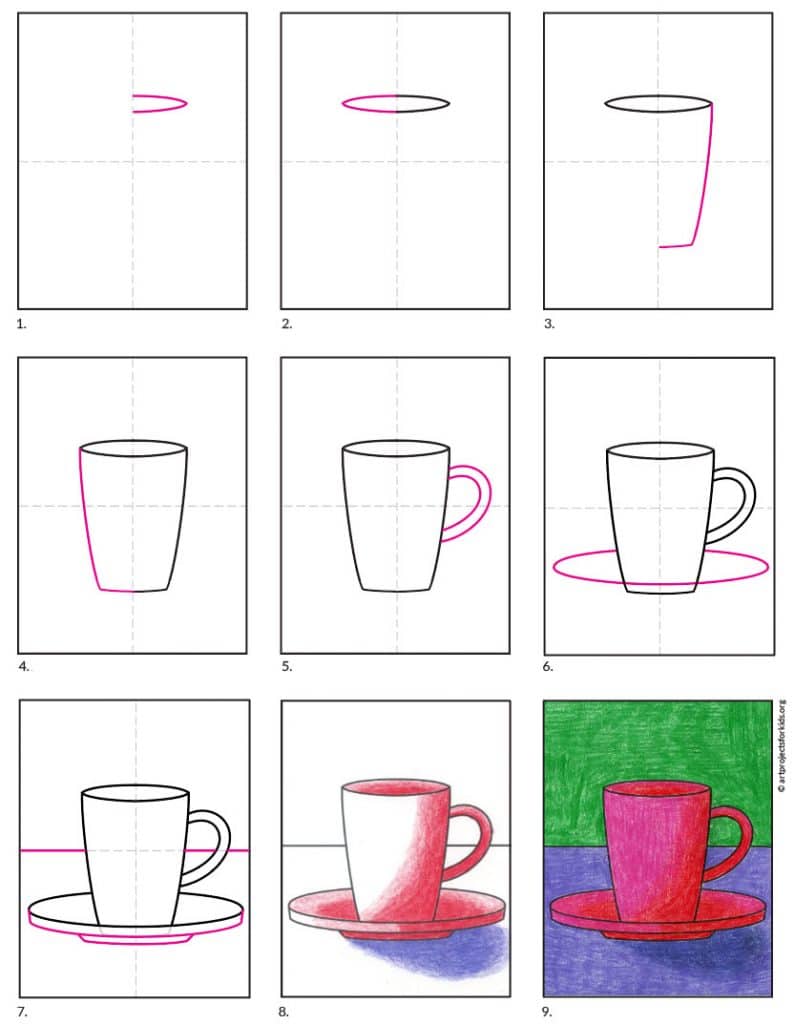
Directions for How to Draw a Coffee Cup Step by Step
Time needed: 35 minutes
How to Draw a Coffee Cup
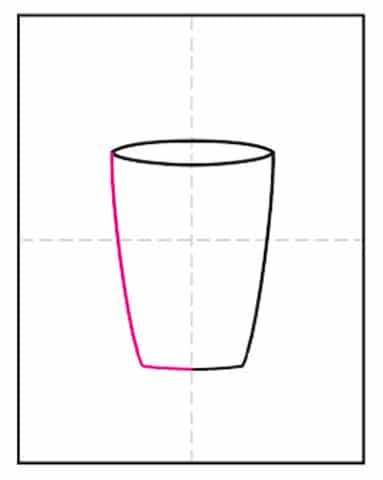
- Draw one half of an oval.
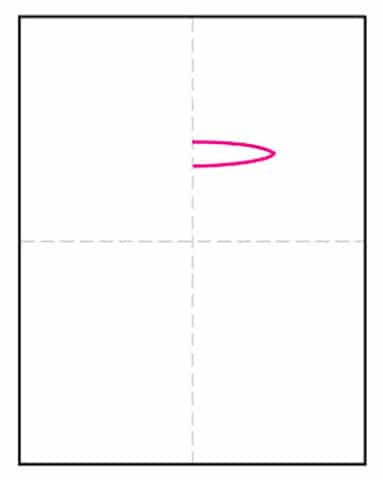
- Add a matching half oval.
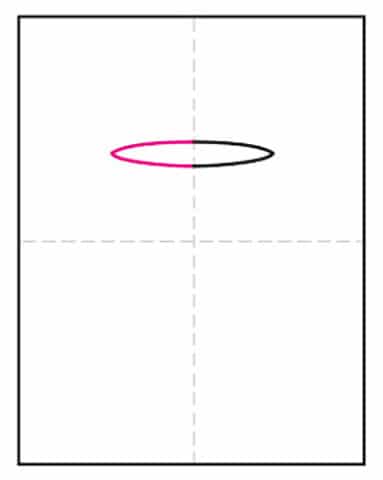
- Draw the right side of the cup.
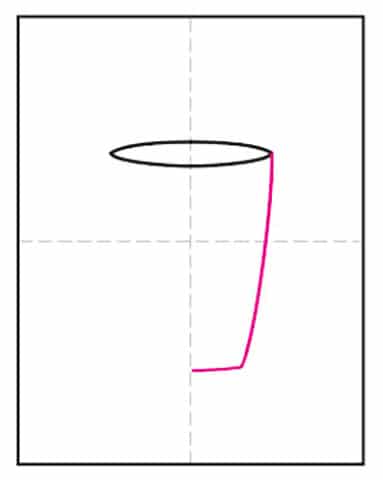
- Add a matching left side.
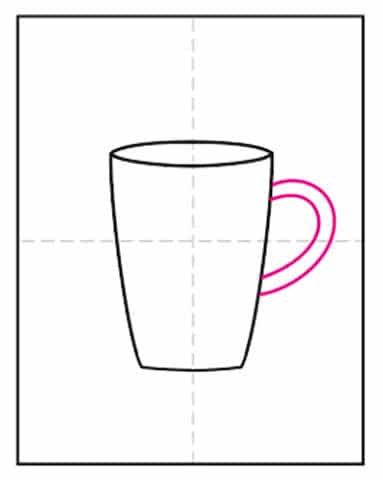
- Draw a simple handle.
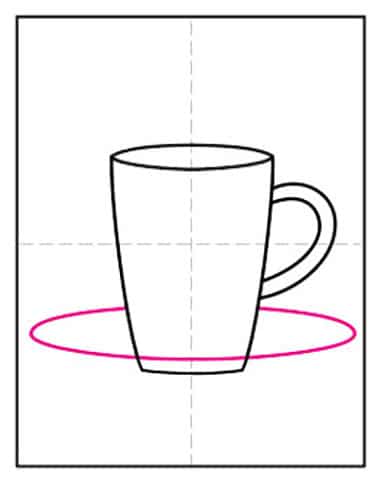
- Draw a simple oval for the plate.
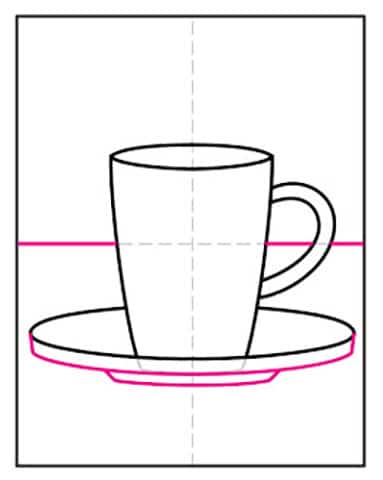
- Add another line, and a rim and table line.
- Trace and heavy coloring with a soft edge.
- Fill in the rest with a lighter color.
