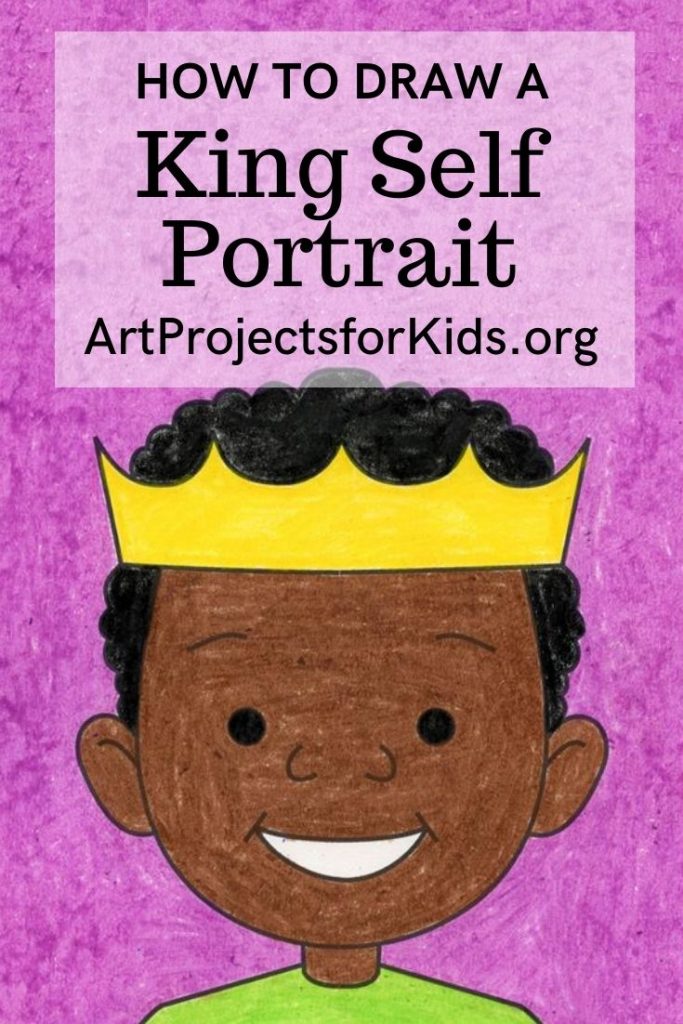
Easy How to Draw a Self Portrait Tutorial like a King or Queen
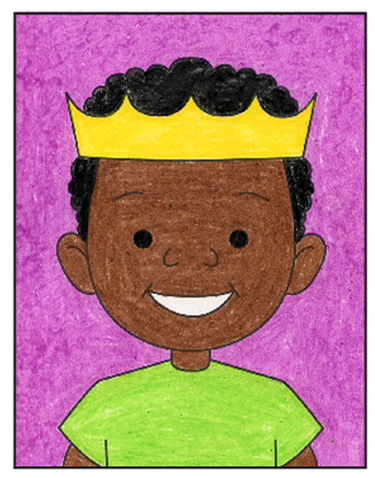
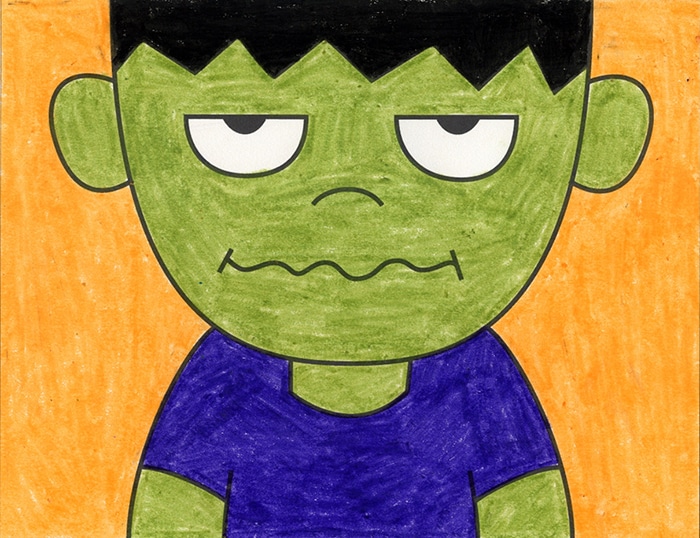
Learn how to draw a self portrait that was inspired by a fun new children’s book “The King of Kindergarten”. Adding a crown actually makes it a bit easier to do!
Self Portrait Drawing
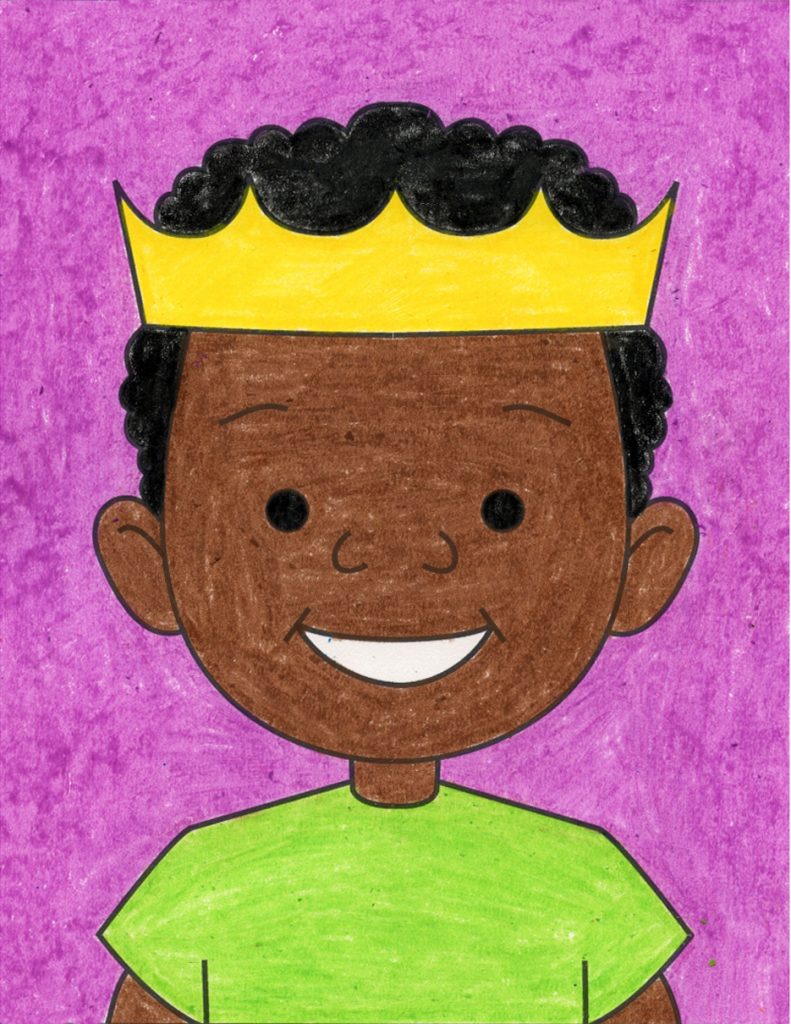
Learning how to draw a self portrait, or any portrait, is one of those fundamental building blocks of drawing. Getting the features all in place, with some approximation of proportion, takes practice. Most young artists will need some time and practice before drawing faces gets any easier for them.
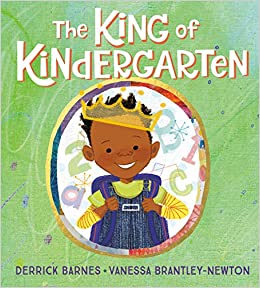
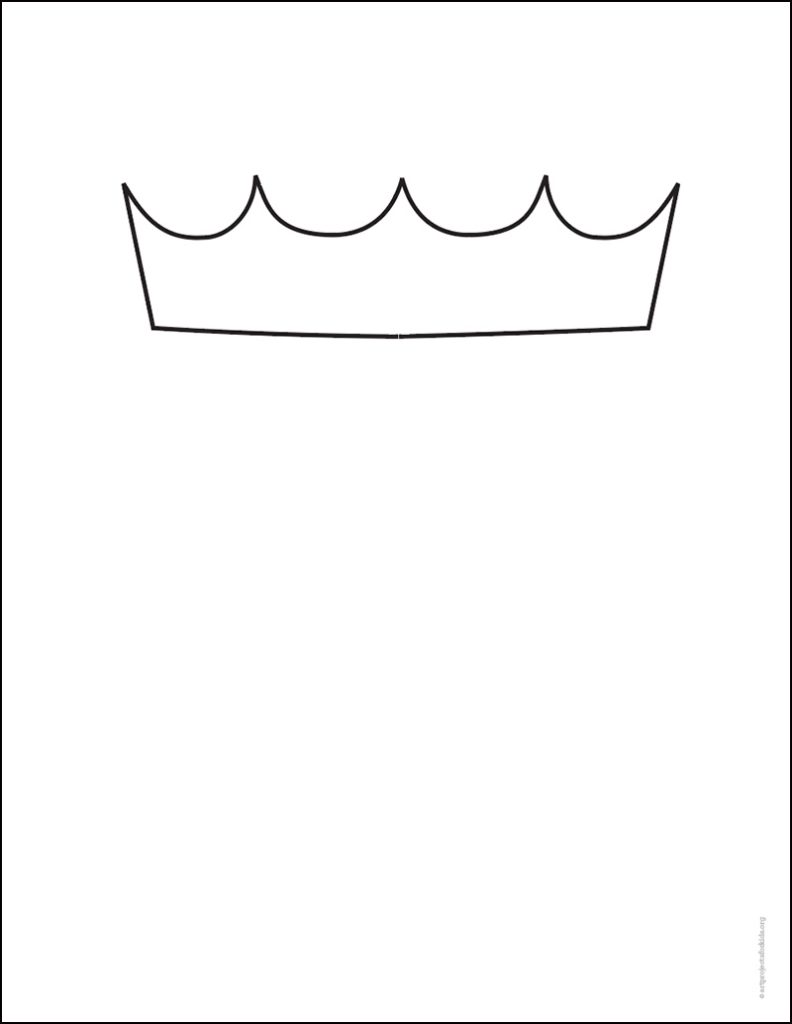
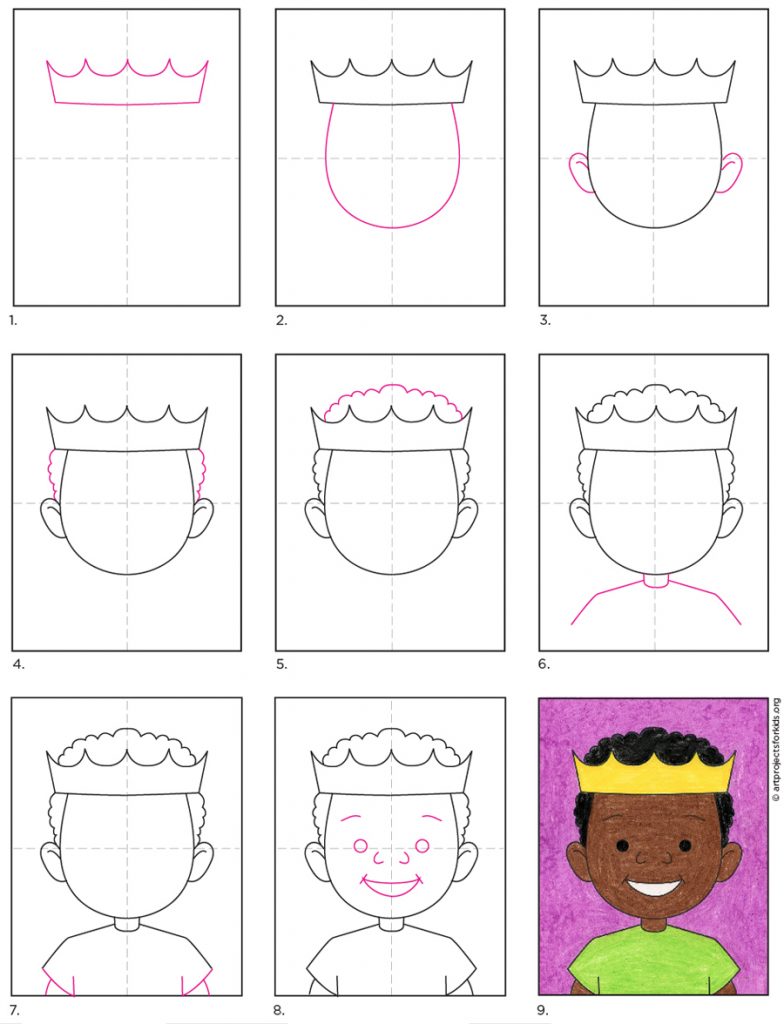
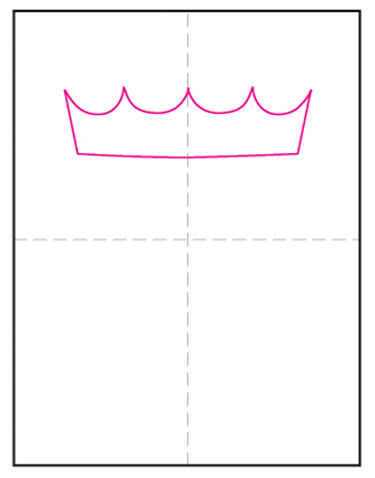
Fortunately, I’ve found a wonderful book that both targets young students, but adds a crown theme that I think helps the drawing process. It’s called “The King of Kindergarten” and would make a great intro to the lesson, as a young boy learns the ropes of school life. (Affiliate link. if you purchase, I will be compensated but at no cost to you.) My tutorial asks students to draw the crown first, so they can skip the part that often stumbles them up the most, namely making a large oval. Round shapes are some of the trickiest to master when starting out, so I know only too well how many can get frustrated with this starting point. That’s why I also include a page with just the outline of a crown already in place. It’s another option for those that know their students might need a reference point to get started.
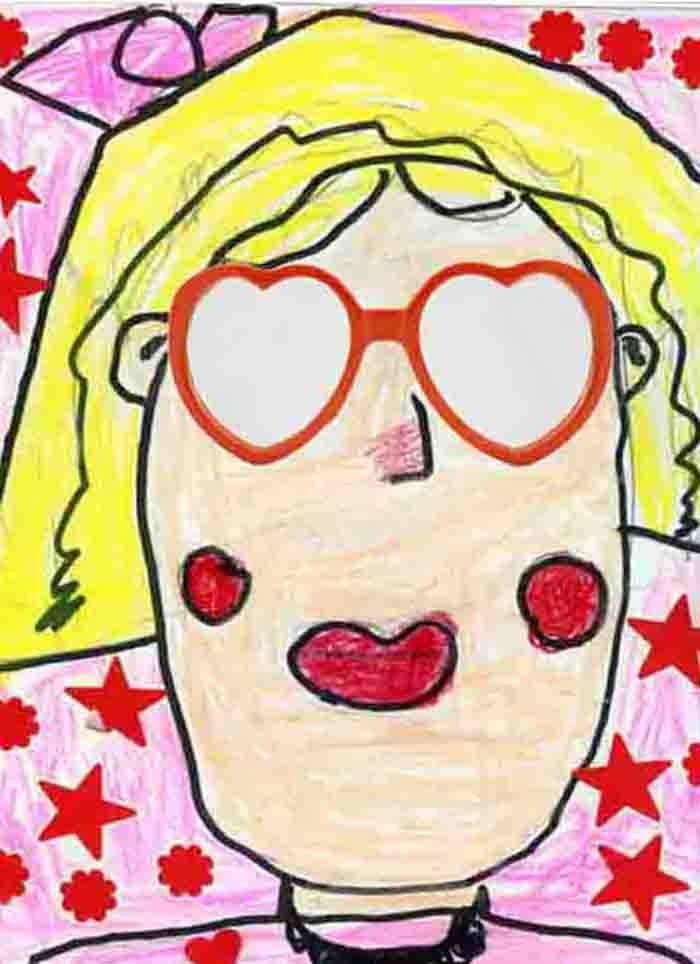
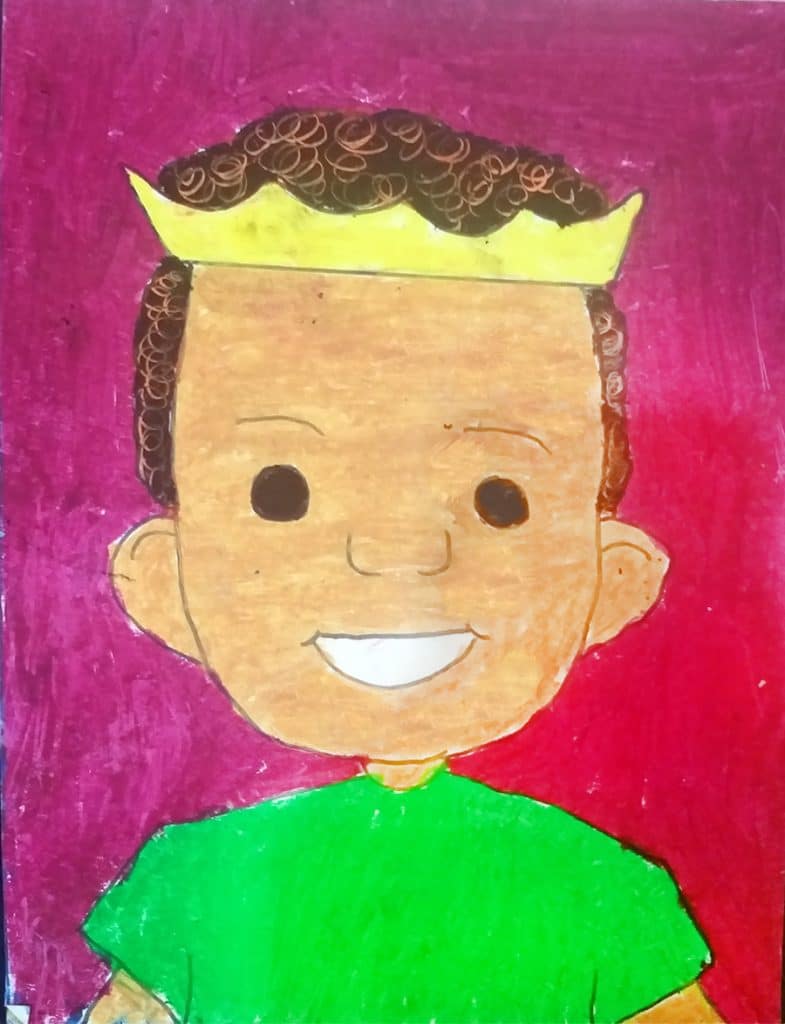
Student Art Gallery
Use the button below to grab a PDF Tutorial
Materials
Directions
Time needed: 45 minutes
How to Draw a King Self Portrait
- Draw a large crown.
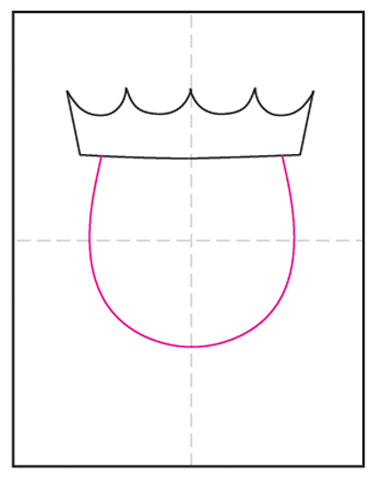
- Add a U shape below.
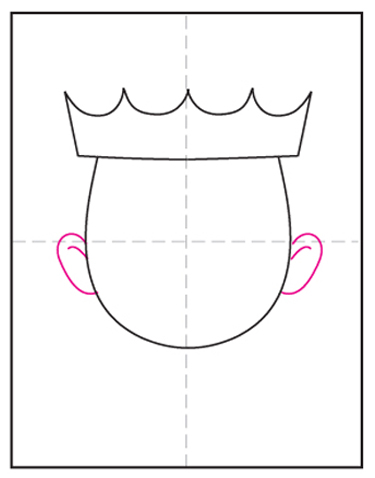
- Add two ears.
- Start the hair lines.
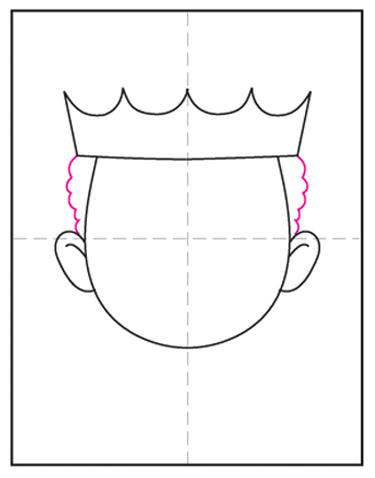
- Finish the hair line on top.
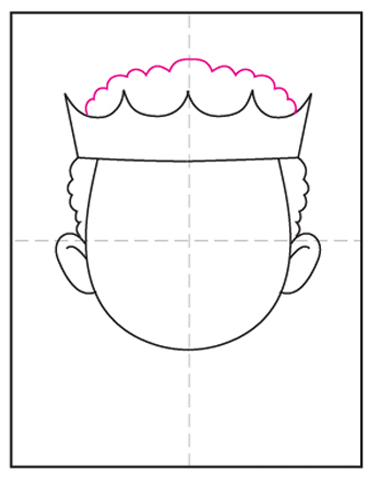
- Draw the neck and shoulders.
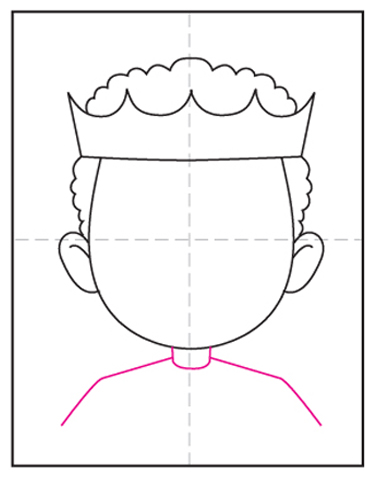
- Finish the sleeves.
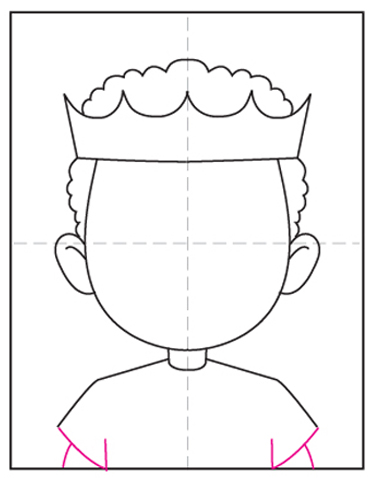
- Fill face with features.
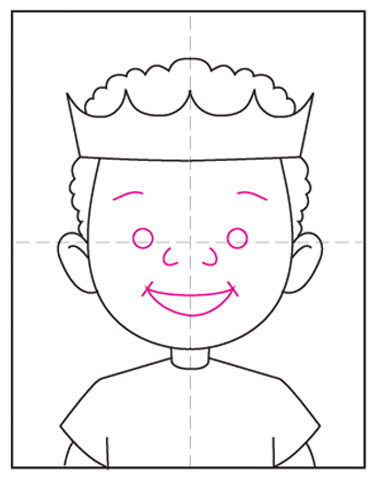
- Trace with marker and color.
