How to Draw Bubbles Easy, Step-by-Step Art Lesson for Kids
Here you’ll find an easy step-by-step tutorial for how to draw Bubbles. Water based markers and water make it easy to create this soft look.
Bubble Drawing
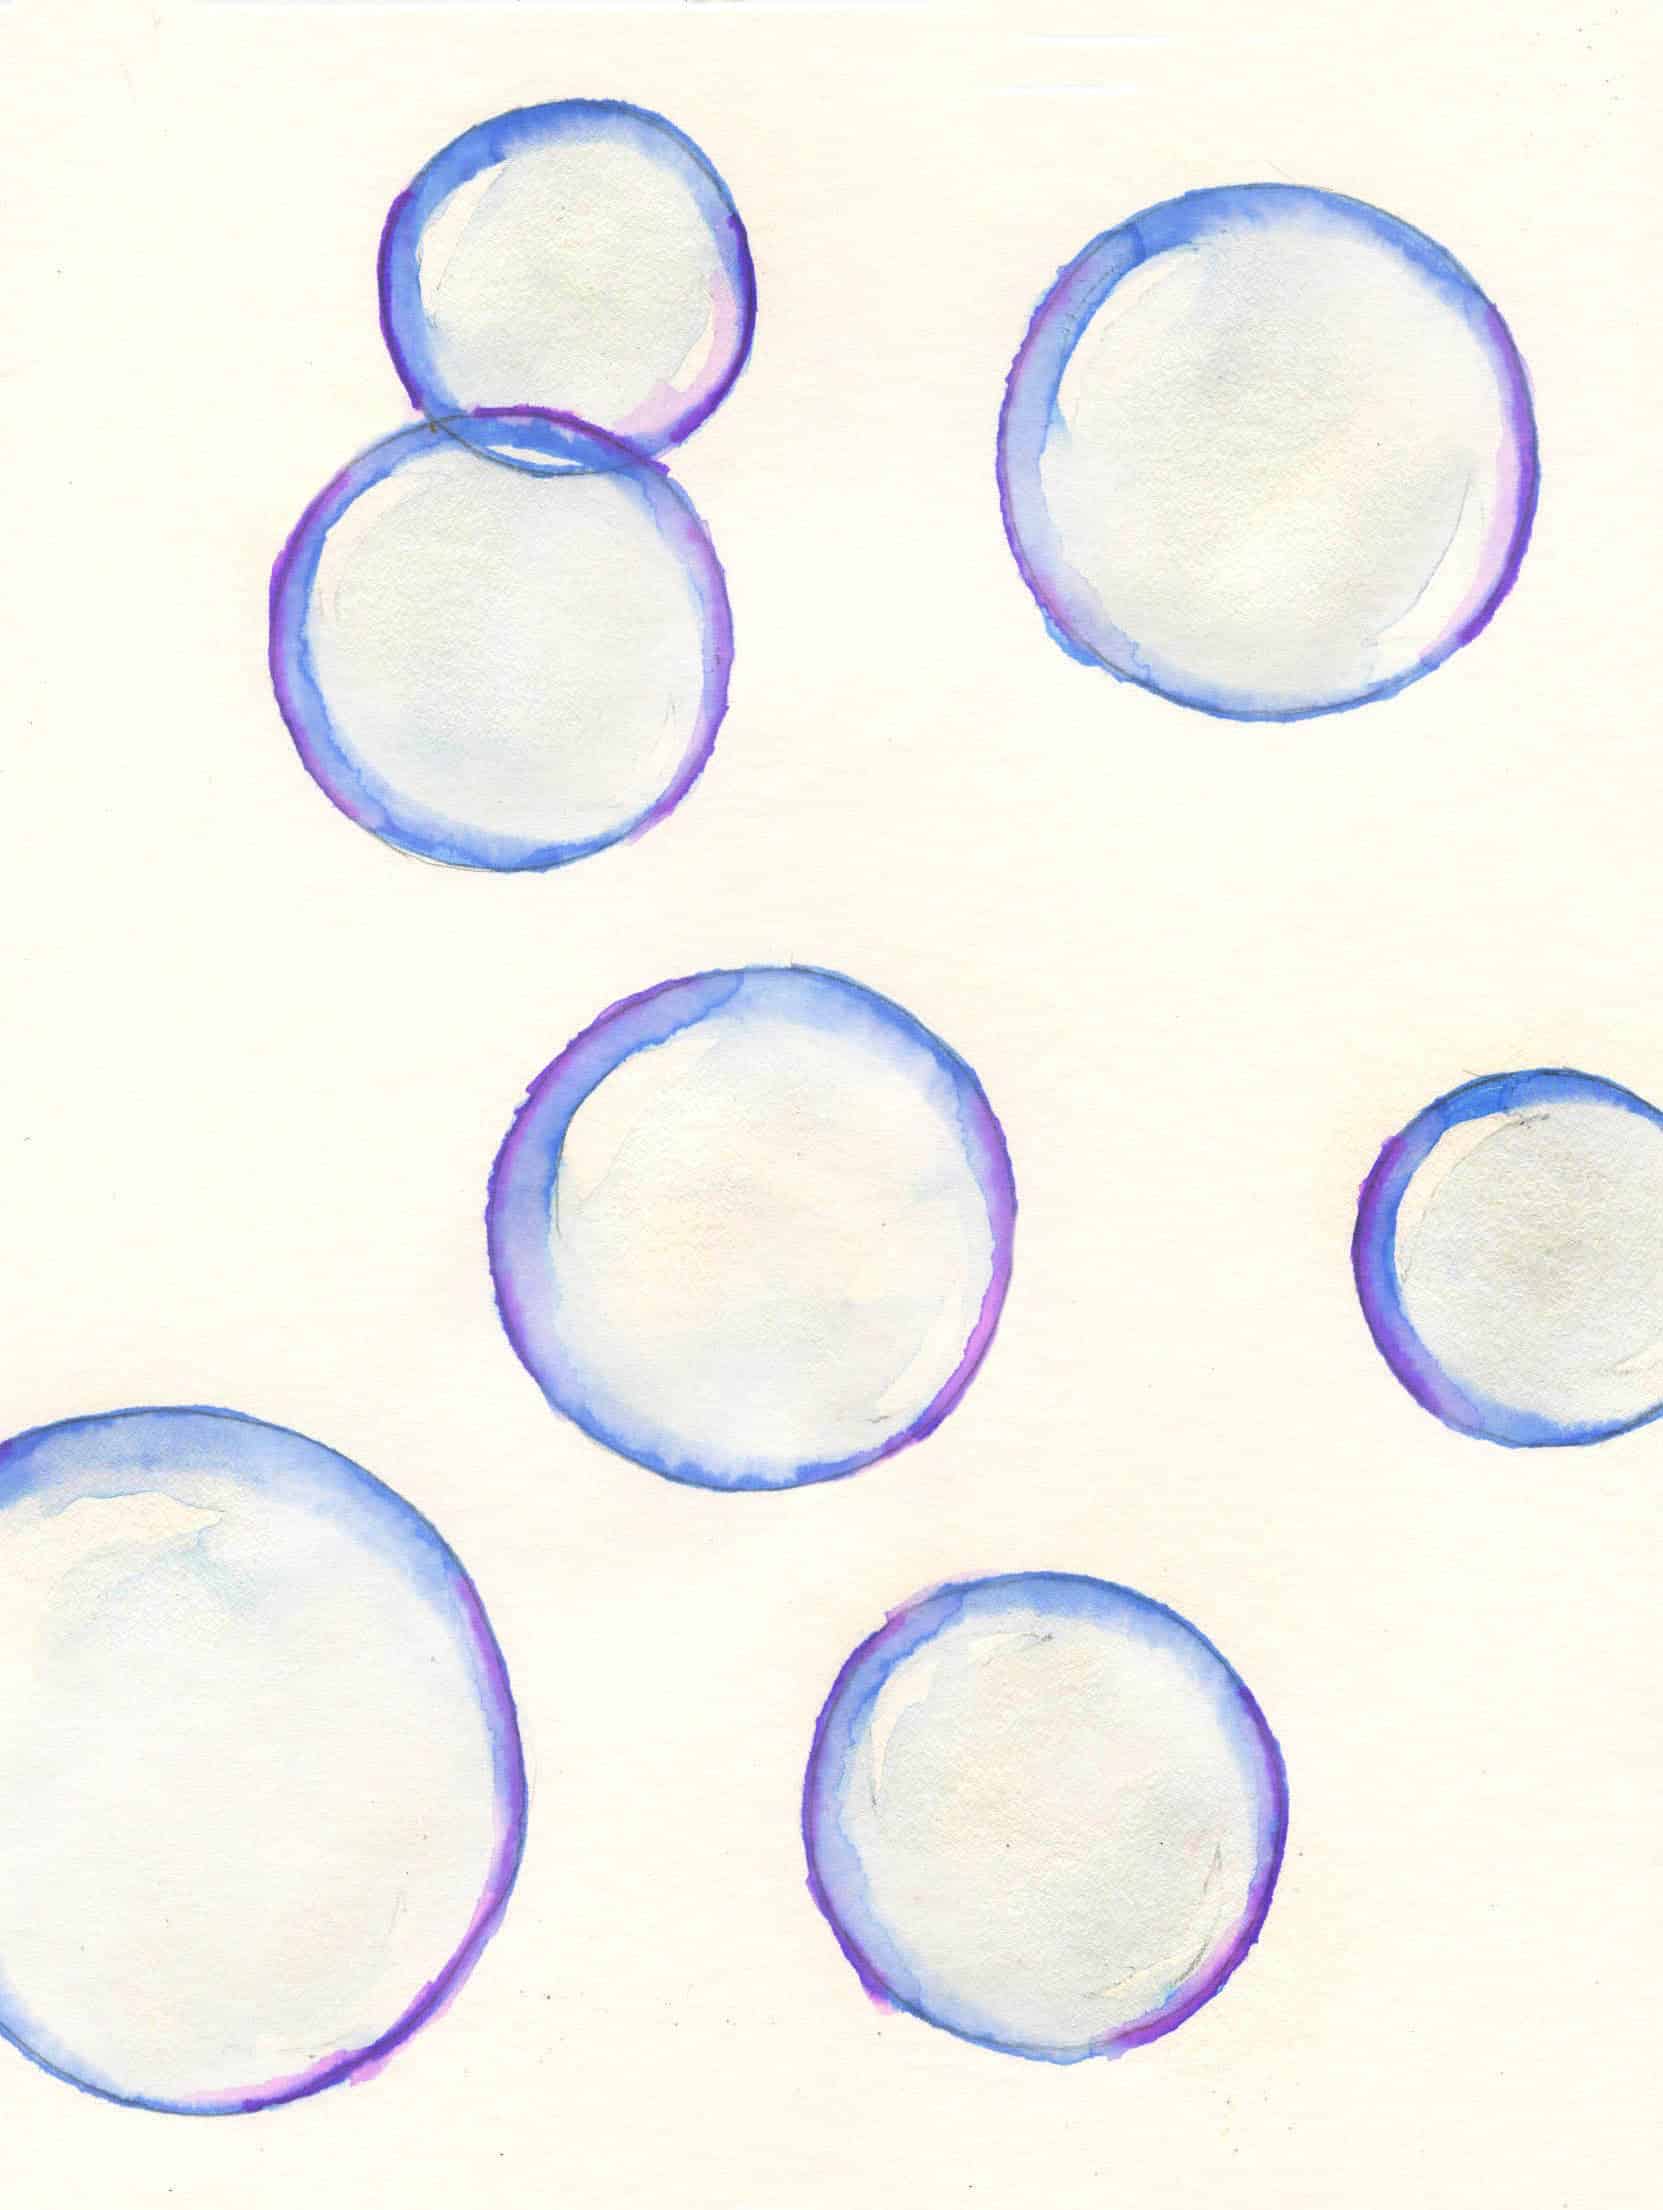
If you’d like to learn how to draw a bubble with just a little more of a nod to all the amazing colors the real ones hold, this option might be fun to try.
I found the idea of drawing bubbles with markers, and then softening them up with water over on Pinterest, and it is a really good one. The markers let you add color that you can control, with tips that make neat lines, and then the water softens everything up.
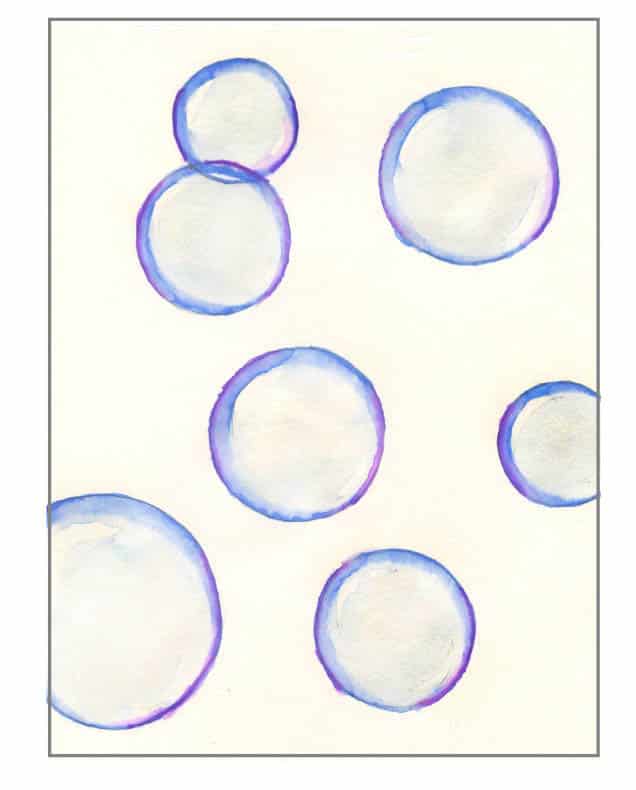
My contribution to the idea is to draw the bubbles with two highlights, or reflection spots, add a bit of a second color with the purple, and then erase all the light pencil lines when you are done.
What’s left is a lovely and soft image that has the rounded precision of a bubble, with all those soft watery colors inside.
Use the button below to get this free PDF tutorial
Materials
Note: This post contains affiliate links. If you click and take action, I will be compensated a small amount at no expense to you.
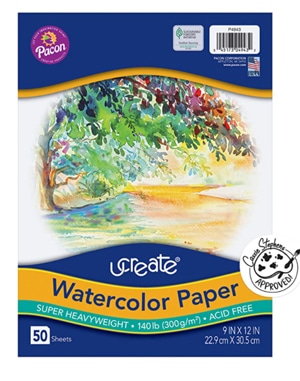
- Watercolor Paper.
- Real watercolor paper is best to make that marker color show up.
- Pencil.
- The Ticonderoga brand are the most reliable.
- Water based Markers.
- This is my favorite brand.
- Rounded Watercolor Brush.
- This style with a sturdy rounded tip are my favorite.
Directions
Time needed: 30 minutes
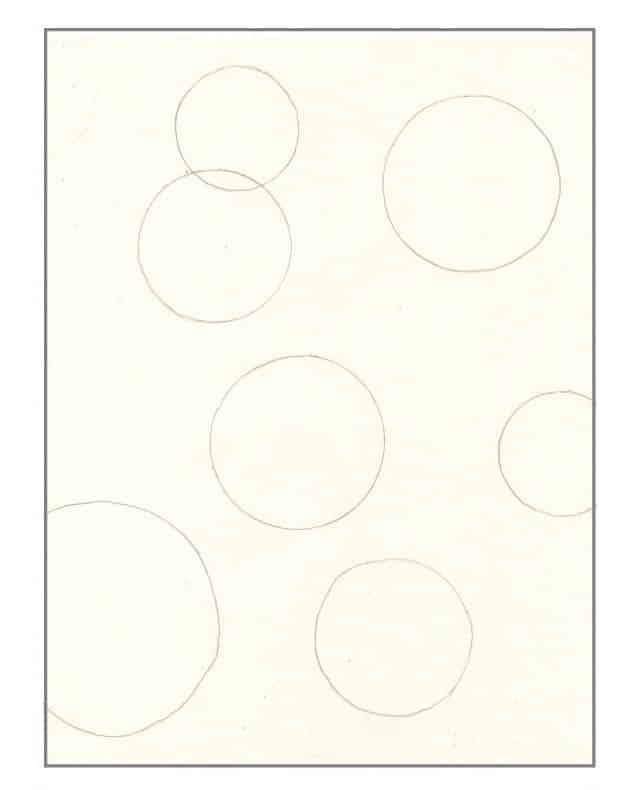
-
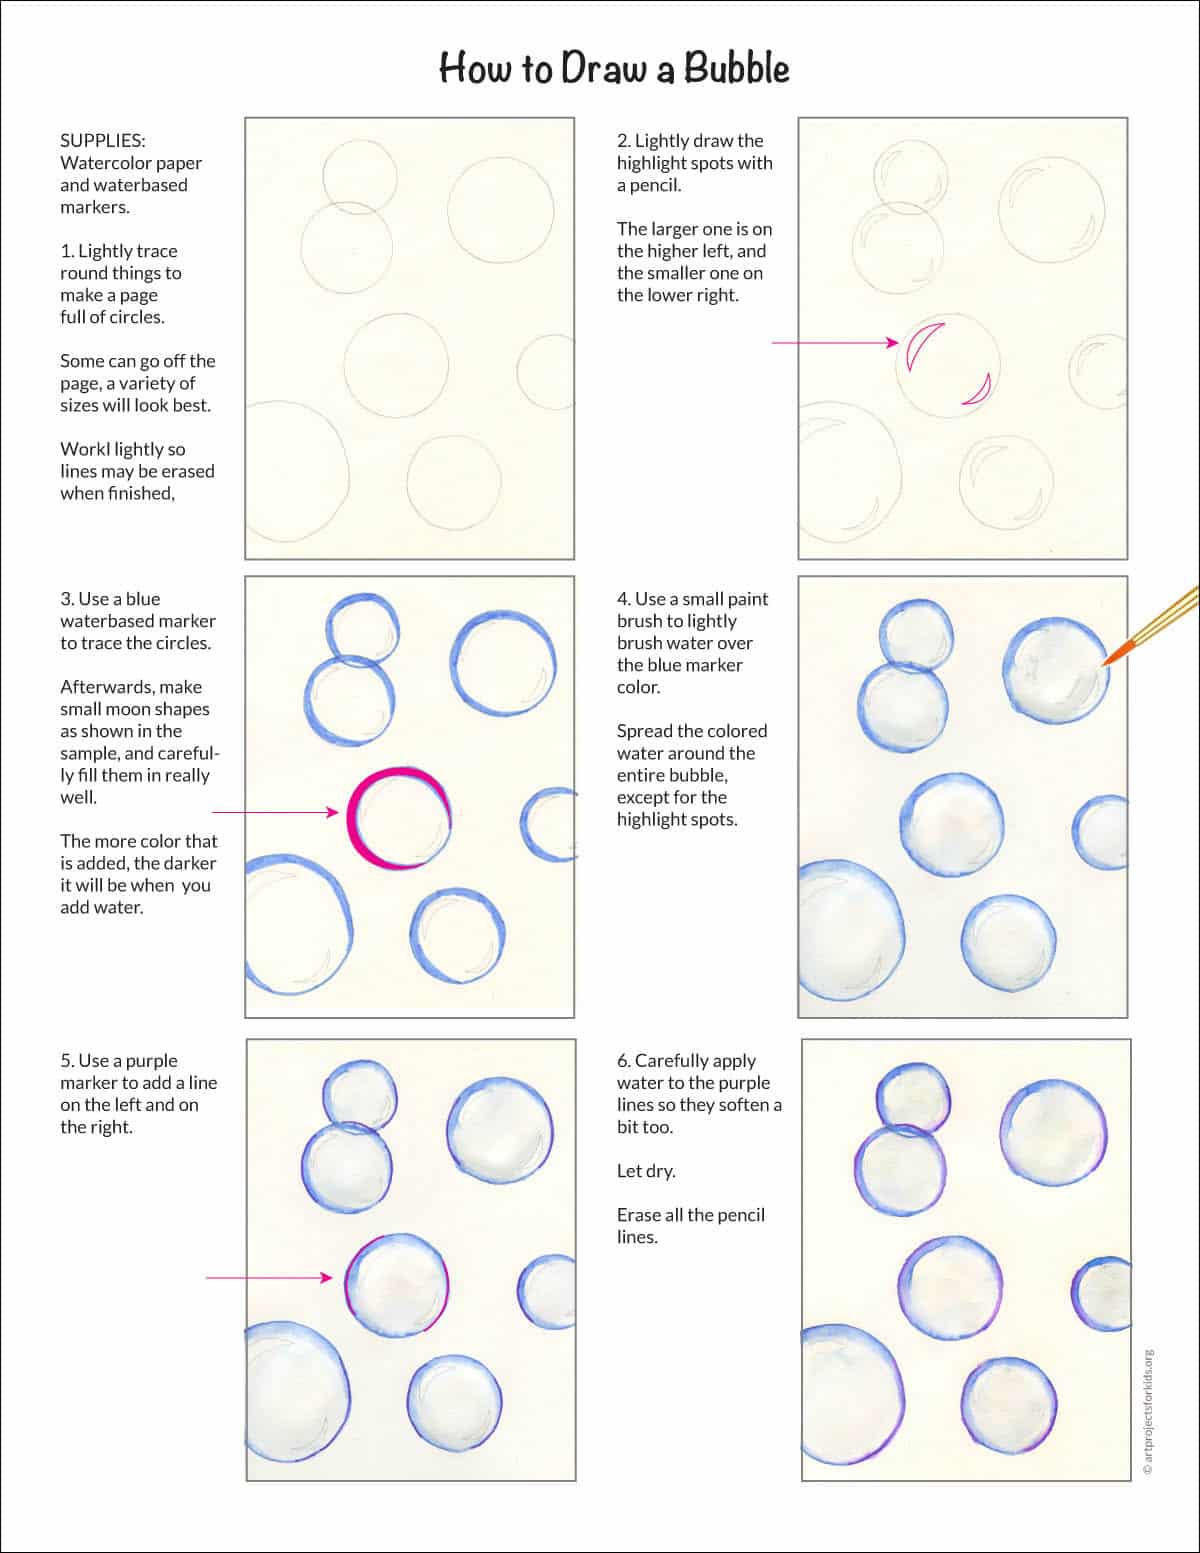
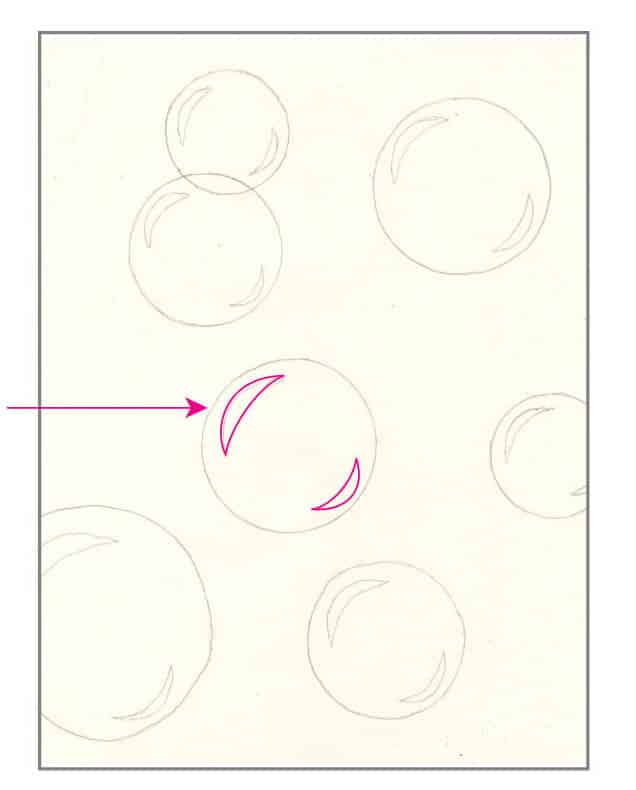
SUPPLIES: Watercolor paper and water based markers. Lightly trace round things to make a page full of circles. Some can go off the page, a variety of sizes will look best. Work lightly so lines may be erased when finished.
-
Lightly draw the highlight spots with a pencil. The larger one is on the higher left, and the smaller one on the lower right.
-
Use a blue water based marker to trace the circles. Afterwards, make small moon shapes as shown in the sample, and carefully fill them in. The more marker color that is added, the darker it will be when you add water.

-
Use a small paint brush to lightly brush water over the blue marker color.
Spread the colored water around the entire bubble, except for the highlight spots.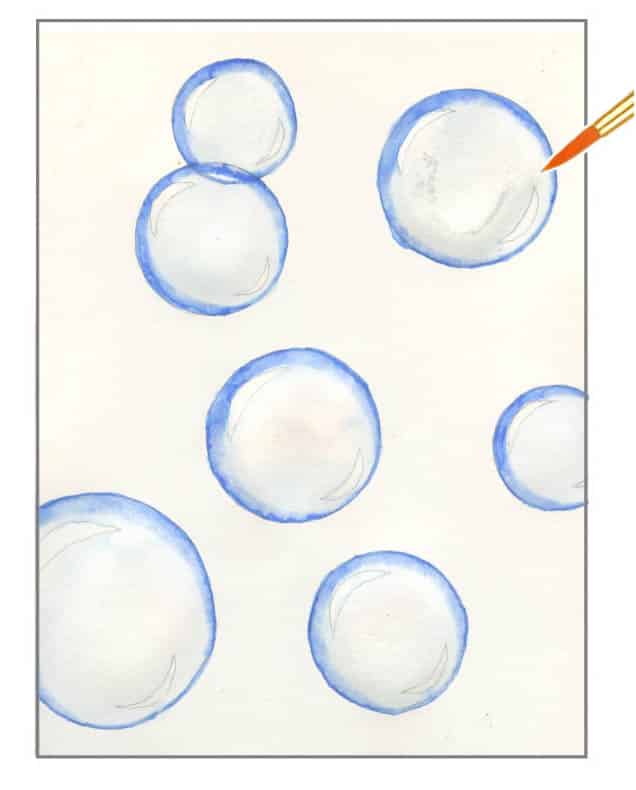
-
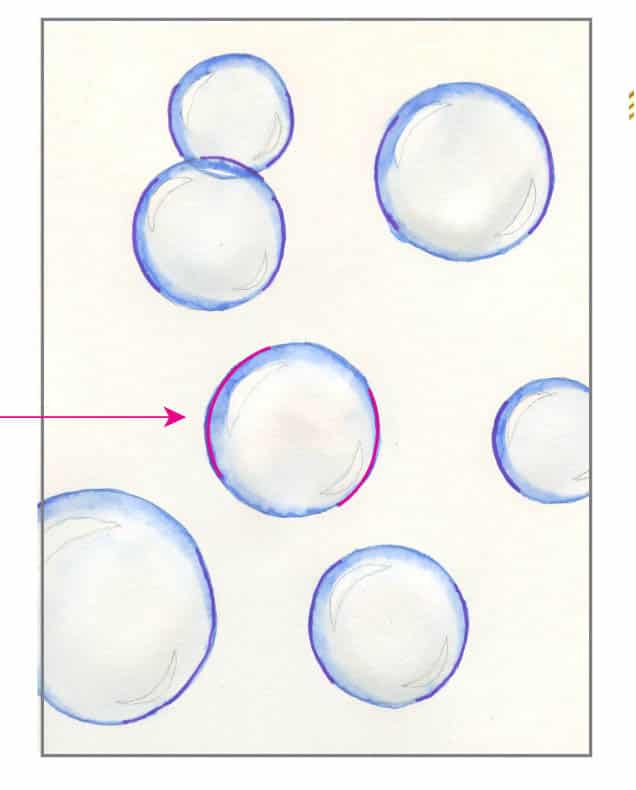
Use a purple marker to add a line on the left and on the right side of each bubble.
-
Carefully apply water to the purple lines so they soften a bit too. Let dry.
Erase all the pencil lines.