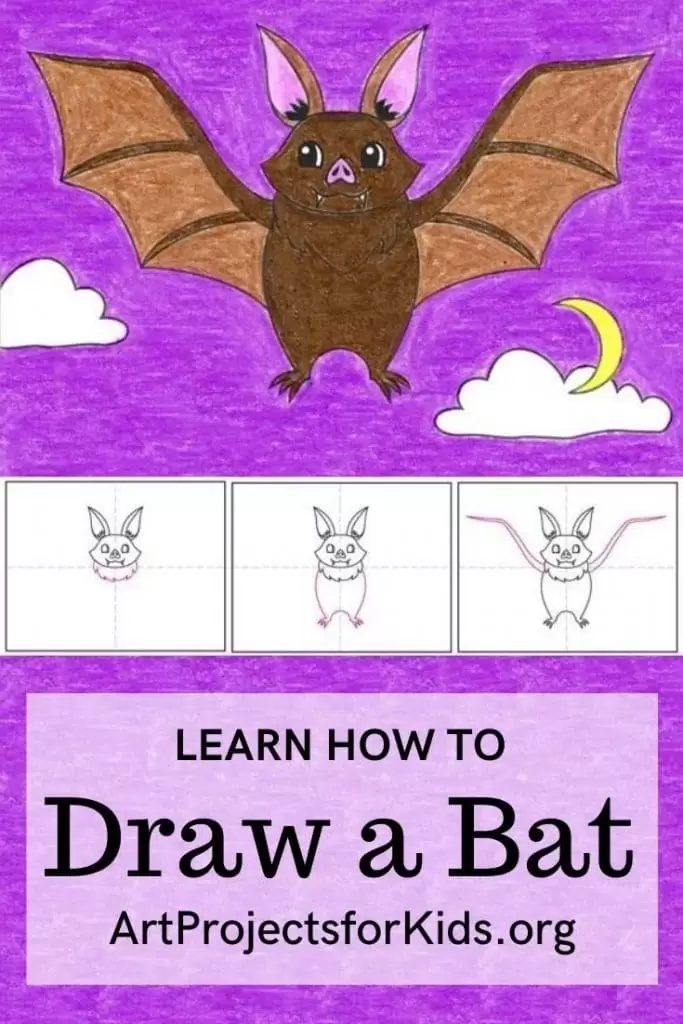
How to Draw a Flying Bat Tutorial and Bat Coloring Page
Below you’ll find an easy step-by-step how to draw a bat tutorial and bat coloring page. This one teachers more about how the wings really look.
Bat Drawing
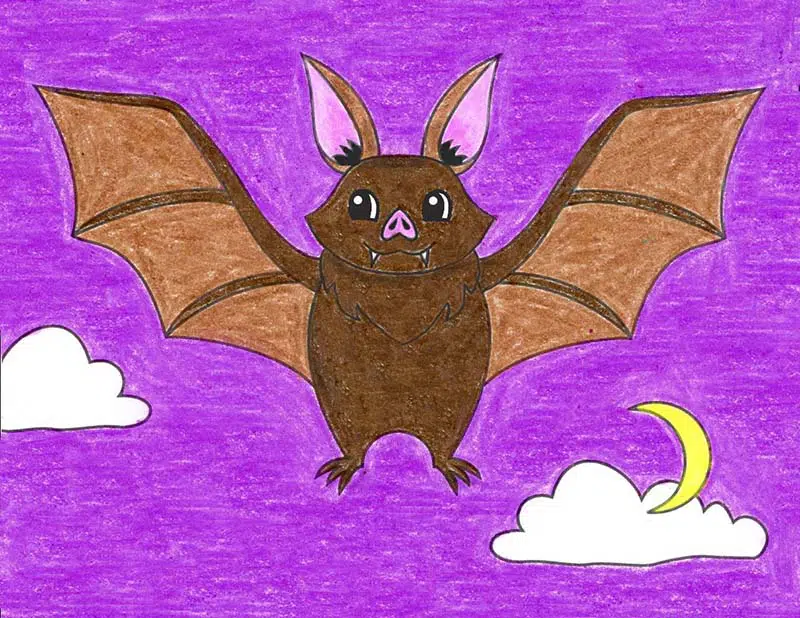
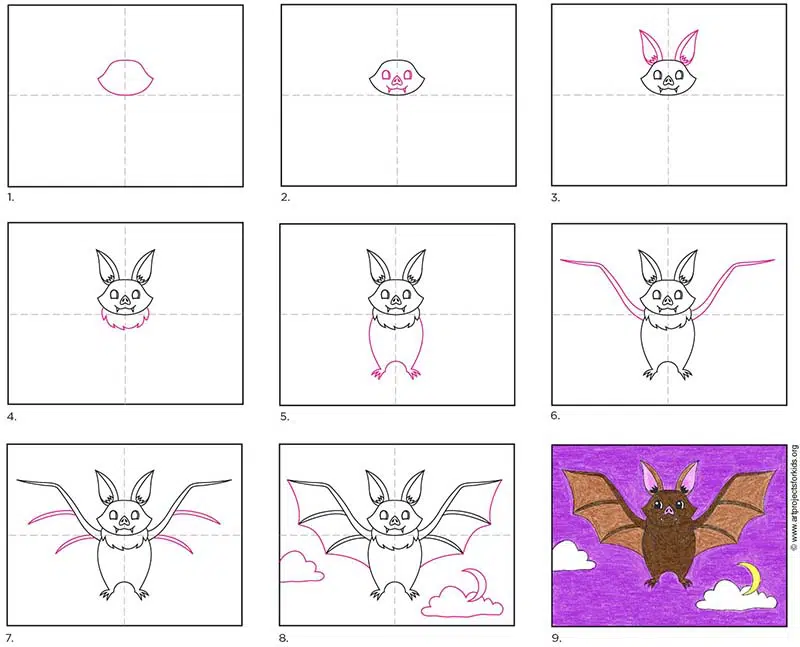
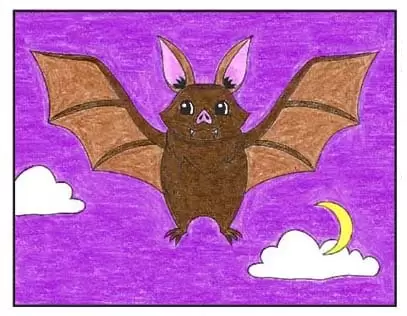
If you are ready to learn how draw a bat that is more than just a simple silhouette, this might be a fun tutorial to try out. This cartoon animal version includes vampire teeth and anime-looking eyes for those that are drawing around Halloween time, but rest of the body is fairly realistic. The bat’s snout, spread out wings, tall ears and body of the bat are pretty true to what a real one looks like.
Did you know that bats are the only flying mammals in the world? They feed on insects and use their super sonic hearing to find food in the dark as they are nocturnal animals. Some used to believe that you could get sick from bats, but they are actually very clean and groom themselves as often as cats do.
Getting Started with Drawing Guides
The best way to get young artists off to a good start to any drawing lesson is to show them how to use guides as a reference point.
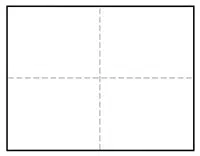
You may have noticed that all of the tutorials on this site have a dashed line running through the center of each step, both in the horizontal and vertical direction. If students make their own centered lines on their own paper, before drawing, they will have an easy reference to follow.
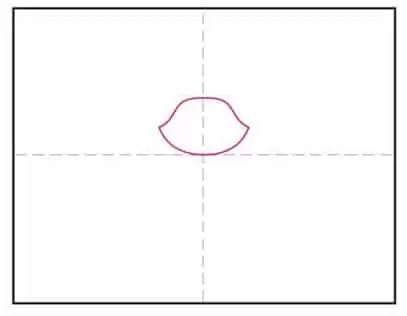
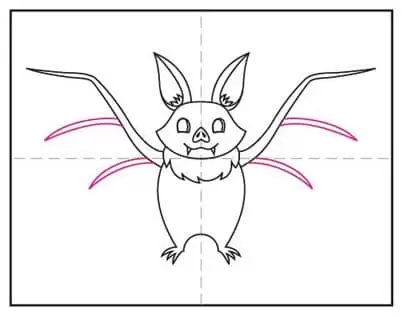
For instance, as seen in Step 1 below, shape for the bat head needs to be sitting on the horizontal line, and centered on the vertical line. It’s important to sketch that shape big enough and high enough on the sheet of paper so that there’s room for the ears and body underneath. When beginners get their drawing off to a good start, there’s a better chance of them feeling successful by the time they are done.
So does that mean students need to get out a ruler to draw a big fat line down the center of their paper before they start? Goodness no, please don’t! That will most likely be hard to erase and distract from any finished art. No, simply fold the sheet of paper in half both ways, make a crease, and unfold. The beauty is that by the time the drawing is done and colored in, the creases will disappear.
Use Button below to Download Bat Tutorial
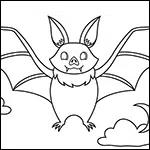
Bat Coloring Page

How to Draw a Bat Materials
- Drawing Paper. This is the good stuff you can buy in bulk for a good price.
- Pencils. I like how this brand always makes nice dark lines.
- Black Marker. A permanent marker will give you a dark black color.
- Crayons. The larger packs are nice for more color choices.
- Note: All of the above are Amazon affiliate links.
How to Draw a Bat Directions
Time needed: 45 minutes
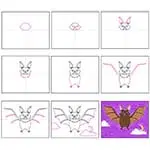
How to Draw a Bat in 9 Simple Steps
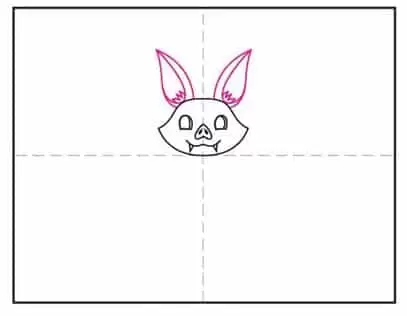
- Draw the head on the center line.

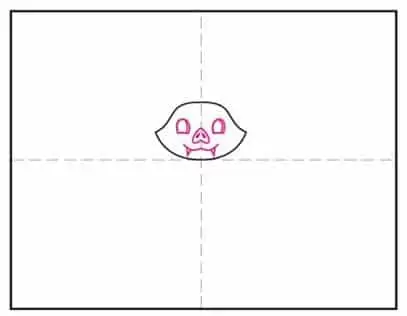
- Add the eyes, nose and mouth for the bat’s face.
- Draw the two of the bat’s ears.
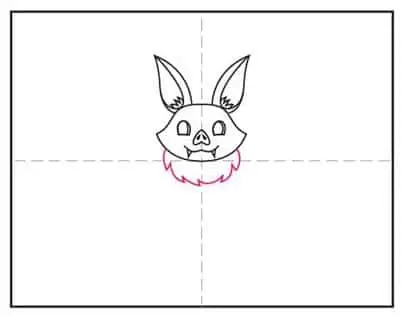
- Add a ring of fur below.
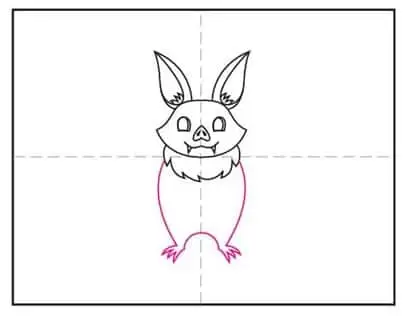
- Draw the symmetrical body and feet.
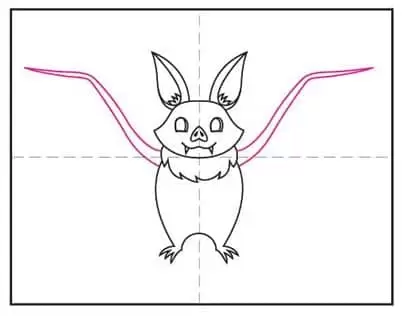
- Draw the wing forearms.
- Add the symmetrical fingers below.
- Draw the wing edges and add a sky.
- Trace with marker and color

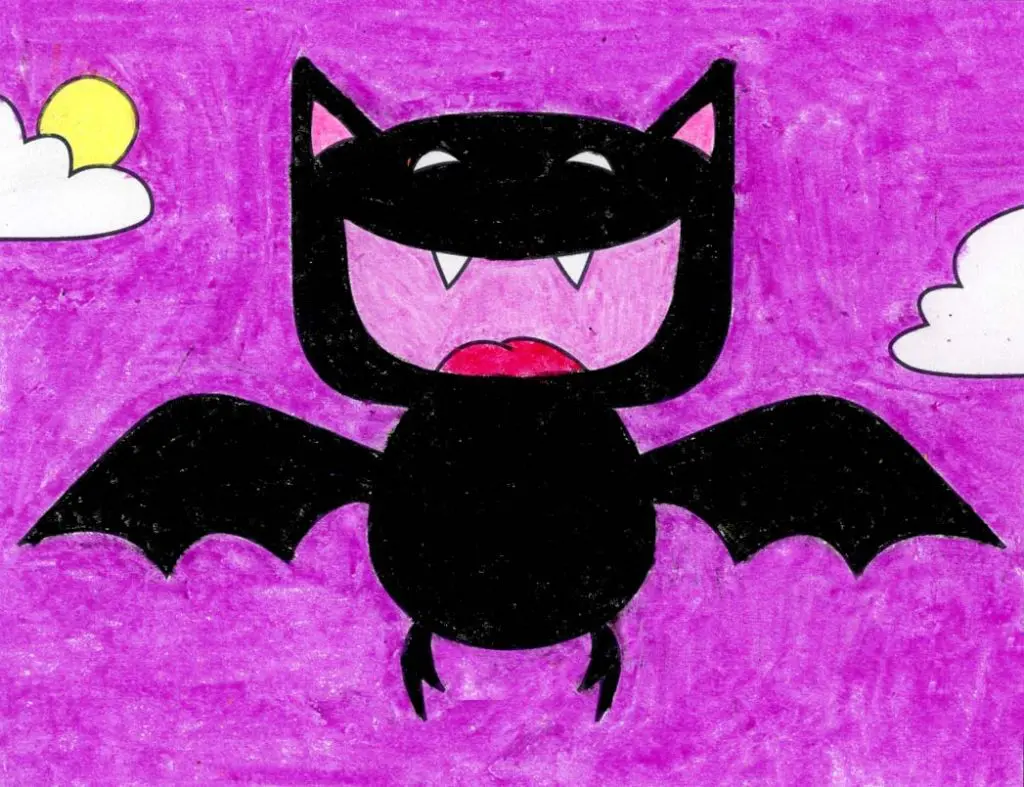
Another Bat Drawing Project
Save me to your Pinterest board!