Constitution Drawing: Easy Art Lesson for Kids
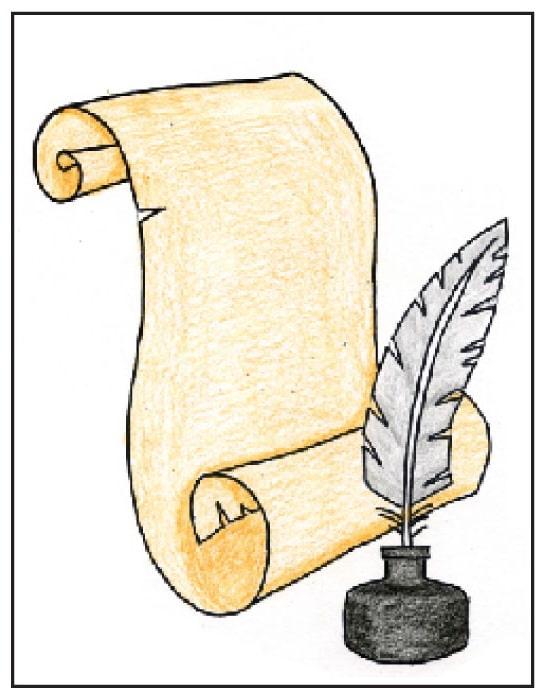
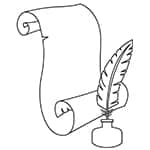
Try this Constitution Drawing lesson for kids with a scroll, inkwell and feather. An easy Constitution Day art project for grades 3–5.
Constitution Drawing
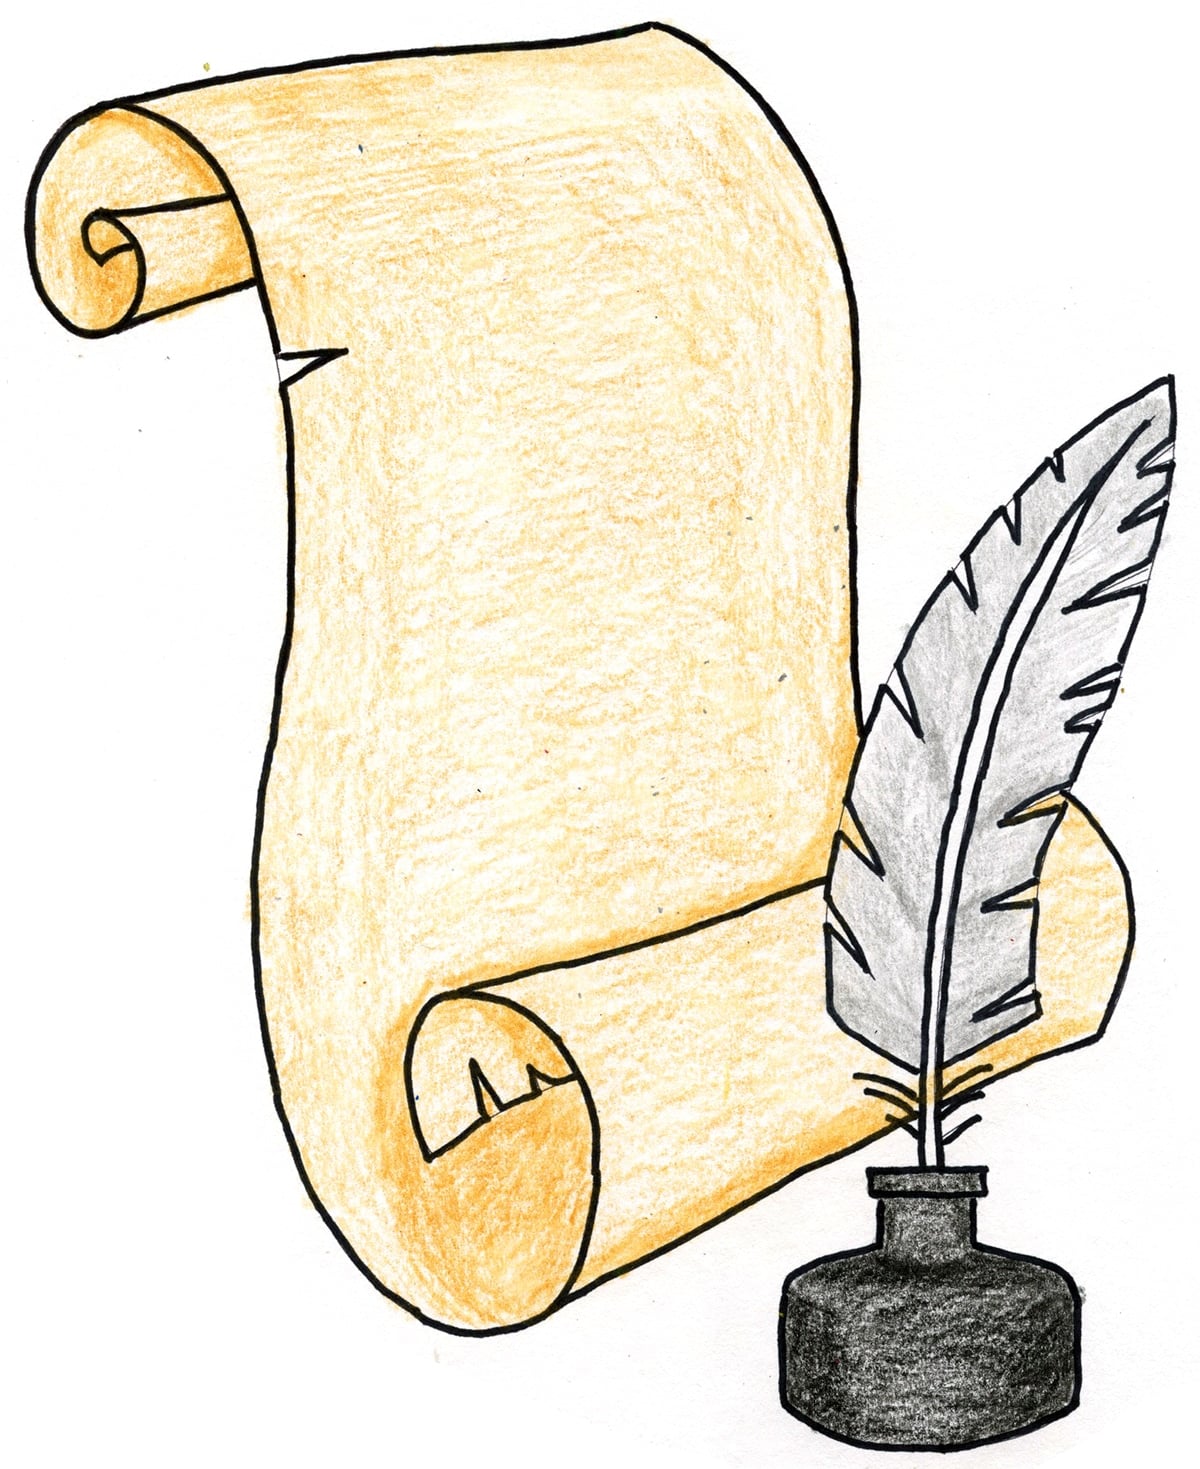
Constitution Drawing Art Lesson
This Constitution Drawing lesson is a simple way to connect art with Constitution Day while giving students practice with line, shape, texture and form. Students draw a rolled paper, inkwell and feather using easy step-by-step directions, making the project approachable for grades 3–5 and easy for teachers to demonstrate.
The curved lines of the scroll help students see how a flat shape can begin to look three-dimensional, while the feather gives them a chance to add texture with repeated lines. Older students can take the lesson a step further by adding value and shading to the rolled paper, inkwell and feather.
One of the best parts of this project is how easy it is to customize. Students can add “We the People,” Constitution vocabulary, a classroom constitution, a short writing response or another message that connects the artwork to what they are learning in social studies.
Colored pencils or crayons work well for finishing the drawing, so the lesson can be completed with basic classroom supplies. Because the drawing is broken into manageable steps, students can feel successful while teachers can confidently share the lesson without needing advanced drawing skills.
The Art and History Behind the U.S. Constitution
The U.S. Constitution was created during the Constitutional Convention in Philadelphia in 1787 and signed on September 17 of that year. The original document is four pages long and was carefully handwritten on parchment rather than printed.
After the delegates approved the final draft, Jacob Shallus, an assistant clerk for the Pennsylvania General Assembly, was hired to create the official handwritten copy. He spent about 40 hours carefully copying more than 4,000 words and was paid $30 for his work.
The feather and inkwell in this Constitution Drawing help students imagine the writing tools used during this period. Quill pens were commonly made from large goose or swan feathers, with the end cut to form a writing point and the hollow shaft holding a small amount of ink after being dipped into an inkwell.
These historical objects also make a great connection to art. A scroll, quill and inkwell can act as visual symbols for writing, history and important documents, while the carefully handwritten Constitution shows how lettering itself can become part of a document’s visual appearance.
As students create their own Constitution Drawing, encourage them to think about how pictures and words can work together to communicate an idea. They can personalize the blank scroll with “We the People,” Constitution vocabulary, a classroom constitution or another message connected to what they are learning.
Use the button below to grab this PDF tutorial
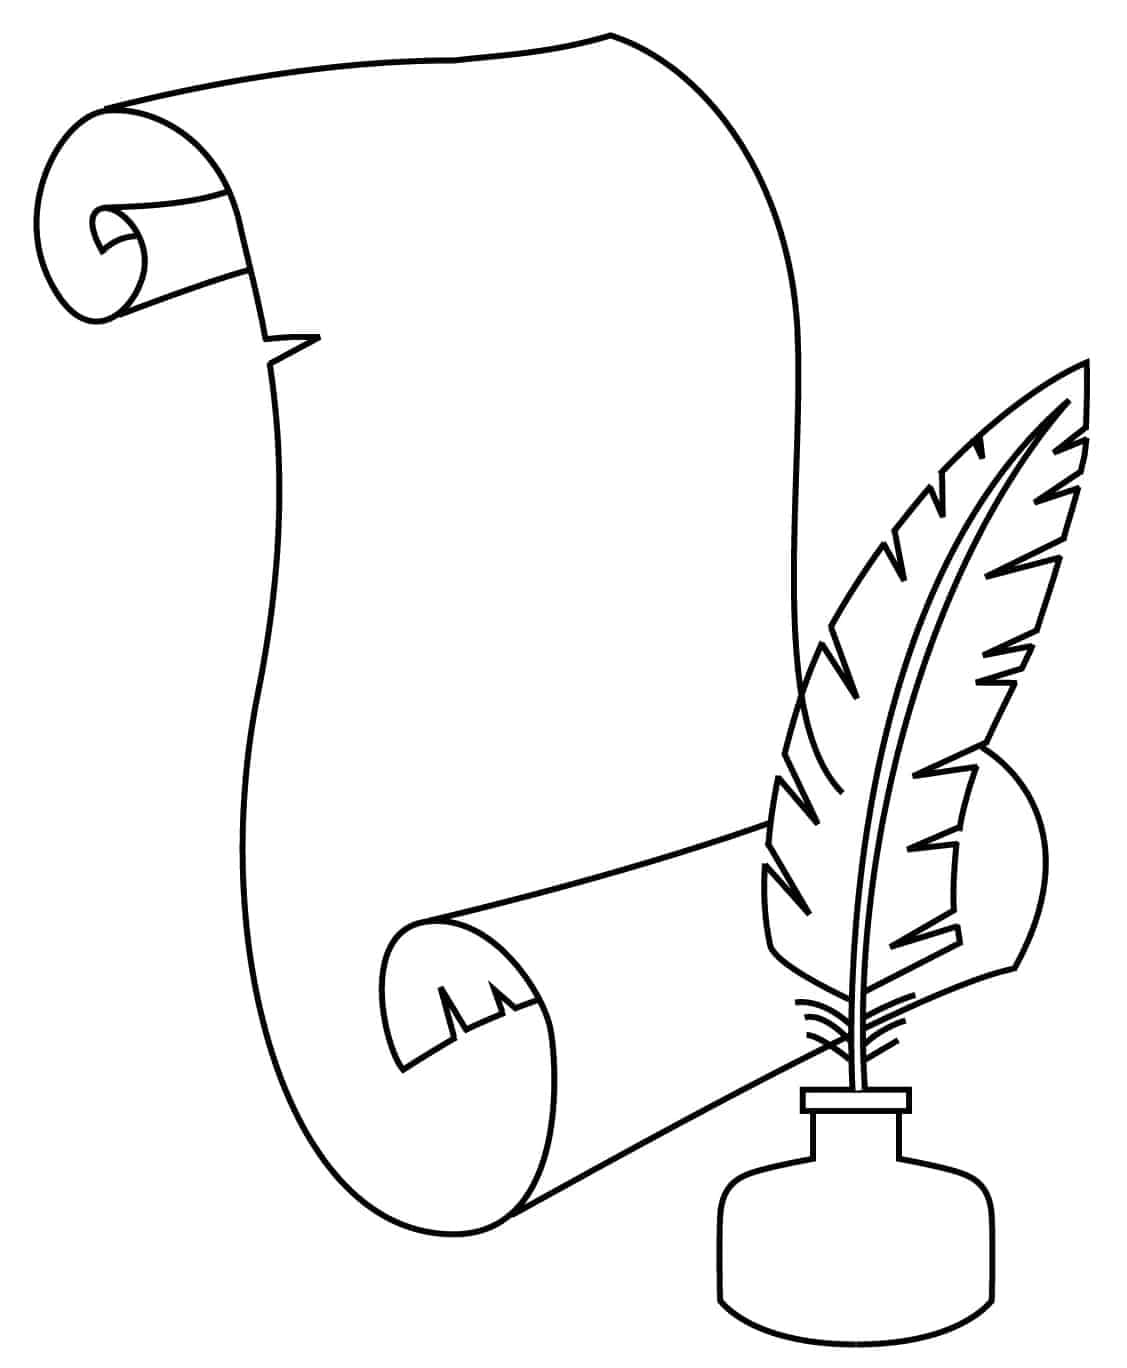
Constitution Coloring Page
Materials for a Constitution Drawing
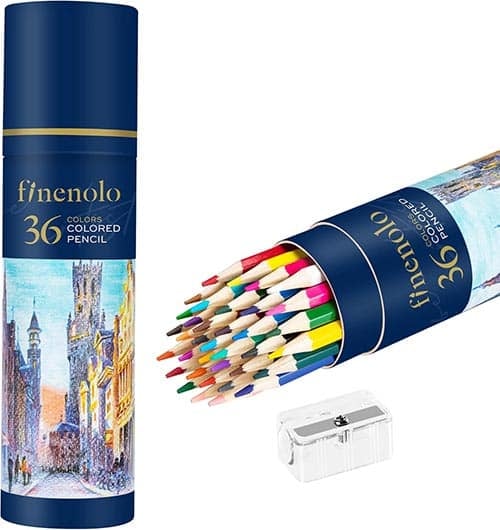

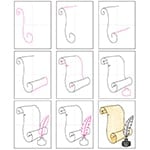
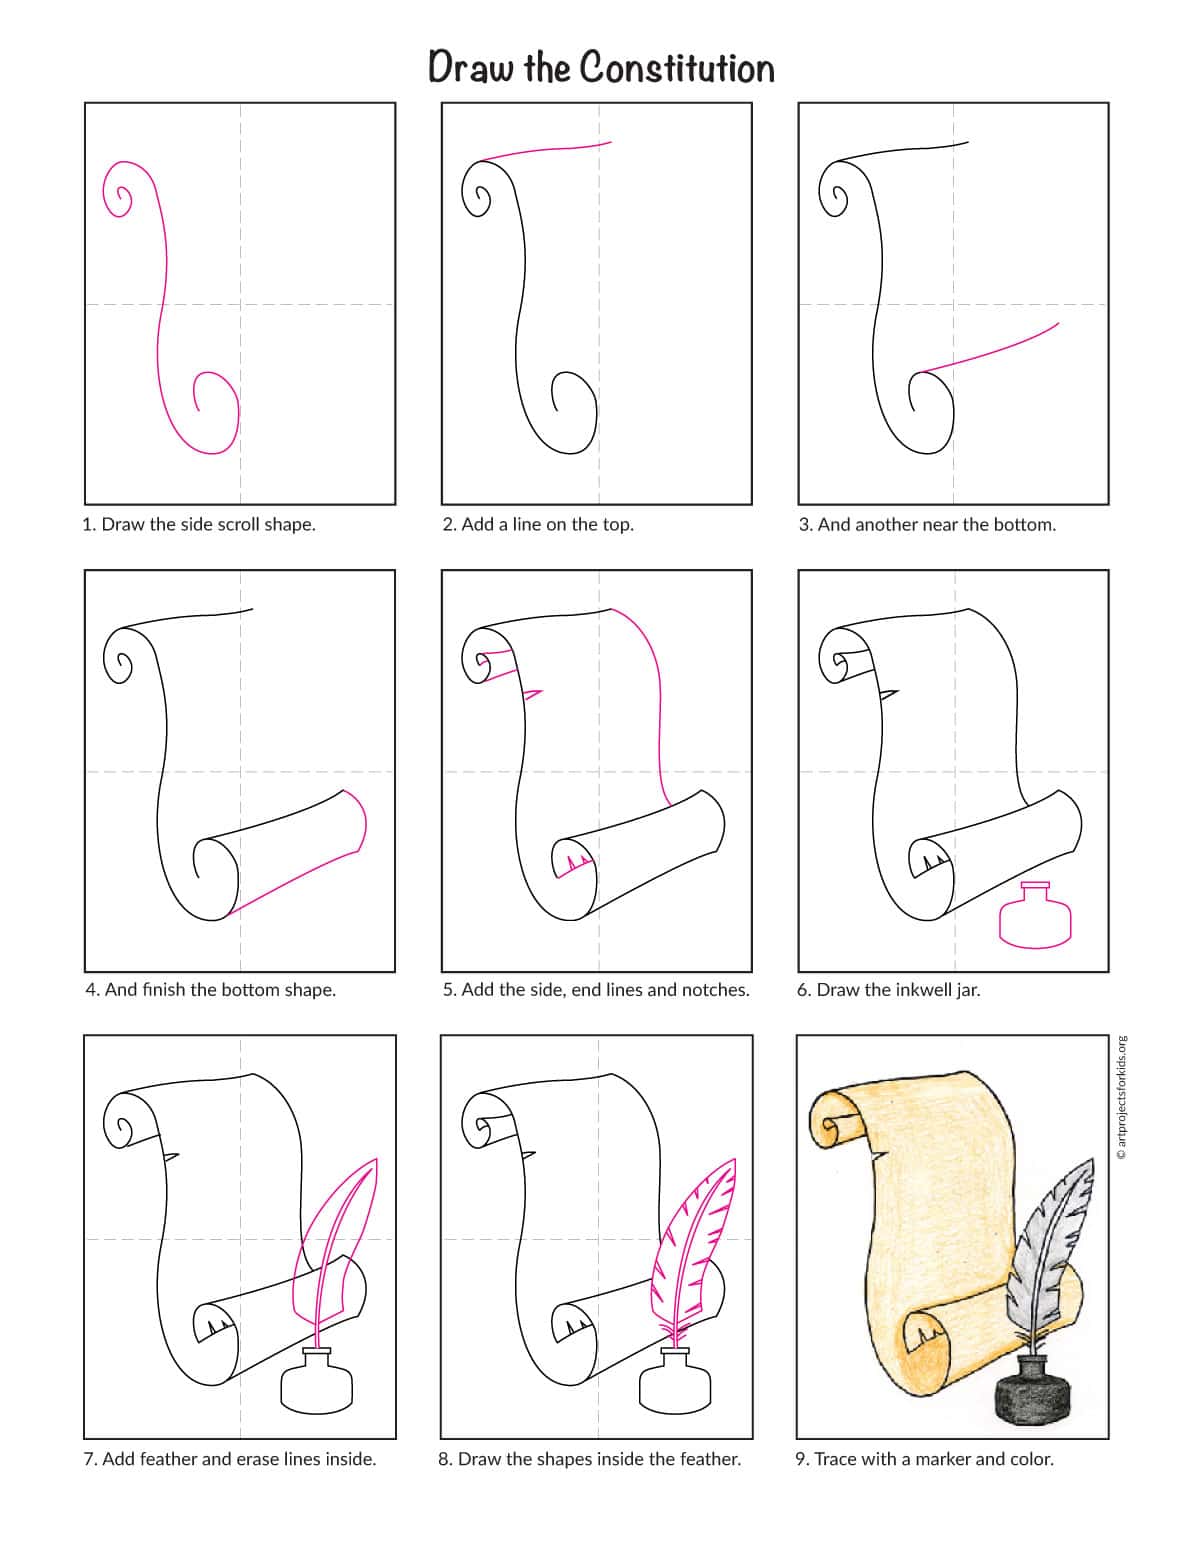
Step by Step Directions for a Constitution Drawing
Time needed: 1 hour
How to Draw the Constitution
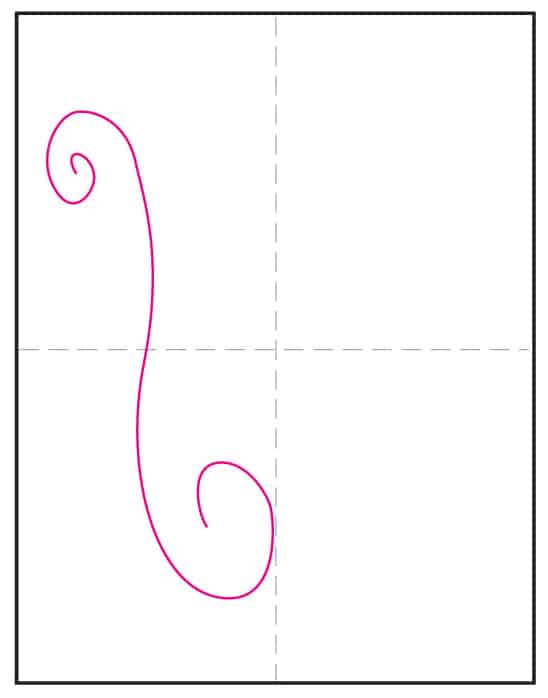
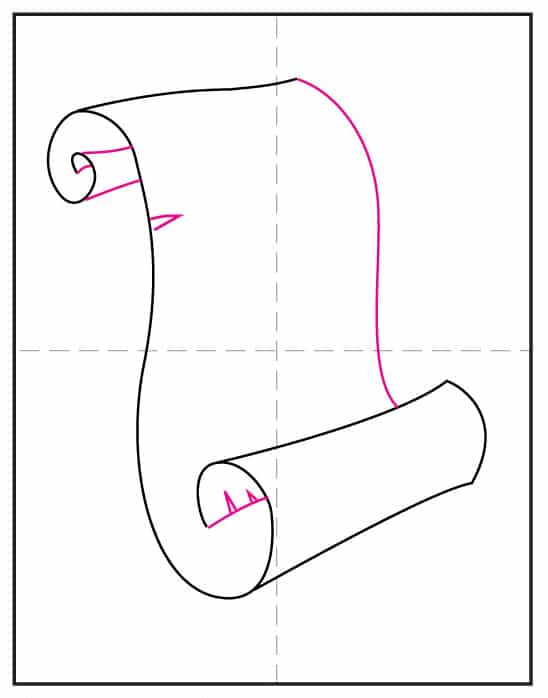
- Draw a swirl shape as shown.

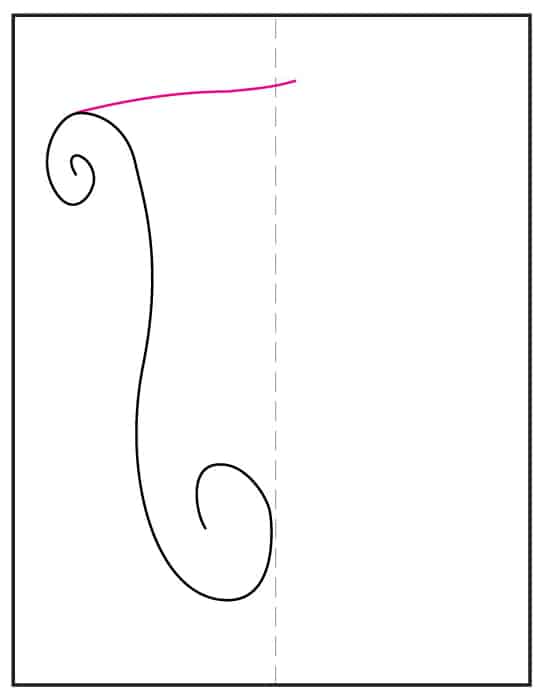
- Add a line on the top.
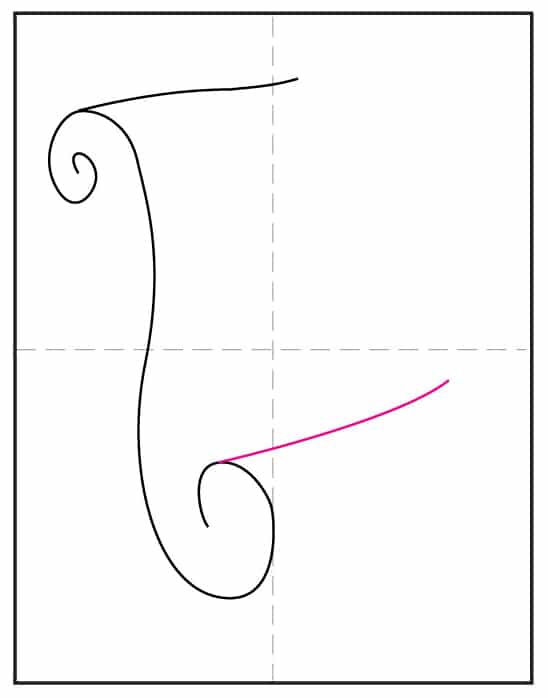
- Add another line as shown.
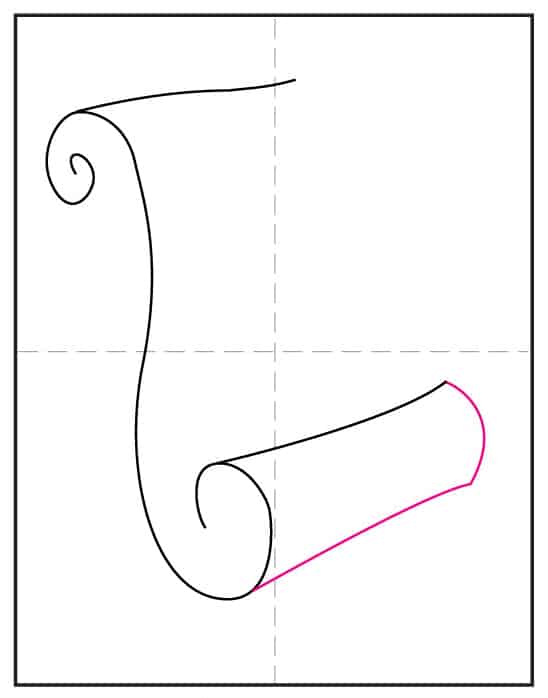
- Complete the shape on the bottom.
- Finish with the side line, the small ends, and little notch shapes.
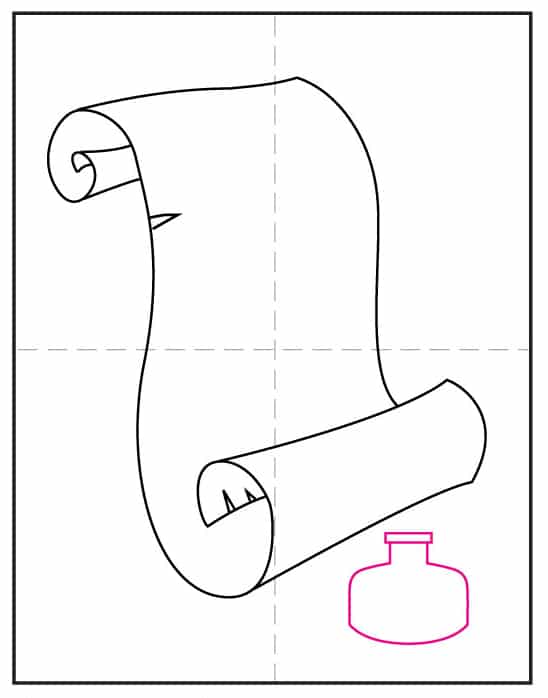
- Draw a small inkwell.
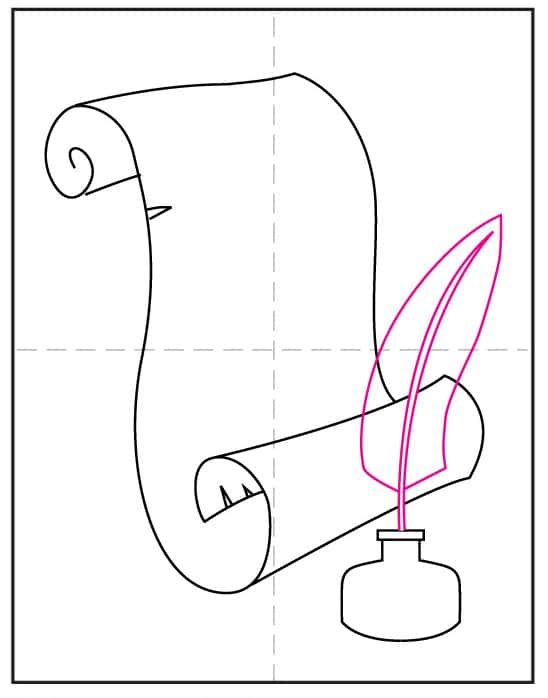
- Add the shape of a feather on top.
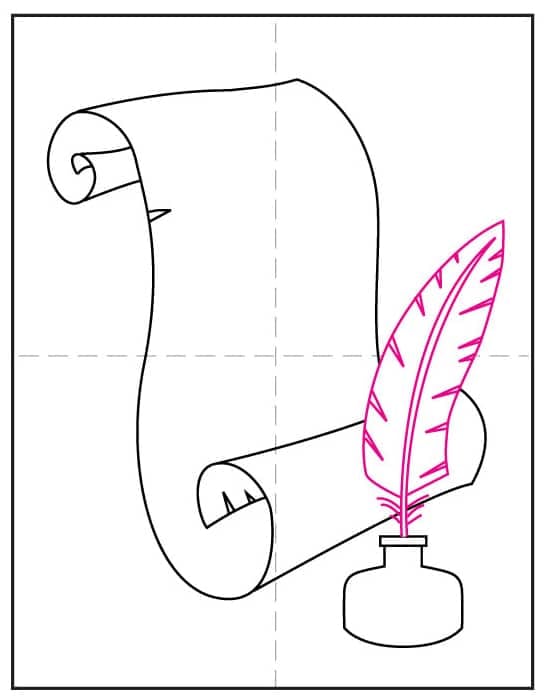
- Erase lines inside and add small V shapes on the ends.
- Trace with a marker and color. Add pressure to add shadows.