How to Blend Colors Tutorial and Coloring Page
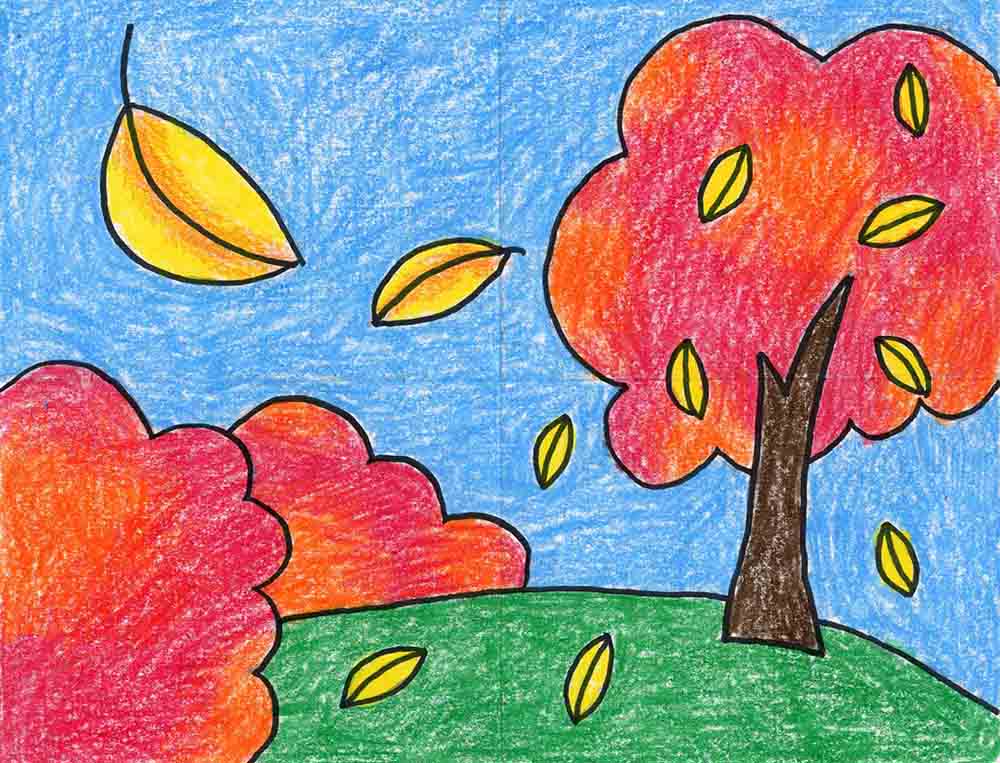
Learn how to blend colors and create a beautiful abstract drawing of a fall tree. No need for paint or even oil pastels, as crayons do a fine job too!

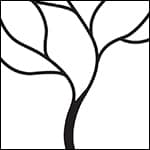
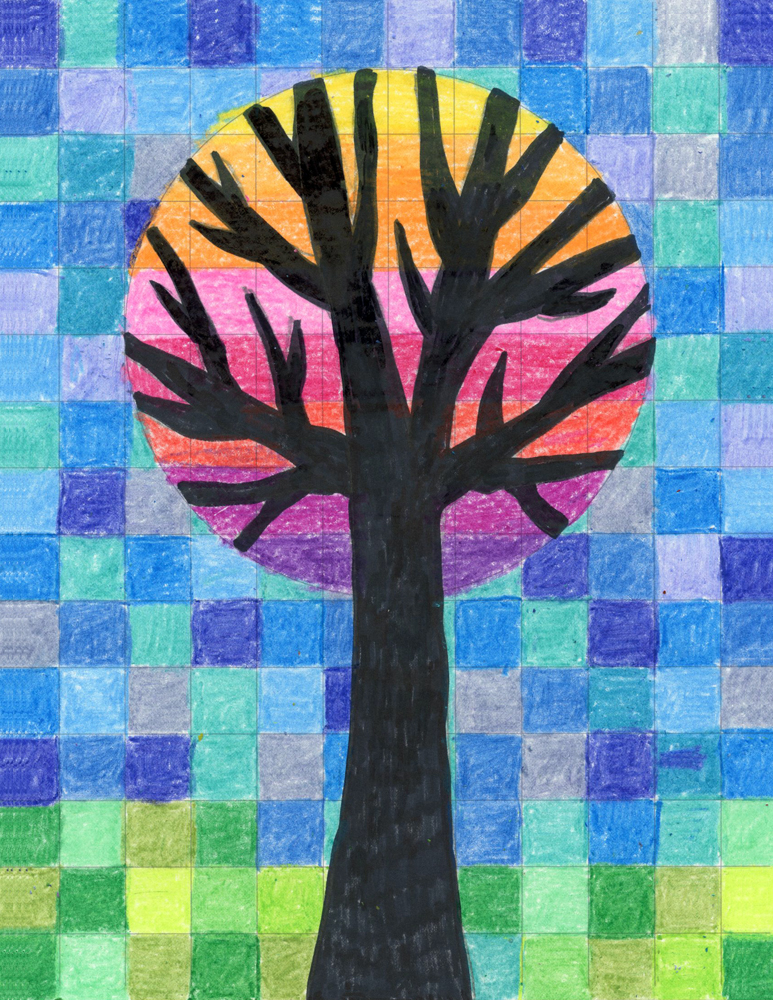
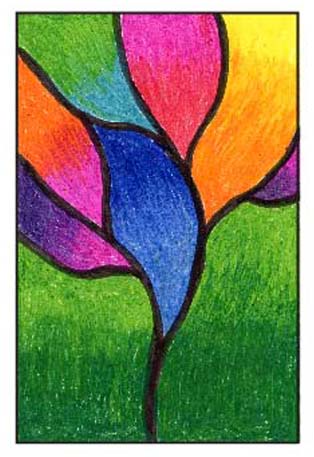
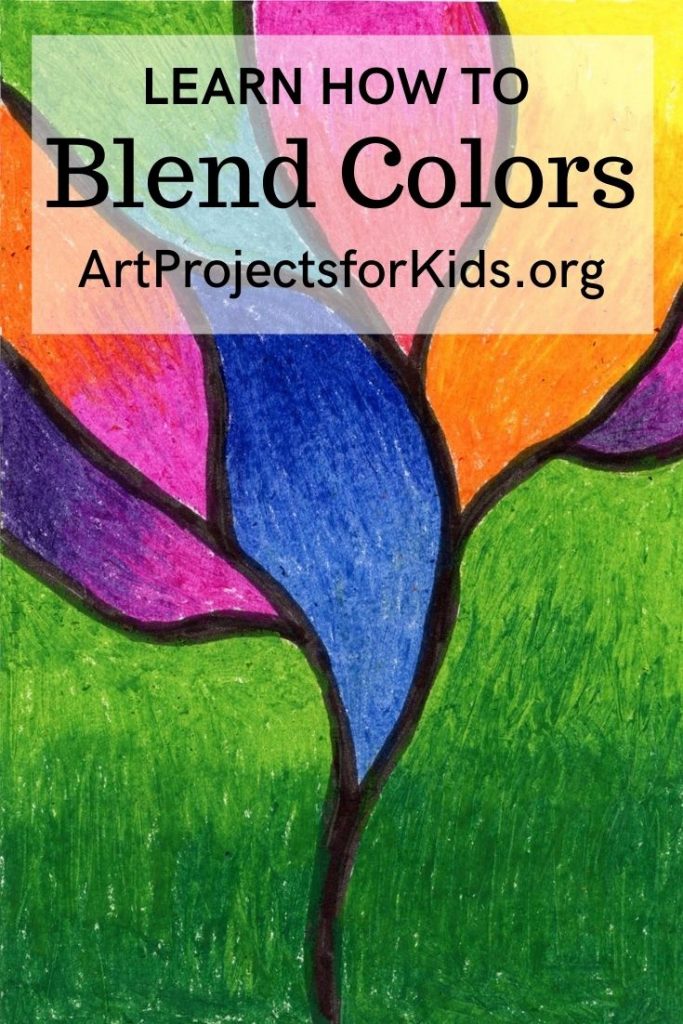
Blended Colors Tree

Learning how to Blend Colors
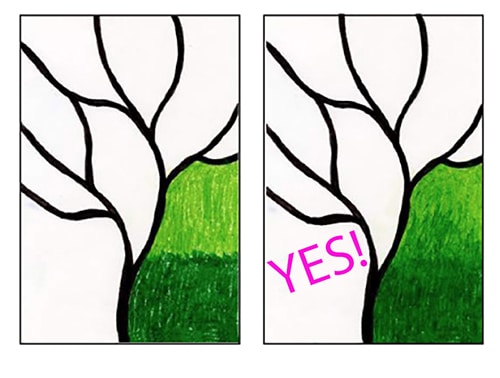
When students have learned how to color or paint neatly with one color, it might be time to show them how to blend two colors, so that one makes a soft and gradual transition into the other. It’s a great skill to have for all kinds of projects, especially when it comes to fall drawings. One might think that the easiest way to blend colors is with paint, as the colors will mix more easily than with any other medium. There are actually some drawbacks with that though. Whether it is watercolor or tempera, it takes a light touch, which is not easy when you’re more of a beginner. In addition, teachers don’t always have access to paint, or the time for all the cleaning that painting entails. Not to worry, it turns out that crayons do a fine job in this area too! They actually call for a heavy hand, as students need to lay down lots of color, and then scribble back and forth with them over the edge until a softer look appears.
Just remind them that working with two similar colors will produce the best results. In other words, the darker and lighter shades of one color, as shown in my example. It takes some patience, but once the skill is conquered, all kinds of coloring possibilities open up.
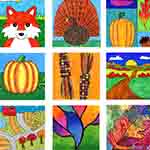
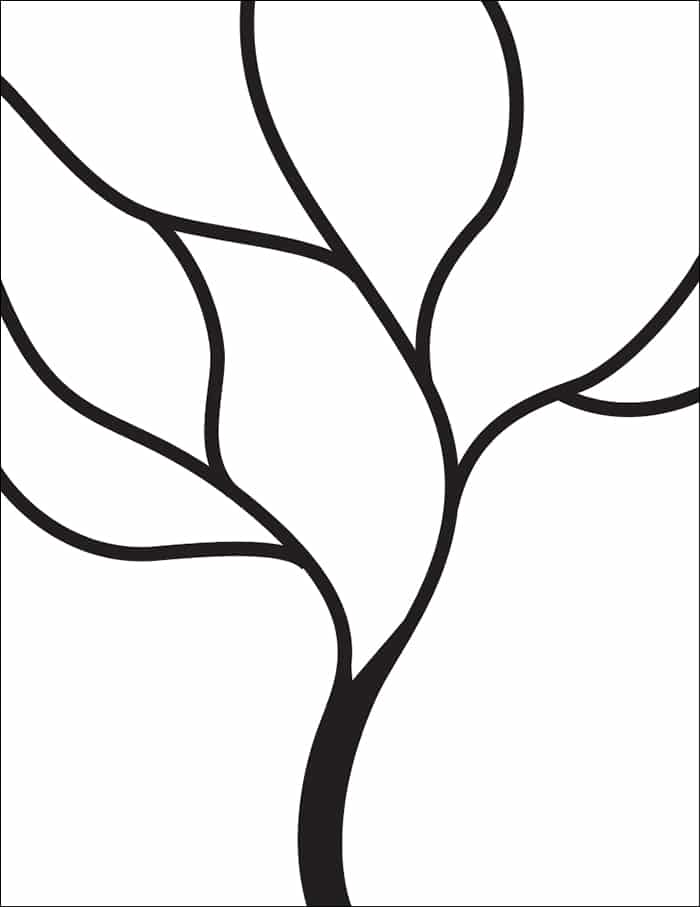
Preview of the Blended Tree Tutorial
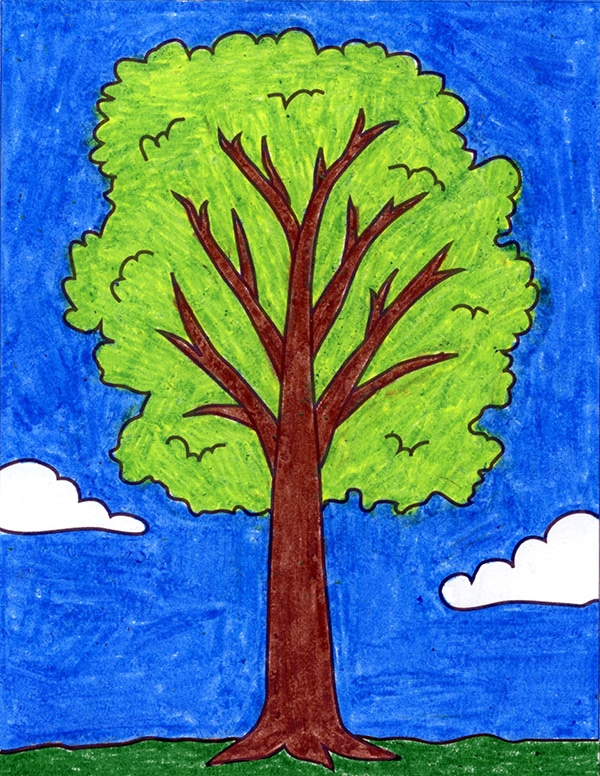
Tree Coloring Page
Recommended Materials
- Drawing Paper. This is the good stuff you can buy in bulk for a good price.
- Pencils. I like how this brand always makes nice dark lines.
- Black Marker. A permanent marker will give you a dark black color.
- Crayons. The larger packs are nice for more color choices.
- Note: All of the above are Amazon affiliate links.
Directions
Time needed: 45 minutes
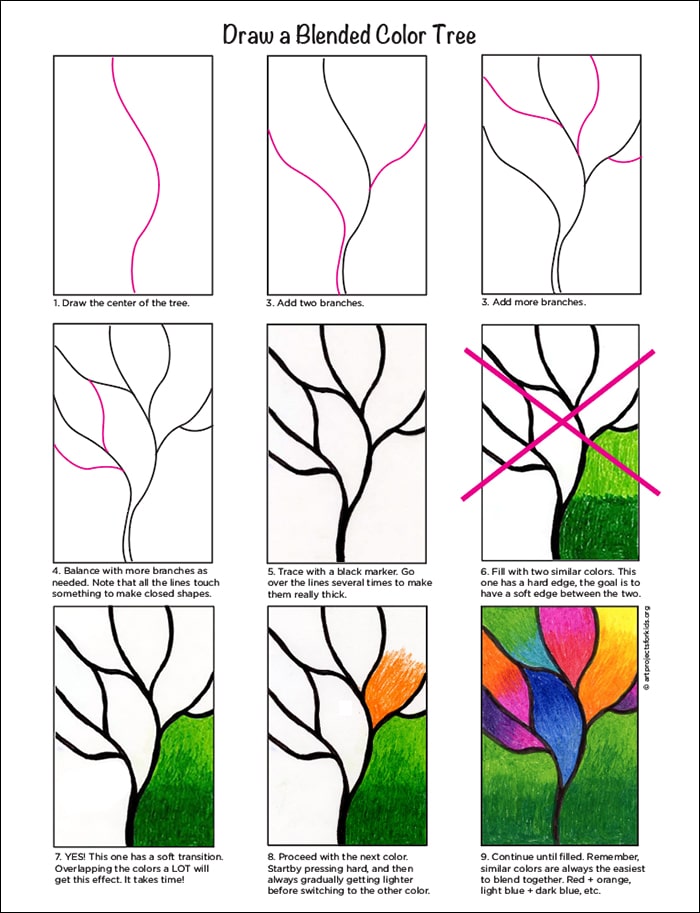
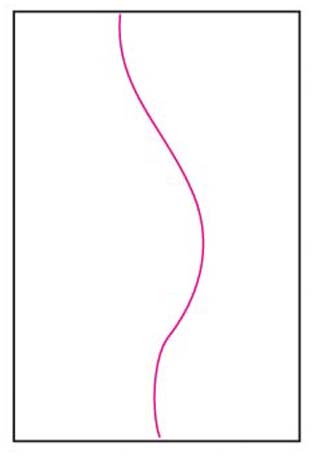
How to Draw a Blended Tree in 9 Easy Steps
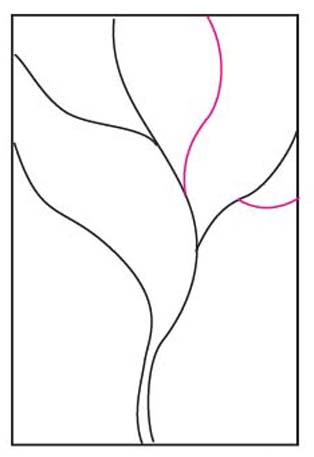
- Draw the center branch of the tree.

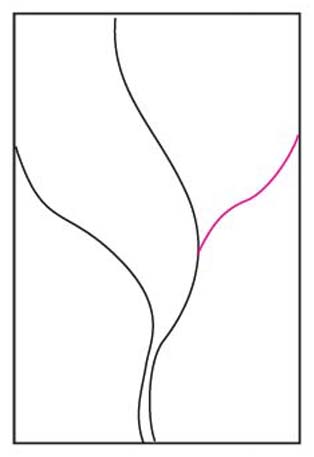
- Add a branch to the left.
- Add a branch to the right.
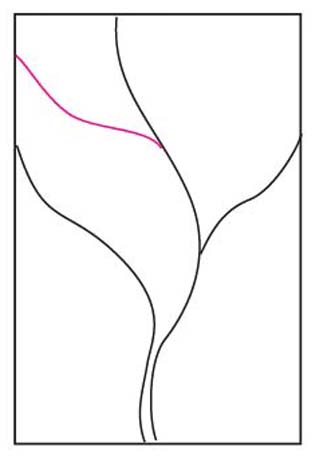
- Add another to the left.
- Add two more to the right.
- Balance more on the left.
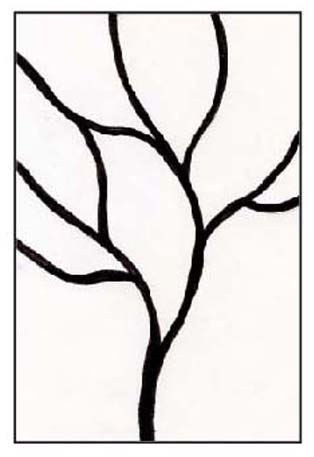
- Trace heavily with black marker.
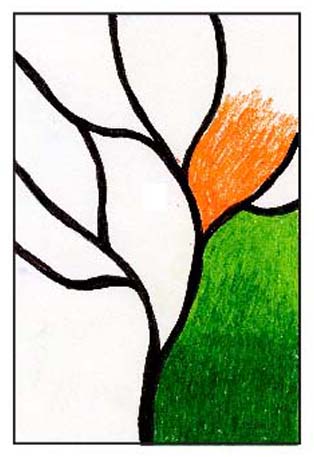
- Fill areas with two similar colors.
- Continue, always softening edges between.


Abstract Tree in Markers