Easy How to Draw a Tiger Tutorial Video and Tiger Coloring Page
Below you’ll find an easy step-by-step tutorial for a how to draw a Tiger Tutorial Video and a Tiger Coloring Page. There are options for artists of all ages.


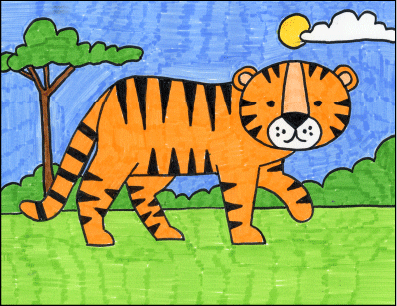
Tiger Drawing
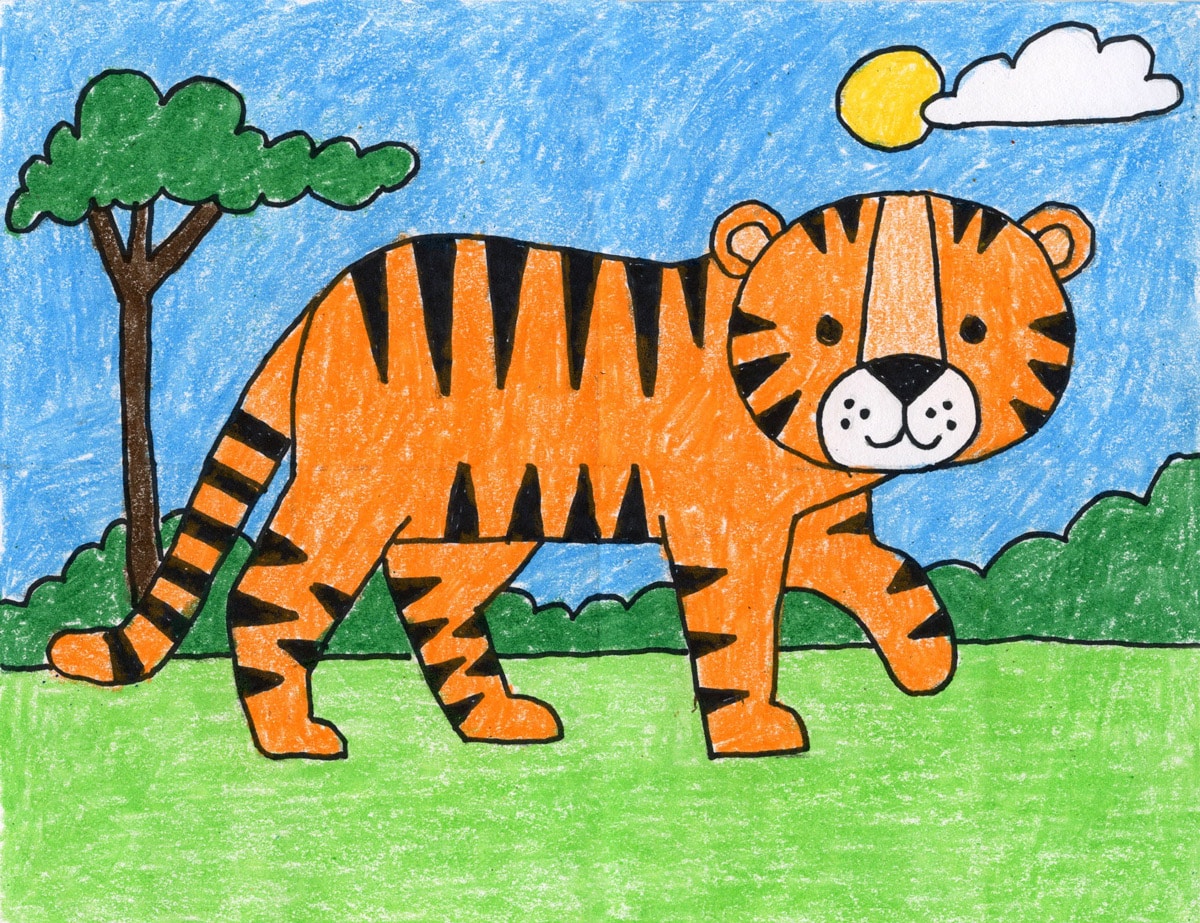
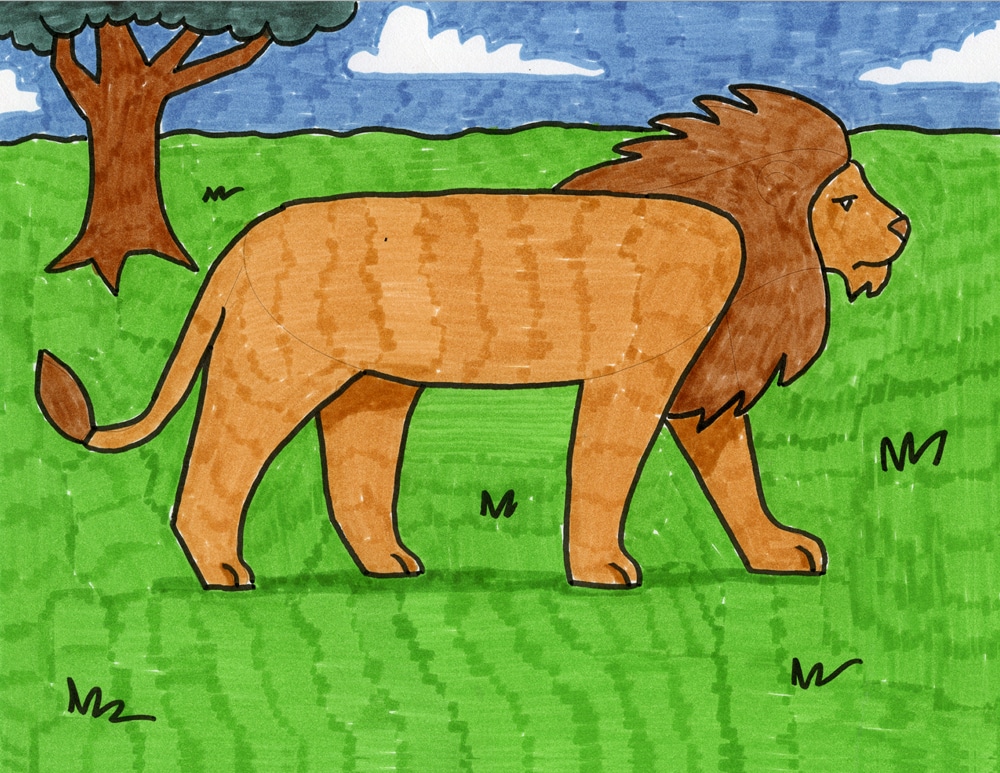
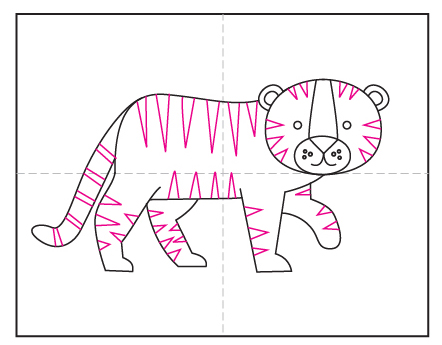
Tigers are known for their distinctive stripes, which in real life can get pretty complex. This how to draw a tiger tutorial will help young artists add those marks in the easiest way possible. The side view of the body makes them easy to place all around the edges. It’s a good way to make them look like they are wrapped around to the other side of the tiger.
This tutorial will also help students draw a tiger body with a little more accuracy. The short but wide legs show how strong they are, and the thick tail probably helps with their balance. By themselves, they may seem like small details, but put together they all up to a very believable rendition of this beautiful animal.
Getting Started with Drawing Guides
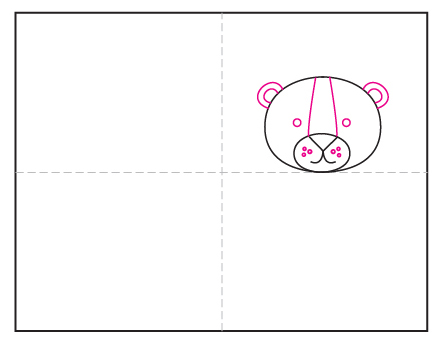
The best way to get students off to a good start to any drawing lesson is to show them how to use guides as a reference point.
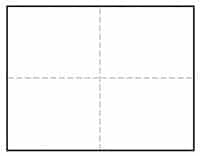
You may have noticed that all of the tutorials on this site have a dashed line running through the center of each step, in both horizontal and vertical directions. If students make their own centered lines on their own paper, before drawing, they will have an easy reference to follow.
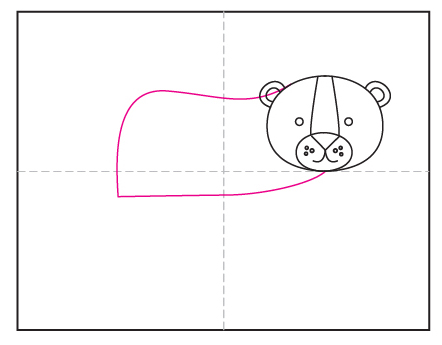
For instance, as seen in Step 1 below, the oval for the tiger head needs to sit on the horizontal line of the paper, and centered on that side. It’s important to get that shape in a good size and place, before adding the back of the the tiger’s body to the left.
Drawing skills are all about getting the size and placement of lines on paper, so having some visual reference point to get started, will always help anyone learn how to be a little more accurate.
So does that mean students need to get out a ruler to draw a big fat line down the center of their paper before they start? Goodness no, please don’t! That will most likely be hard to erase and distract from any finished art. No, simply fold the sheet of paper in half both ways, make a crease, and unfold. The beauty is that by the time the drawing is done and colored in, the creases will disappear.
NEW! Draw a Tiger Slide Show
Tiger-Slide-ShowJoin “The Daily Draw” below to get this printable!
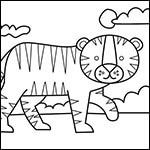
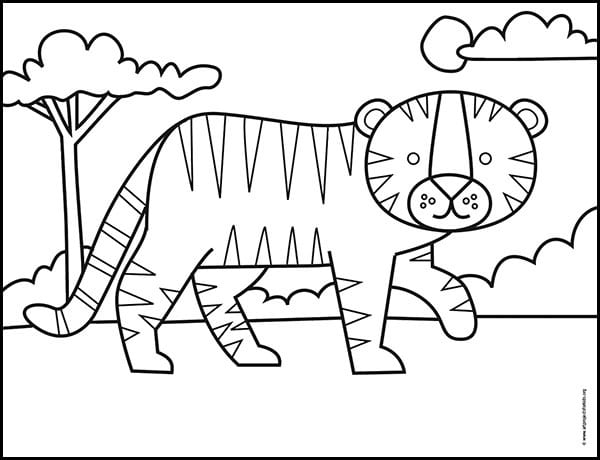
Tiger Coloring Page
Time Lapse Drawing of a Tiger
Materials for How to Draw a Tiger
- Drawing Paper. This is the good stuff you can buy in bulk for a good price.
- Pencils. I like how this brand always makes nice dark lines.
- Black Marker. A permanent marker will give you a dark black color.
- Crayons. The larger packs are nice for more color choices.
- Note: All of the above are Amazon affiliate links.
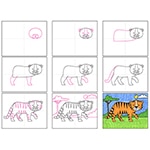
Directions for How to Draw a Tiger Step by Step
Time needed: 1 hour
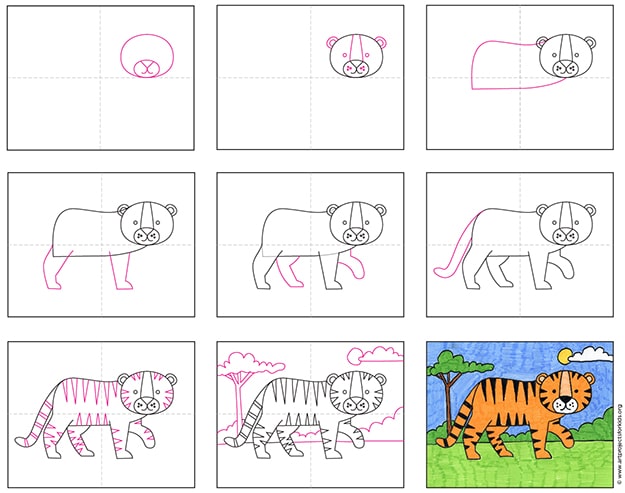
How to Draw a Tiger in 9 Easy Steps
- Draw the round head and the mouth inside.

- Add the nose line, and eyes and two ears.
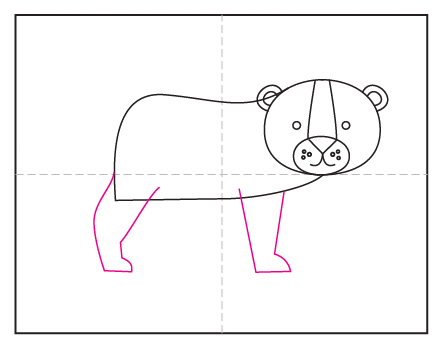
- Start the body shape to the side as shown.
- Attach one front and one back leg.
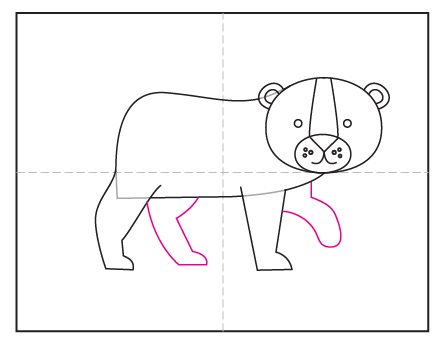
- Draw the two remaining legs. Erase the gray lines inside the legs.
- Add a nice, thick tail.
- Draw LOTS of triangles, and add stripes on the tail.
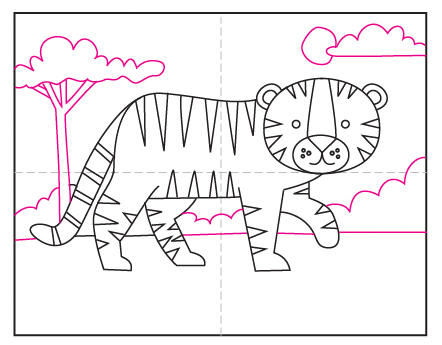
- Add a safari looking background.
- Trace the drawing with a marker and color.


Already subscribed to “The Daily Draw”?
Great, then use the download button below to get your free tiger tutorial. And thanks for wanting to bring more step-by-step, no-prep art lessons to your classroom!