Easy How to Draw a Santa Hat Tutorial and Santa Hat Coloring Page
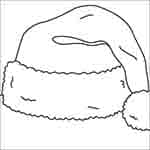
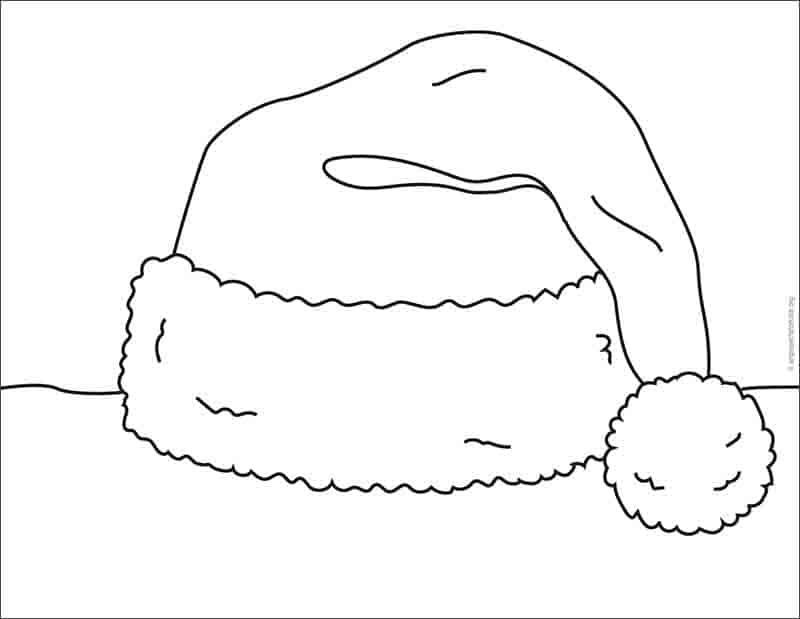
Below you’ll find an easy step-by-step tutorial for how to draw a Santa Hat and a Santa Hat Coloring Page. Follow the directions to draw one that looks extra soft and fuzzy!
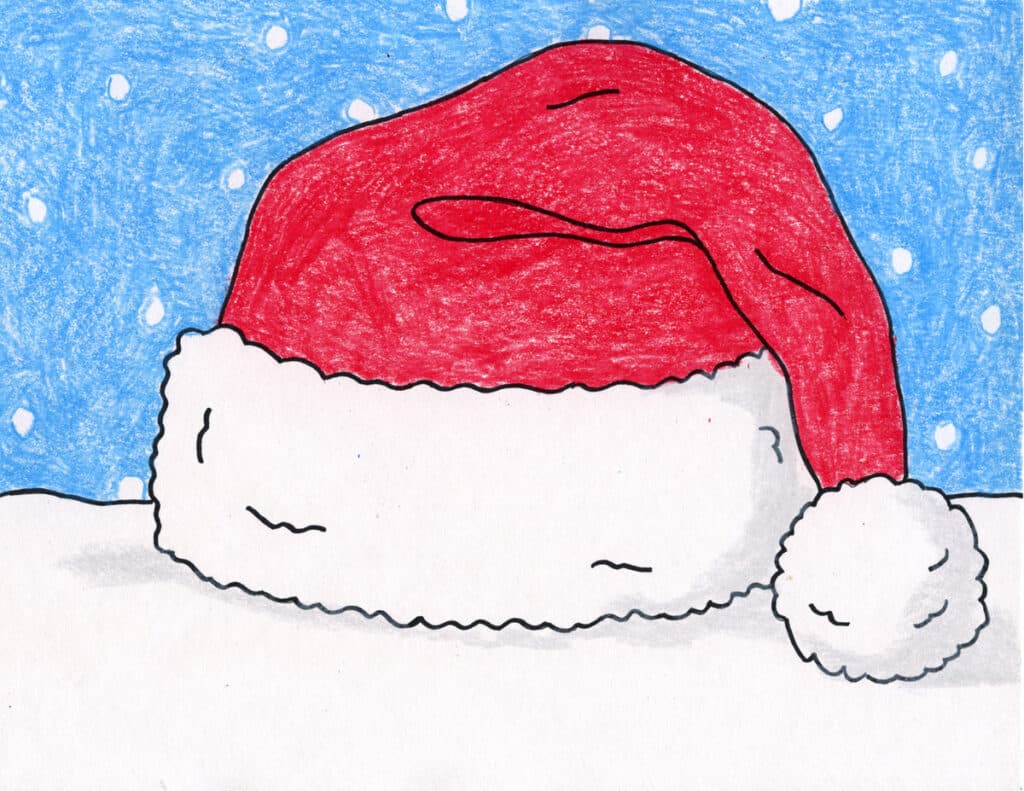
Drawing of Santa’s Hat
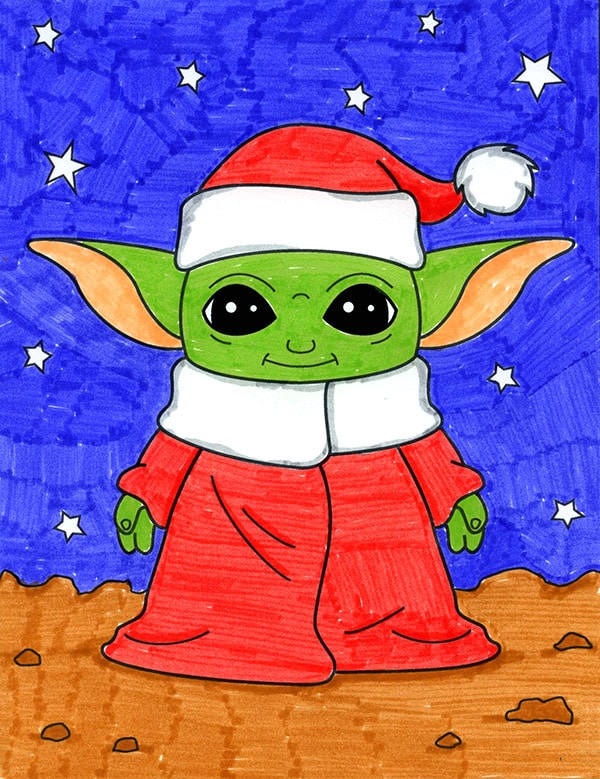
Learning how to draw a Santa Hat can be useful in so many ways. Students can draw one that is on display by itself, like the one shows above, or they could add it to the top of any person they draw too. A portrait drawing could turn into a fun Christmas gift, if it were topped off with a Santa Hat!
This tutorial keeps the shapes simple, as there really is just the brim, the folded red hat shape, and the fuzzy ball. To add some fun texture to the edges though, my recommendation is to do it in two steps. It’s not easy to draw a wiggly line AND keep it in the overall shape that you want at the same time.
Adding Fuzzy Texture Lines to your Santa Hat Drawing
There are lots of reasons why students might want to add texture to a drawing from time to time. Animals and fur, are a great example. I recommend this same two step process when say, wanting to add fur to a wolf or bear drawing.
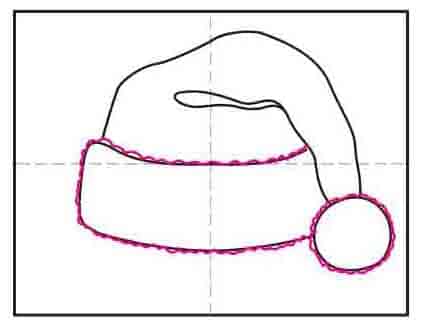
In this case, students that want to make their Santa Hat look fuzzy will get their best results when they lightly plan the overall shape of their brim and ball first. Afterwards, they can go back and add a wiggly (fuzzy) line on top of it.
They need to take care to then only trace the wiggly texture lines with a marker, and erase the smooth “planning“ line afterwards. The extra step does take another minute or two, but saves time in the end. It’s no fun to erase and erase detailed lines, trying to get them go in the direction that you want!
Use the Button below to grab a PDF Tutorial
Santa Hat Coloring Page
Materials for a Santa Hat Drawing
- Drawing Paper. This is the good stuff you can buy in bulk for a good price.
- Pencils. I like how this brand always makes nice dark lines.
- Black Marker. A permanent marker will give you a dark black color.
- Crayons. The larger packs are nice for more color choices.
- Note: All of the above are Amazon affiliate links.
Step by Step Directions for a Santa Hat Drawing
Time needed: 45 minutes
How to Draw an Easy Santa Hat
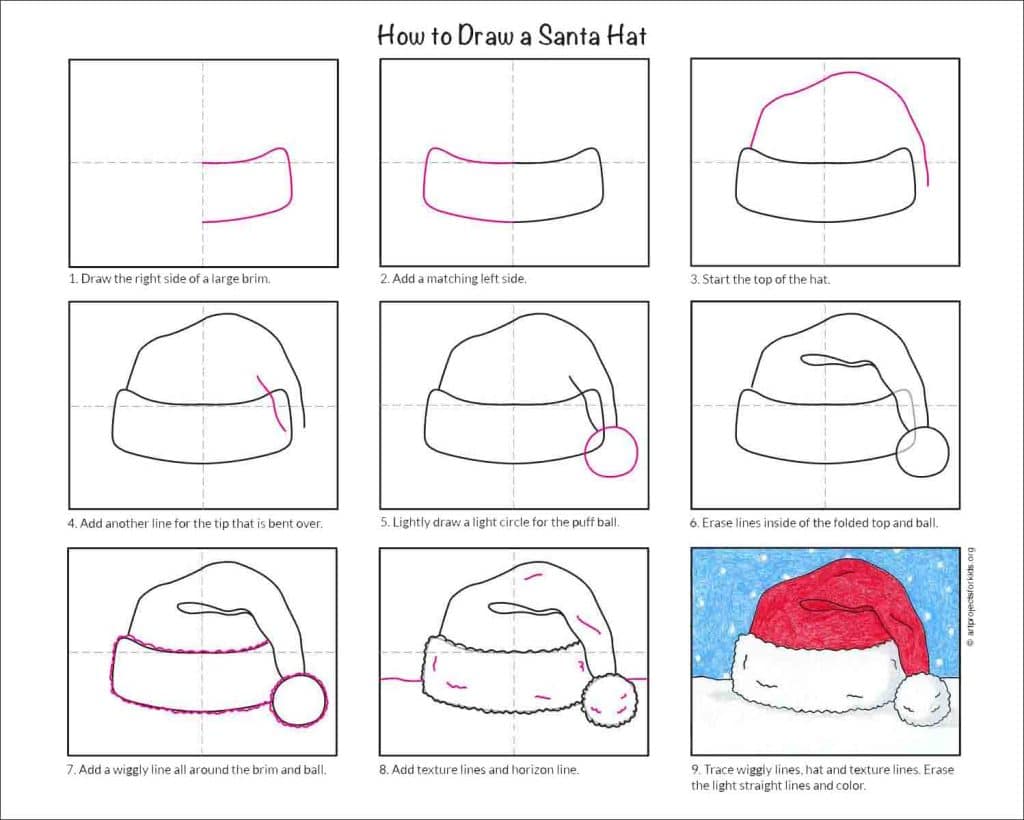
- Step 1. Draw the right side of the large brim.
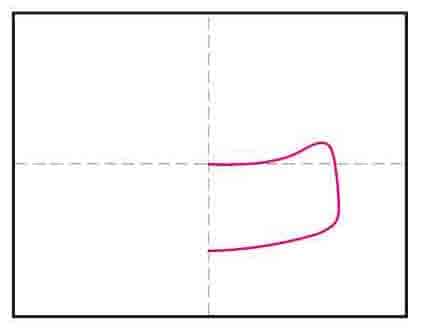
- Step 2. Add a matching left side of the brim.

- Step 3. Start the top of the hat like this.

- Step 4. Add another line for the tip that is bent over.
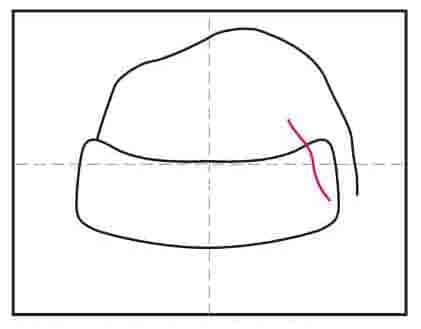
- Step 5. Lightly draw a circle for the puff ball.

- Step 6. Erase lines inside of the folded top and ball.
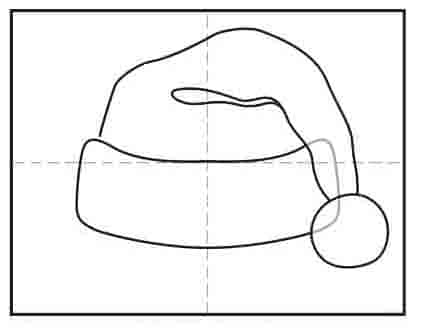
- Step 7. Add a wiggly line all around the brim and the ball.
- Step 8. Add texture lines and a horizon line.
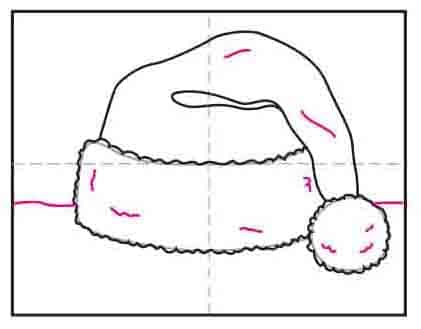
- Trace the wiggly lines, the hat and texture lines. Erase the straight light lines used to plan the brim and the ball.


