How to Draw a Cartoon Professor
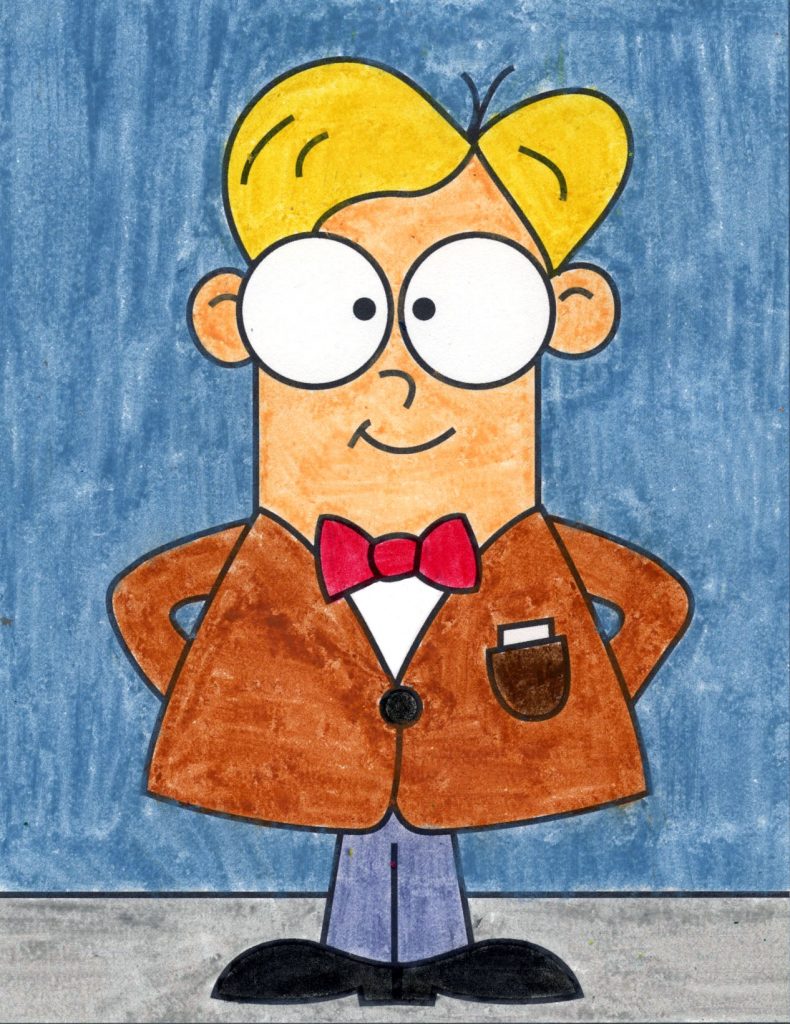
Learn how to draw a Cartoon Professor with this easy step by step tutorial. His simple and exaggerated shapes make him a fun character to practice cartoon drawing.
Kids love cartoons, and cartoon characters are often some of the things they first try when learning how to draw. The simple lines and fun faces and easy coloring probably have a lot to do with
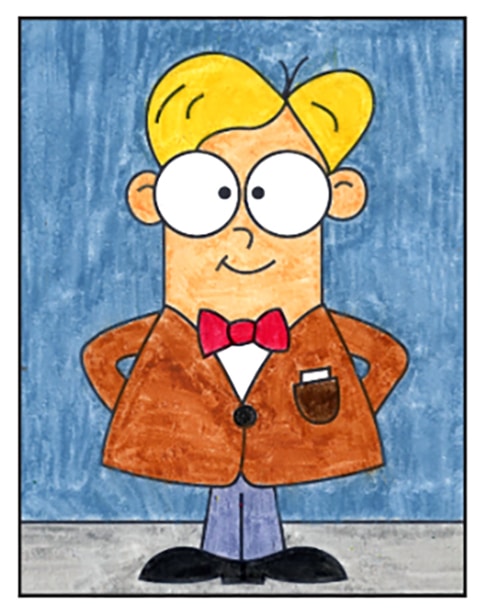
This Cartoon Professor tutorial starts with a large and symmetrical face, made with some very basic shapes. The hair is reduced to just a couple of curved lines, as well as the suit and pants.
Students that are interested in cartoon drawing can take some of these features and use them to create other characters too. The large circles that symbolize glasses and the oversized jacket on top of skinny legs are fun ideas to transfer to all kinds of new characters!
MATERIALS
- How to Draw a Cartoon professor (click to download a PDF)
- Drawing paper
- Black marker
- Crayons
DIRECTIONS
Time needed: 30 minutes
How to Draw a Cartoon Professor
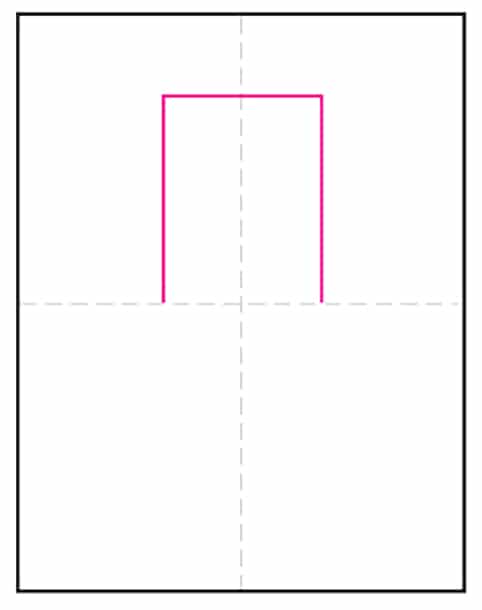
- Draw an open rectangle.

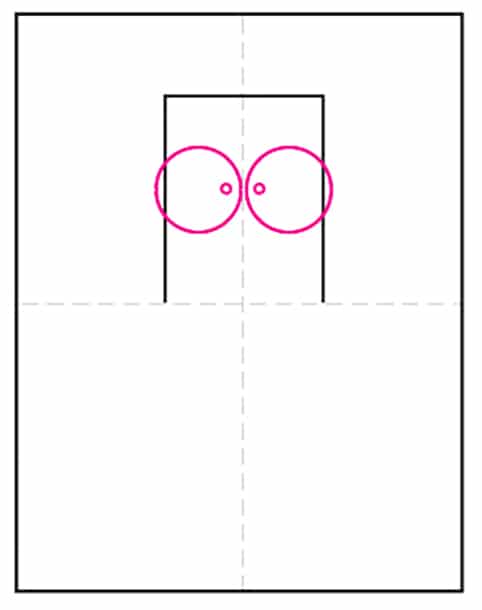
- Add two large circles for eyes.

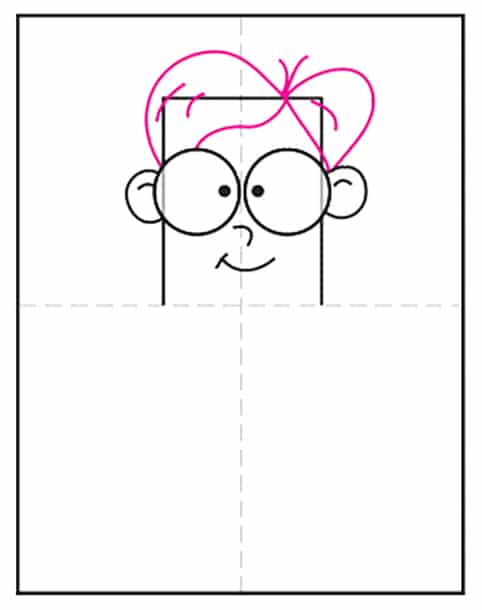
- Draw two ears, nose and mouth.

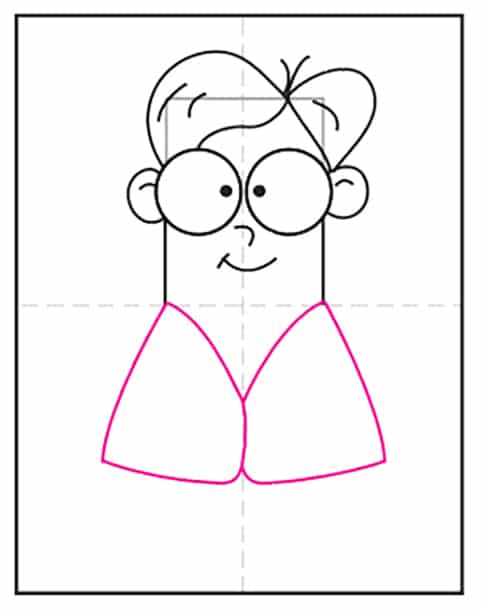
- Erase lines, add hair on top of head.

- Erase lines, start the suit.

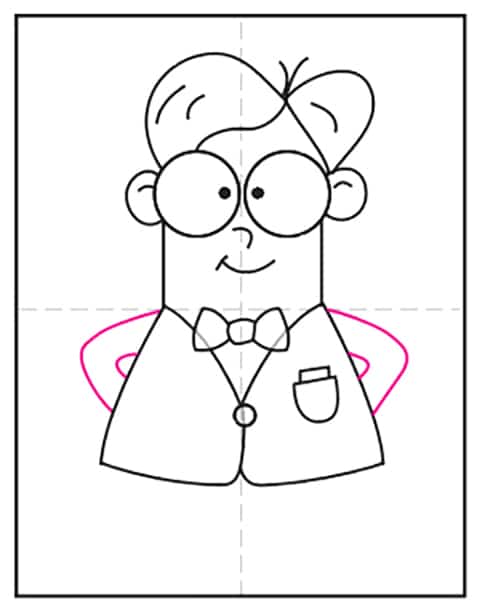
- Add a large tie, button and pocket.

- Erase lines and draw two arms.

- Add pants, shoes and ground line.

- Trace with marker and color.

