How to Draw a Cherry: Easy, Step-by-Step Art Lesson for Kids
Below you’ll find an easy step-by-step tutorial for how to draw a Cherry and a Cherry Coloring Page. It’s easy to make it look bright and shiny!

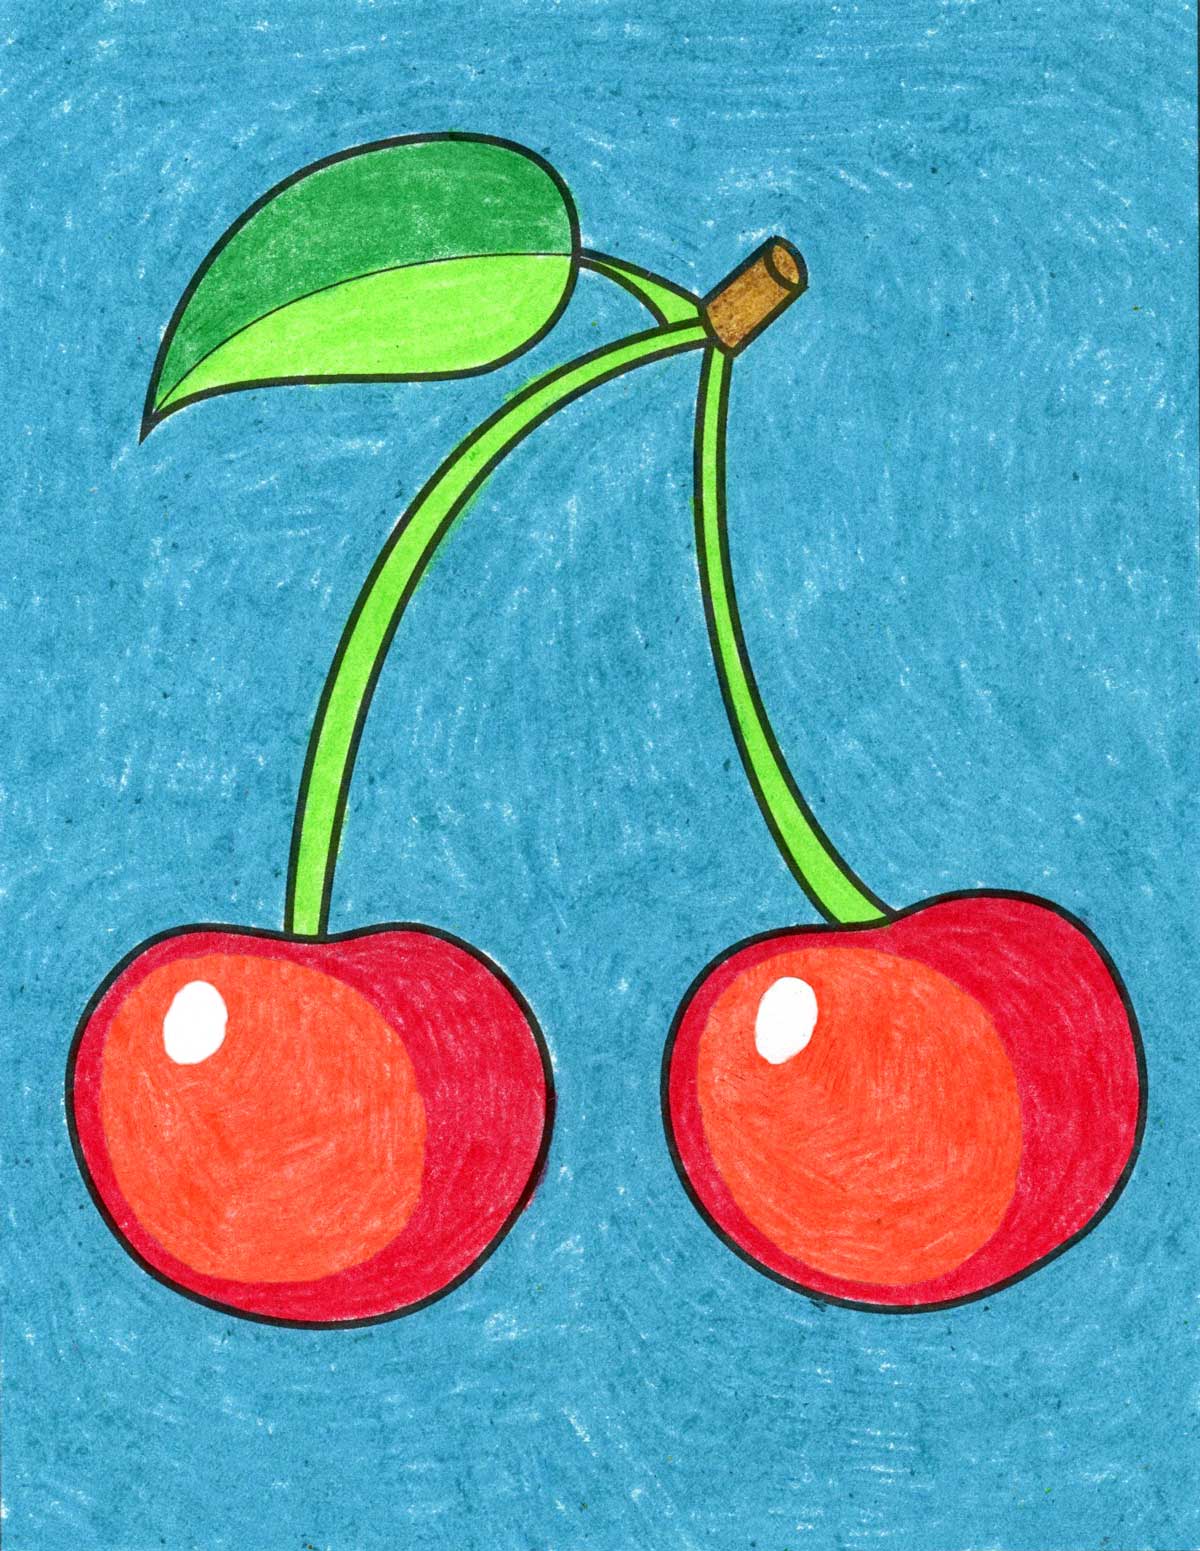
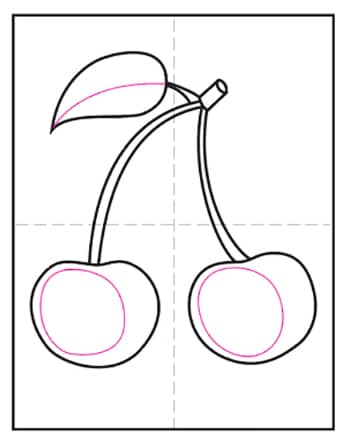
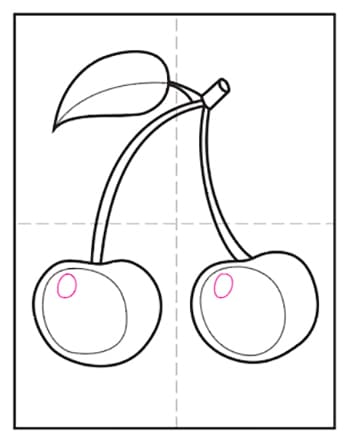
Why learn how to draw a cherry that looks flat when just a few changes will make one look much more dimensional? This drawing has the usual shapes, but there’s a circle added for a lighter version of the cherry red AND small oval for a shiny, reflection spot.
What a difference a few little changes make, right? Sometimes you just need a good sample (and step-by-step tutorial) to help you out!
Use the Button below to grab a PDF Tutorial
Cherry Coloring Page

Materials


Directions for How to Draw a Cherry Step by Step
Time needed: 30 minutes
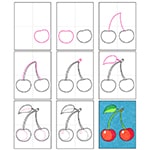
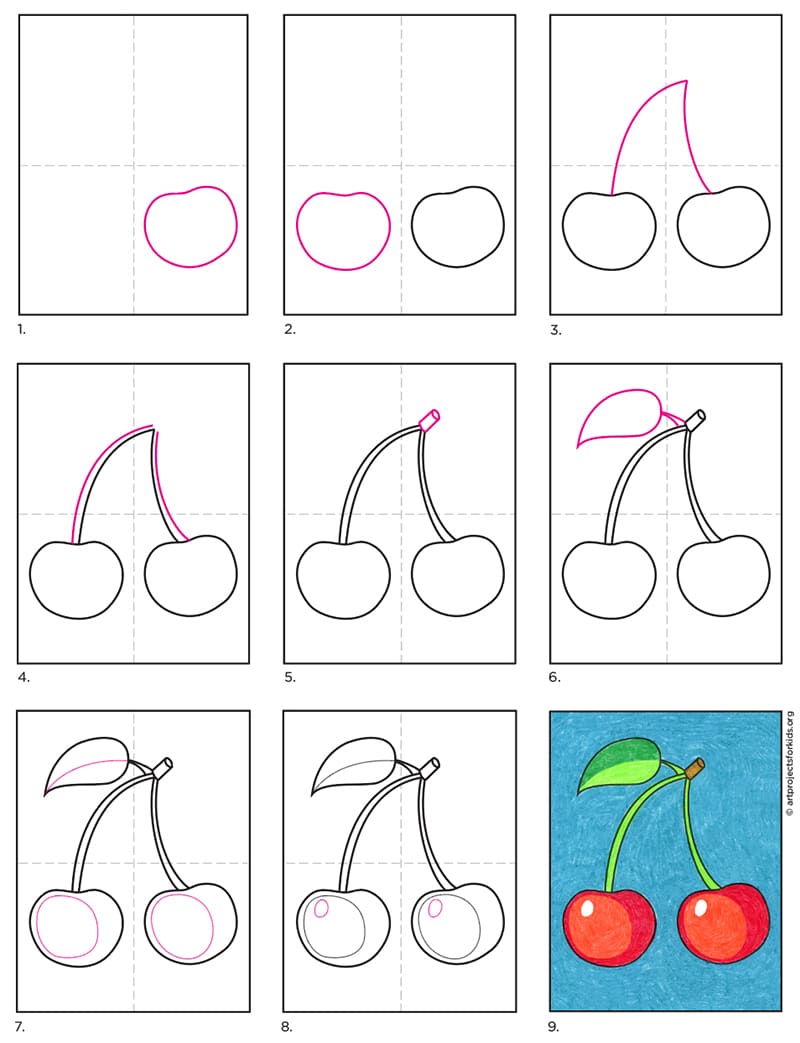
How to Draw a Cherry
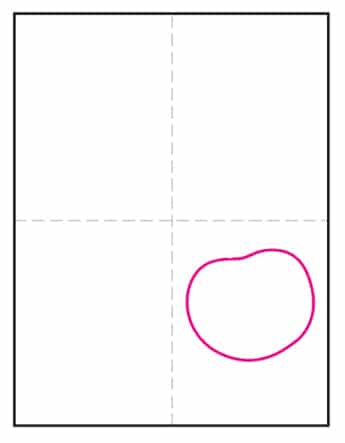
- Draw a circle with a dent on top.
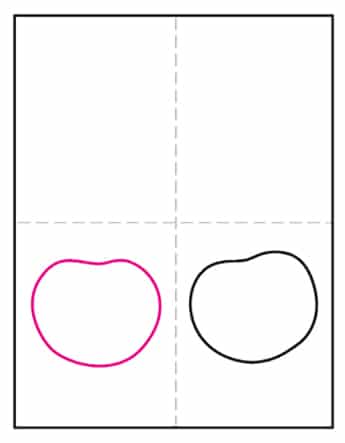
- Add another on the left.
- Draw a curved upside down V.

- Add the other side of the stems.

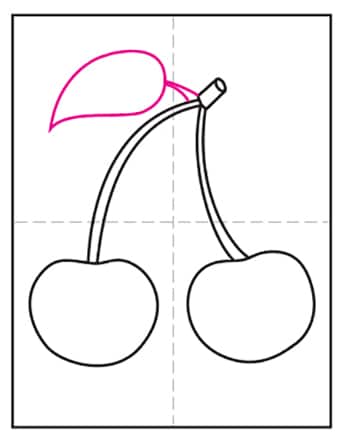
- Draw a little cap on top.

- Add a leaf and stem.
- Lightly draw lines for the shading.
- Add small circles for highlights.
- Trace with a marker and color.

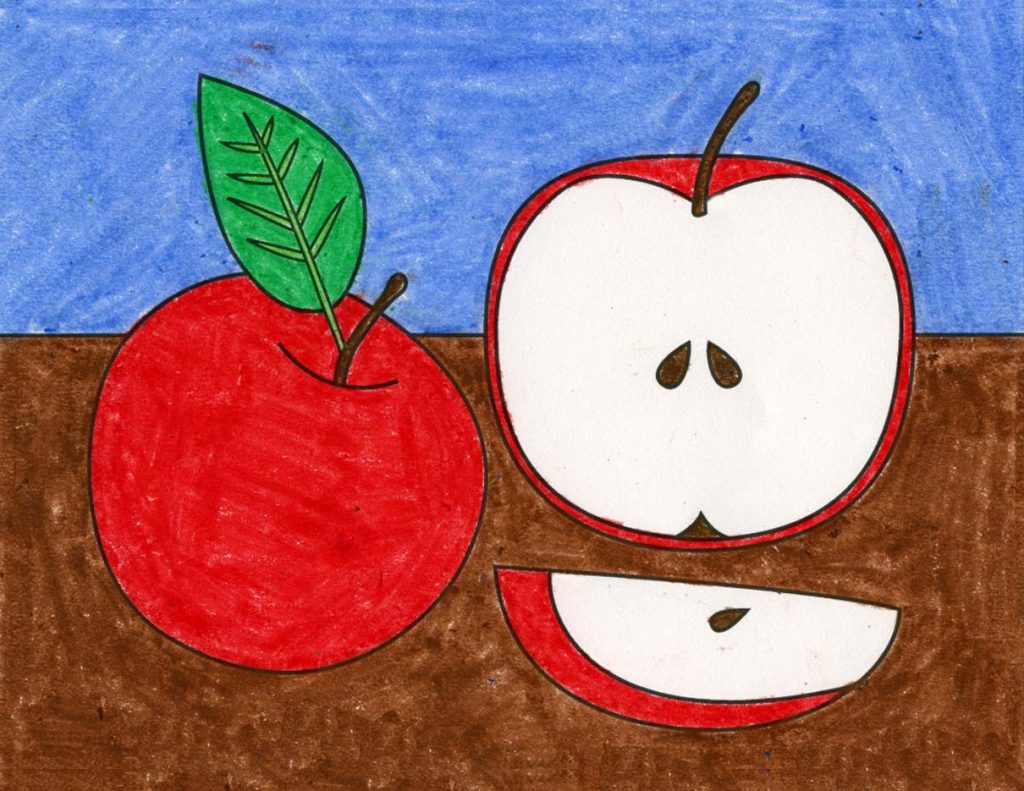
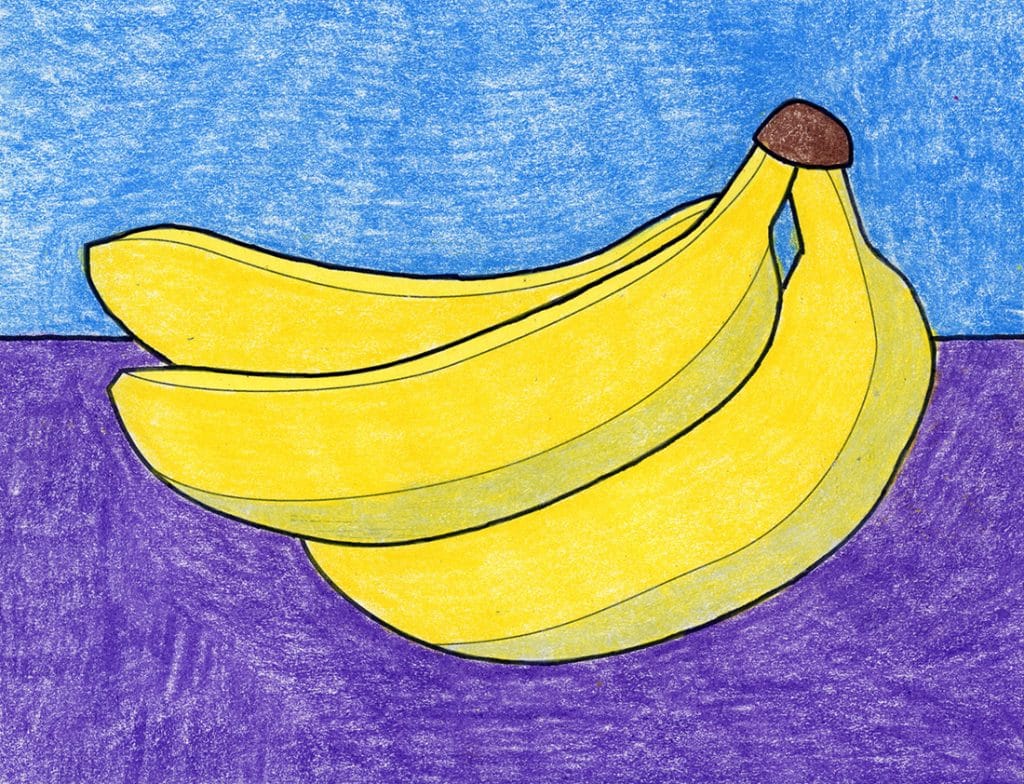
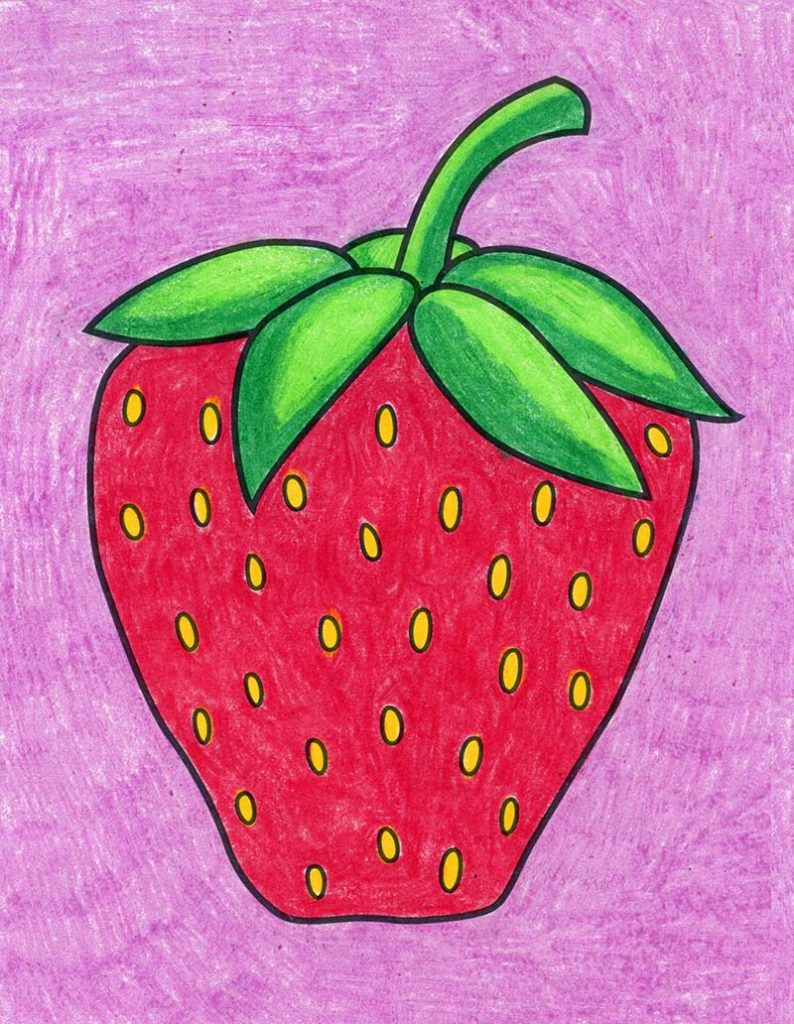
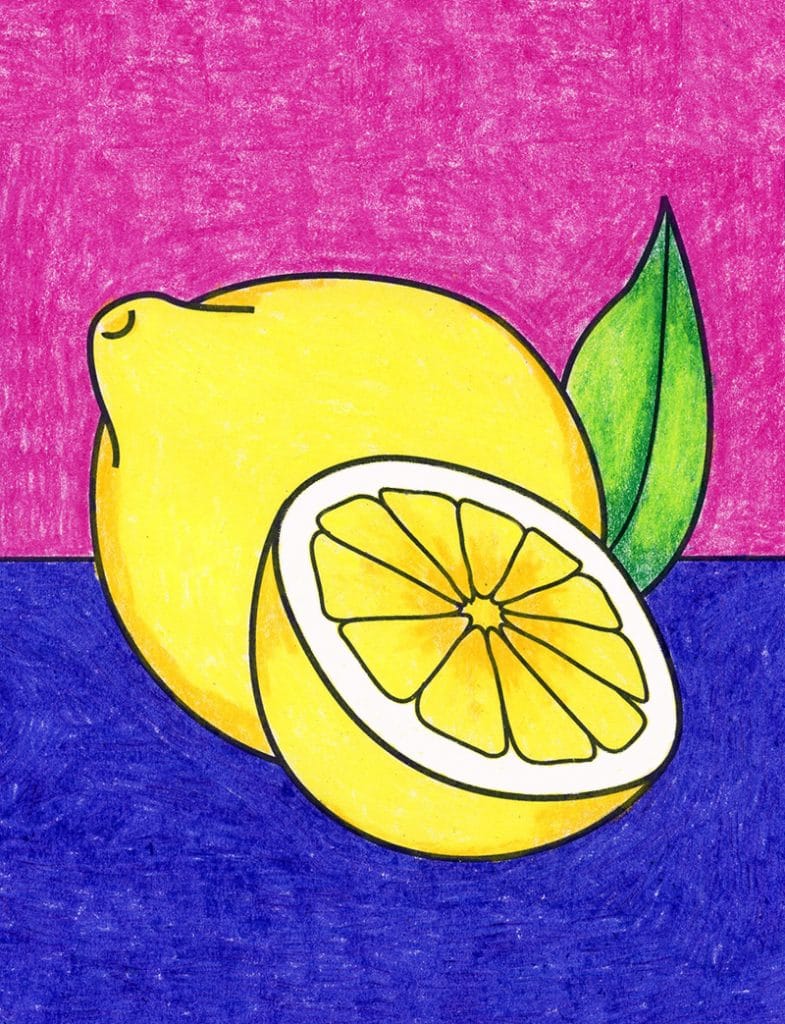
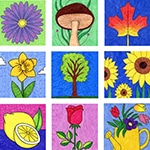
More Fun Fruit To Draw