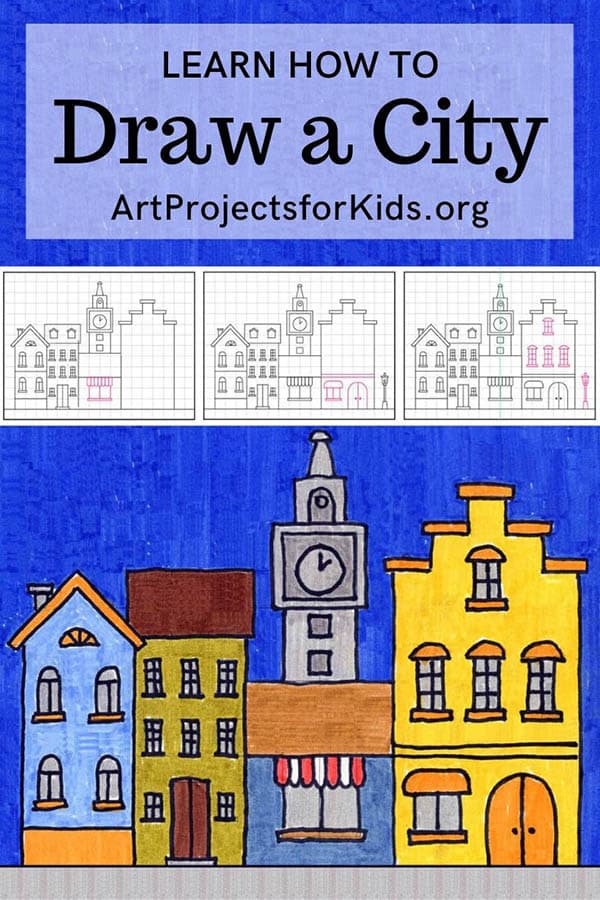
Easy How to Draw a City Tutorial and City Coloring Page
When students learn how to draw a city, they get to practice their symmetrical skills, not to mention their fine motor skills. Those little details that are so much fun to look at, call for some careful tracing and coloring.
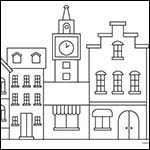
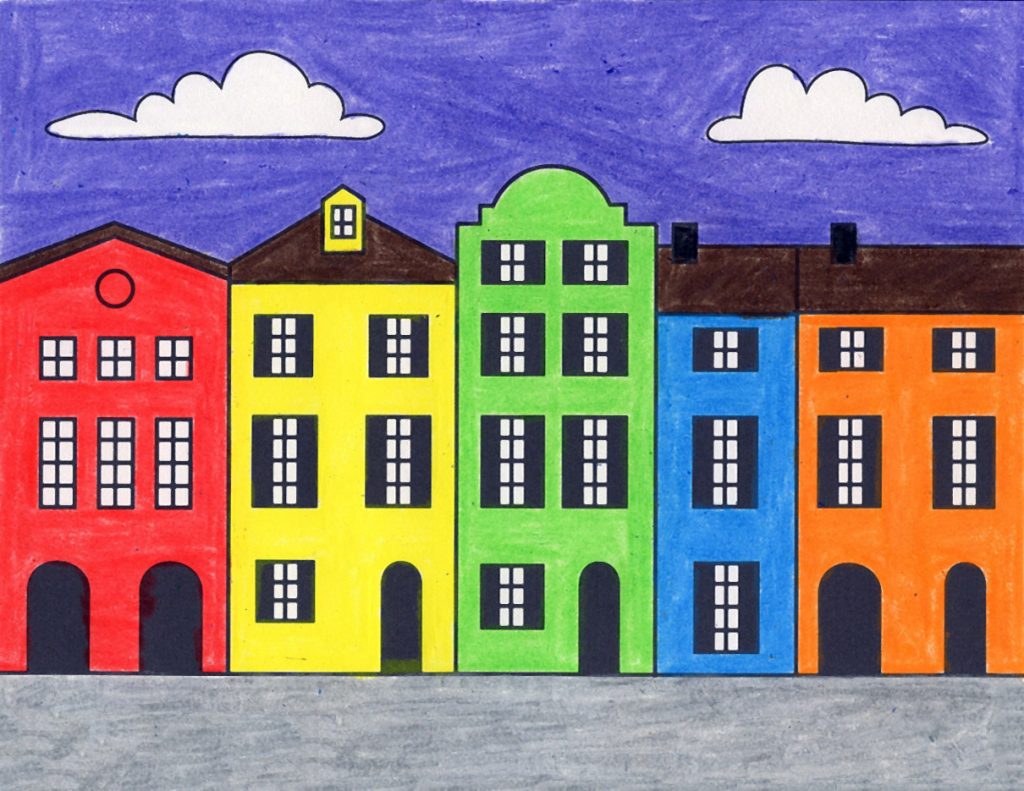
City Drawing
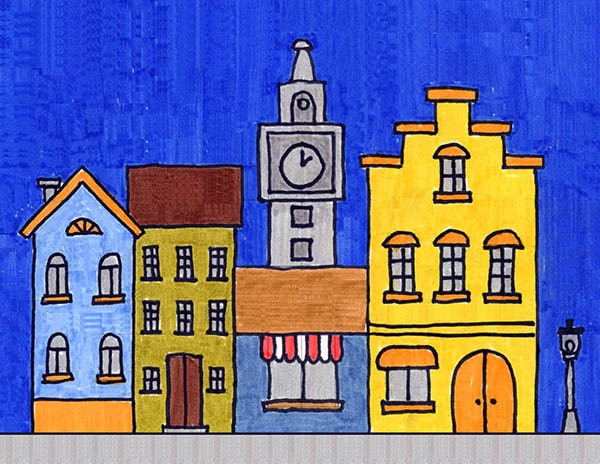
Drawing buildings, as opposed to people or flowers or animals, is a nice way to mix things up every once in awhile. It calls for using the side of one’s brain that makes things organized and orderly, with lots of straight lines instead of curvy ones. Add a little make-believe about buildings from another time or another place and you have the makings of a fun and creative project.
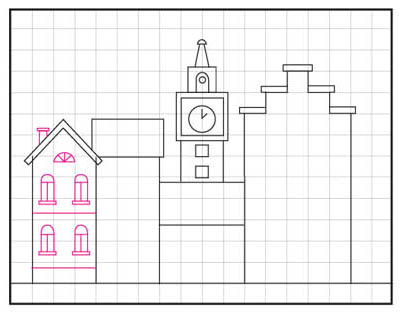
This city building tutorial asks students to draw lots of buildings side by side, but adds just a few details that one might find more often in other countries, and not so much in our neighborhoods. The stacked roof is more common in Amsterdam, and the tower and street lamp look like they are from another time too.
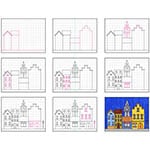
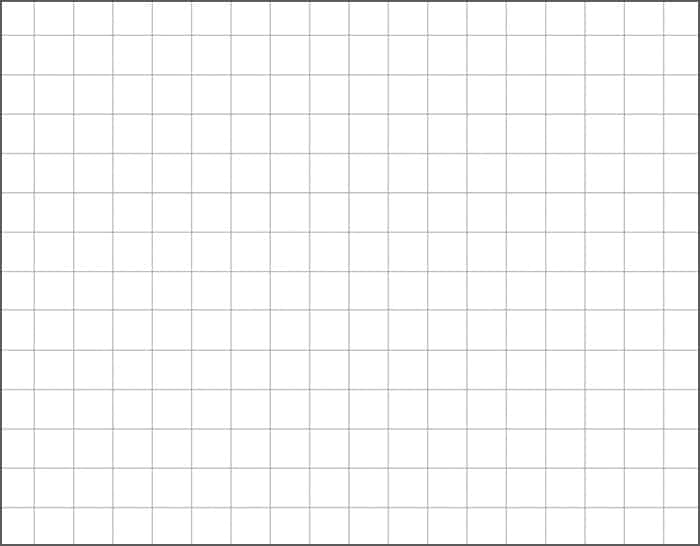
Yes, you could bring out rulers to help your students draw nice straight lines, but they can be cumbersome and hard for little hands to manage. The next best thing is to start with a sheet of drawing paper that has already has a light grid on it, and then a matching tutorial. Both are available in the PDF tutorial that is linked below, and both will help young artists practice their fine motor skills.
Preview of the Step by Step PDF Tutorial

Pin me to your Pinterest Board
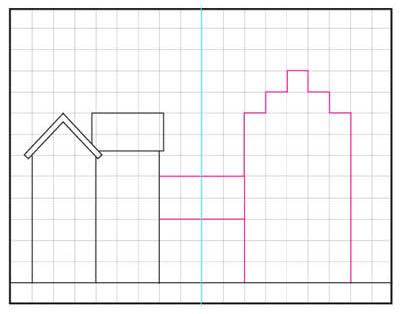
Preview of the Grid Template
Preview of the Sample Line Drawing

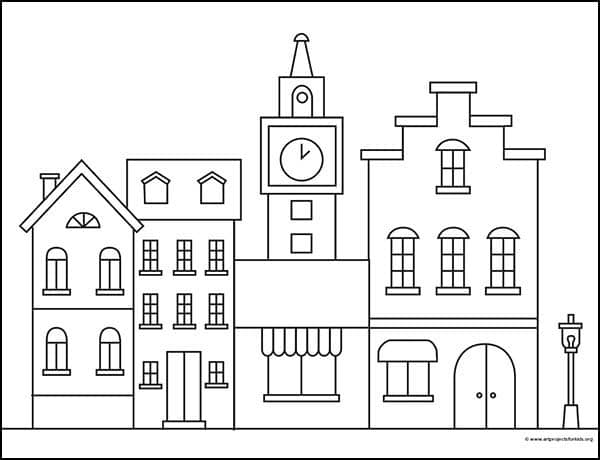
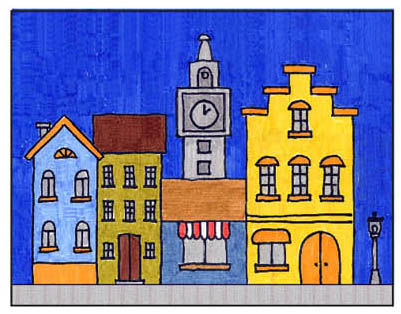
City Coloring Page
Materials for City Drawing

- Prang Classic Art Markers, Bullet Tip. Special marker formula won’t smudge, bleed through paper, or dry out even after 24 hours with the cap off *affiliate link

- Drawing Paper. Don’t substitute it with copy paper or construction paper. The surface will get fuzzy, erasing might cause holes, and the colors will generally not look as bright. *affiliate link
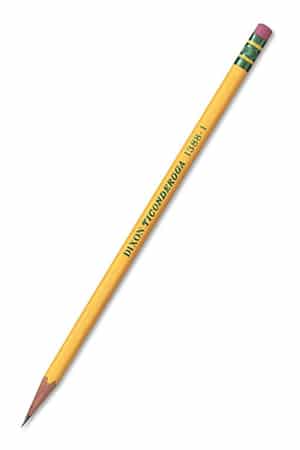
- Pencil. The Ticonderoga brand are the most reliable, make nice dark lines when you need them, and are the easiest to erase. *affiliate link

- Black Sharpie Marker, Fine Tip. Great for making a crisp outline to your drawing. Use them when you want your outline show up, but not be so heavy that it detracts from other things. *affiliate link
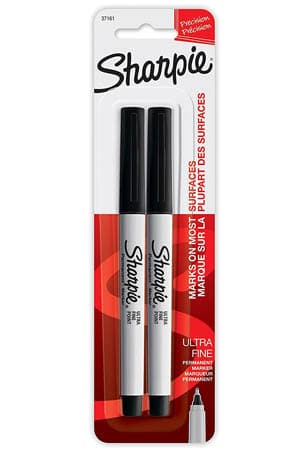
- Black Sharpie Marker, Ultra Fine Tip. Use them when you need to draw some really fine lines. *affiliate link
Step by Step Directions for City Drawing
Time needed: 1 hour
Draw a City in Nine Easy Steps
- Draw the ground line. Start the left buildings.

- Draw two more buildings.

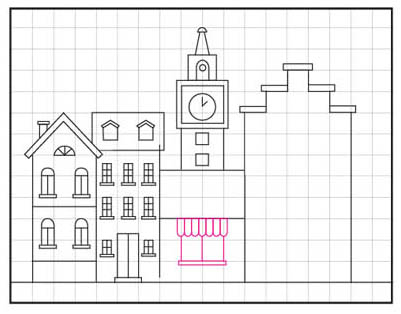
- Add roof top details and clock tower.
- Draw the windows and chimney of left building.
- Add windows and door of next building.
- Draw window in the next building.
- Draw the window and door for the last building.
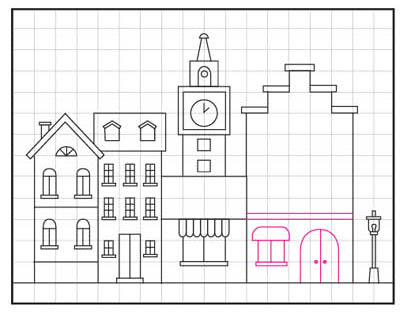
- Finish with top windows and lamp post.
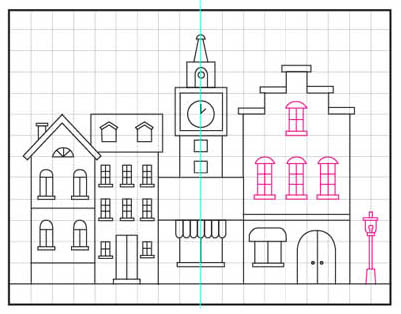
- Trace with a black marker and color.


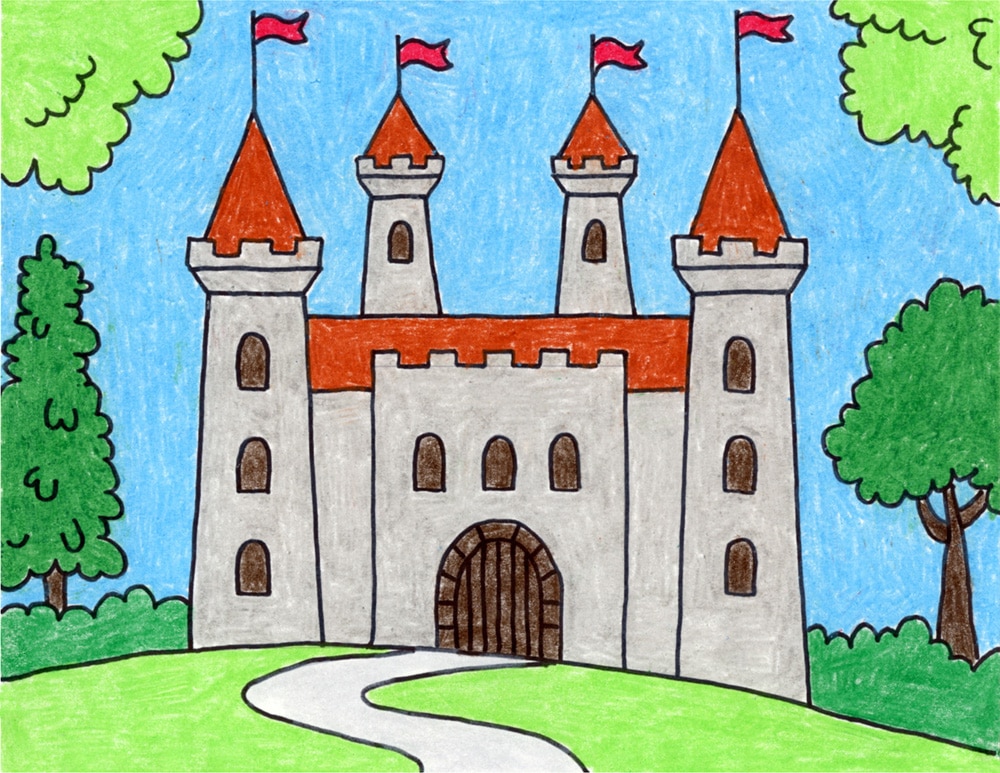
More Fun Buildings to Draw