How to Draw a Gnome: Easy Step-by-Step Art Lesson for Kids
Below you’ll find an easy step-by-step tutorial for how to draw a Gnome and a Gnome Coloring Page. Drawing mythical people allows for all kinds of creativity.

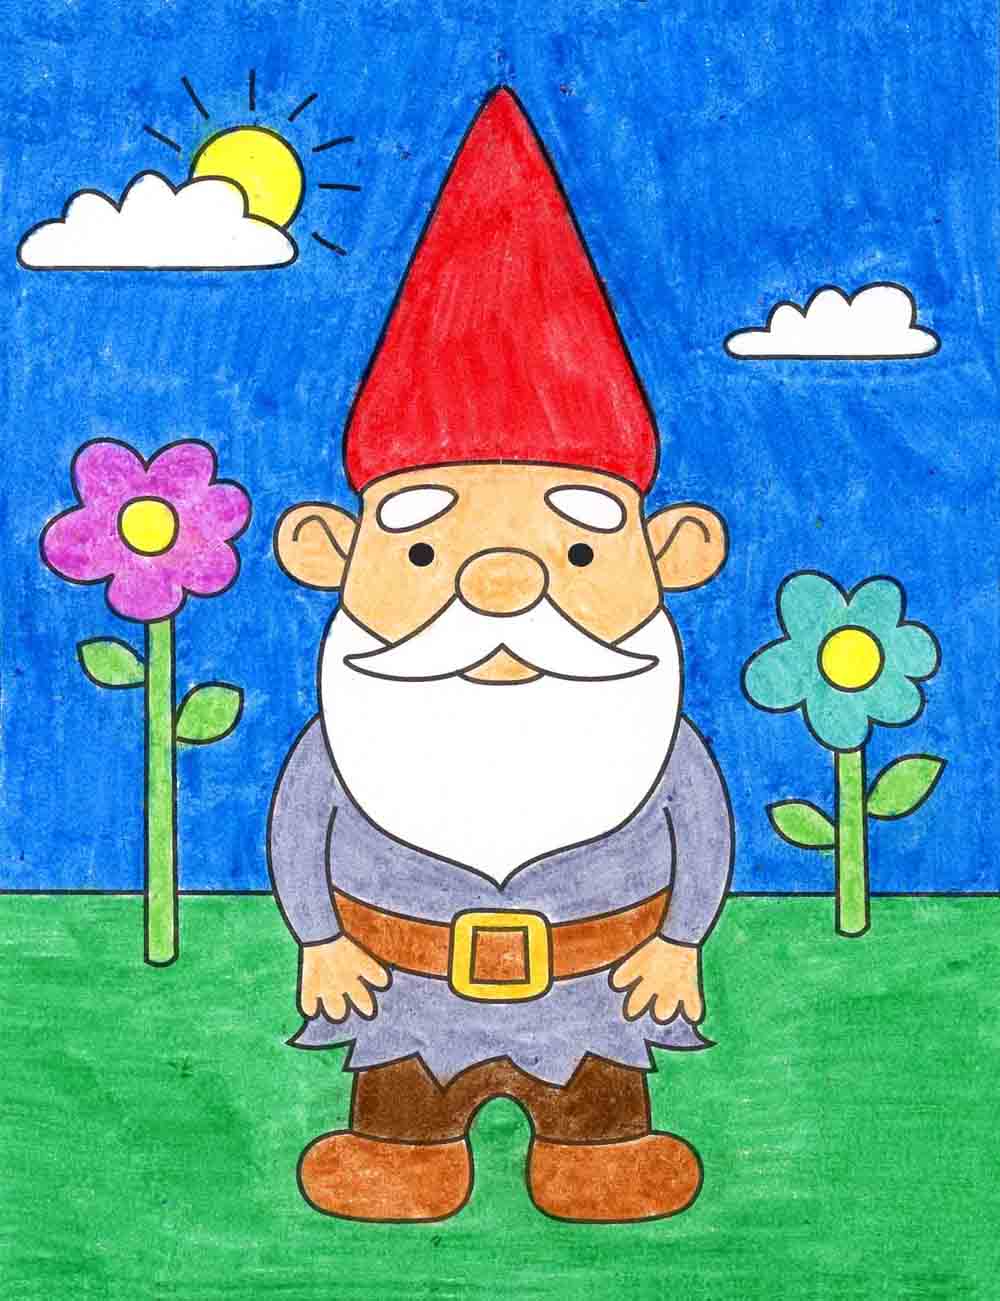
This how to draw a gnome tutorial shares an easy way to draw this little guy, cute clothes and all. The shapes for the body and flowers are pretty simple, making it a doable project for even young elementary students.
Traditionally, a gnome is a small supernatural spirit which lives on earth, and have been mentioned in children’s fairy tales since the 19th century. Today, people often keep an ornamental gnome or two in their garden. They are often quite chubby in appearance, have large colorful hat and long beard. These figurines were first popularized in Germany, then brought to England in the late 19th century.
Use Button below to grab a PDF Tutorial
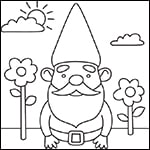
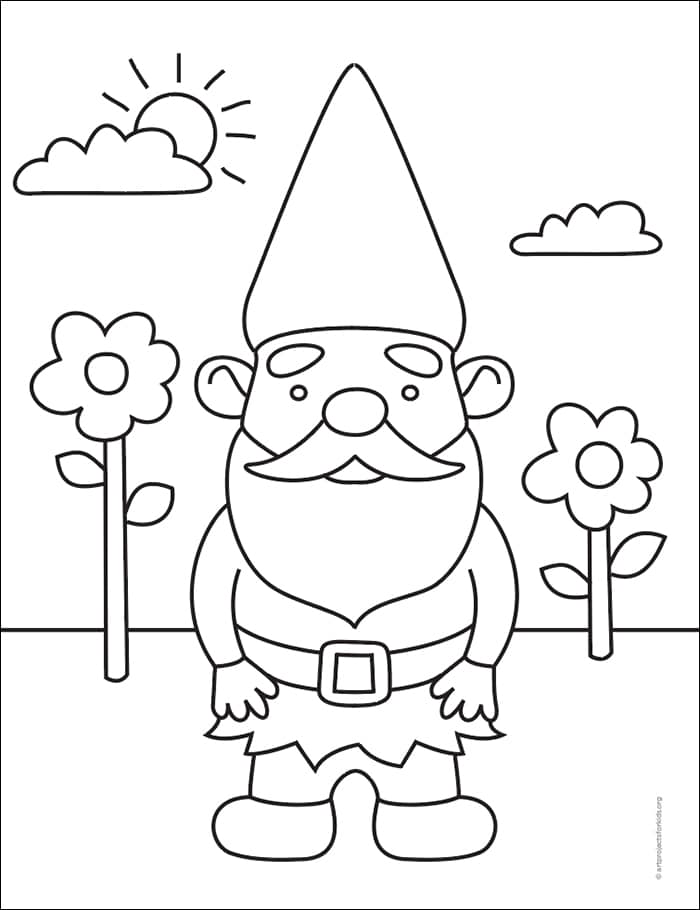
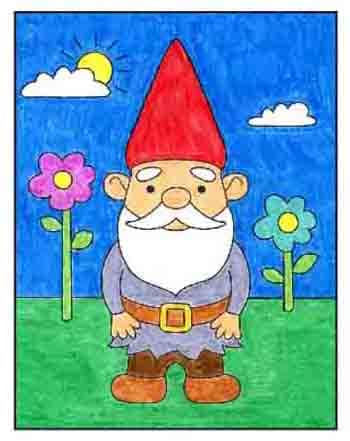
Gnome Coloring Page
How to Draw a Gnome Materials


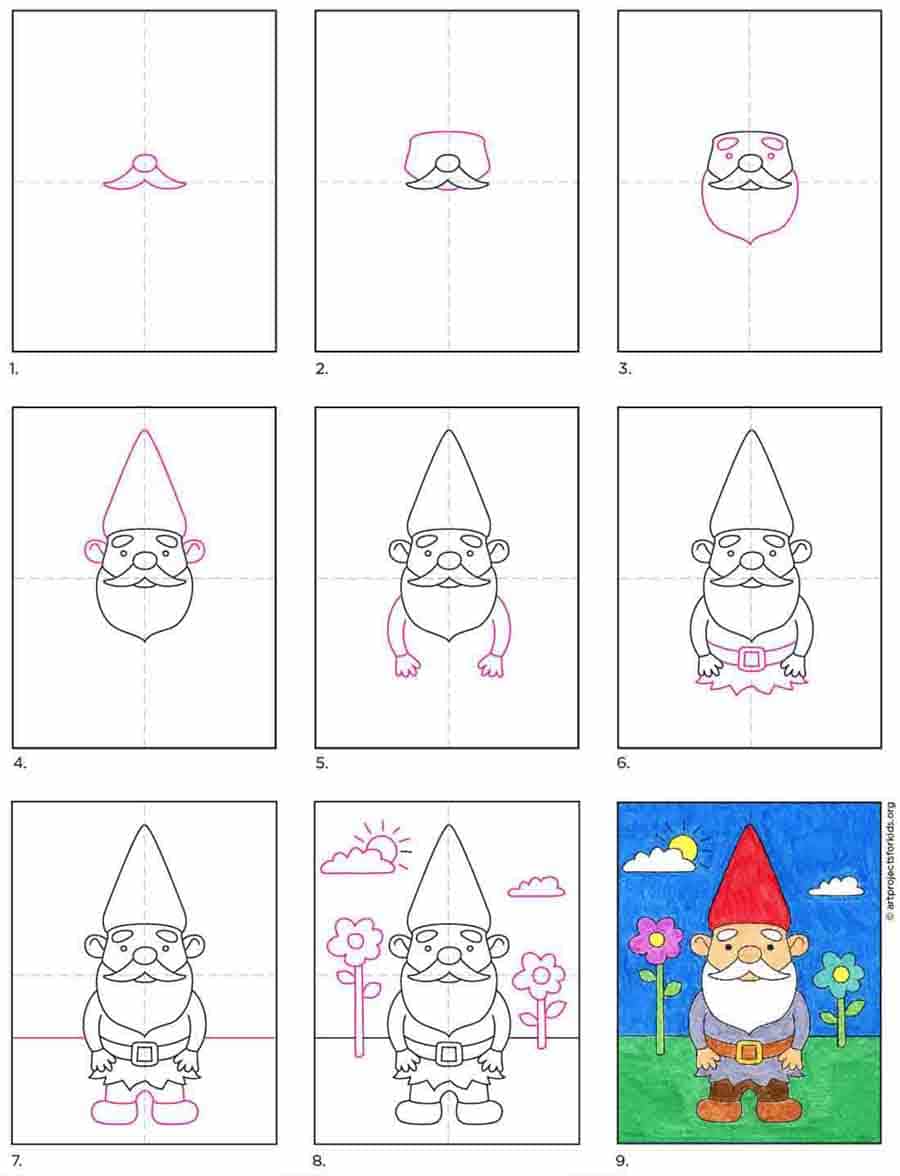
Step by Step Directions
Time needed: 35 minutes
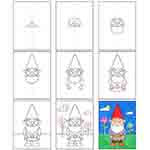
How to Draw an Easy Gnome
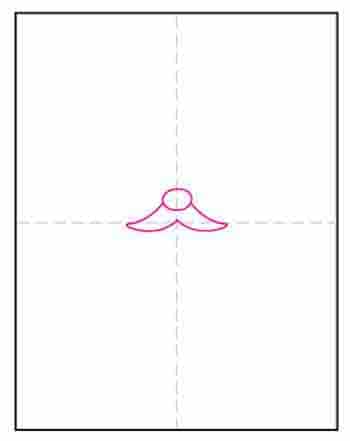
- Draw a nose and mustache.

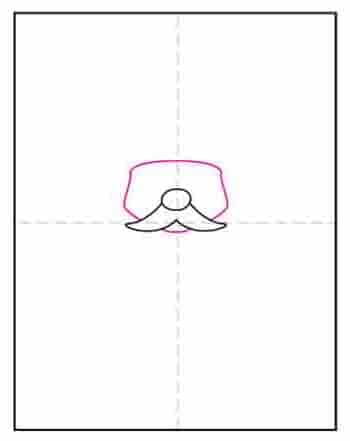
- Draw the face around it.
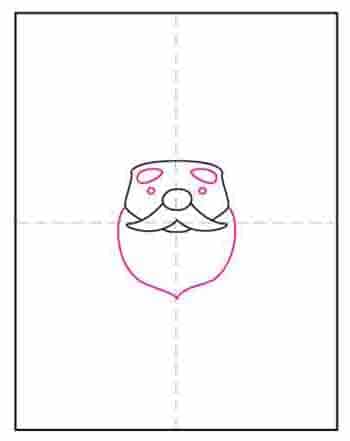
- Add eyes, brow and beard.
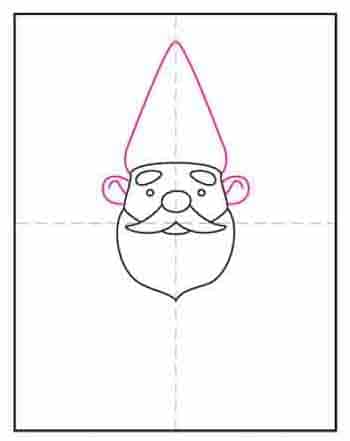
- Draw two ears and add a hat.
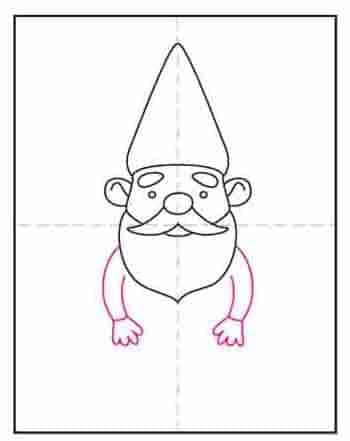
- Draw two arms.
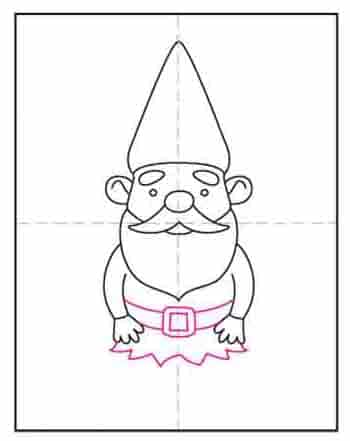
- Add a belt and shirt edge.
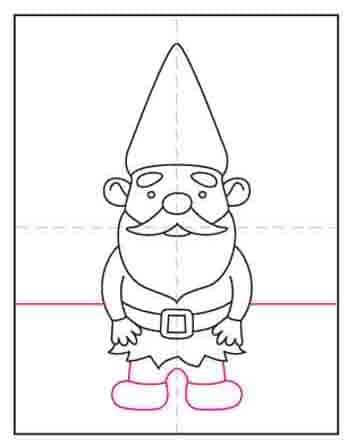
- Draw two legs and horizon line.
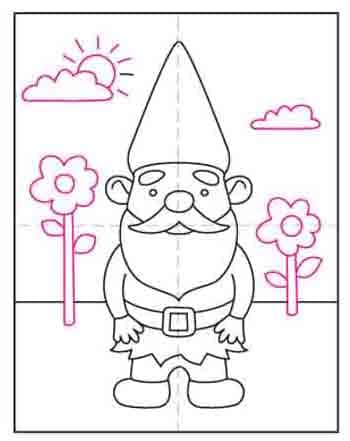
- Finish with flowers and sky.
- Trace with marker and color.Draw
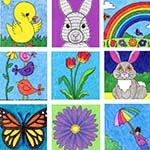
More Fairytale Drawing Projects