Easy How to draw a Leopard Tutorial Video and Leopard Coloring Page
Below you’ll find an easy step-by-step tutorial for how to draw a Leopard and a Leopard Coloring Page. Those cool spots are actually just drawn with crayons!
Leopard Drawing
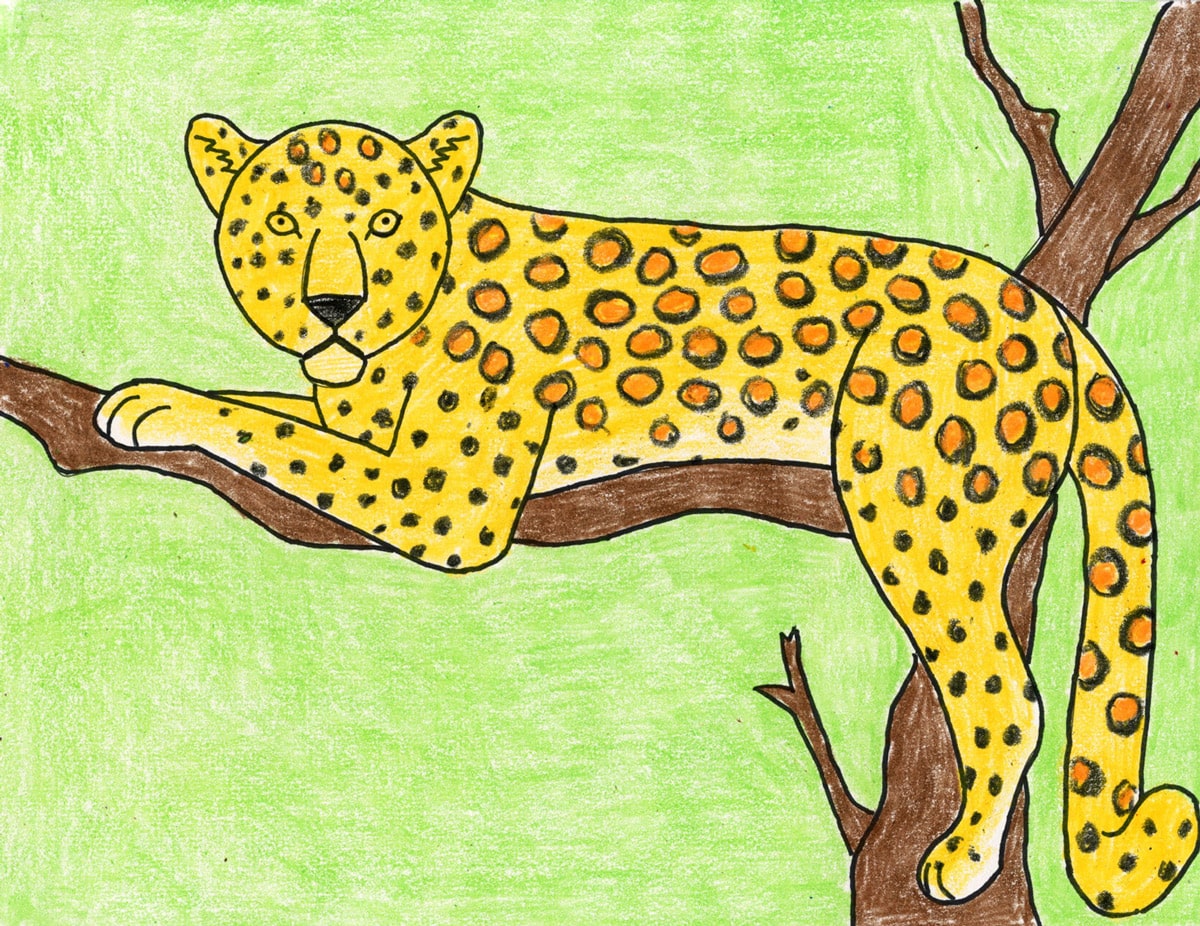
Learning how to draw a leopard starts with a basic body. There’s the round head, long body and tail, which could be used as a start for all kinds of different cat-like animals.
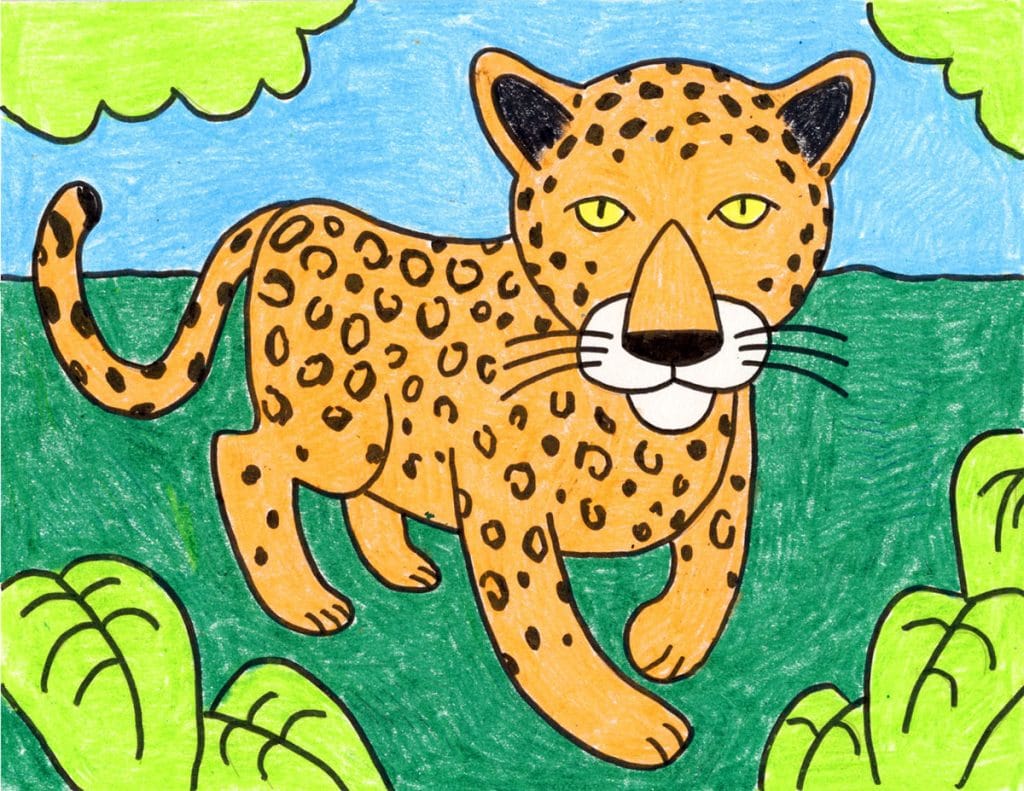
What makes this a Leopard drawing is all about the pattern inside. They are known for their light coloring and dark spots. In real life, the patterns have a bit more detail and resemble the shape of a rose. But for this tutorial we can just color them like rings. The end result is very similar, and are easy for young artists to do.
Join “The Daily Draw” below to get this instant download!
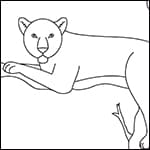
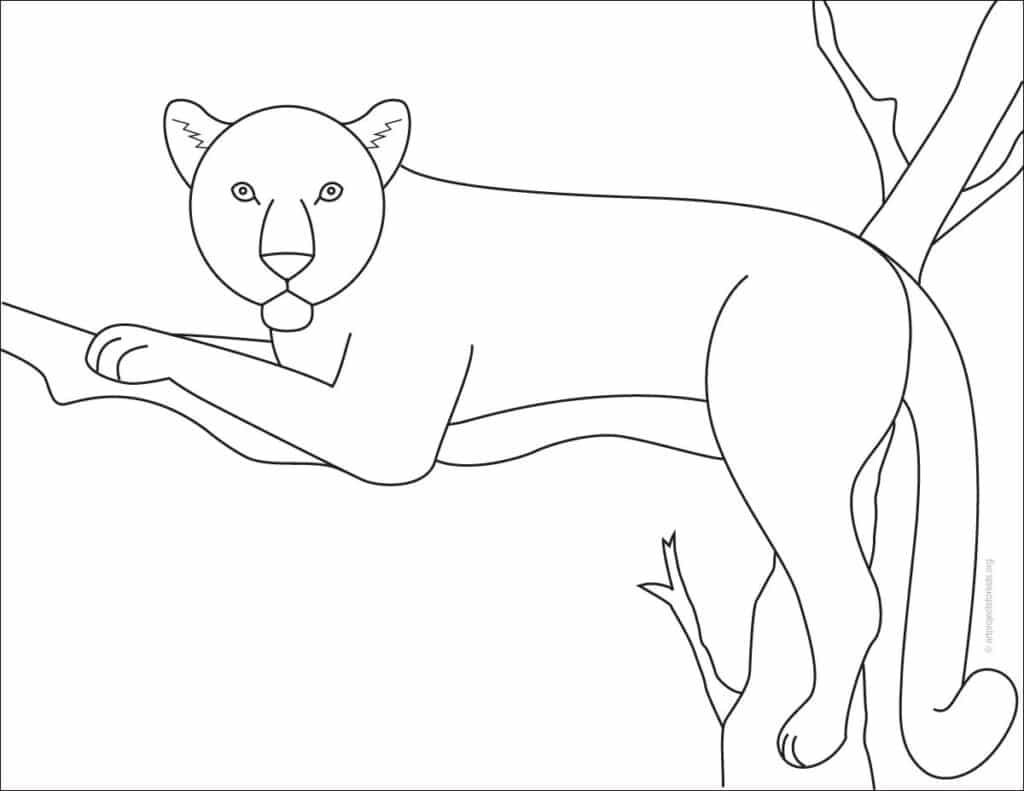
Leopard Coloring Page
Materials
- Drawing Paper. This is the good stuff you can buy in bulk for a good price.
- Pencils. I like how this brand always makes nice dark lines.
- Black Marker. A permanent marker will give you a dark black color.
- Crayons. The larger packs are nice for more color choices.
- Note: All of the above are Amazon affiliate links.
Directions
Time needed: 1 hour
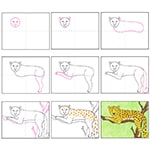
Step by step directions for Leopard Drawing
-
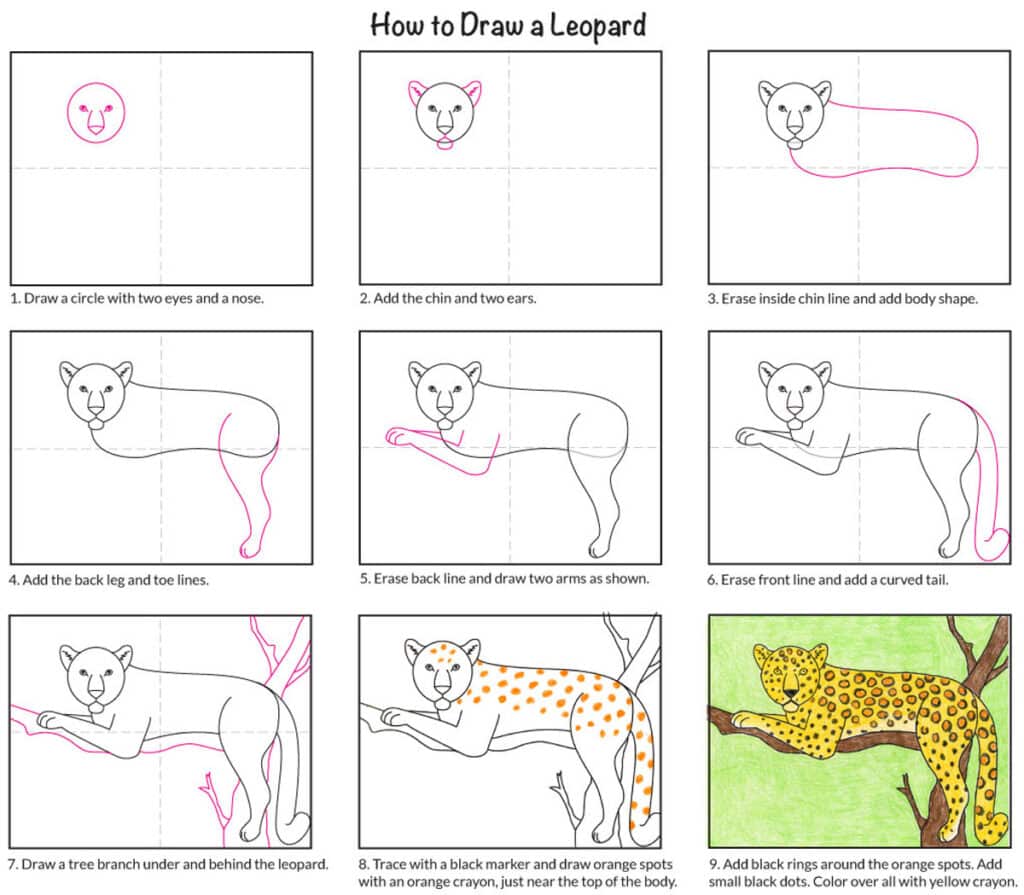
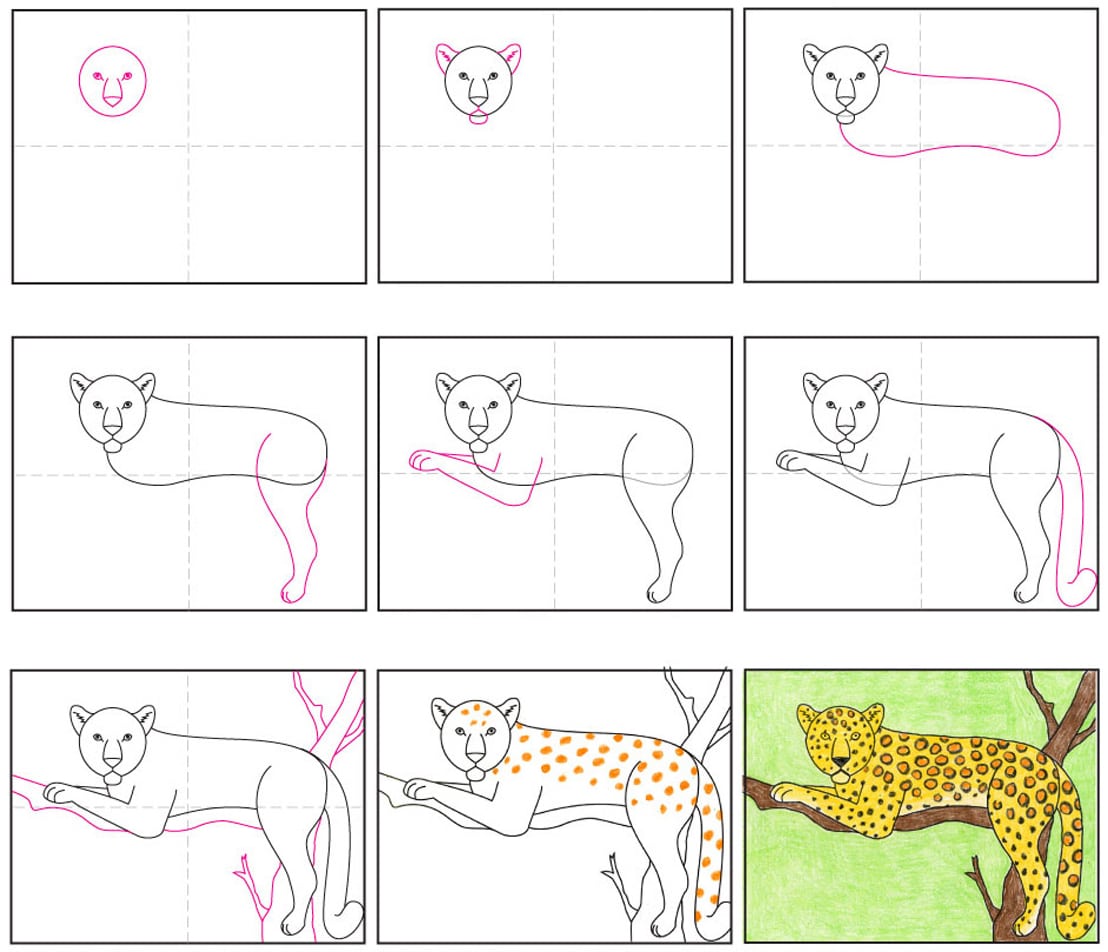
Draw a circle with two eyes and a nose.

-
Add the chin and two ears.

-
Erase inside chin line and add body shape.

-
Add the back leg and toe lines.

-
Erase back line and draw two arms as shown.

-
Erase front line and add a curved tail.

-
Draw a tree branch under and behind the leopard.

-
Trace with a black marker and draw orange spots
with an orange crayon, just near the top of the body.
-
Add black rings around the orange spots. Add
small black dots. Color over all with yellow crayon.
Already subscribed to “The Daily Draw”?
Great, then use the download button below to get your free Leopard tutorial. And thanks for wanting to bring more step-by-step, no-prep art lessons to your classroom!
