How to Draw a Taco: Easy Step-by-Step Art Lesson for Kids
Here you’ll find an easy step-by-step tutorial video for how to draw a Taco and a Taco Coloring Page.

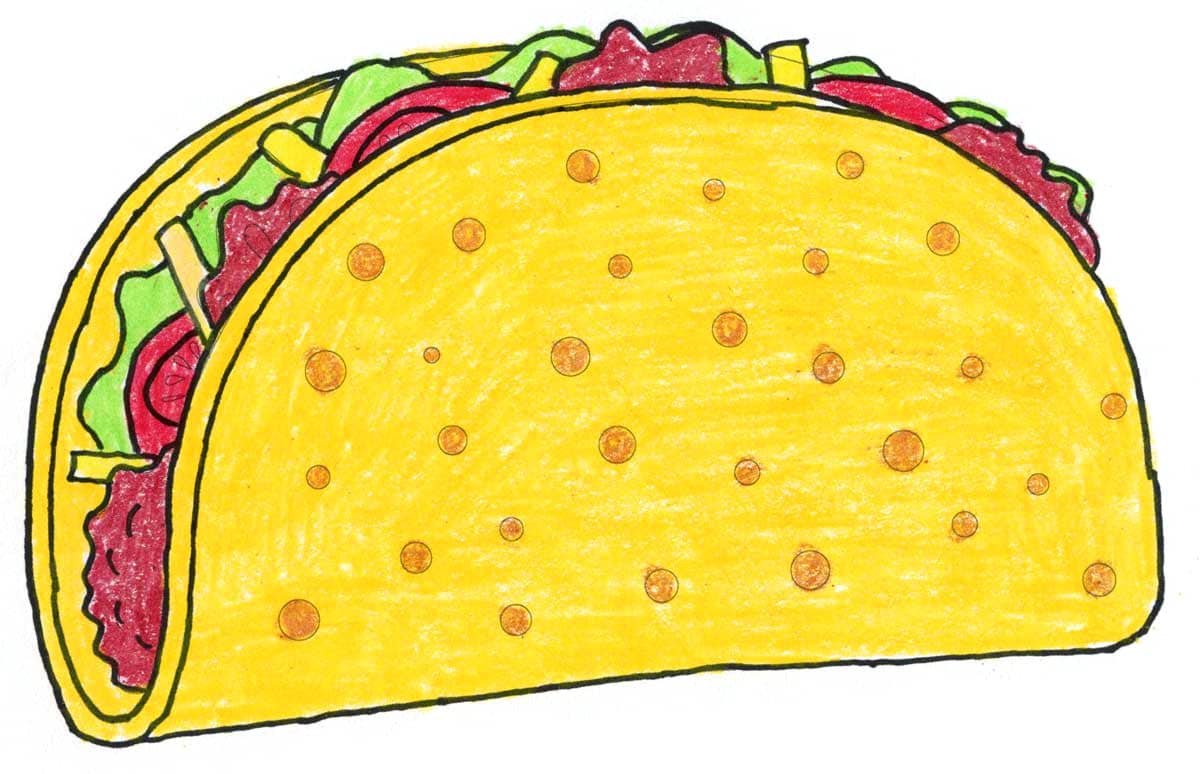
The tutorial below shows how easy it is to draw a Taco, when you take it step by step. Not only will students learn how to sketch something simple that they can relate to, they’ll be using the Elements of Art too.
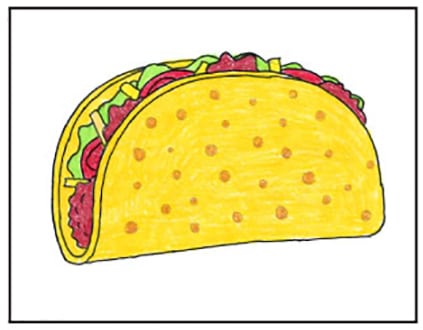
This drawing couldn’t have that folded look without knowing how to use LINES to make those curves. And you couldn’t layer all those beans and lettuce and cheese without using SHAPES. Also, that kind of bumpy shell TEXTURE is made with some good use of COLOR.
That’s quick a few drawing lessons from drawing one yummy thing to eat!
Use the button below to get this free PDF Tutorial!
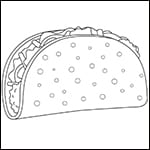
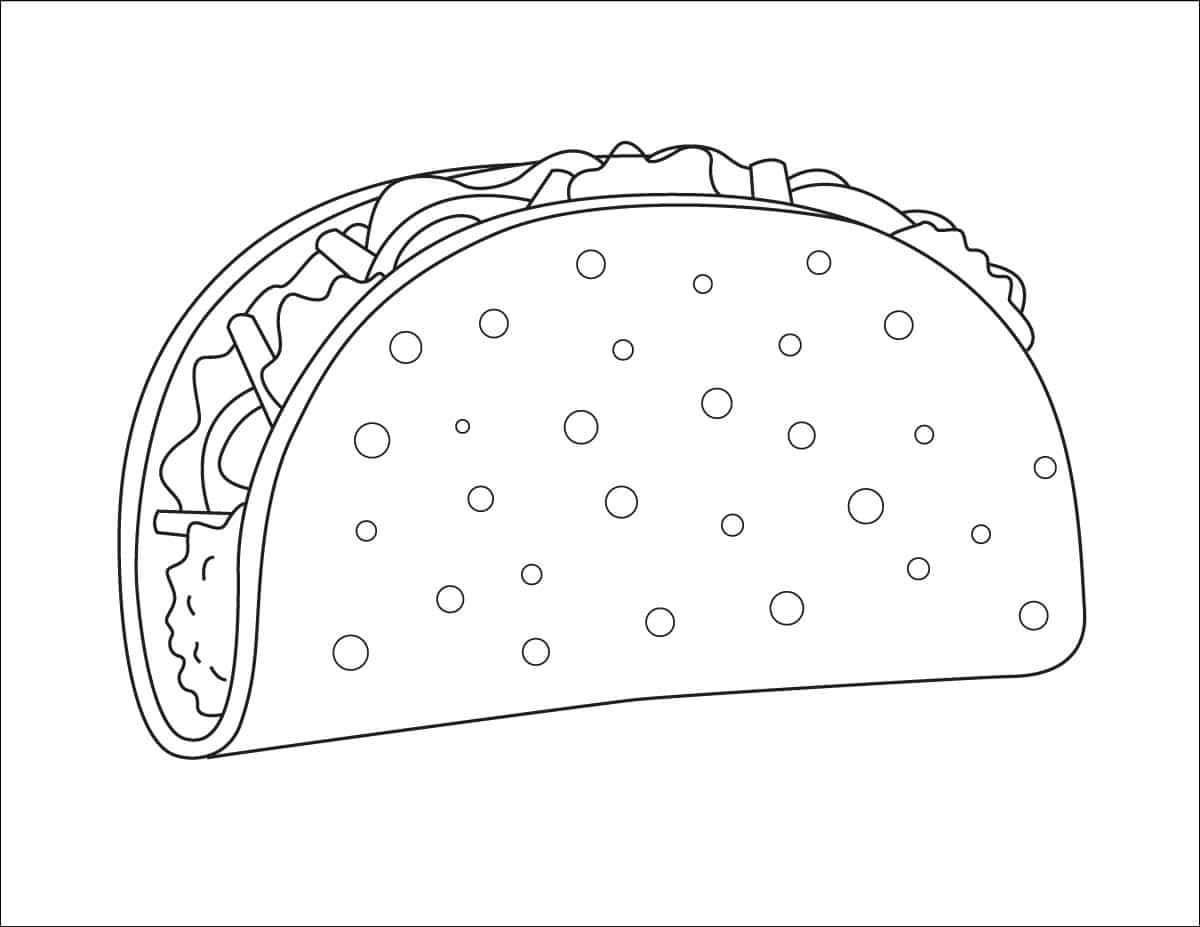
Taco Coloring Page
Materials


Step by Step Directions
Time needed: 45 minutes
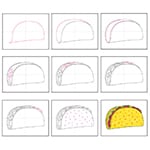
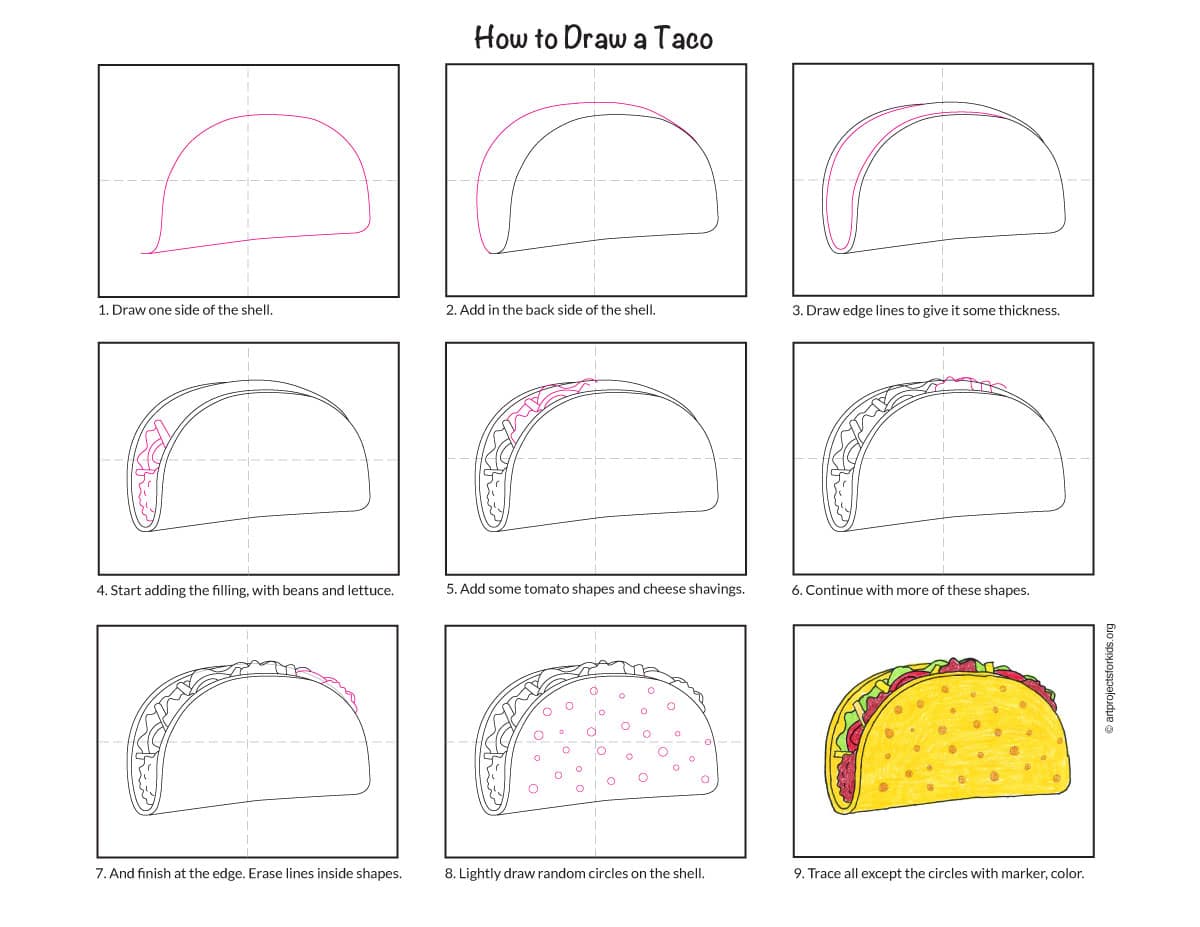
Draw a Taco Step by Step
-
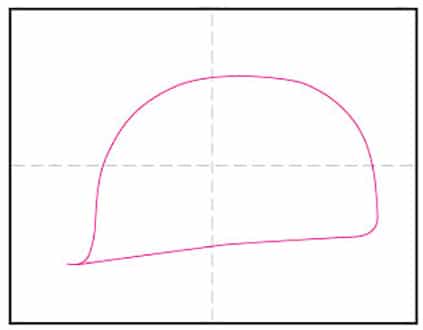
Draw one side of the shell.
-
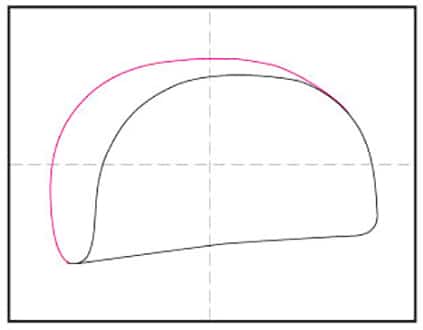
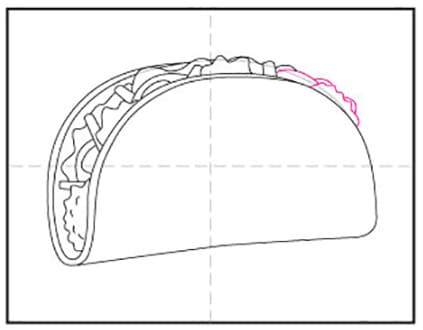
Add in the back side of the shell.
-
Draw edge lines to give it some thickness.
-
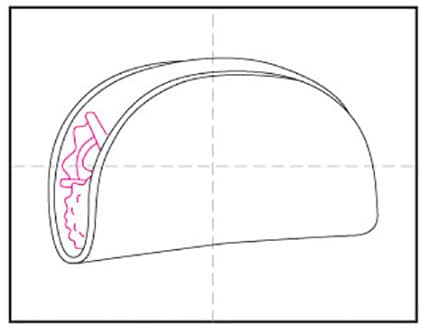
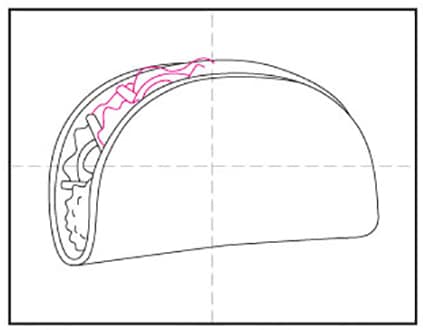
Start adding the filling, with beans and lettuce shapes.
-
Add some tomato shapes and cheese shavings.
-
Continue with more of these shapes.
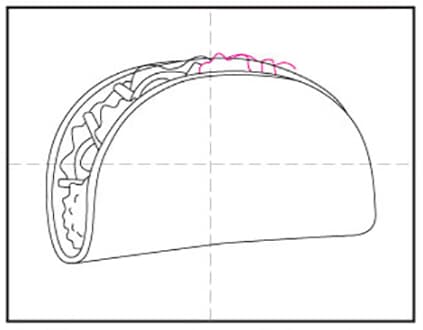
-
And finish the filling with a few more bean and lettuce shapes.
-
Lightly draw some random size circles on the side of the shell.
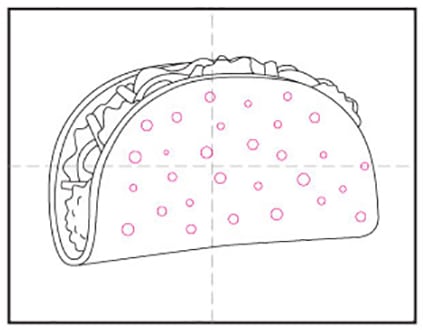
-
Trace everything EXCEPT the circles and color.