Easy How to Draw Cupid Tutorial and Cupid Coloring Page
Below you’ll find an easy step-by-step tutorial for to Draw Cupid and Cupid Coloring Page. This one is perfect for elementary age students.
Jump to Tutorial 
Coloring Page 
More Valentines 
Valentine ebook
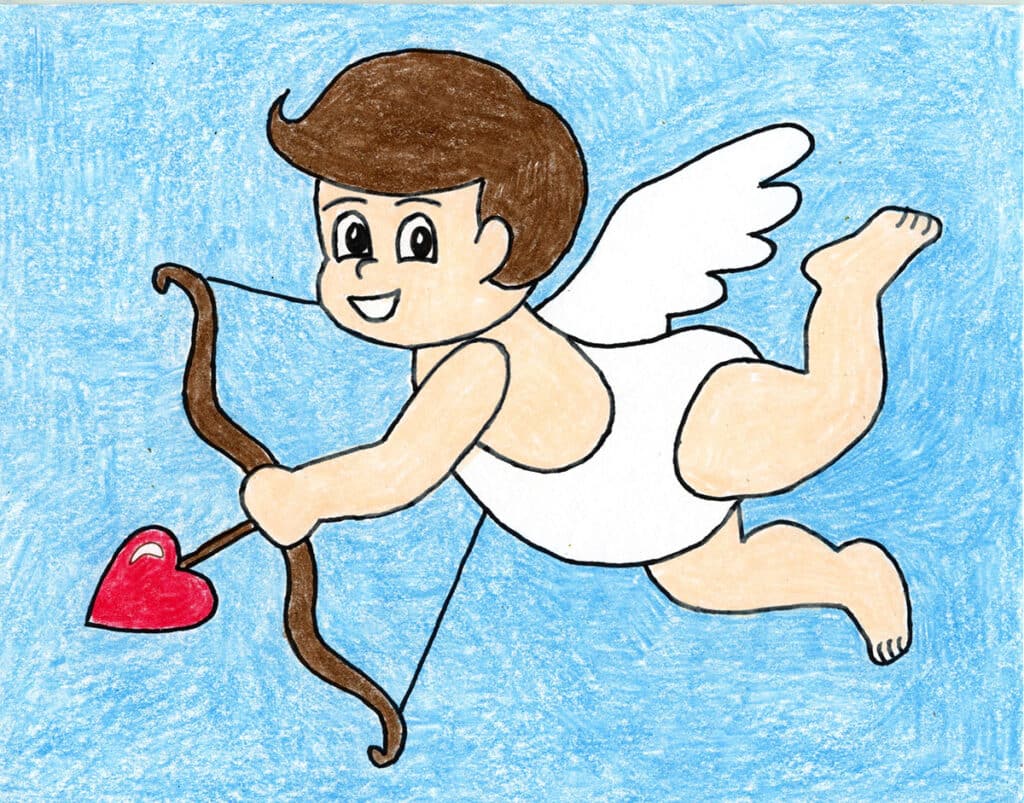
Drawing of Cupid
A Cupid lesson for Elementary Students
No Valentine drawing collection would be complete without a lesson for how to draw Cupid, right? The only question is, which kind of Cupid should it be? If you do a quick Google search, you’ll find there are many that are cute, but have little or no clothing (no thanks!) or those in complicated poses. Most early elementary students are just figuring out how to draw bodies, and are not ready for a 3/4 view of a person with bent arms holding a bow and arrow.
The option I created here is a Cupid figure with a side view, so the arms are leg are easy to see. The face and is very simple, and has a cartoon element added for some extra fun.
The one new skill students can learn, is how to add some extra curves on those arms and legs, to give Cupid his famous chubby “baby” look. One lesson per drawing project is more than enough to take on, when you are just starting out learning how to draw.
Use the button below to download this free tutorial
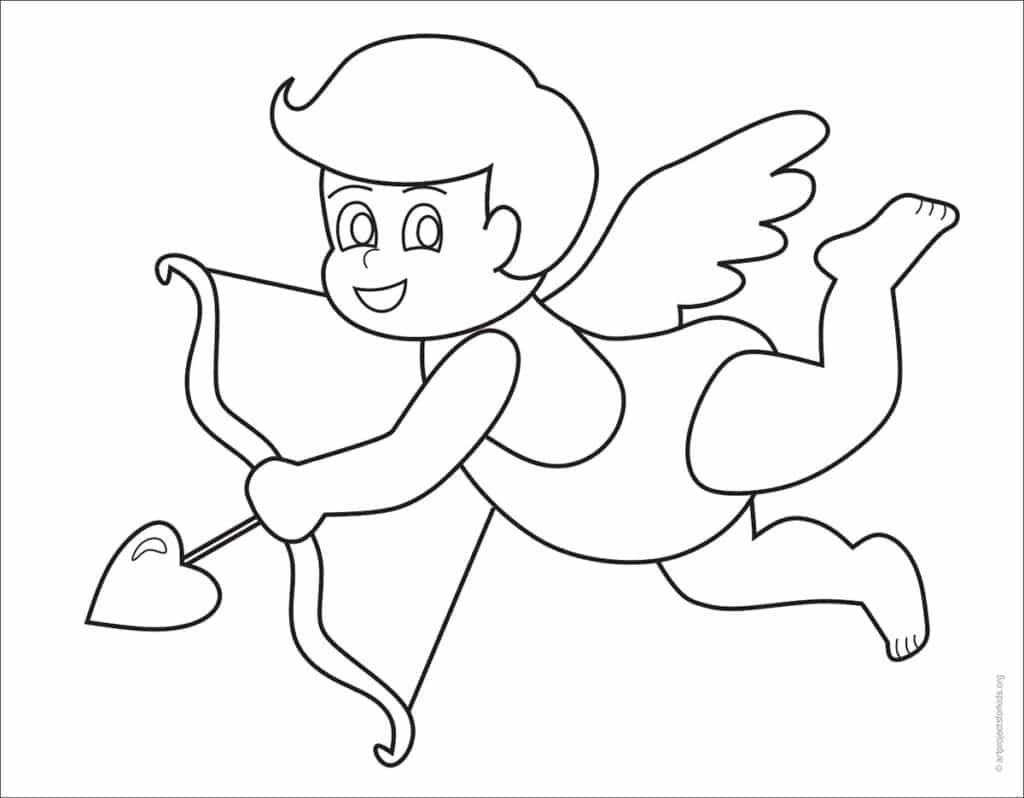
Cupid Coloring Page
Materials
- Drawing Paper. This is the good stuff you can buy in bulk for a good price.
- Pencils. I like how this brand always makes nice dark lines.
- Black Marker. A permanent marker will give you a dark black color.
- Crayons. The larger packs are nice for more color choices.
- Note: All of the above are Amazon affiliate links.
Directions to make a Cupid Drawing
Time needed: 45 minutes
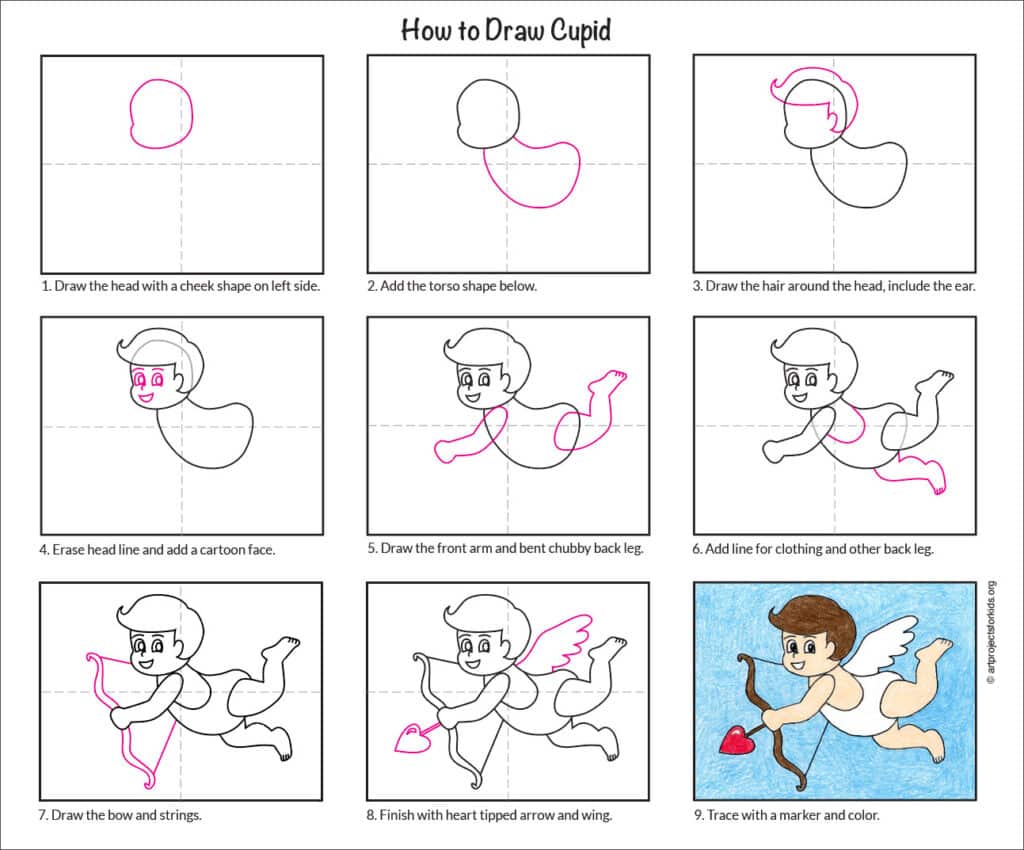
Step by step directions to draw Cupid
- Draw the head with a cheek shape on the left side.

- Add the torso shape below.

- Draw the hair around the head and include the ear.

- Erase the head line and add a cartoon face.

- Draw the front arm and bent chubby back leg.

- Add a line for the clothing and the other back leg.

- Draw the bow and string.

- Finish with a heart tipped arrow and a wing.

- Trace with a marker and color.

