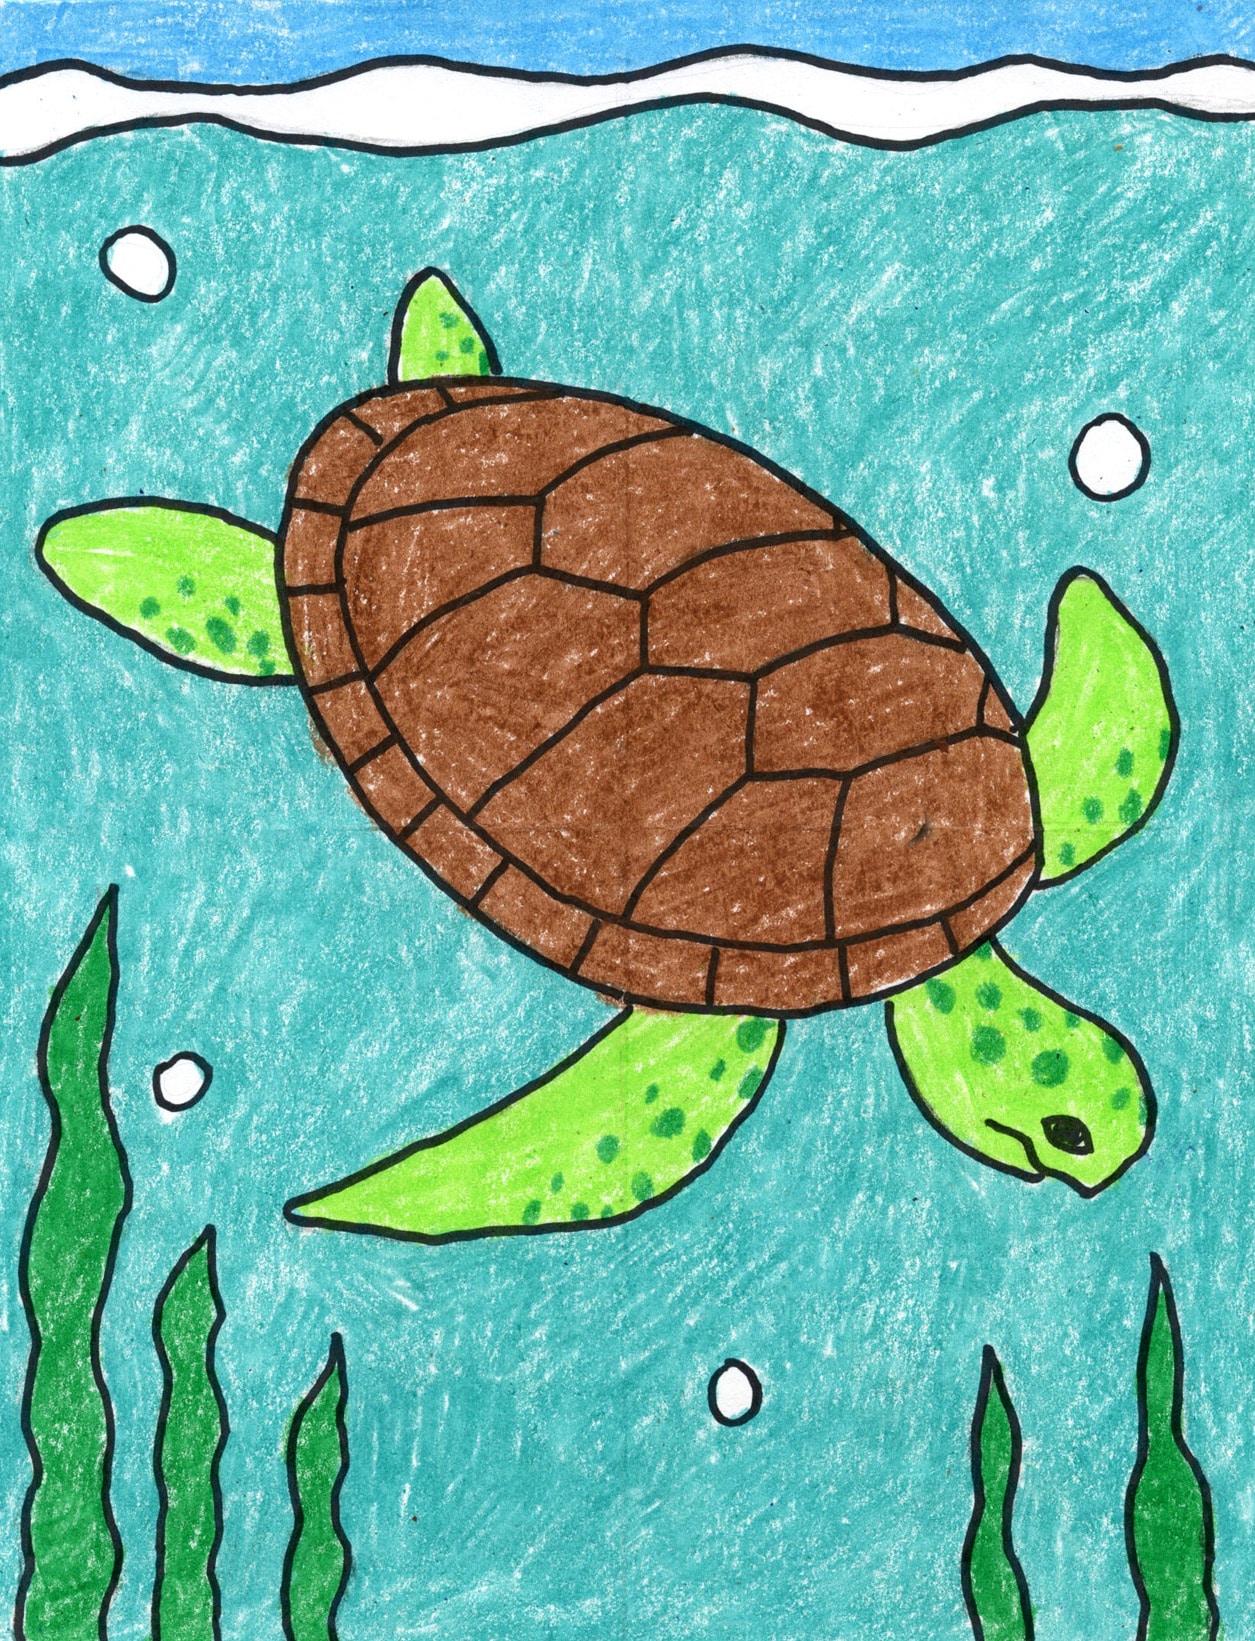
How to Draw Scenery: Easy Step-by-Step Art Lesson for Kids
Here you‘ll find an easy step-by-step tutorial video for how to draw Scenery and Coloring Page. Students can learn more about how to add space to their landscape drawing.
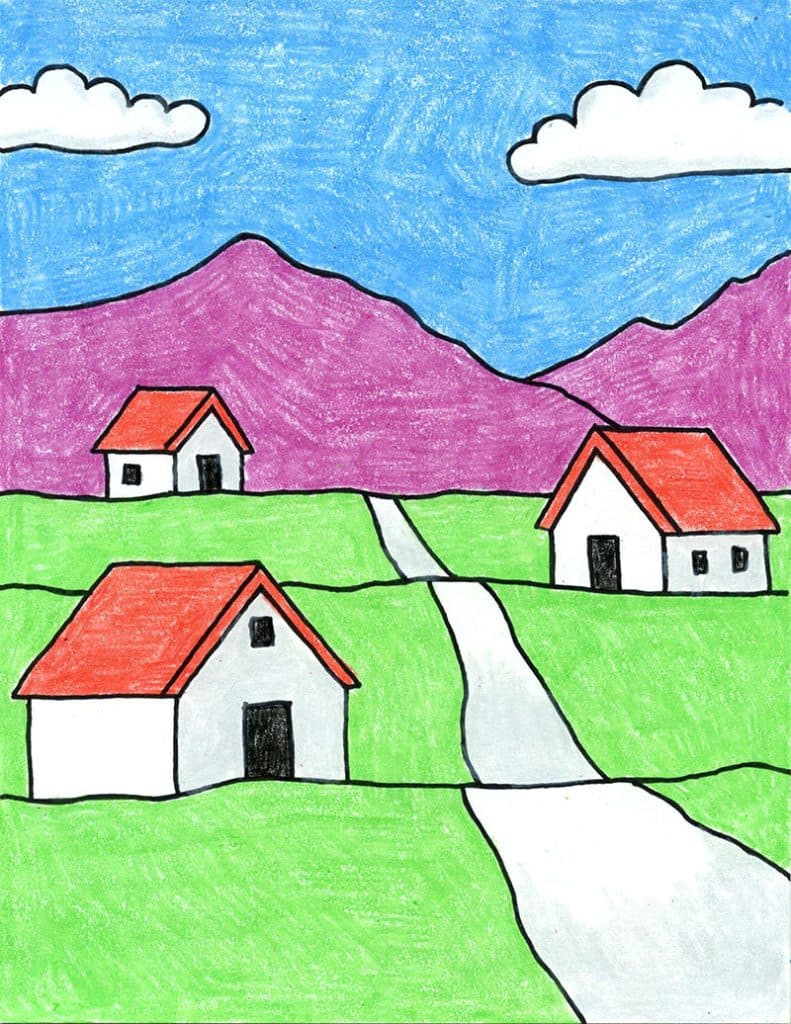
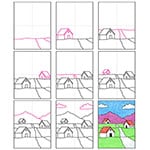
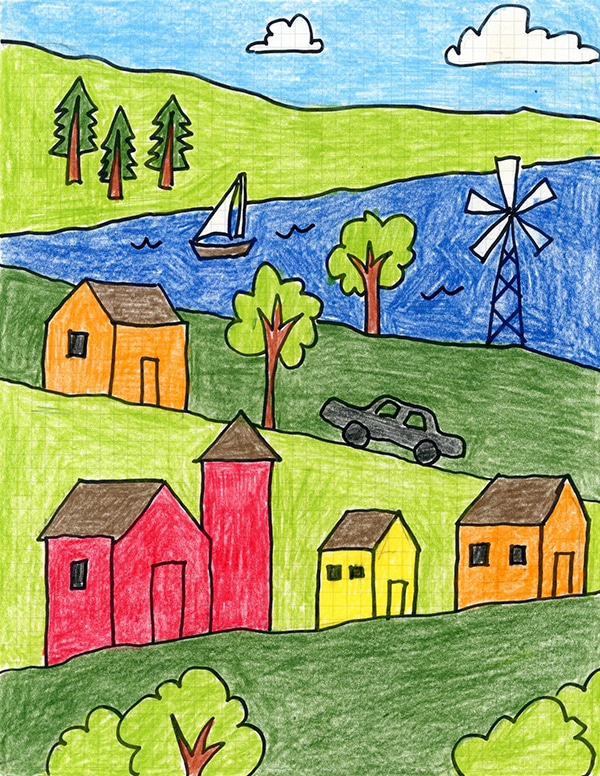
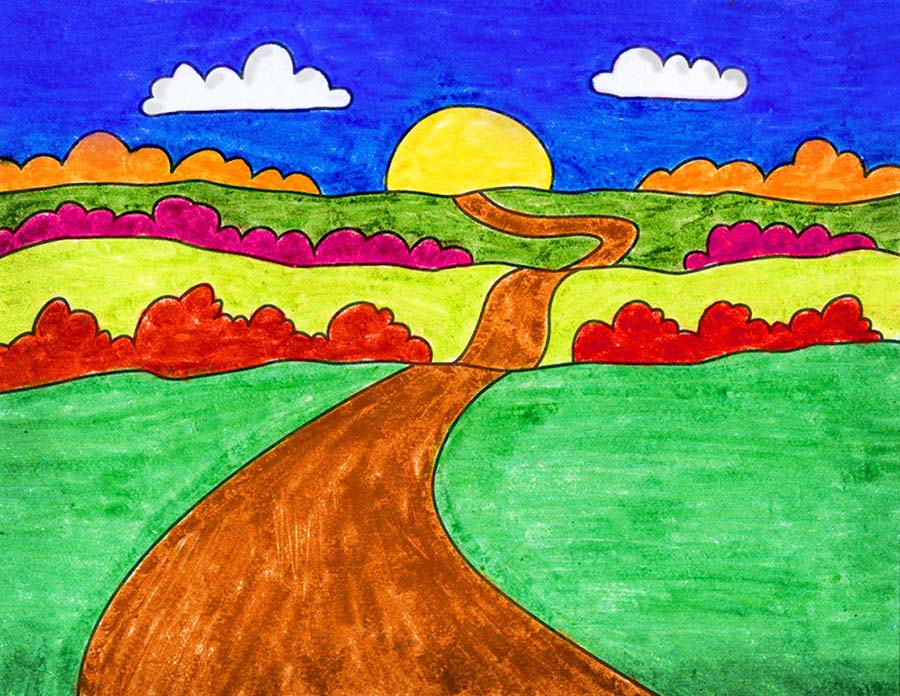
Learning how to draw scenery can be a fun and rewarding activity for students and has lots of benefits. It can encourage their imagination, observation skills and offer some fine motor skill practice at the same time. This tutorial in particular asks students to draw a brand new landscape scene in three layers – the close up one with a large building, then a smaller medium size one, and a smaller one in the back. It’s a reminder for them to consider their fore, middle and background as they draw, and remember that the further away things are, the smaller they appear to be.
When students draw new outdoor scenes, it’s also a good reminder to encourage them to be as creative with color as they want to be. Buildings don’t always have to be dark. In some places they are white, or pastel, with very simple doors and windows. The same goes for mountains. They may be brown when you see them up close, but often have a different cast when viewed at different times of the day. Choosing colors just for fun is what artists have been doing for centuries!
Use the Button below to grab a PDF Tutorial
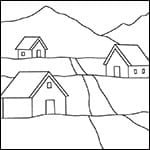
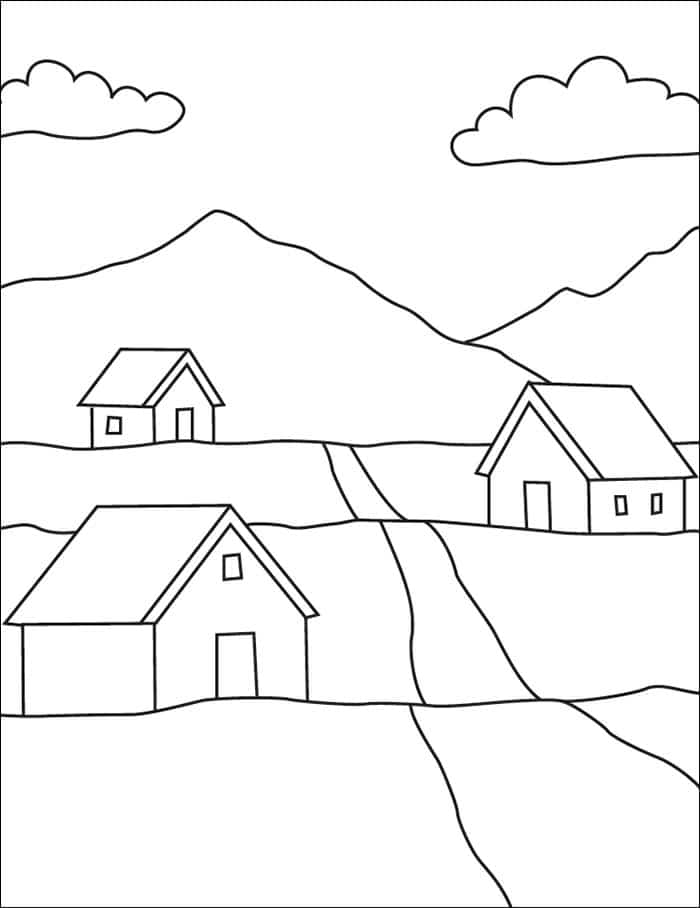
Scenery Coloring Page
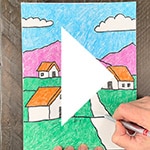
Watch a fun short video of a Scenery Drawing
Materials to draw Scenery
Time needed: 1 hour
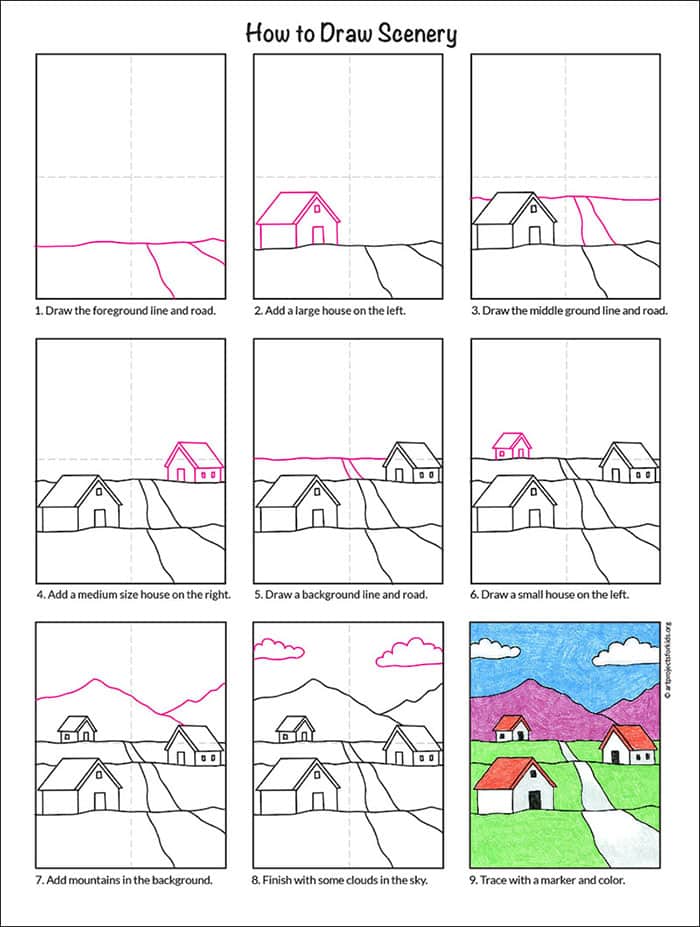
Draw Scenery step by step
- Draw the foreground line and a road.
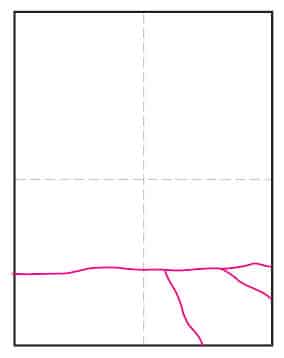
- Add a large house on the left side.
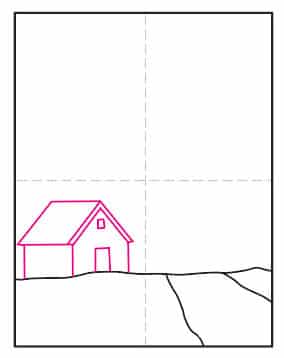
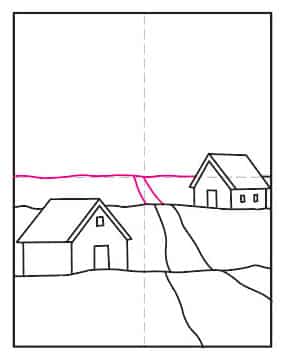
- Draw the middle ground line and a road.
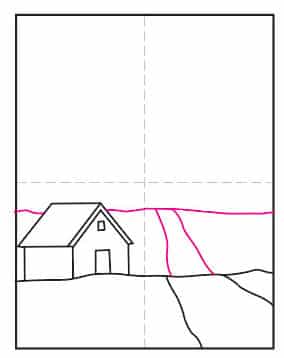
- Add a medium size house on the right side.
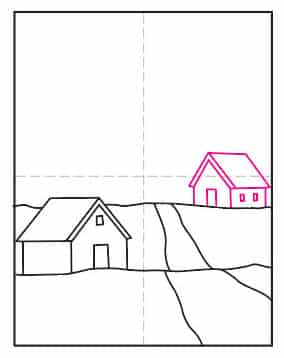
- Draw a background line and a road.
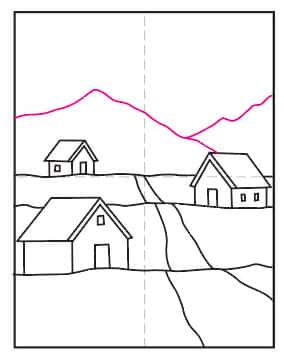
- Draw a small house on the left side.

- Add mountains in the background.
- Finish the drawing with some clouds in the sky.

- Trace the lines with a marker and then color.

