How to Draw the Star of David: Easy Step-by-Step Art Lesson for Kids
Learn how to draw the Jewish Star of David by making two triangles look like they are wrapped around each other.
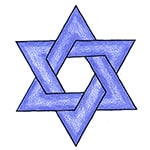

Star of David
The Star of David or Magen David (literally, Shield of David), as its referred to in Hebrew, is the most common symbol for expressing Jewish identity today. The Hebrew name for the symbol – a hexagram formed by two overlapping triangles, one pointed upward and the other downward – comes from its supposed resemblance to King David’s shield.
This step by step tutorial shows students how to draw the more complex version of the Star of David, one that makes the two triangles look like they are woven together. They basically need to overlap two equilateral triangles and then erase a few key lines. A little bit of math meets art meets Jewish history!
Use the Button below to grab this PDF Tutorial
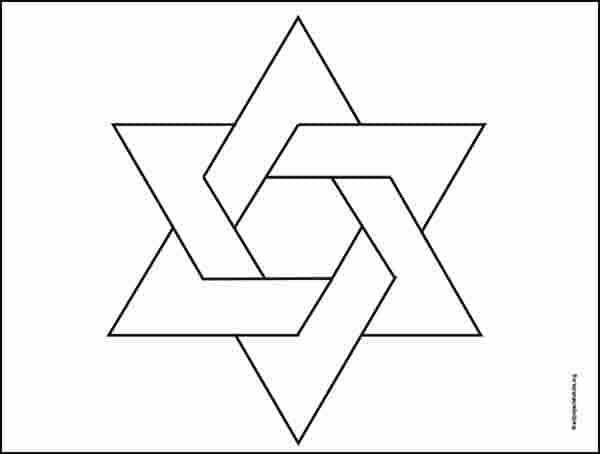
Star of David Coloring Page
Materials for Star of David Drawing


How to Draw Star of David
Time needed: 45 minutes
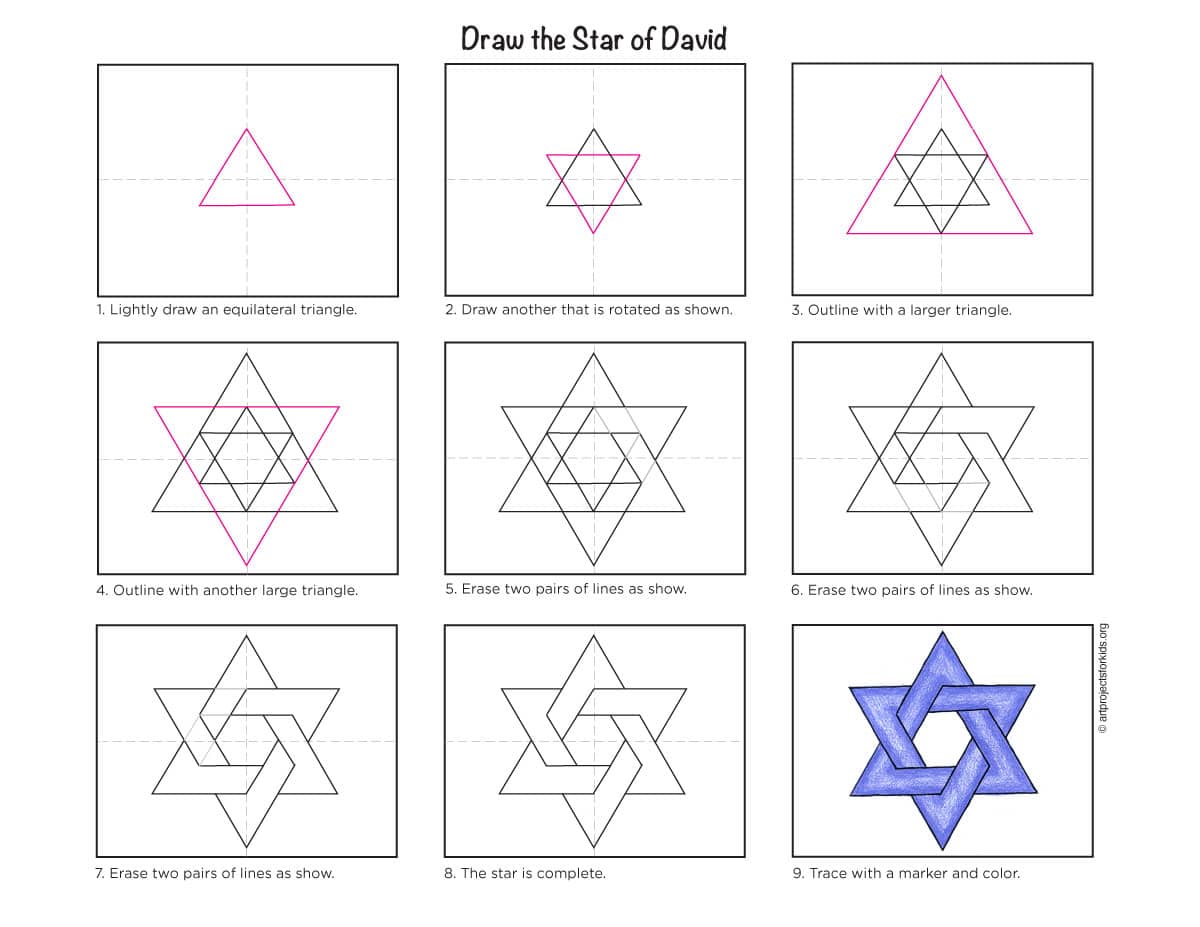
Draw the Star of David Step by Step
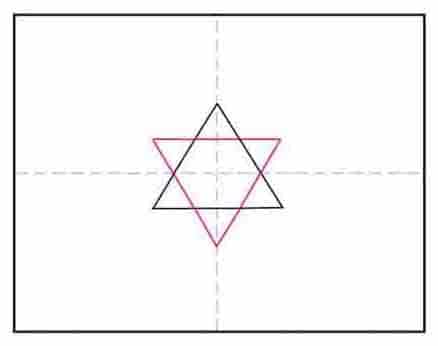
- Draw an equilateral triangle.
Make LIGHT lines throughout tutorial so erasing is easy.
- Draw another triangle that is rotated as shown.
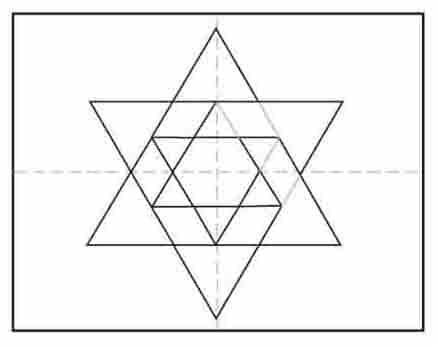
- Outline with a large triangle.
- Outline with another large triangle.
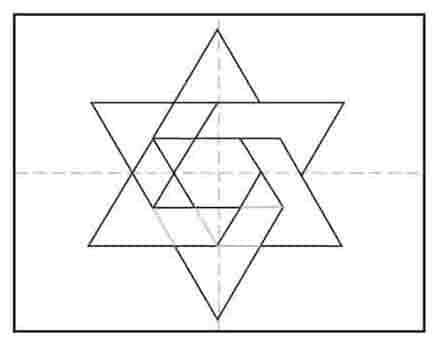
- Erase two pairs of lines as shown.
- Erase two pairs of lines as shown.
- Erase two pairs of lines as shown.
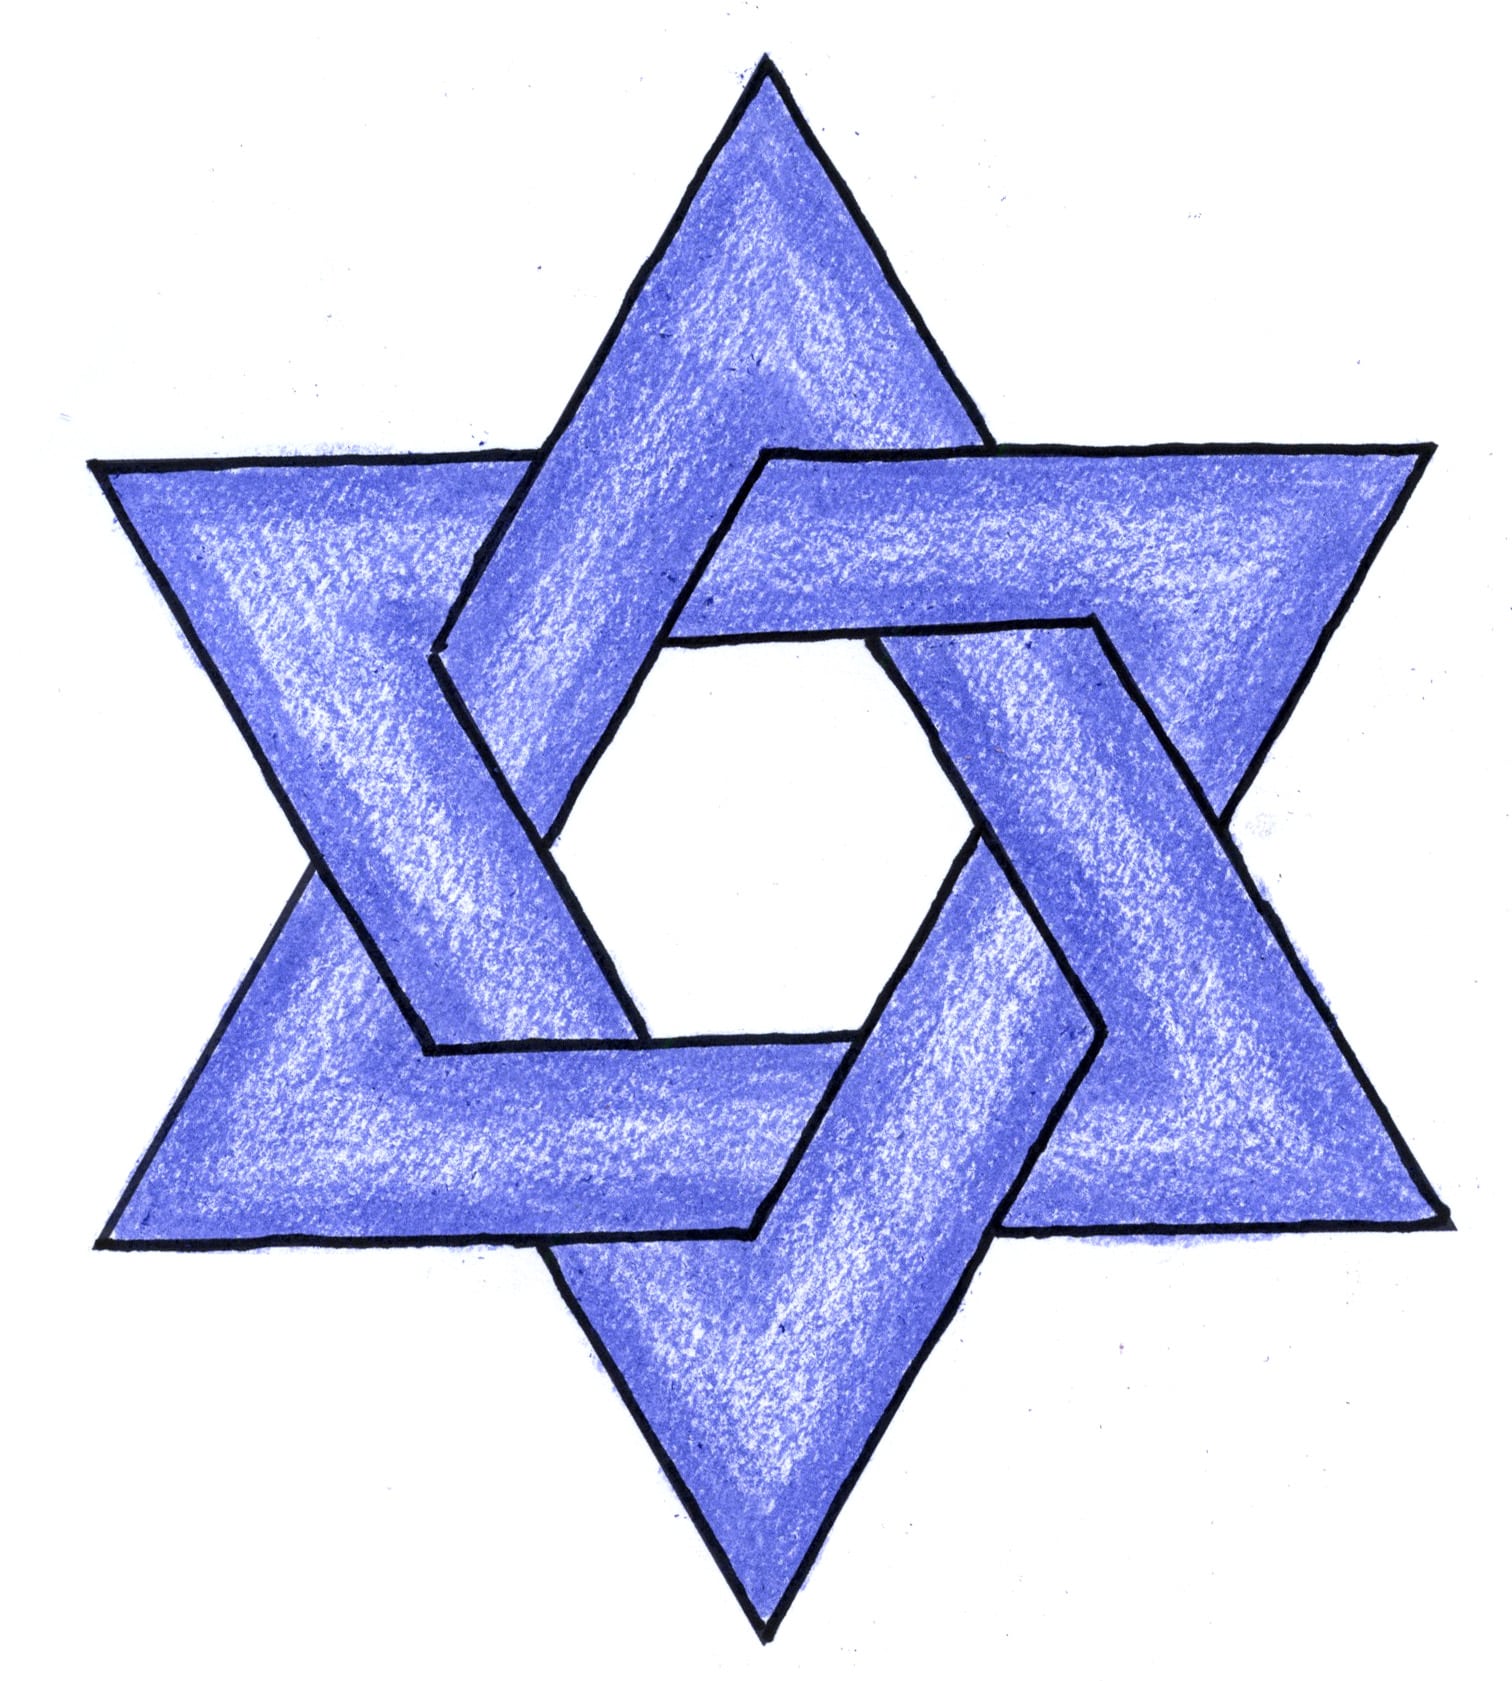
- The star is complete.
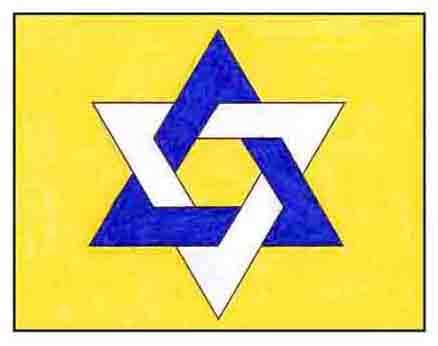
- Trace with marker and color.