Easy Creative Self Portrait Art Project for Kids: Léger Style
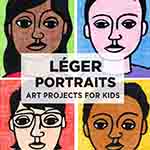
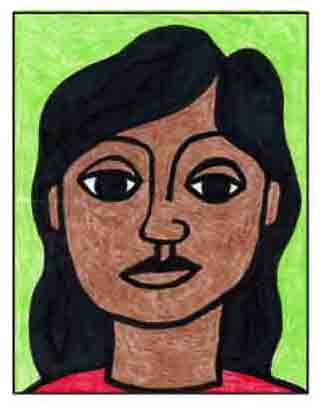
Below you’ll find an easy step-by-step tutorial for a creative self portrait art project for kids. When students draw like Fernand Léger, they can’t help but make a bold work of art.
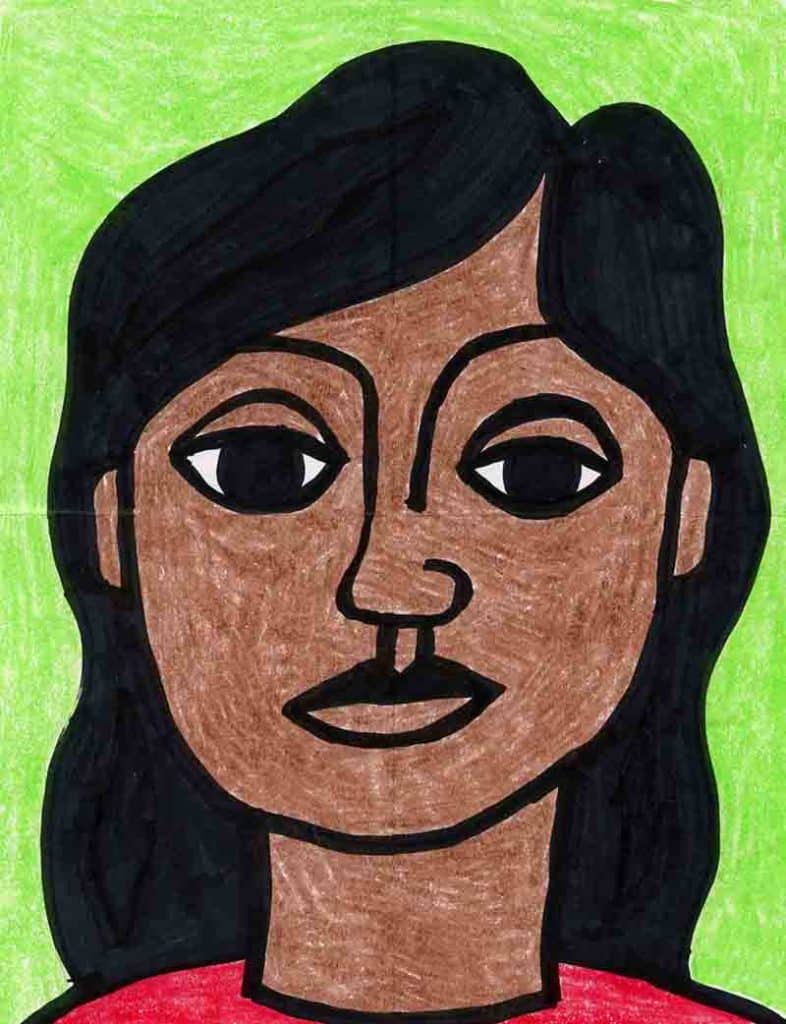
If you are looking for creative self portrait projects for kids, you’ve come to the right place. This drawing tutorial was inspired by one the great masters from the past, and will help students try on a bold new way of drawing faces. All you need are some markers that have extra thick tips, and some crayons, and you’ll be good to go.
For a little background about the artist, Fernand Léger, here are a few fun about him.
• Lived from February 1881 – August 1955
• Was a French painter, sculptor, and filmmaker
• His bold and simple treatment of modern subject matter made him a forerunner of Pop Art
• Best known for his large scale paintings and murals
• Invented something called Tubism (Because his artworks featured lots of modern, cylindrical forms)
• Believed art was for everyone, not just the privileged few
Use the Button below to grab a PDF Tutorial
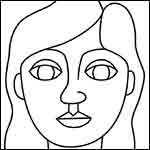
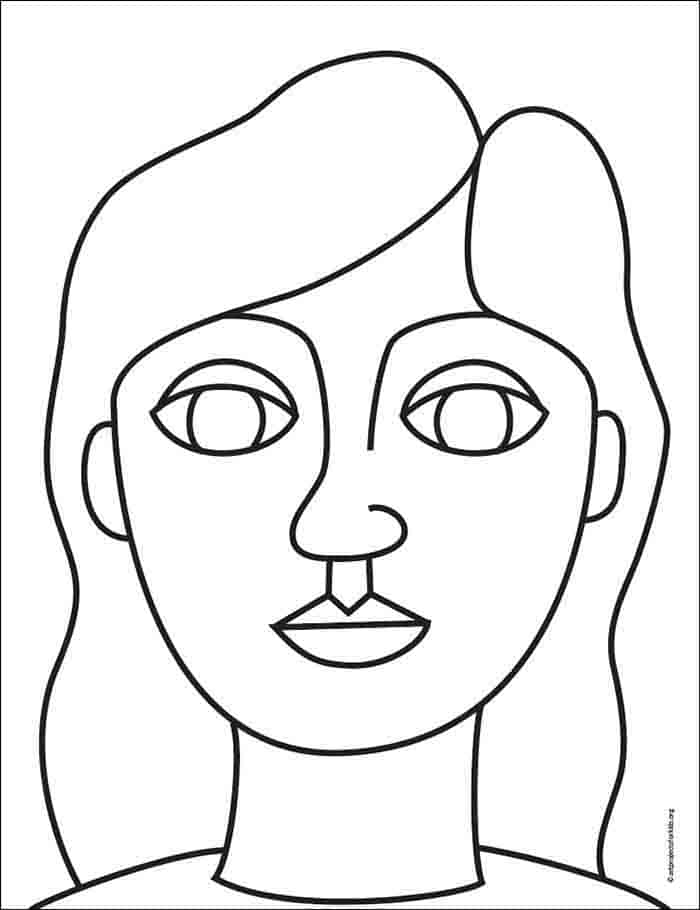
Léger Coloring Page
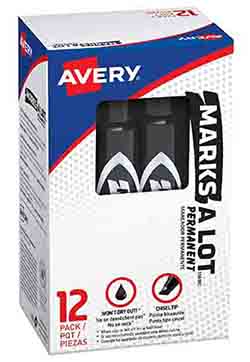
Materials for a Creative Self Portrait Project
- Drawing Paper. This is the good stuff you can buy in bulk for a good price.
- Pencils. Don’t waste your money on the cheapest brand. These make nice dark lines.
- Chisel Tip Black Marker. A permanent marker will give you a nice dark black color.
- Crayons. I like this non-toxic brand that is made from beeswax, not petroleum by-products.
- Note: All of these products have Amazon affiliate links.
Step by Step Directions
Time needed: 45 minutes
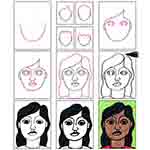
How to Draw a Creative Self Portrait
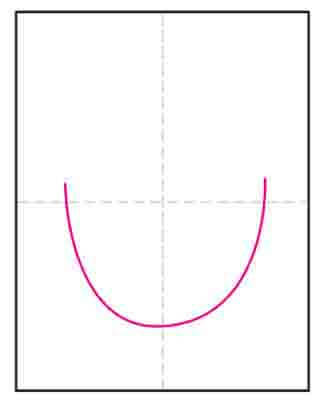
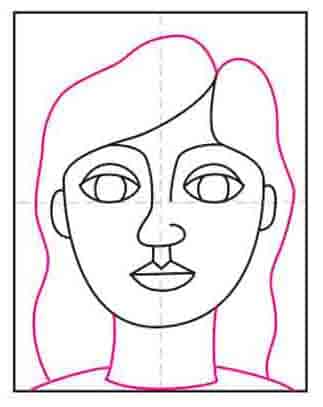
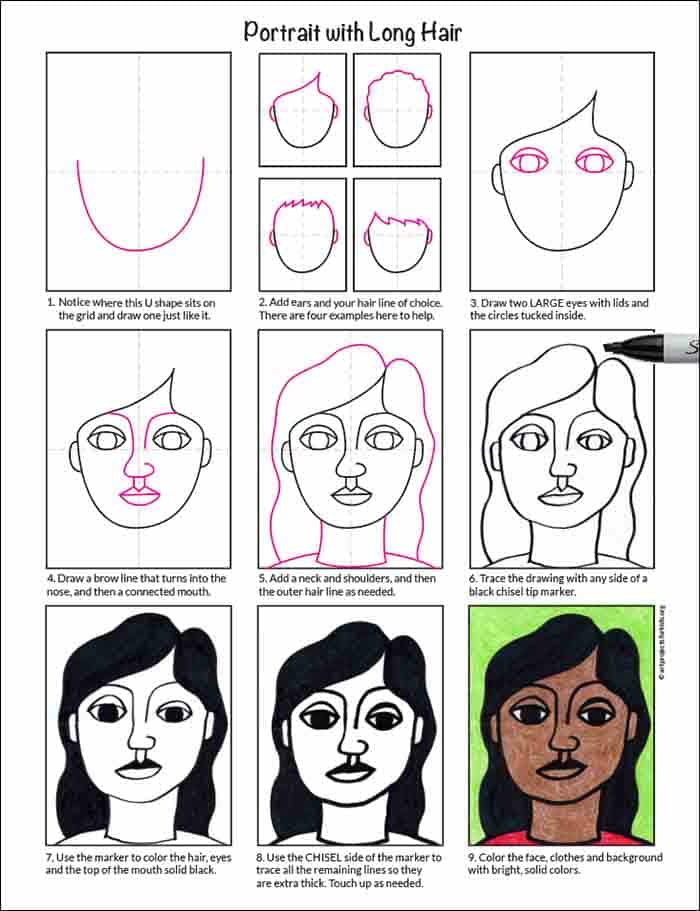
- Notice where this U shape sits on the grid and draw one just like it.

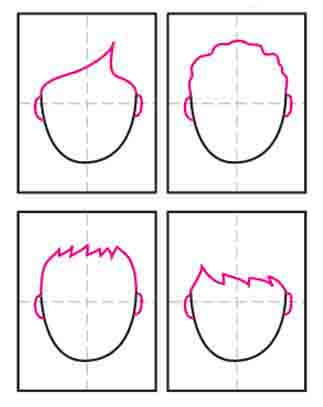
- Add ears and your hair line of choice. There are four examples here to help.

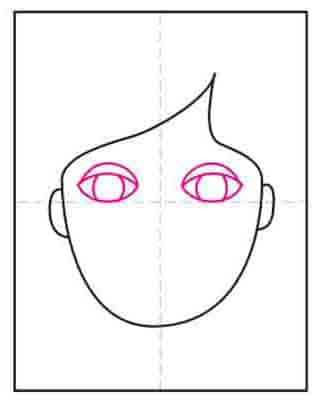
- Draw two LARGE eyes with lids and the circles tucked inside.

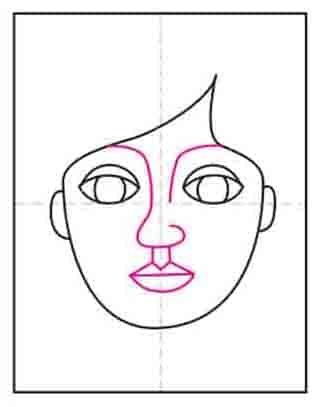
- Draw a brow line that turns into the nose, and then a connected mouth.

- Add a neck and shoulders, and then the outer hair line as needed.

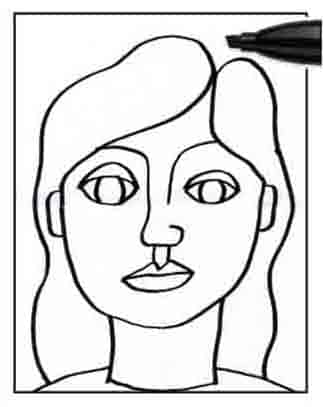
- Trace the drawing with any side of a black chisel tip marker. Note: The color will most likely bleed, be sure to protect your tables!

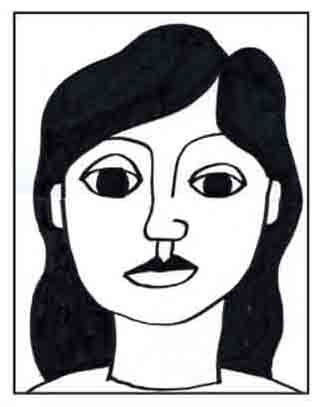
- Use the marker to color the hair, eyes and the top of the mouth solid black.

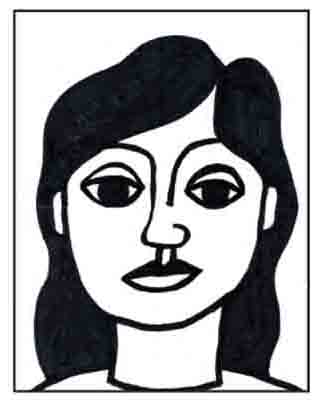
- Use the CHISEL side of the marker to trace all the remaining lines so they are extra thick. Touch up as needed.

- Color the face, clothes and background with bright, solid colors.

