How to Draw a Christmas Gnome: Easy Step-by-Step Art Lesson for Kids
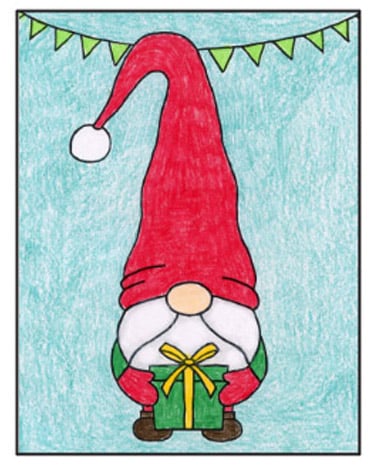
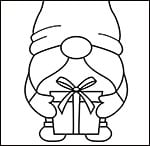
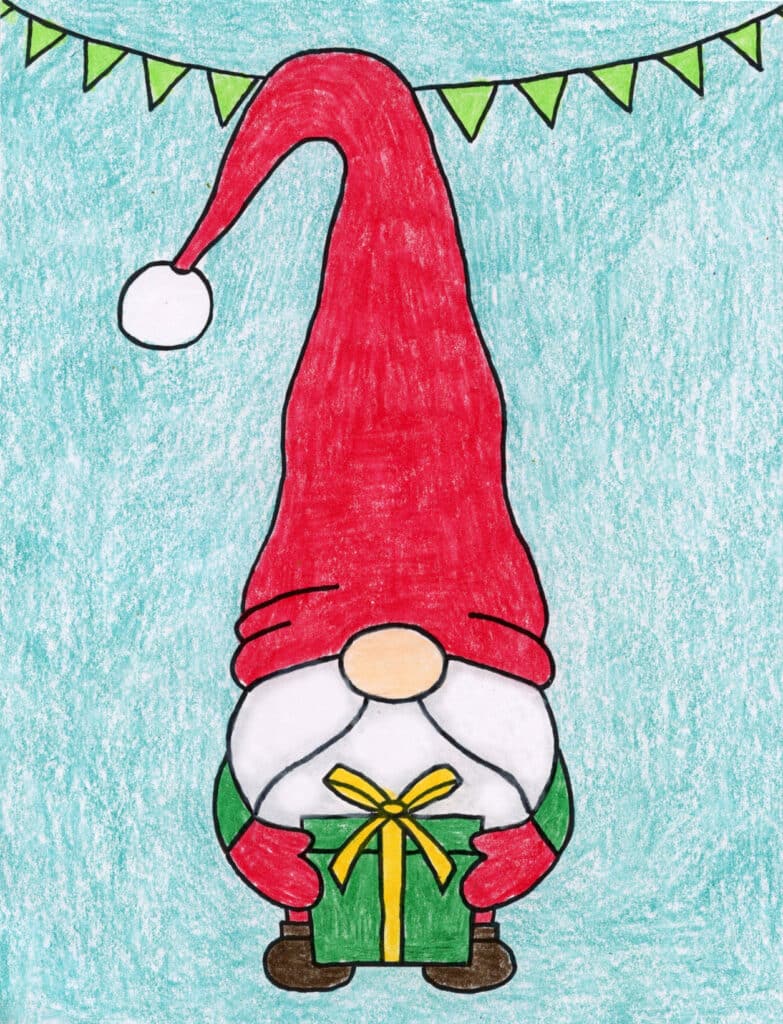
Here you’ll find an easy step-by-step tutorial for how to draw a Christmas Gnome and a Christmas Gnome Coloring Page. Feel free to have fun decorating that hat!
This step by step tutorial will help young artists learn how to draw a Christmas Gnome. Given that he’s all hat, and a little beard, it’s not too hard to do.
Gnomes are mythological creatures that come from Nordic folklore. Today they are linked to the Christmas season and are said to bring us good luck, happiness, warmth and a little bit of Christmas magic.
Use the Button below to grab a PDF Tutorial
Christmas Gnome Coloring Page
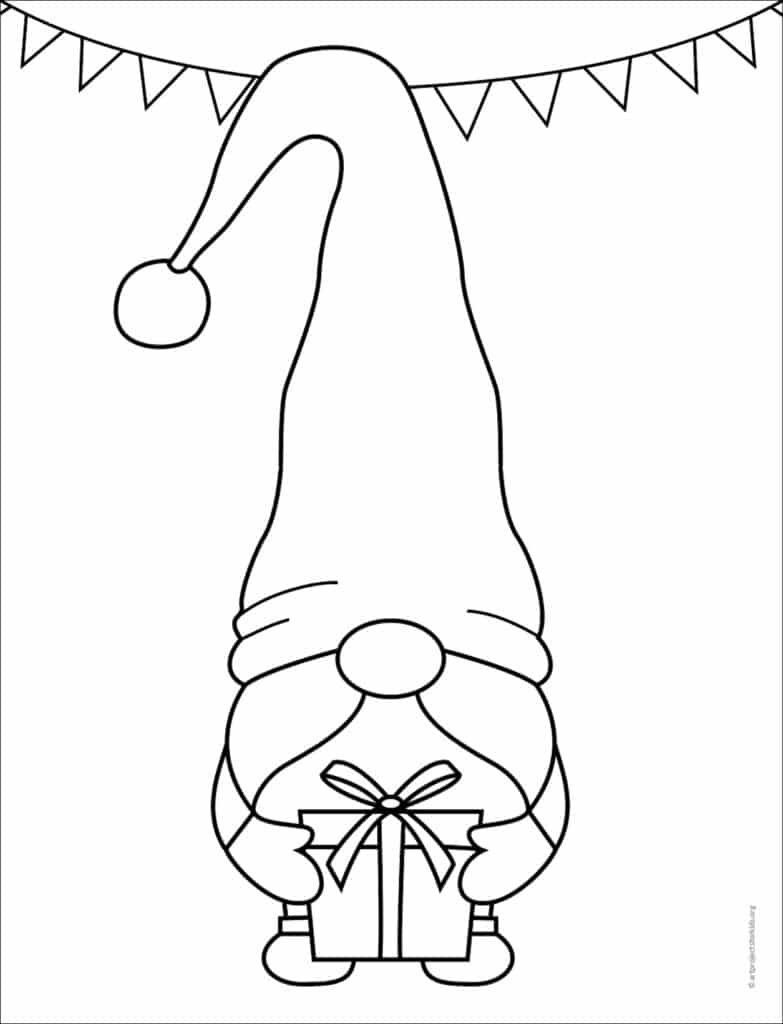
Materials for a Christmas Gnome drawing
- Drawing Paper. This is the good stuff you can buy in bulk for a good price.
- Pencils. I like how this brand always makes nice dark lines.
- Black Marker. A permanent marker will give you a dark black color.
- Crayons. The larger packs are nice for more color choices.
- Note: All of the above are Amazon affiliate links.
Watch a Short video of a Christmas Gnome Drawing
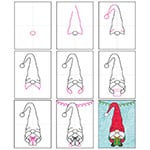
Step by Step Directions for a Christmas Gnome Drawing
Time needed: 45 minutes
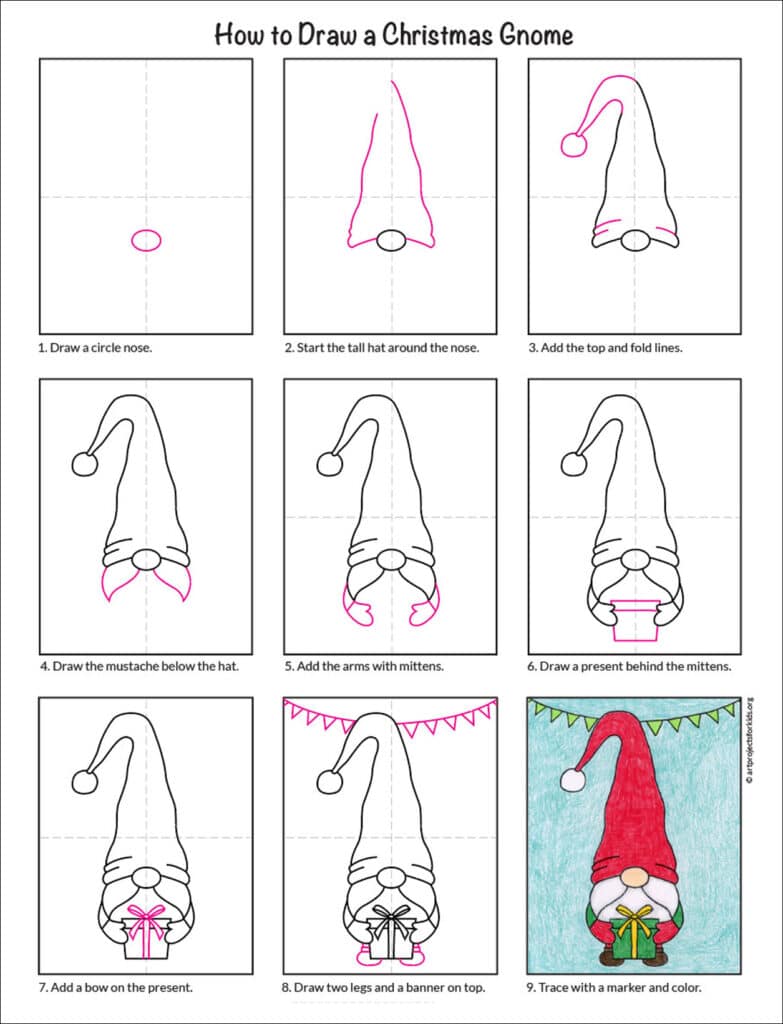
Christmas Gnome Step by Step directions
- Draw a circle nose.
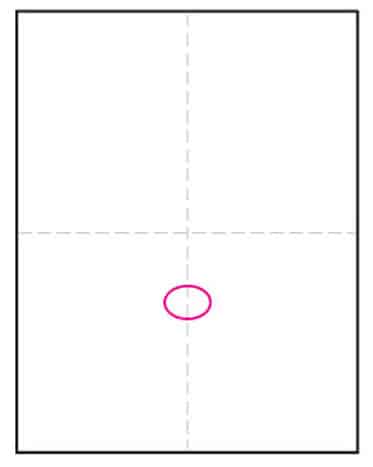
- Start the tall hat around the nose.
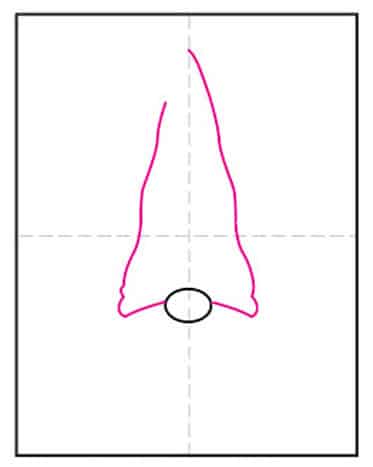
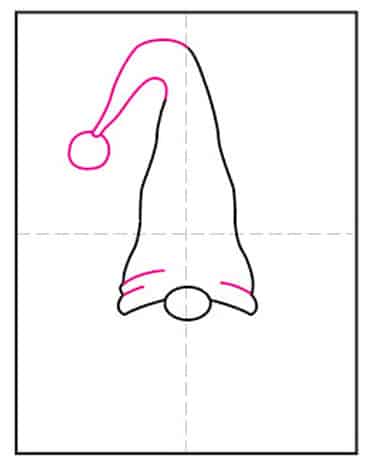
- Add the top and the fold lines.
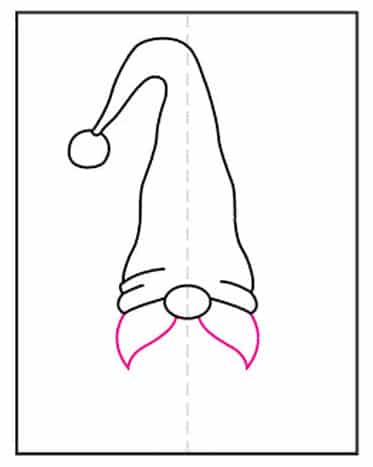
- Draw the mustache below the hat.
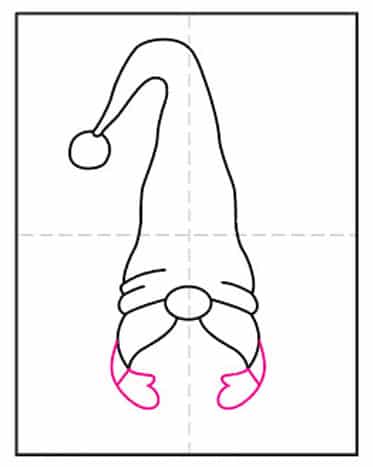
- Add the arms with mittens.
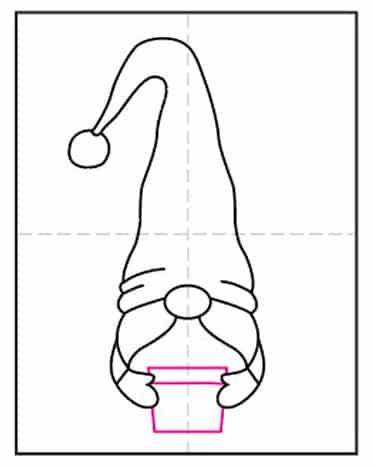
- Draw a present behind the mittens.
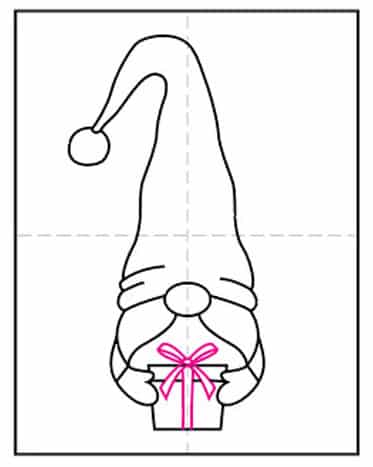
- Add a bow on the present.
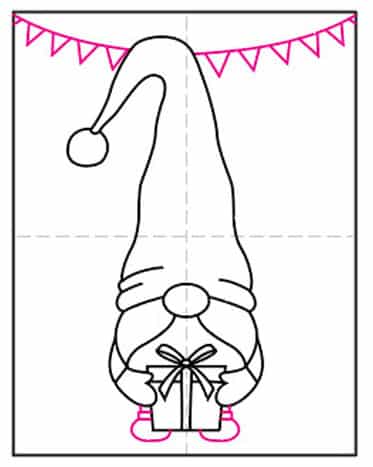
- Draw two legs and a banner in the background.
- Trace with a marker and color.
