How to Draw a Star: Easy Step-by-Step Art Lesson for Kids
Below you’ll find an easy step-by-step tutorial video for how to draw a Star and a Star Coloring Page. Plotting the end points first is a really helpful way to get started.

More Christmas

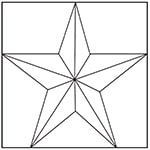
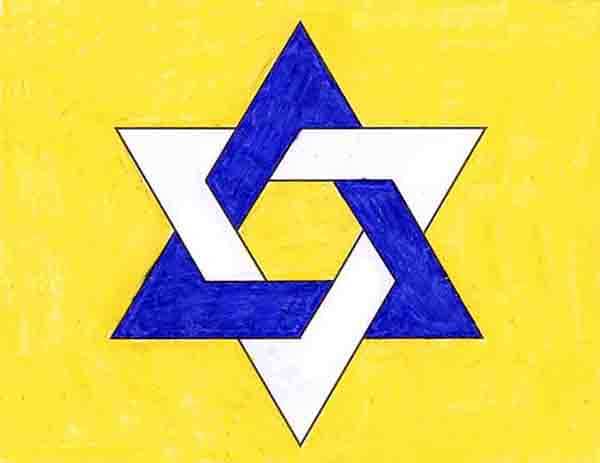
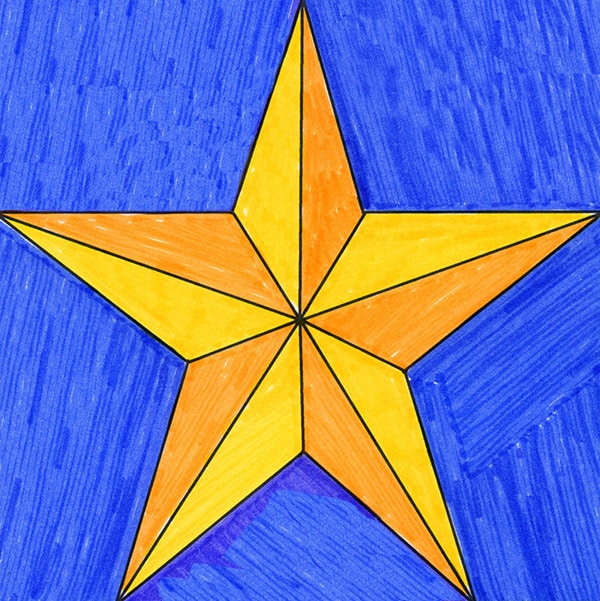
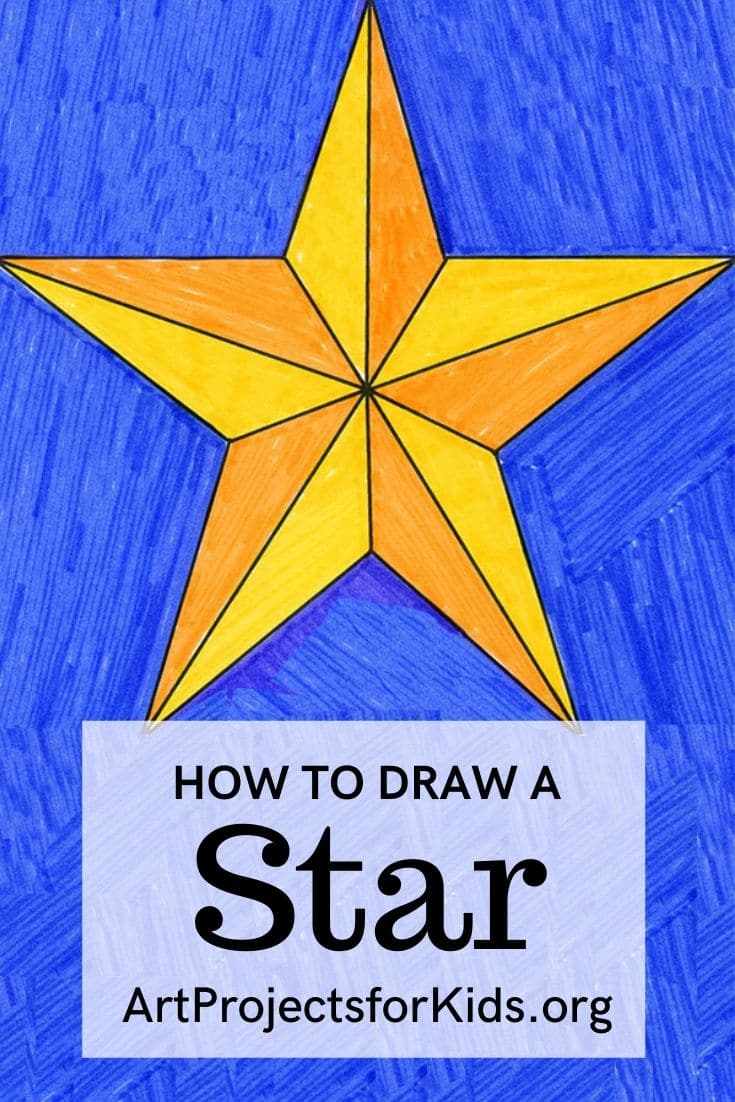
Star Drawing
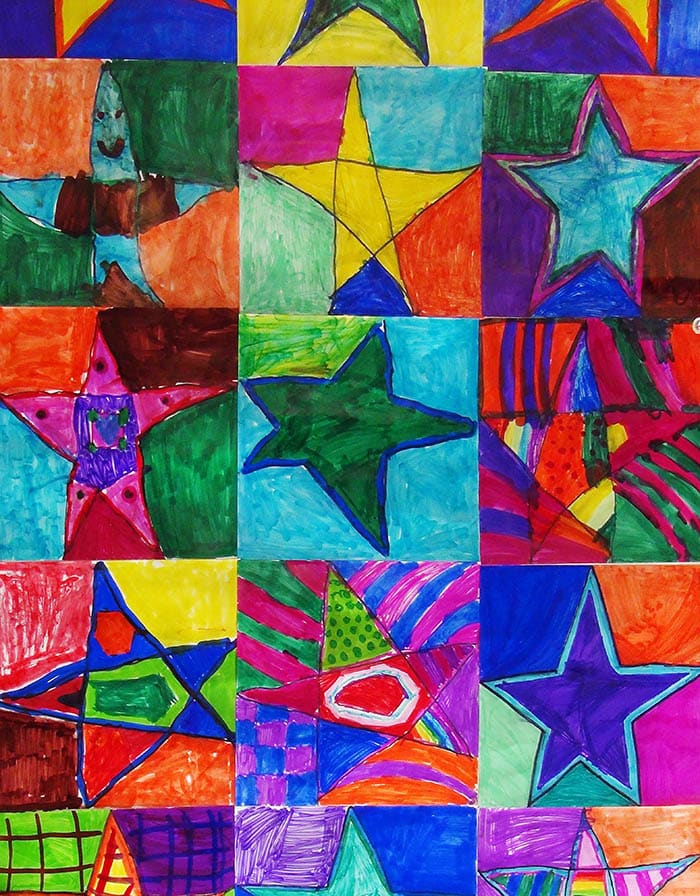
Collaborative Star Drawing Display
Years of working with kinders and first graders in the classroom taught me that learning how to draw a star is one thing they often needed help with. Some may have picked up how to draw a star in one continuous line, and some may not have. All benefitted though when they slowed down and did a little more planning first. The process of plotting out the five end points and then slowly connecting them with straight lines, seemed to work well for everyone, and was used as the starting point for many a star-themed project.
Use the Button below to grab a PDF Tutorial
Save me to your Pinterest Board!
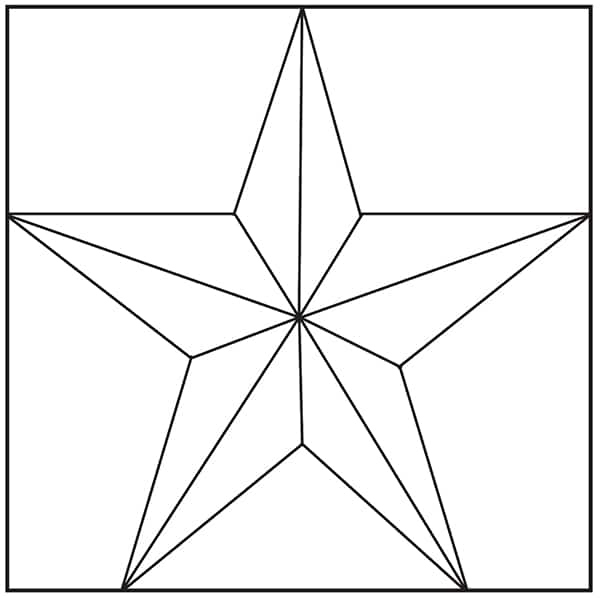
Star Coloring Page
Materials to Draw a Star
- Drawing Paper. This is the good stuff you can buy in bulk for a good price.
- Pencils. I like how this brand always makes nice dark lines.
- Black Marker. A permanent marker will give you a dark black color.
- Crayons. The larger packs are nice for more color choices.
- Note: All of the above are Amazon affiliate links.
Watch a fun short video of a Star drawing
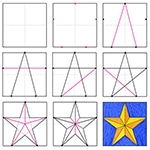
How to Draw a Star
Time needed: 35 minutes
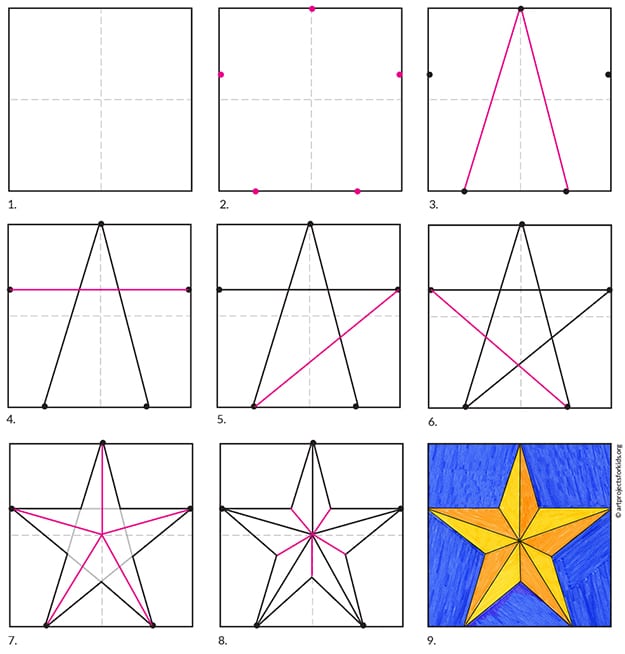
How to Draw a 5 point Star
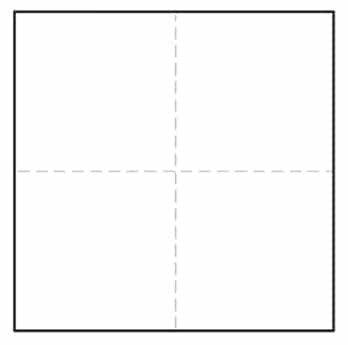
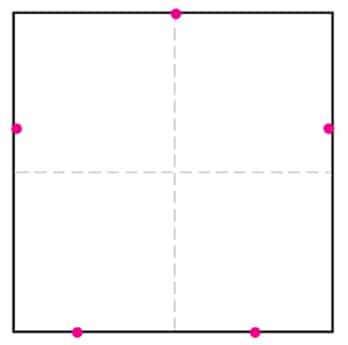
- Start with a square sheet of paper.
Fold in half in both directions and
make a crease for guide lines.
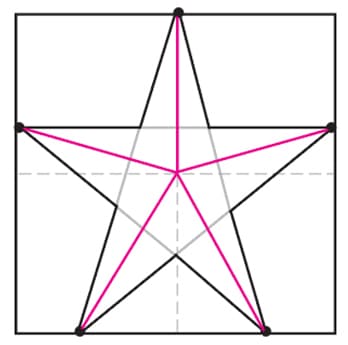
- Place 5 dots on the edge of the
paper. The top on the center, two
sides above the middle line, and
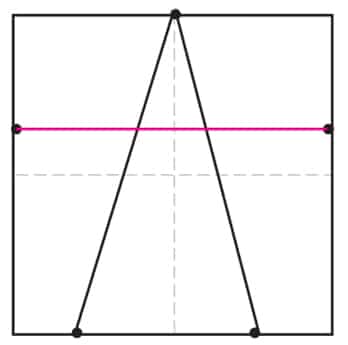
bottom centered as shown. - Draw line from the top “head” to
the bottom right “foot”. - . Draw a line from the top “head” to
the bottom left “foot”. - Draw a straight line from the
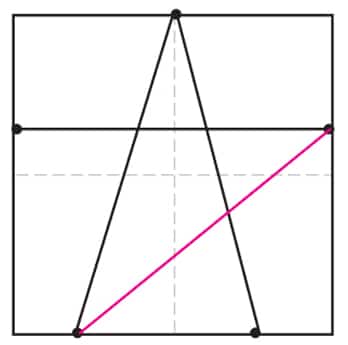
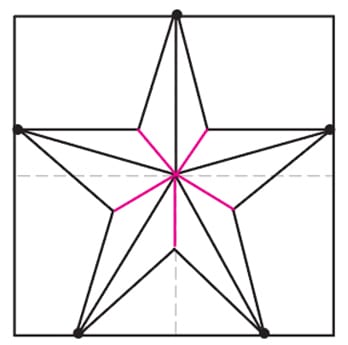
right to the left “hand”. - Connect the right “hand” to the
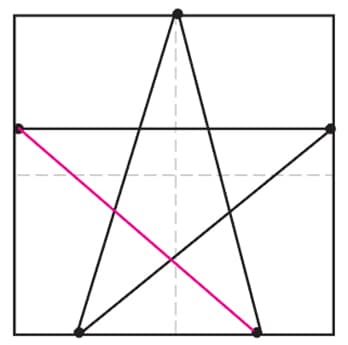
left “foot”. - Connect the left “hand” to the 8. Erase the inside lines, if desired.
right “foot”. - Erase the inside lines, if desired.
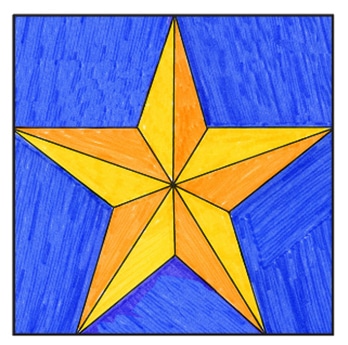
- Trace with a marker and color.

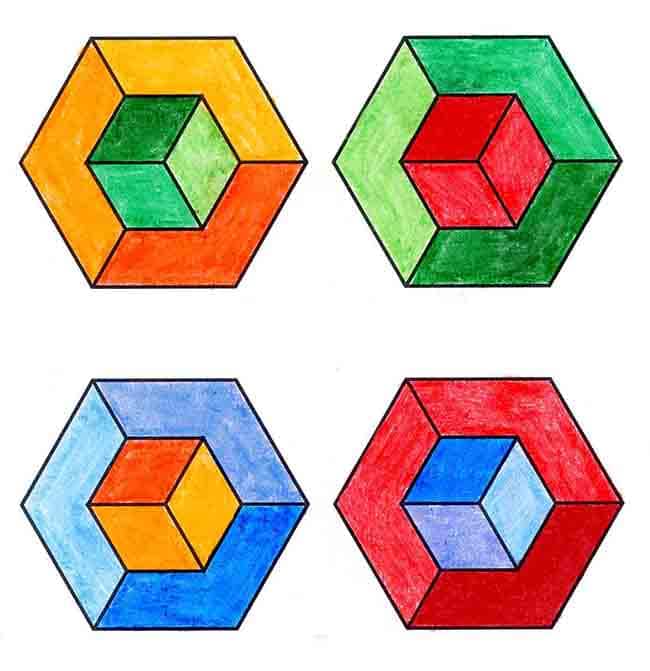
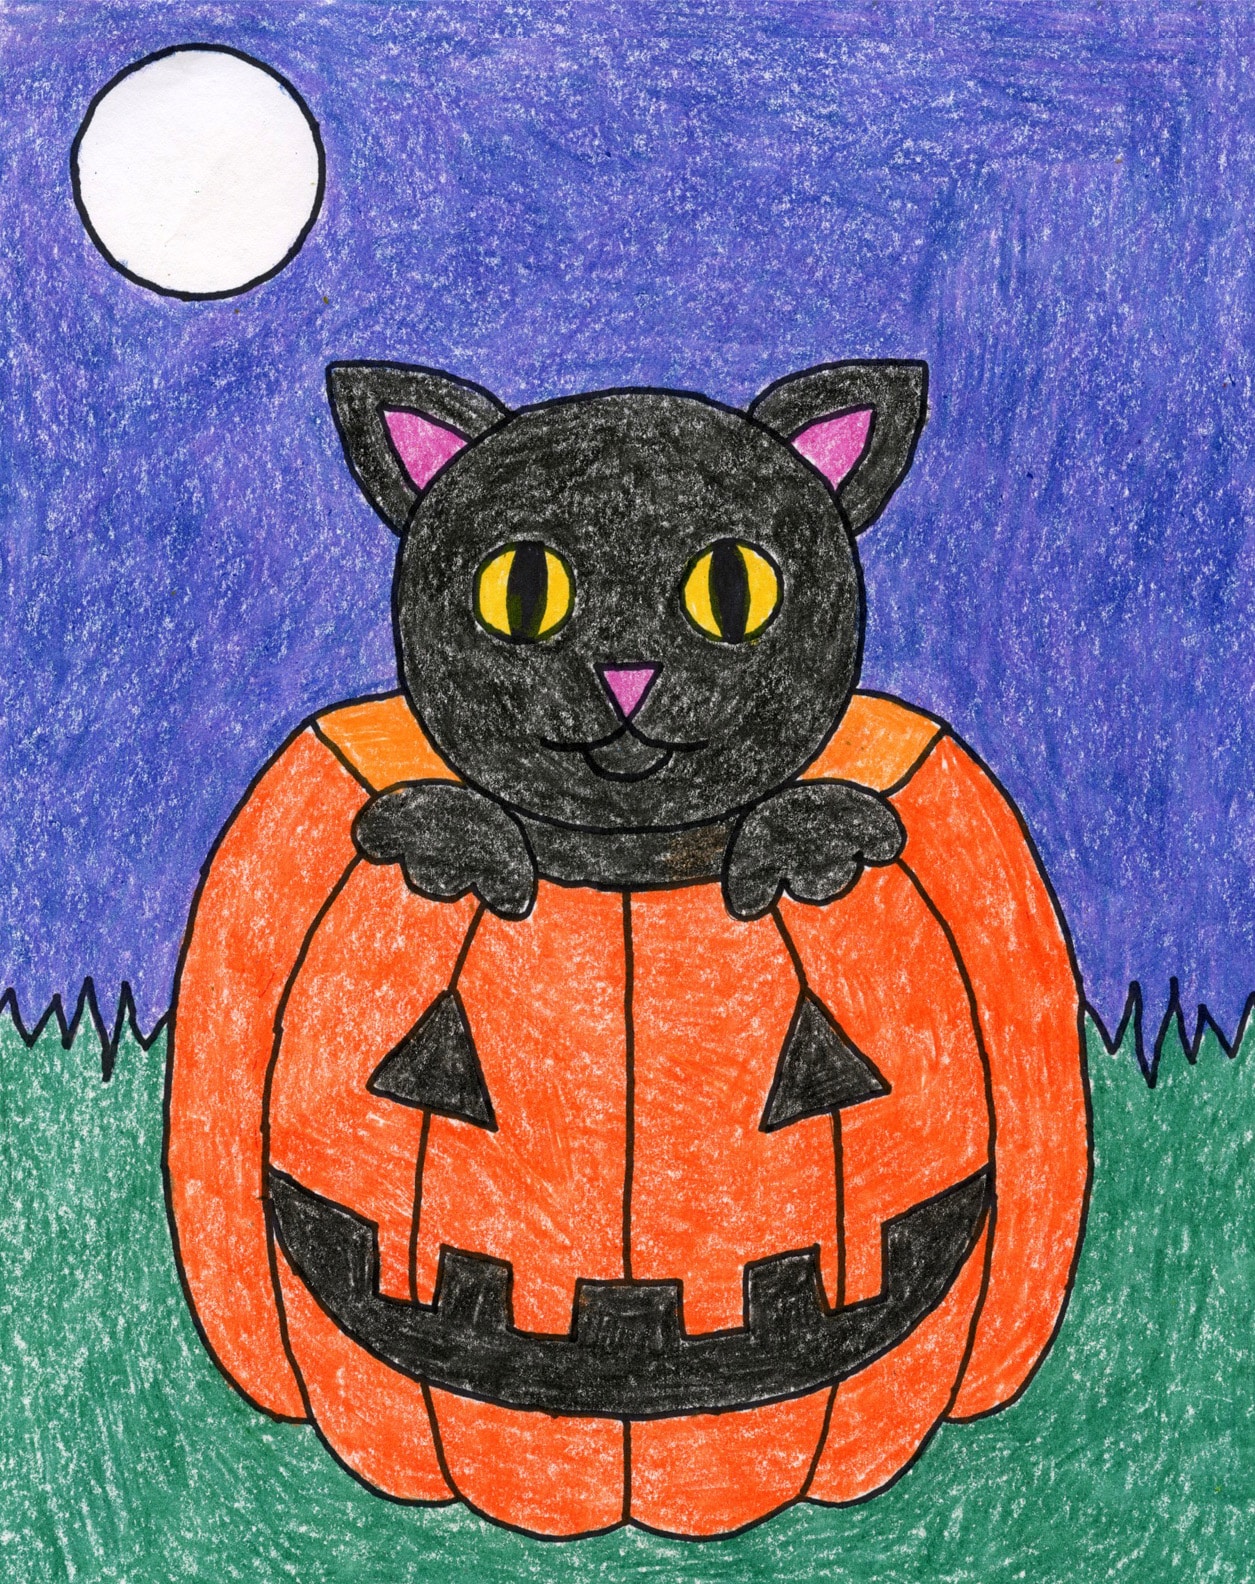
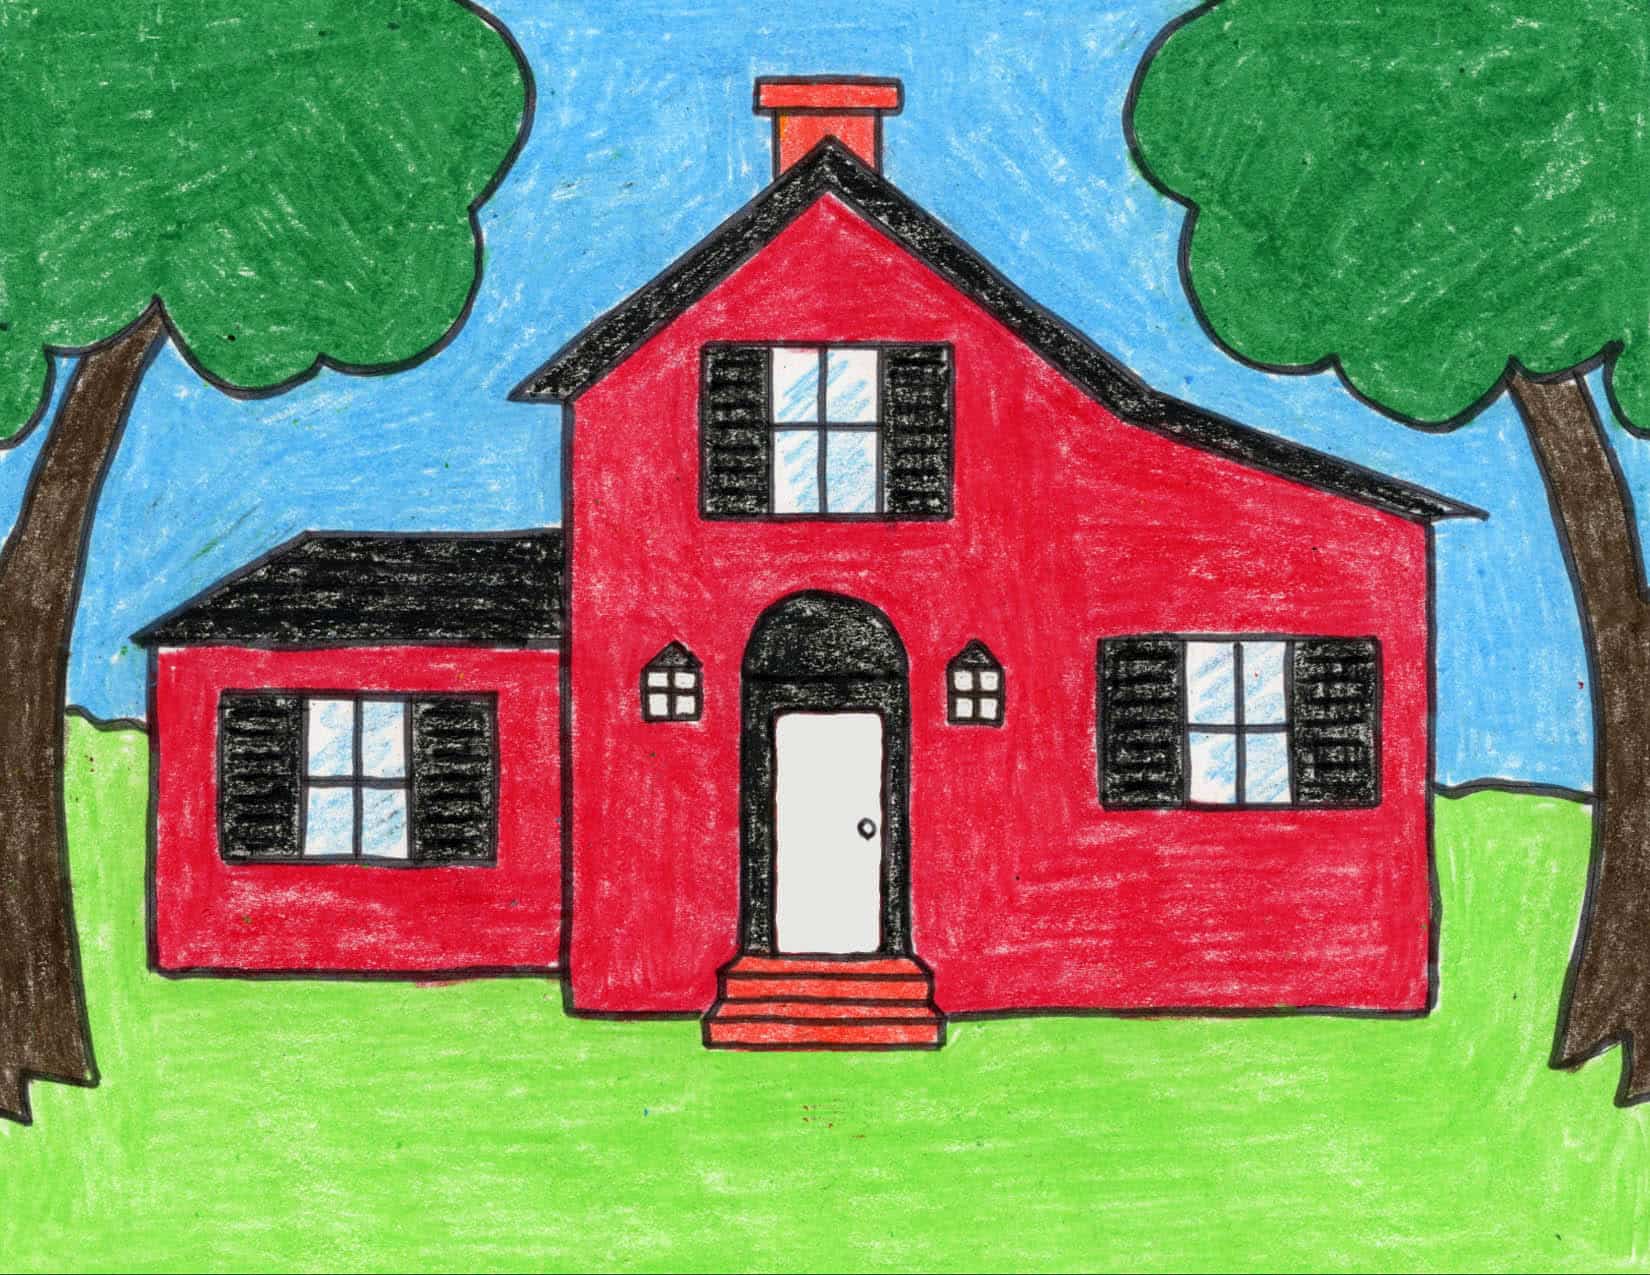
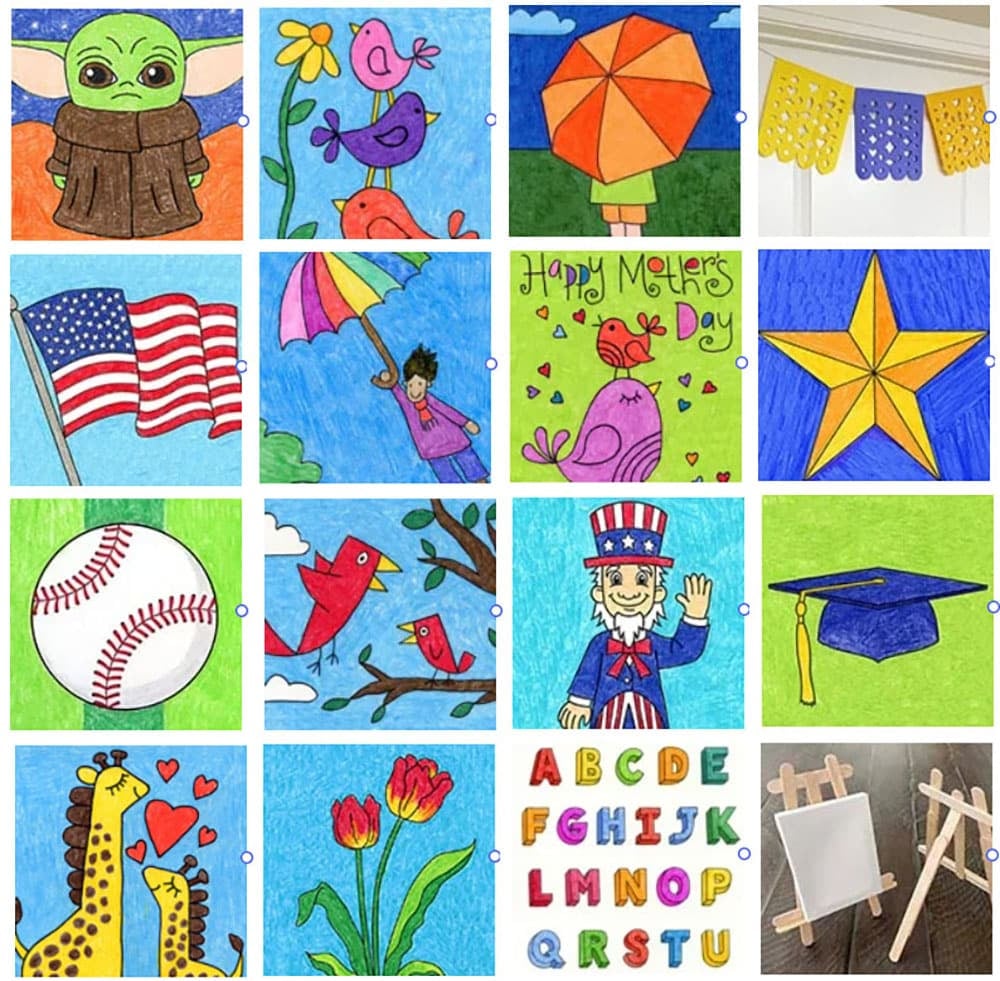
More Graphic Drawing Projects