Color Wheel Project to Teach Color Theory in Elementary Art
Use this Color Wheel Art Project to teach color theory to your elementary students. Stop by and grab the free, step-by-step lesson to make it easy for them to learn about warm, cool and complementary colors.

If teaching color theory to elementary students sounds like a daunting task, don’t let it keep you from trying. Color wheel project ideas don’t have to be elaborate, or boring either. Don’t get me wrong, coloring in a color wheel is always better than not approaching to subject at all. BUT there is another option that is fun, makes students think, AND creates a beautiful, personal work of art too.
This Color Wheel art project idea has been bouncing around on my site for years, first as a simple download, then as a more elaborate ebook with more templates in my PDF Shop. I’m happy to bring it back again as a freebie as I think it really is a great way to teach students about warm, cool and complementary colors. I hope this new post makes it more accessible to even more busy teachers.
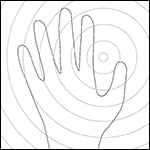
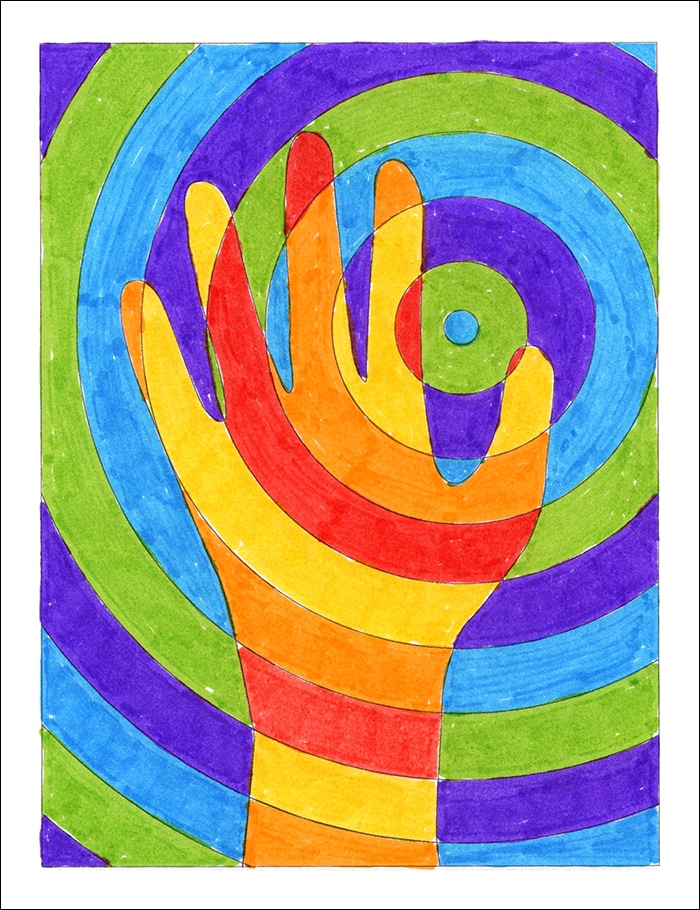
I first saw the brilliant idea of having a hand intersect with colorful rings years ago, but it was done with hand drawn circles. Knowing what I know about classrooms, I was sure that asking students to draw a page full of concentric circles before they even got started with their project, would slow things down to a crawl. And if the lesson is to learn more about color, how can that happen if they never even get to the coloring stage?
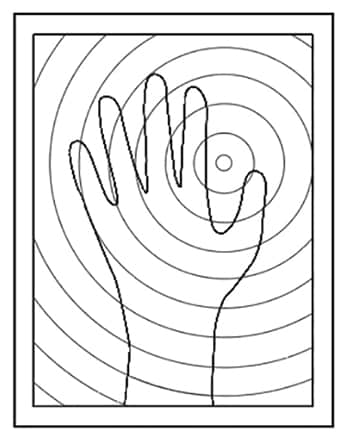
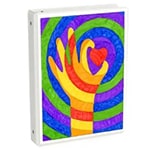
My solution is a free ring template for teachers to print so students can just trace their hand and then get right to coloring. The PDF download also includes a step by step tutorial, as there are some directions to follow. The goal is for students to learn that complementary colors make each other look their brightest. So if every ring of warm color is surrounded by a ring of its complementary color, the hand is bound to have the most contrast to the background as possible!
P.S. The fancier Warm Hands with a Heart project still lives over in my PDF Shop.
Join “The Daily Draw” below and get this free download
Color Wheel Art Project Coloring Page

Materials
- Drawing Paper. This is the good stuff you can buy in bulk for a good price.
- Pencil. Don’t waste your money on the cheapest brand. These make nice dark lines.
- Stabilo Markers. I love this brand! They have amazing color selection and the perfect ends to color with. Not too fat, and not too thin, just right.
- Note: All of the above are Amazon affiliate links.
Directions
Time needed: 1 hour
Step by Step directions
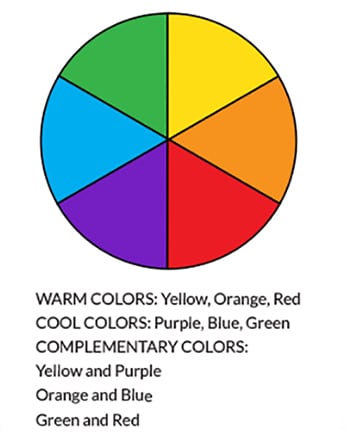
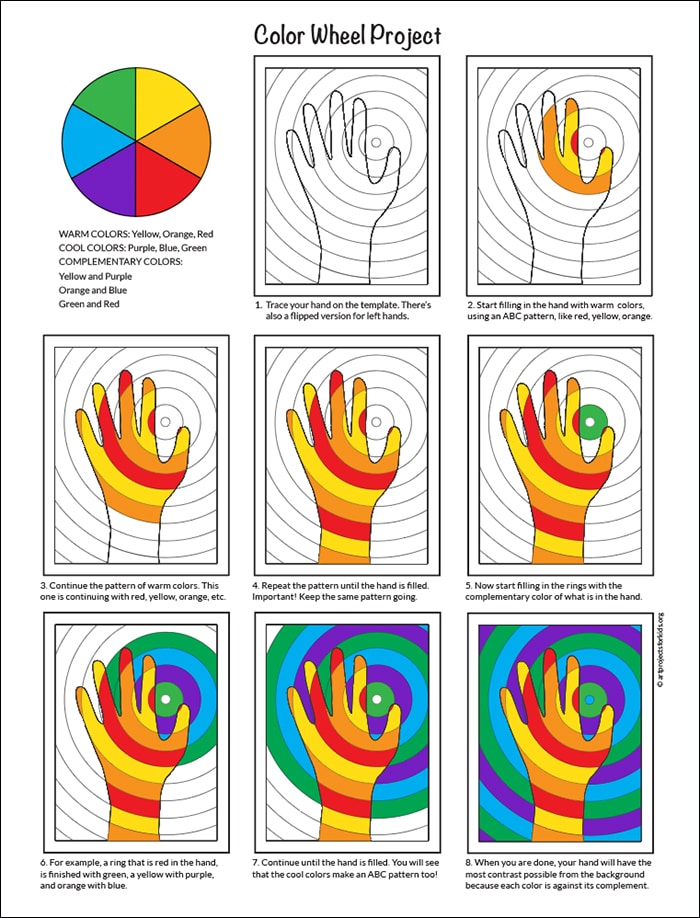
- This project works with warm, cool and complementary colors.

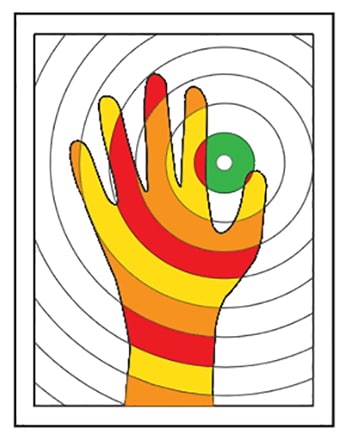
- Print a template and trace your hand with a pencil. There is a flipped template for left handed students.
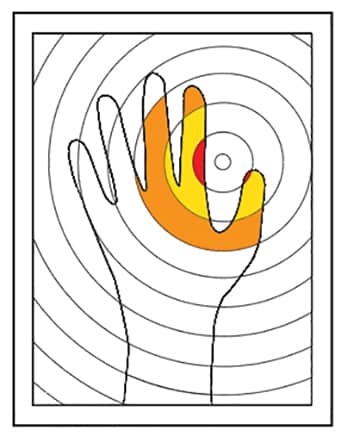
- Start filling in the hand with warm colors, using an A-B-C pattern, like red, yellow, orange.
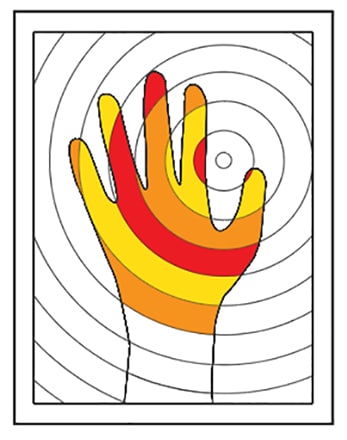
- Repeat the pattern until the hand is filled. It’s important to keep the same A-B-C pattern going.
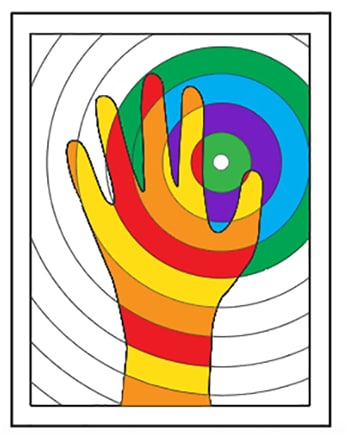
- Now start filling in the rings with the complementary color of what is in the hand.
- For example, a ring that is red in the hand, is finished with green, yellow with purple, and orange with blue.
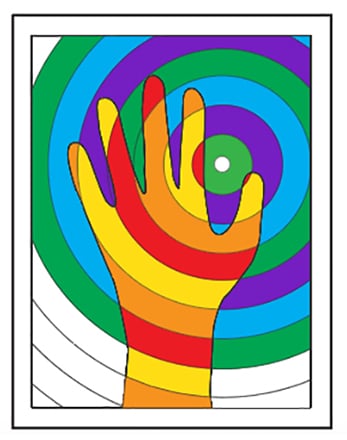
- Continue coloring until the hand is filled. You will see that the cool colors make an A-B-C pattern too!
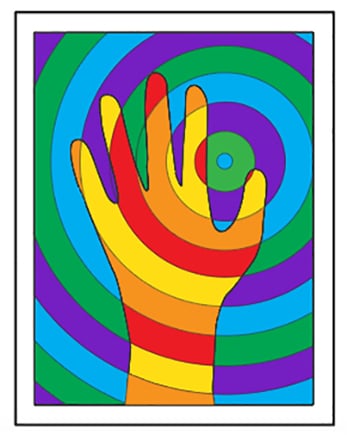
- Congratulations! Your hand will have the most contrast possible from the background because each color is against the color that makes it look its brightest.