Pop Art Lesson: Easy, Step-by-Step Art Project for Kids
Below you’ll find an easy step-by-step tutorial for a Pop Art Lesson and a Pop Art Coloring Page. It mixes simple shapes with lots of colorful patterns.
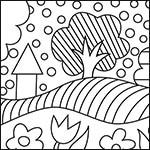

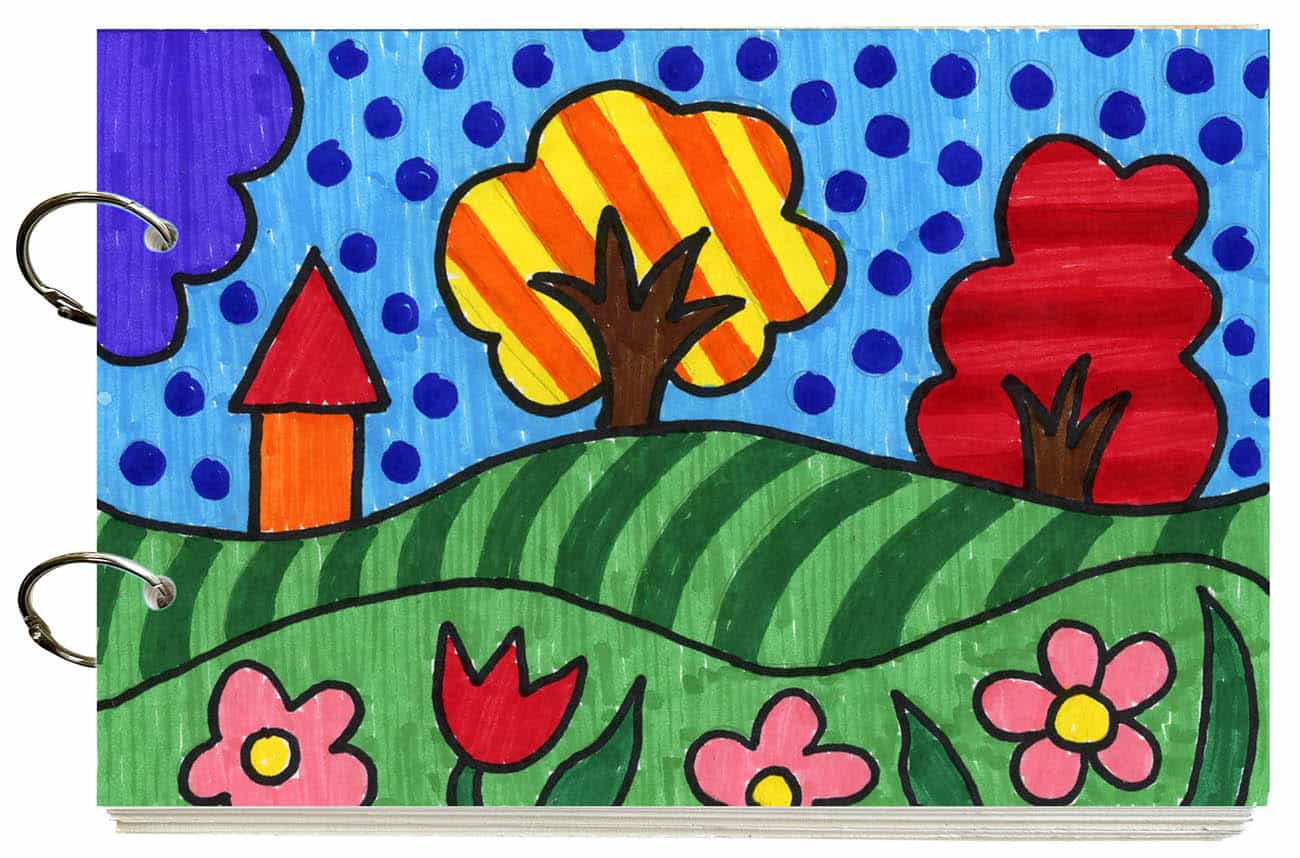
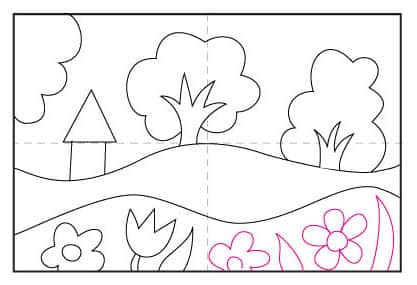
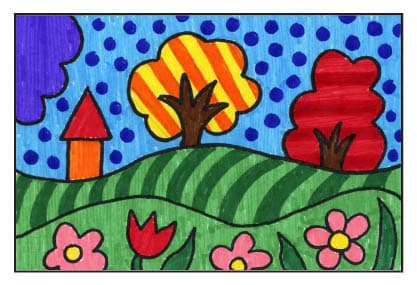
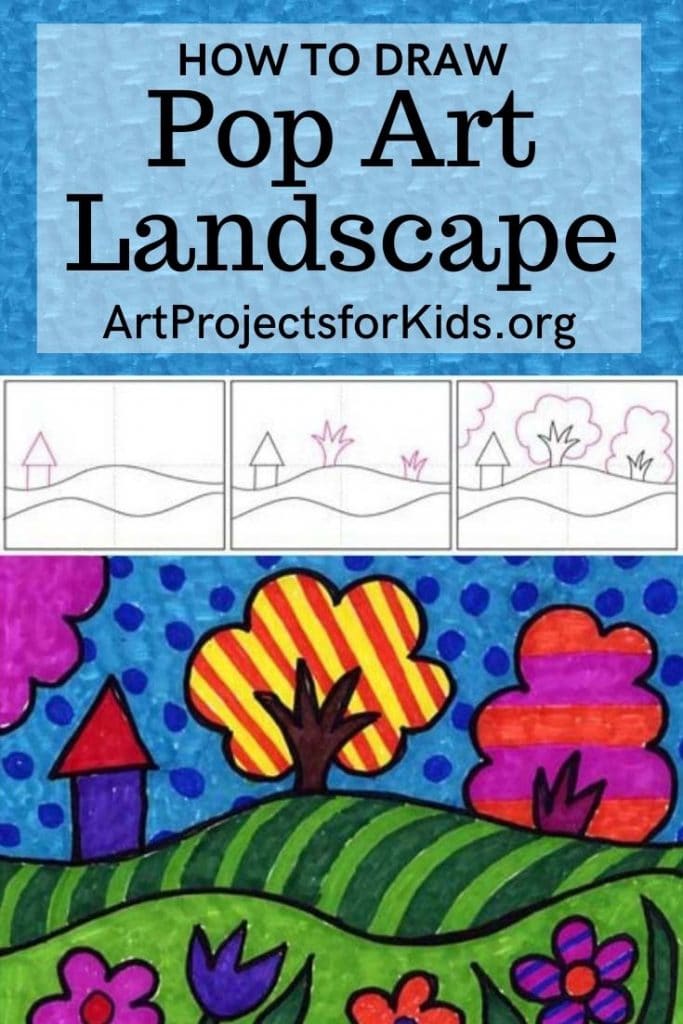
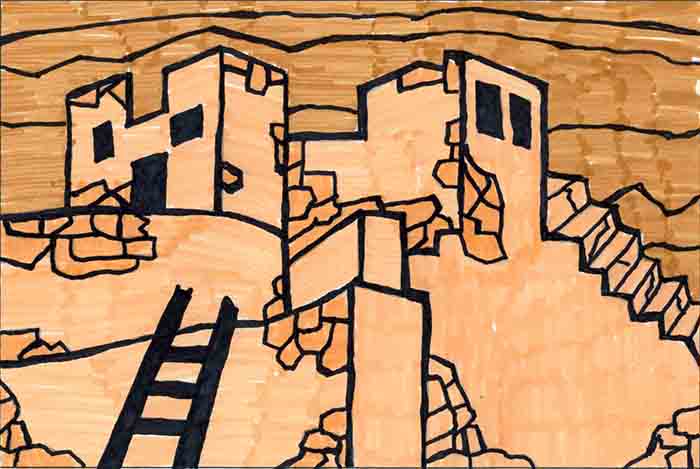
This pop art lesson takes a simple landscape drawing and asks students to fill it with lots of stripes and polka dots and so on. The bolder and brighter, the better.
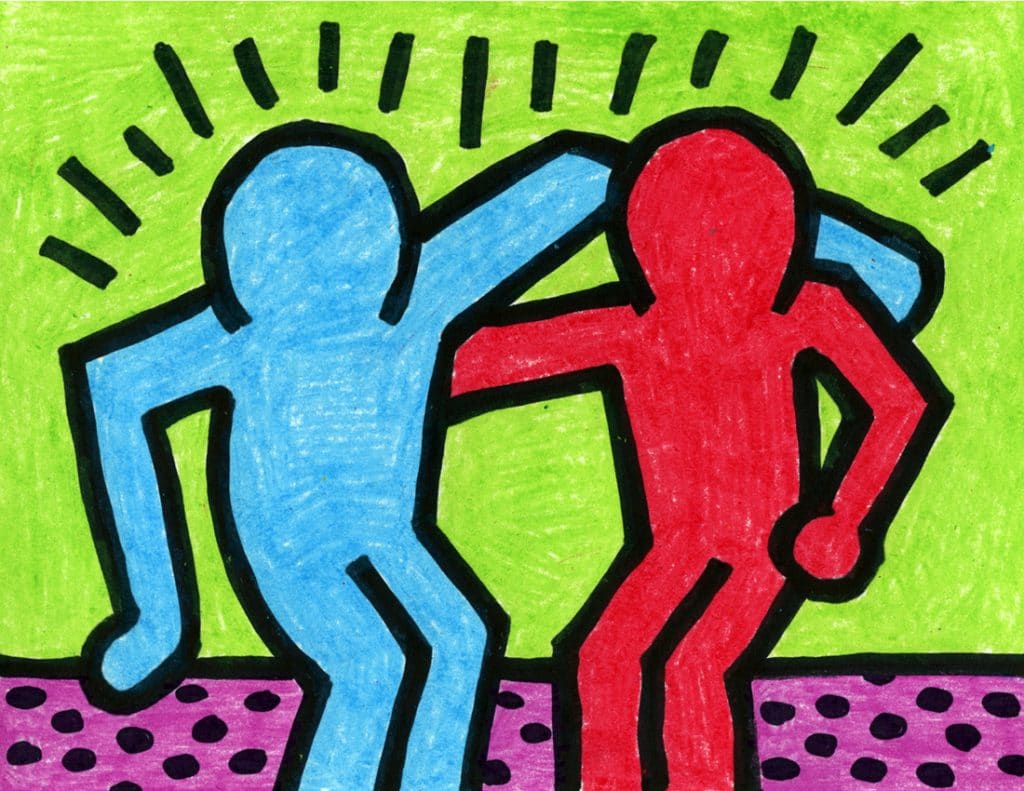
Pop art was an art movement that emerged in the 1950s and drew inspiration from sources in popular and commercial culture. Thanks to masters like Andy Warhol, David Hockey, and Keith Haring, the movement marked the end of modernism and celebrated the beginning of contemporary art.
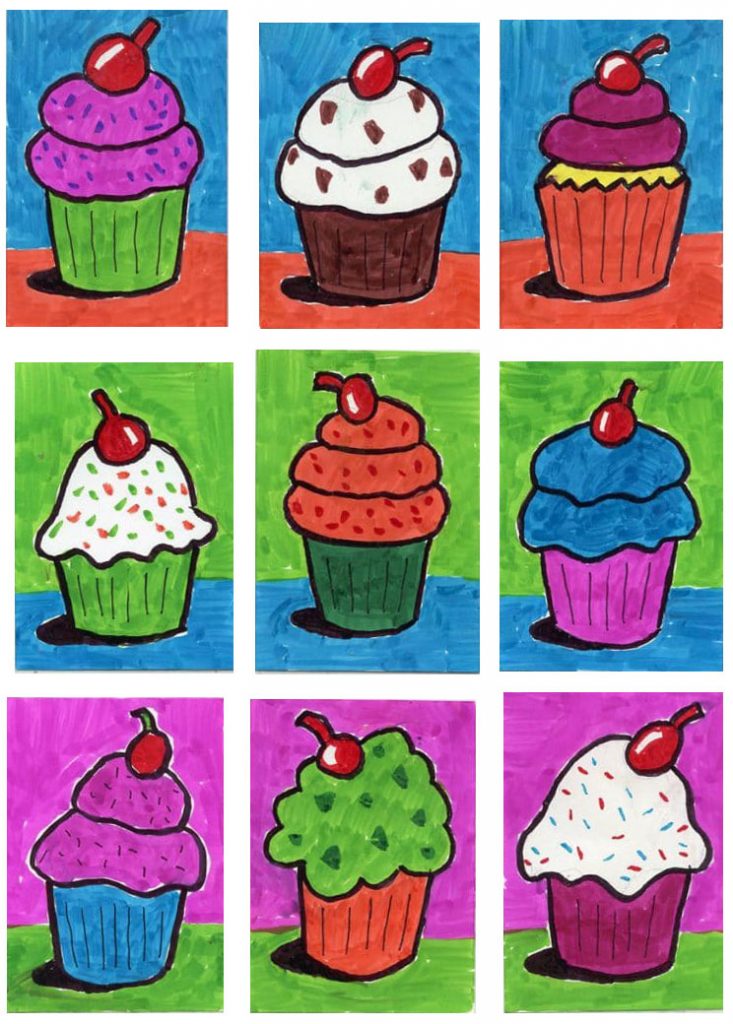
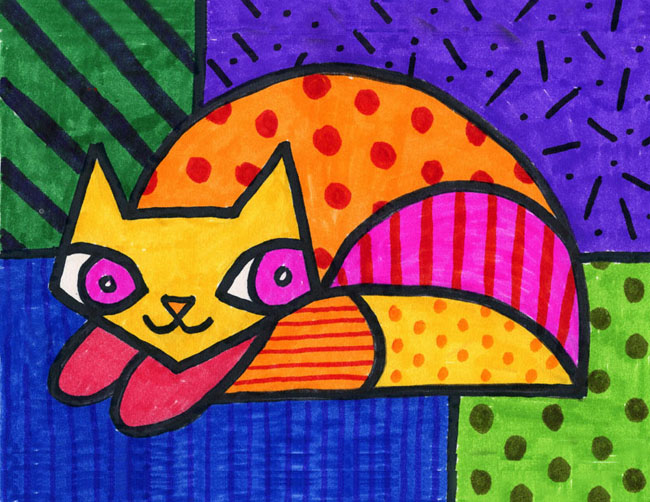
In terms that children would understand though, Pop Art is short for “Popular Art”, and this project simply asks students to take the idea of large colorful patterns like those found sometimes in popular comic books, and apply them to a simple landscape.
For the best results, please share these two coloring tips:
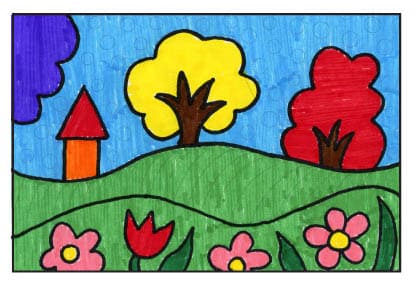
DO use a thick black marker for the drawing, so that the lines really stand out.
DO use similar (analogous) colors when filling in the patterns. Doing so will keep each shape, such as the grass, “reading” as one shape. Too much contrast and everything just visually starts to break up and you have more of a lesson in camouflage, which is another topic all together.
Join “The Daily Draw” below to get this tutorial!
Materials for Pop Art Landscape Drawing

- Prang Classic Art Markers, Bullet Tip. Special marker formula won’t smudge, bleed through paper, or dry out even after 24 hours with the cap off *affiliate link

- Drawing Paper. Don’t substitute it with copy paper or construction paper. The surface will get fuzzy, erasing might cause holes, and the colors will generally not look as bright. *affiliate link
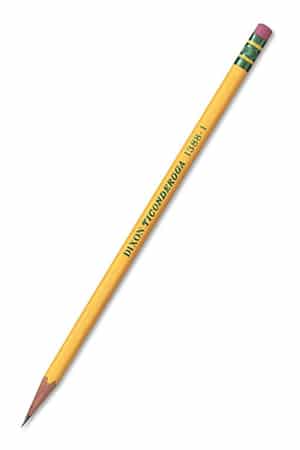
- Pencil. The Ticonderoga brand are the most reliable, make nice dark lines when you need them, and are the easiest to erase. *affiliate link

- Black Sharpie Marker, Fine Tip. Great for making a crisp outline to your drawing. Use them when you want your outline show up, but not be so heavy that it detracts from other things. *affiliate link
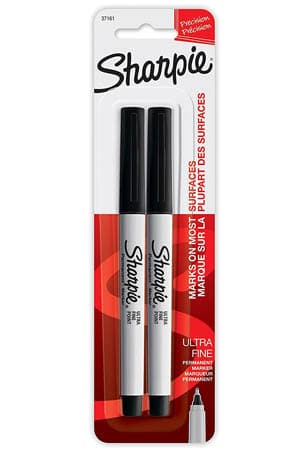
- Black Sharpie Marker, Ultra Fine Tip. Use them when you need to draw some really fine lines. *affiliate link
Directions to Draw a Pop Art Landscape Step by Step
Time needed: 1 hour
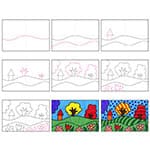
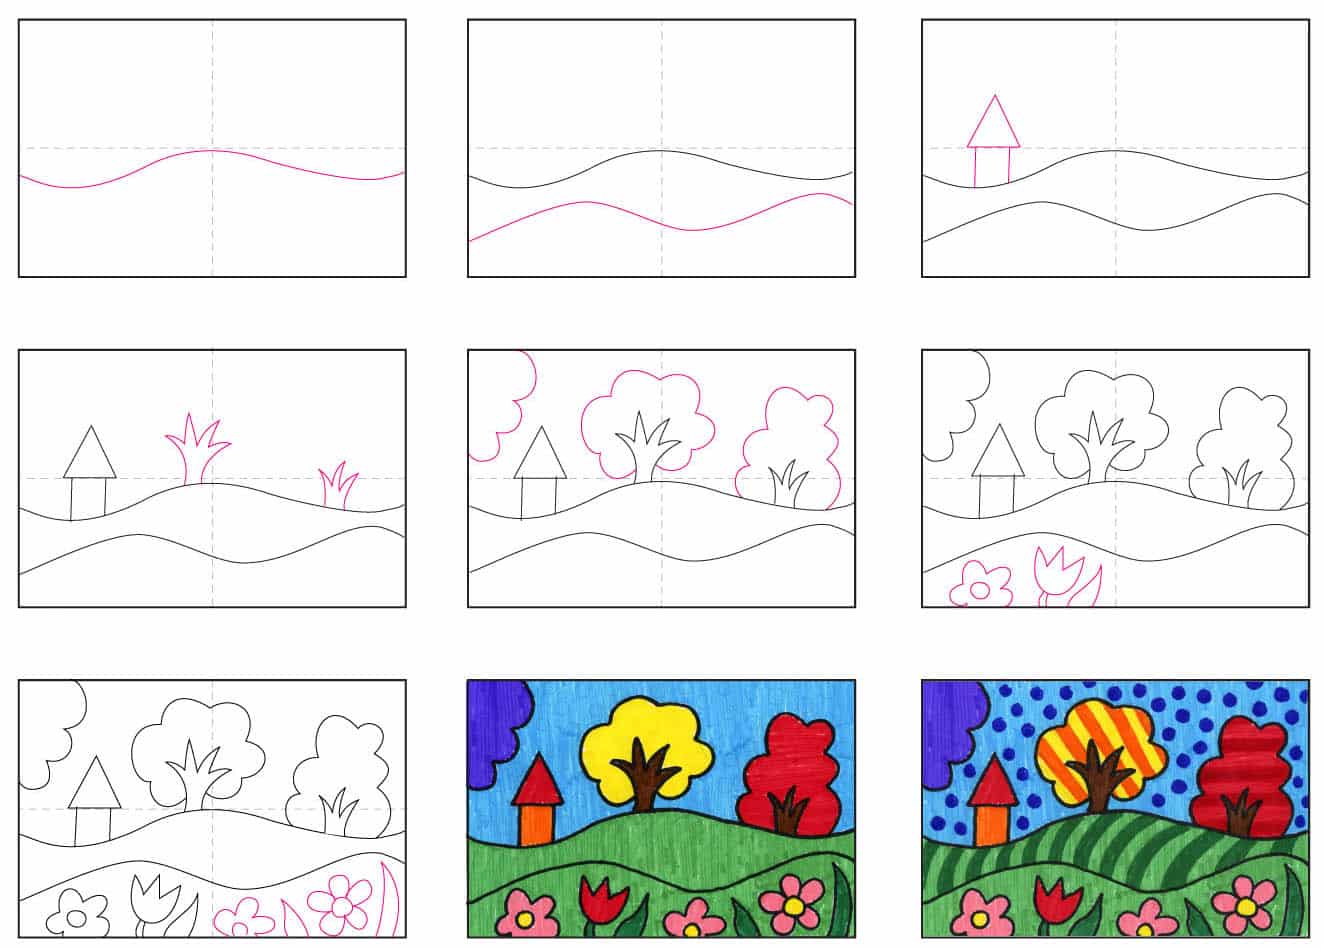
Draw a Pop Art Landscape
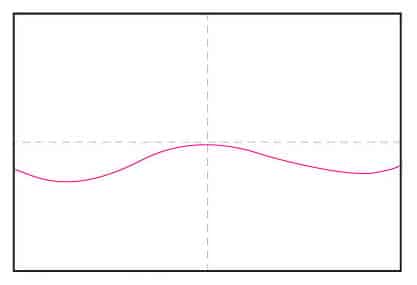
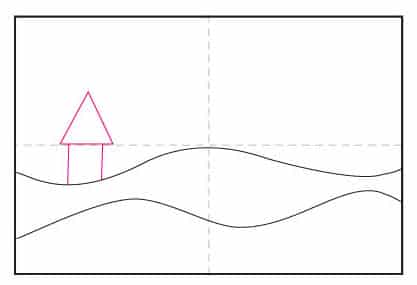
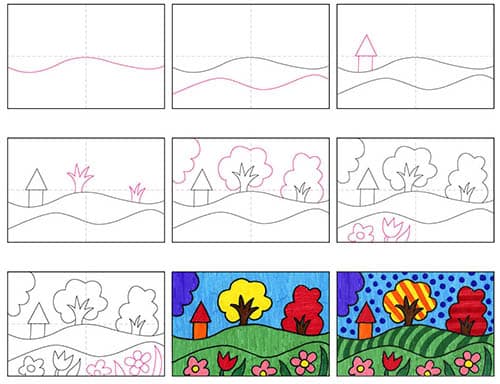
- Draw a gentle wavy horizon line.

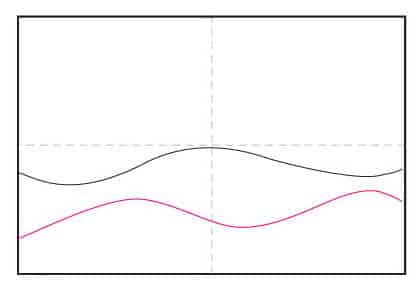
- Add a gentle wavy foreground line.
- Draw a simple house.
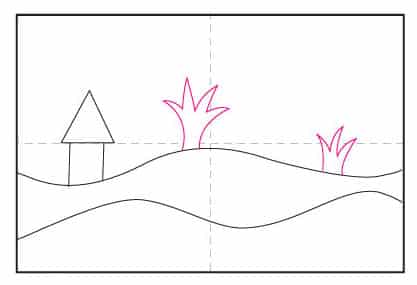
- Add a couple of tree trunks.
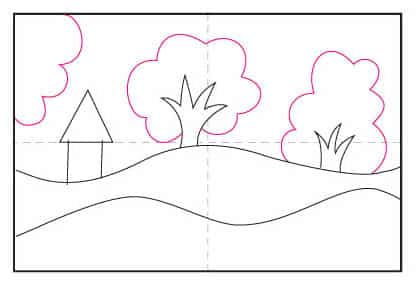
- Add simple lines for the tree leaves.
- Start the foreground with large simple flowers.
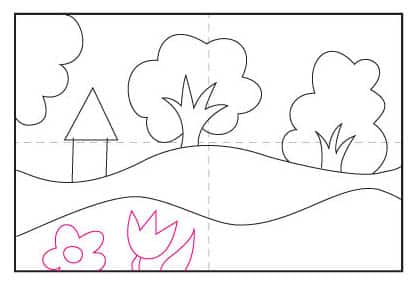
- Finish with more flowers and leaves.
- Trace with a thick black marker and fill with marker color.
- Use markers to add bold spots and stripes on top.
Already subscribed to “The Daily Draw”?
Great, then use the button below to get your free Pop Art Landscape tutorial. And thanks for wanting to bring more step-by-step, no-prep art lessons to your classroom!
More Pop Art Lessons
Pop Art projects in my PDF Shop


9 Comments