How to Draw a Windmill: Easy Step-by-Step Art Lesson for Kids
Below you’ll find an easy step-by-step tutorial for how to draw a Windmill and a Windmill Coloring Page. Many artists have been fascinated with their look over the years.


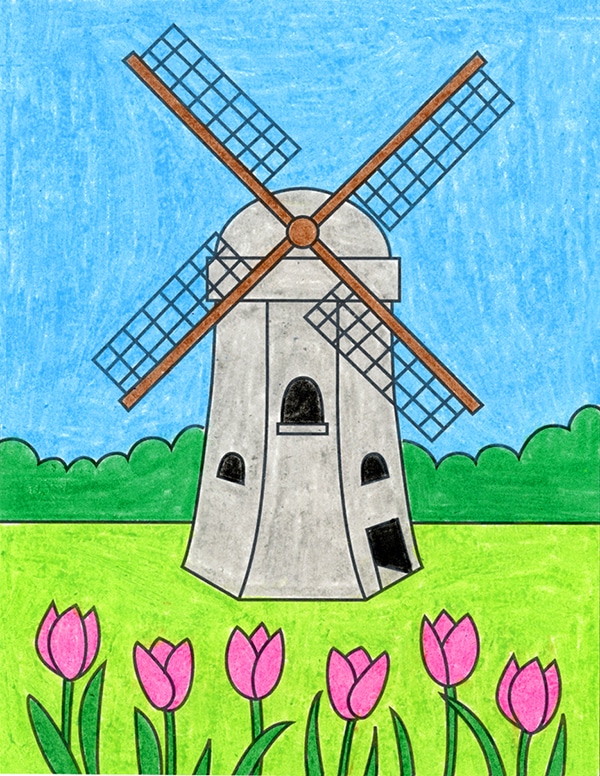
Artists have been drawing and painting windmills for centuries. Many of these buildings can still be seen in Denmark, and still have a fascinating look to them. This tutorial will show students how to draw the giant fan shape found on all of them, with just a few simple straight lines.
To learn more about the history of windmills, you can read about a man named Poul la Cour who grew up on a farm in Djursland, Denmark in the 1850s. He is noted for his early work on wind power which laid the foundation for modern windmill technology and wind power plants today.
Use the button below to grab this tutorial
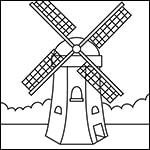
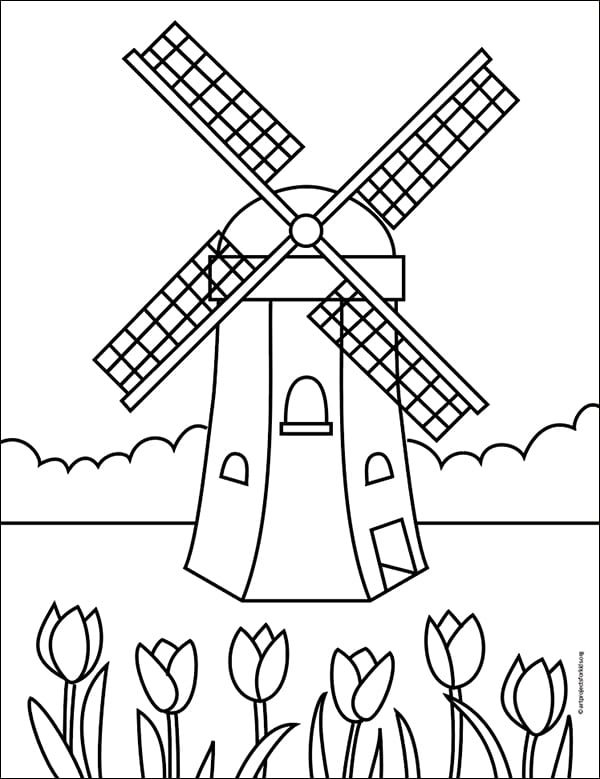
Windmill Coloring Page
Materials for Windmill Project


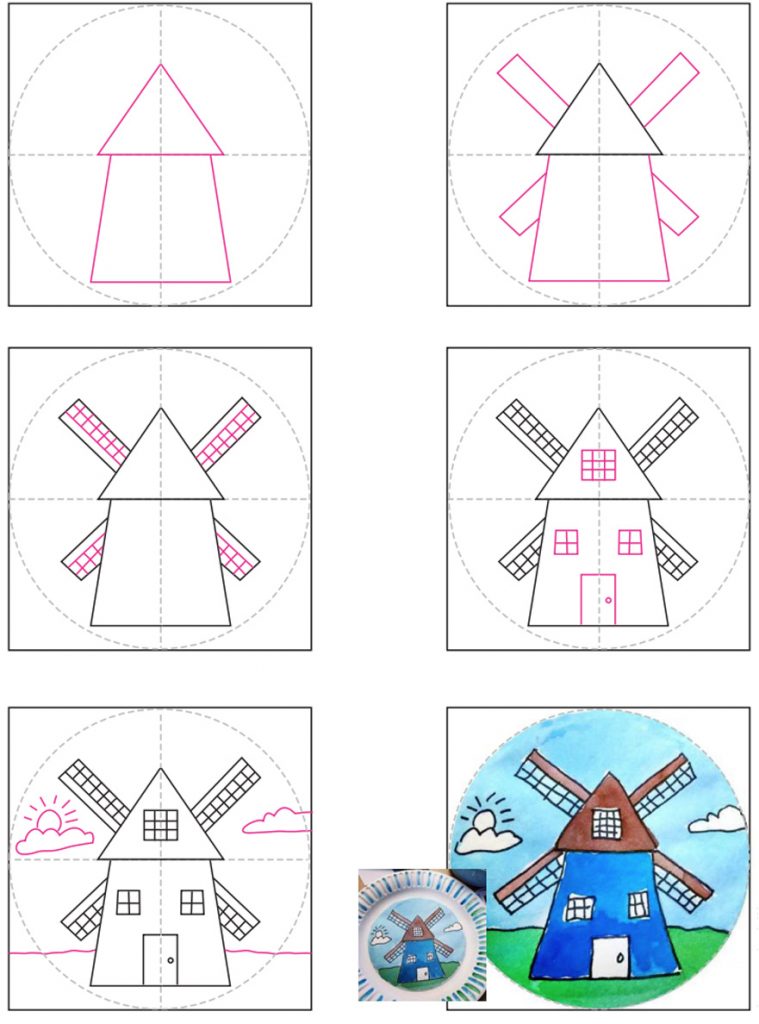
Step by Step Directions for Windmill Project
Time needed: 45 minutes
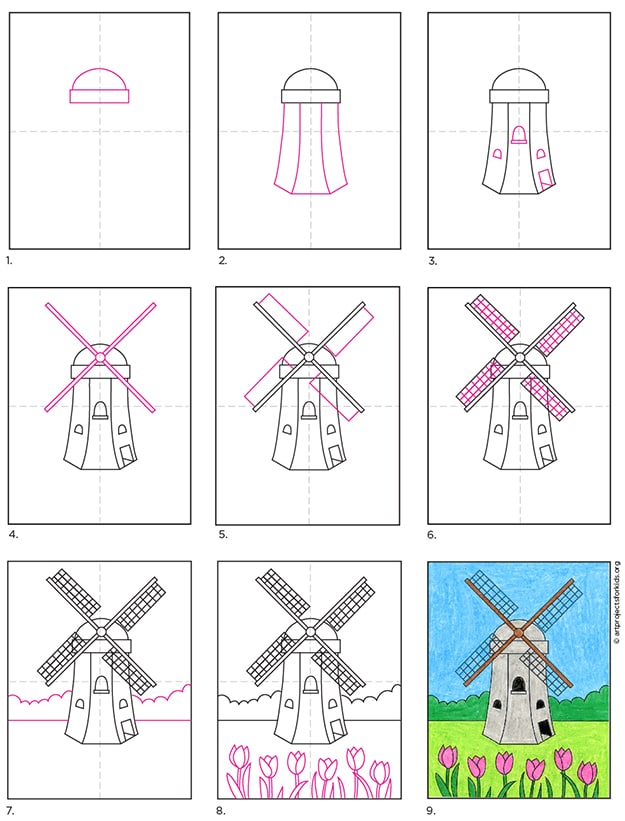
How to Draw a Windmill
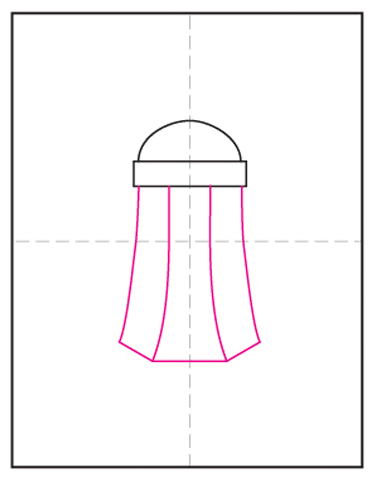
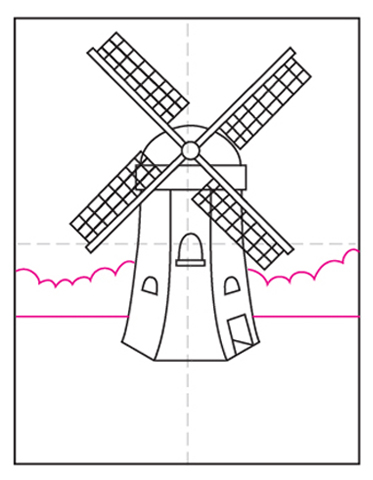
- Draw the top dome.

- Add the curved sides below.
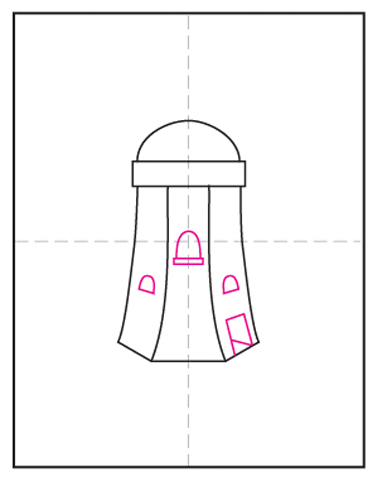
- Fill sides with windows, door.
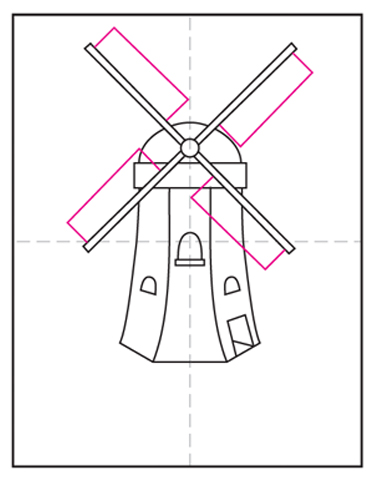
- Draw center circle and large X.
- Add panel attached to each.
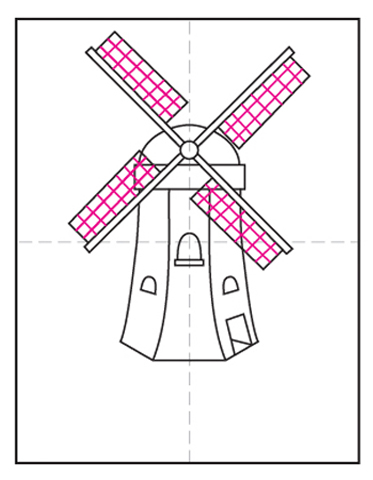
- Fill the panels with grid lines.
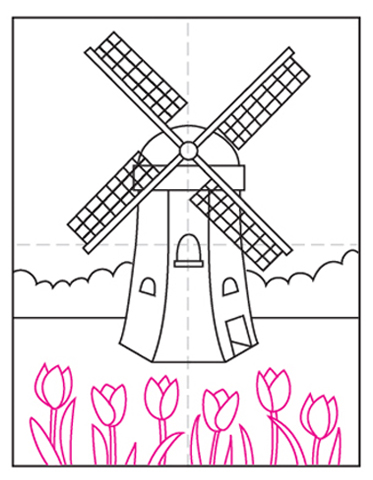
- Draw background landscaping.
- Fill foreground with flowers.
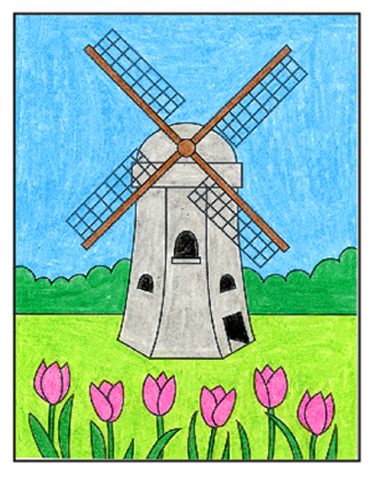
- Trace with marker and color.


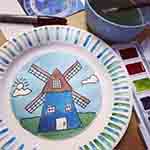
How to Draw a Windmill on a Plate
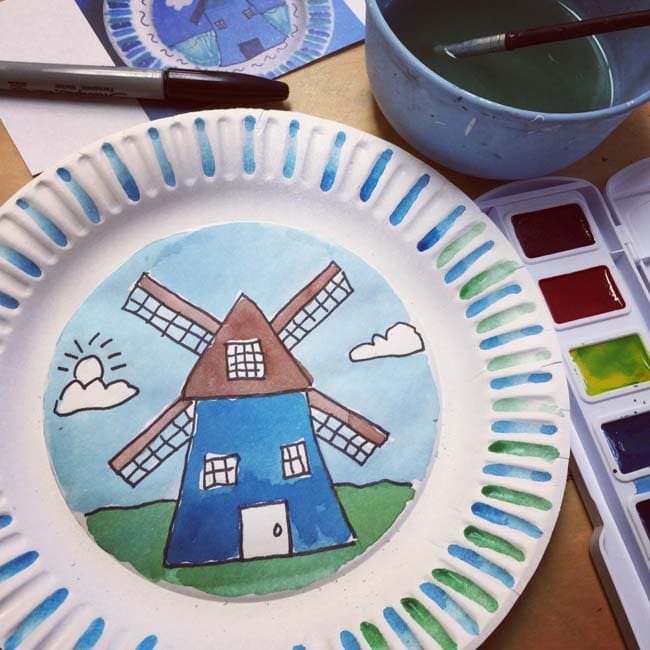
This clever idea to paint a windmill on a paper plate comes from Dream, Draw, Create.
It’s another great alternative when you don’t have good watercolor paper to work with. I found these uncoated super cheap plates took the color beautifully, and kept all that lovely texture that watercolor paint is known for.
The fact that you could stick these all on a wall with just a little tape, and have a “framed” windmill art show in about 10 minutes is pure genius. Thanks ‘Dream, Draw, Create’!
Materials for Windmill on a Plate
- Paper plate, uncoated (the super cheap kind found at your grocer or Costco)
- Black Sharpie marker
- Watercolor paint