How to Draw a Baseball: Easy Step-by-Step Art Lesson for Kids
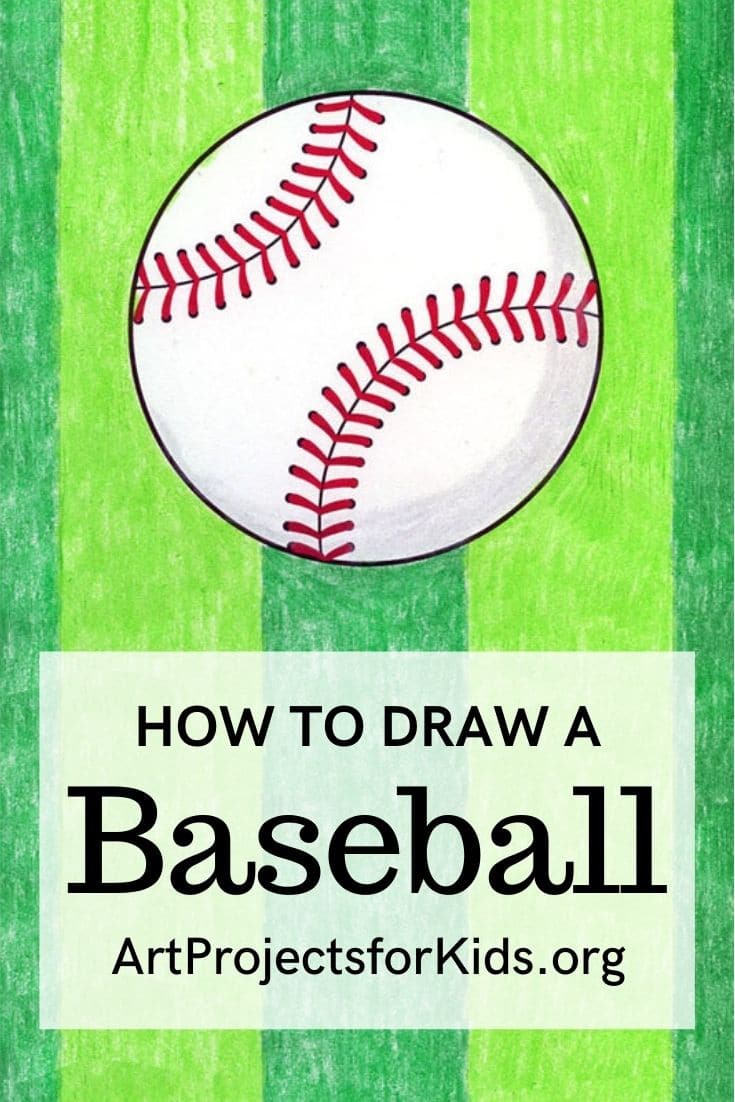
Below you’ll find an easy step-by-step tutorial for how to draw a Baseball. Some careful work on the stitches will make it look pretty amazing.


Drawing of a Baseball
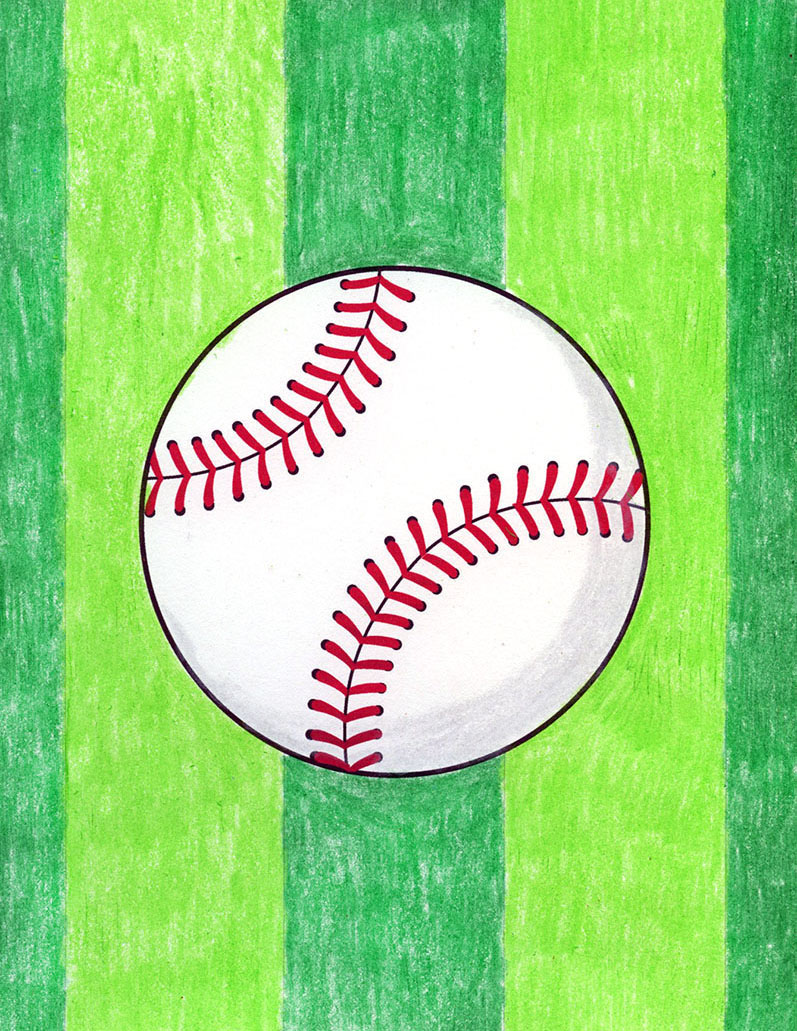
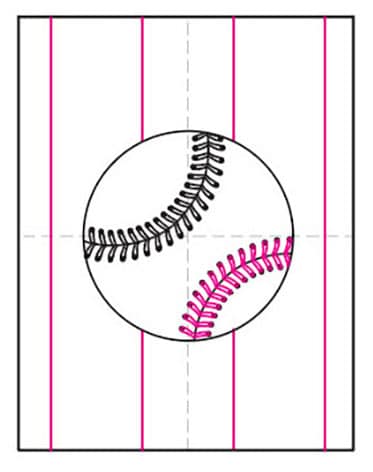
This step-by-step tutorial shows students how to draw a baseball and add the curved seams and stitches that make it look realistic. The lesson begins with lightly planning the two seam lines, followed by evenly spaced marks and rows of small V-shaped stitches.
Students who enjoy careful detail can count and space each stitch, while younger artists can simply estimate as they work around the curves. Either approach will create the look of a real baseball while giving students practice with spacing, repetition, and drawing along a curved line.
Baseball has been played in the United States in different forms since the 1700s, when people used homemade equipment and followed their own local rules. Organized baseball clubs began appearing during the 1800s, and the sport continued to grow in popularity. Today, baseball is often called “America’s pastime” and remains a familiar subject that many students will be excited to draw.
Use the Button below to grab a PDF Tutorial

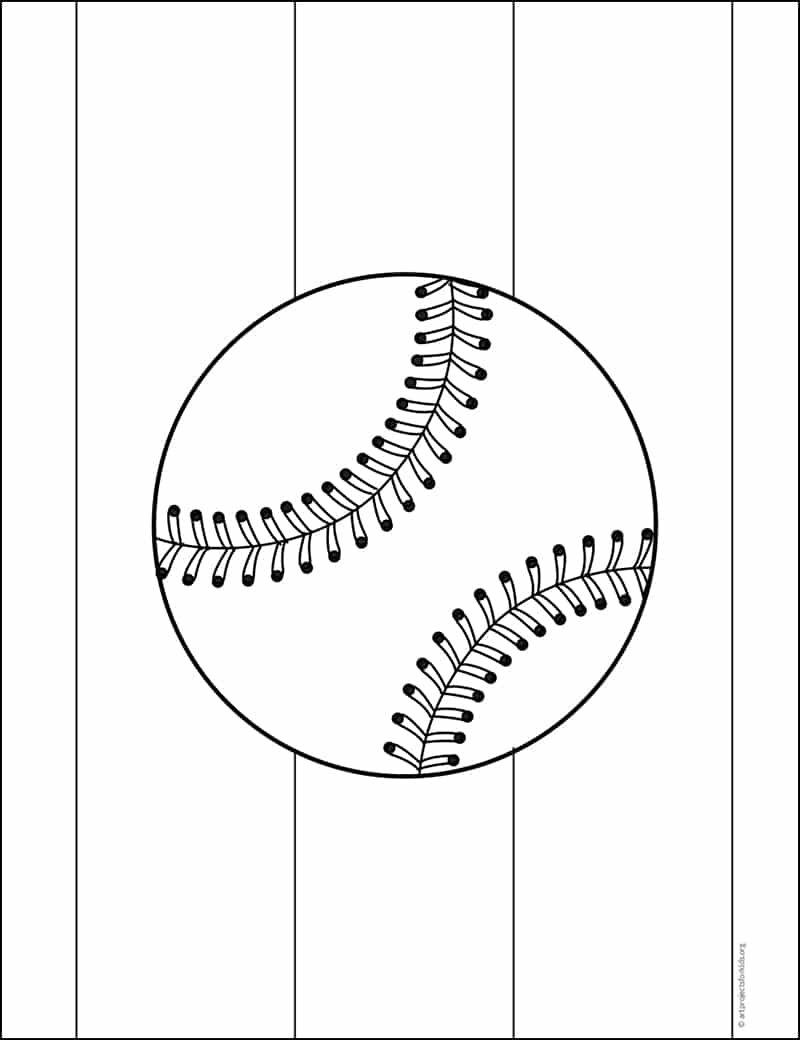
Baseball Coloring Page
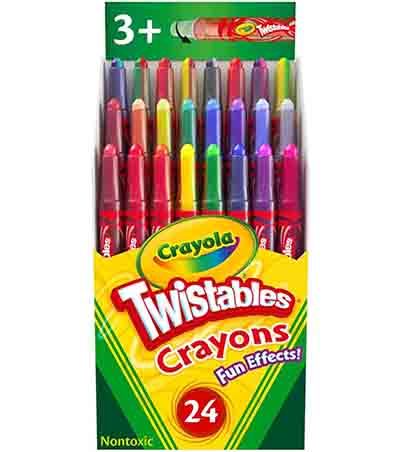
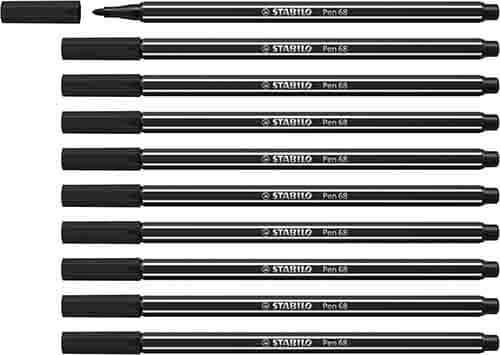
Materials for a Baseball Drawing

Directions to Draw a Baseball Step by Step
Time needed: 45 minutes
How to Draw a Baseball
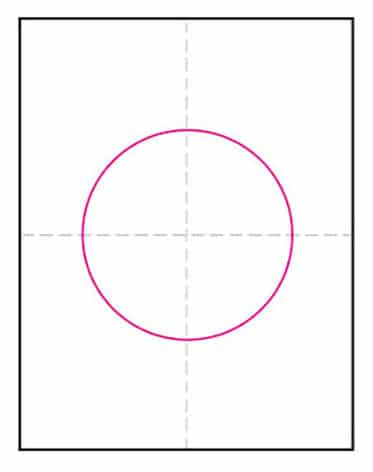
- Draw (or trace) a circle.

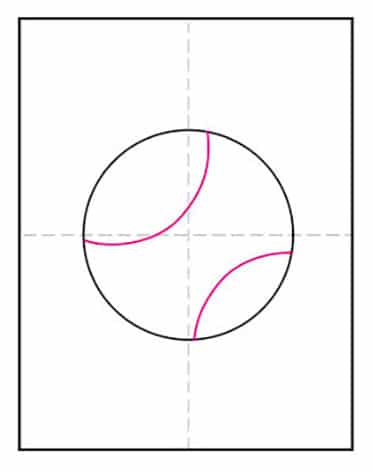
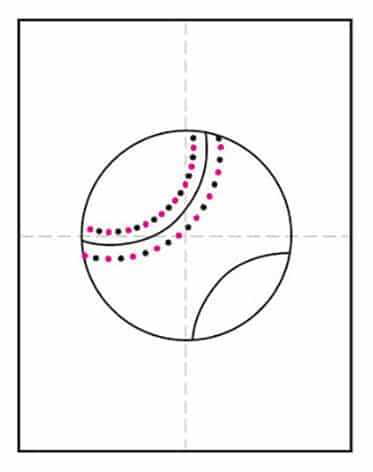
- Add two seam curves as shown.
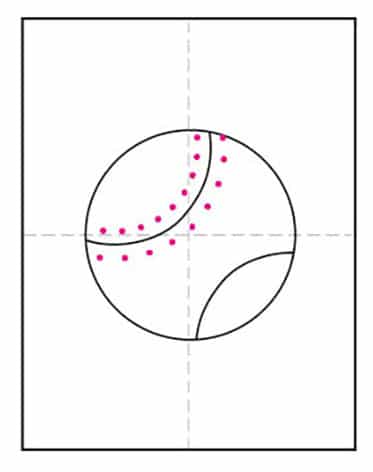
- Draw the approx. number of dots.
- Add another dot centered in between.
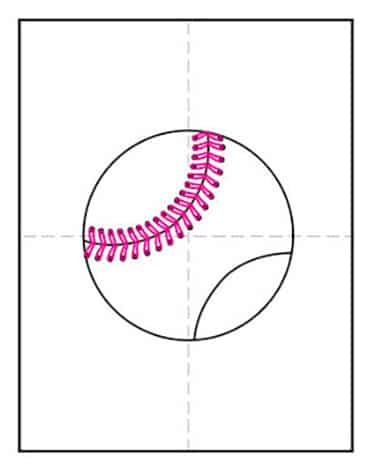
- Draw loops that attach to the seam.
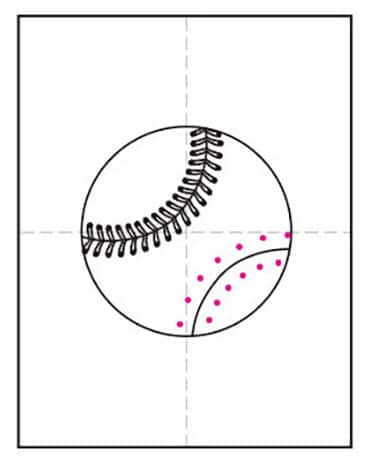
- Draw the approx. number of dots.
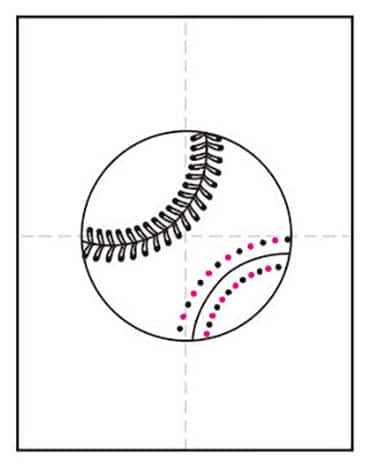
- Add another dot centered in between.
- Draw loops that attach to the seam.
- Color stitches with marker, fill in background.

Save me to your Pinterest Board
More Sports Theme Projects