Easy How to Draw a Lego Tutorial Video and Lego Coloring Page
Here you’ll find an easy step-by-step tutorial for how to draw a Lego Tutorial Video and a Lego Coloring Page. Students can turn it into a portrait of themselves!
Lego Drawing
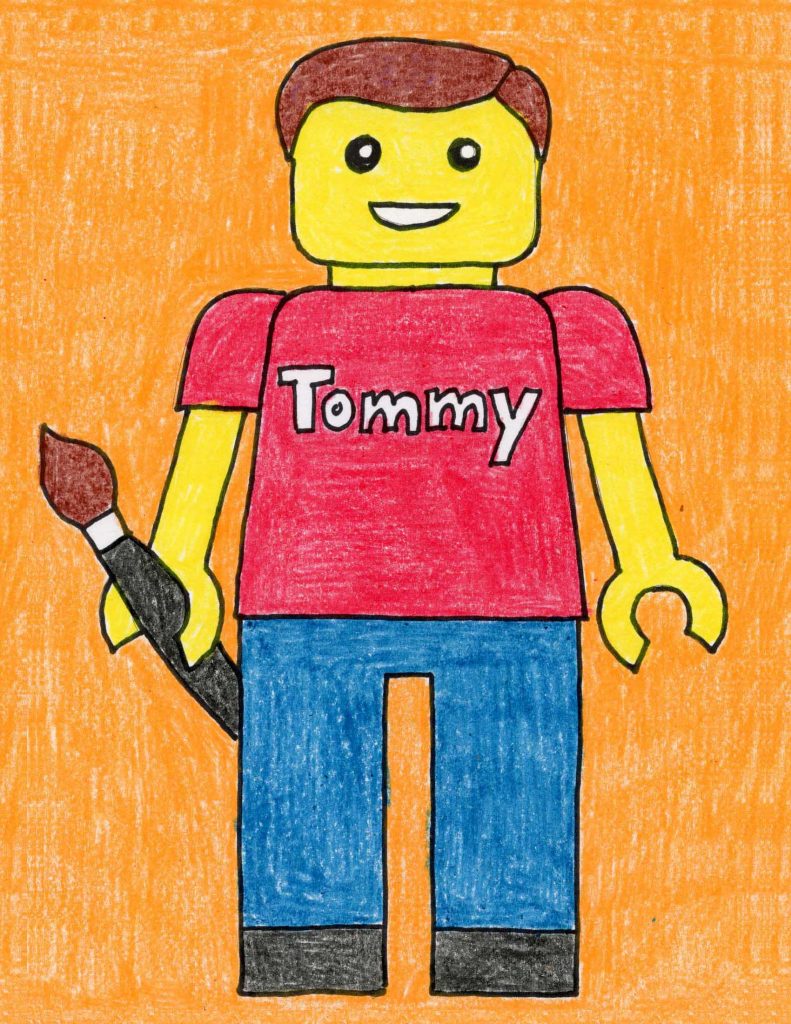
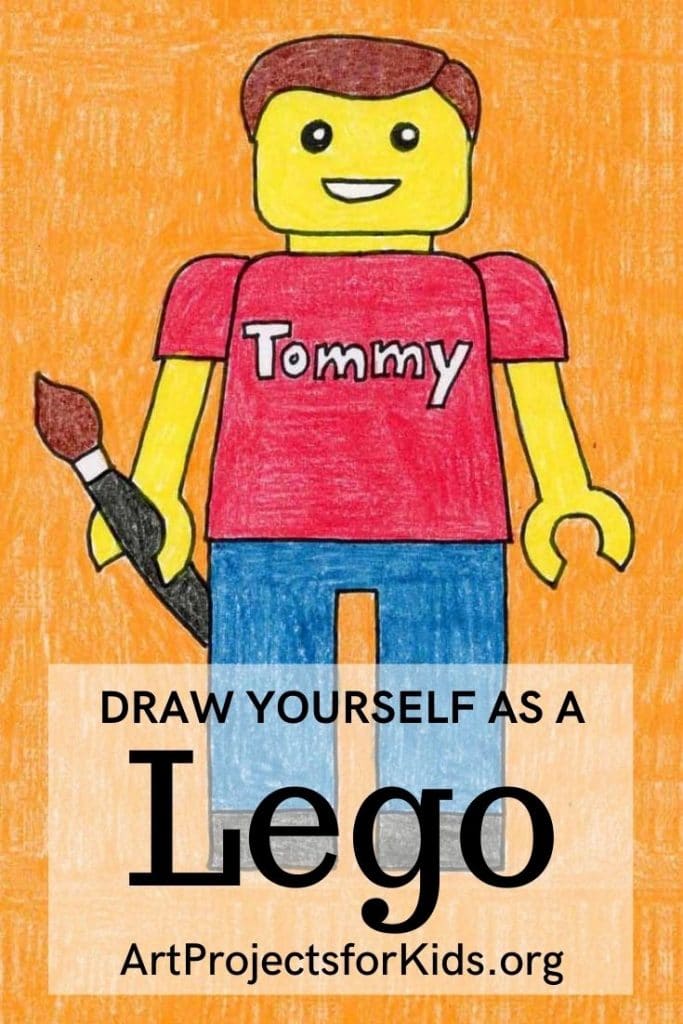
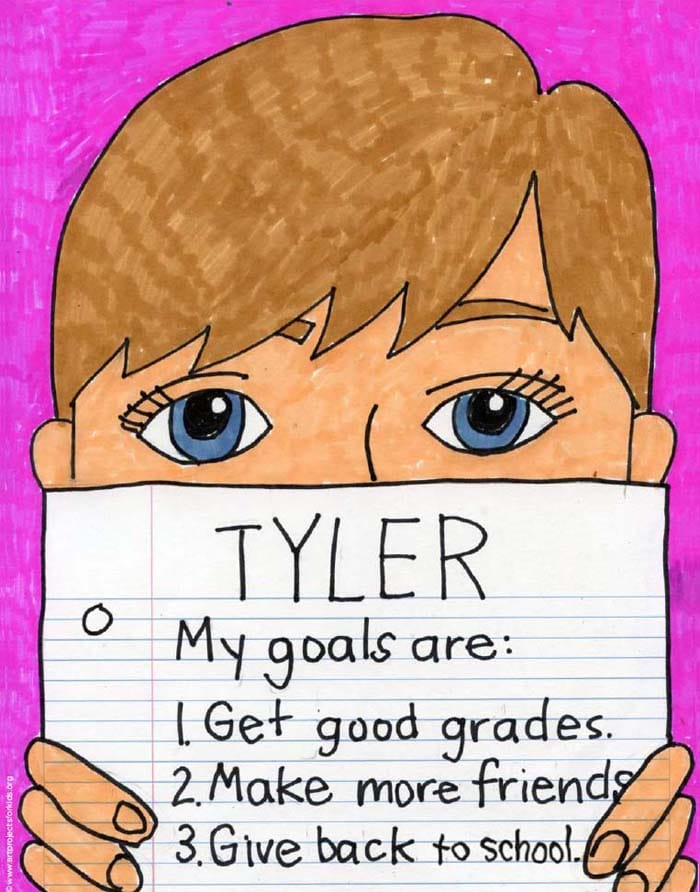
There’s nothing like drawing what you know, so a fun self portrait project for kids might include learning how to draw a Lego. They certainly needn’t worry about details of their eyes, nose or mouth. And any clothes they are wearing must be turned into very simple block shapes.
That leaves lots of time to make some very neat block letters for their name, and something to hold that shares an interest of theirs. The same goes for coloring. Who ever saw a scribbly Lego? Cartoon coloring especially, calls for neat and careful work.
TIP: Whether your students are in your classroom or you are teaching online, I really recommend they fold their paper three times FIRST to get the dashed lines that are seen on all the steps. They really help students fill the paper, get things centered, and get out of any ‘tiny’ drawing habits.
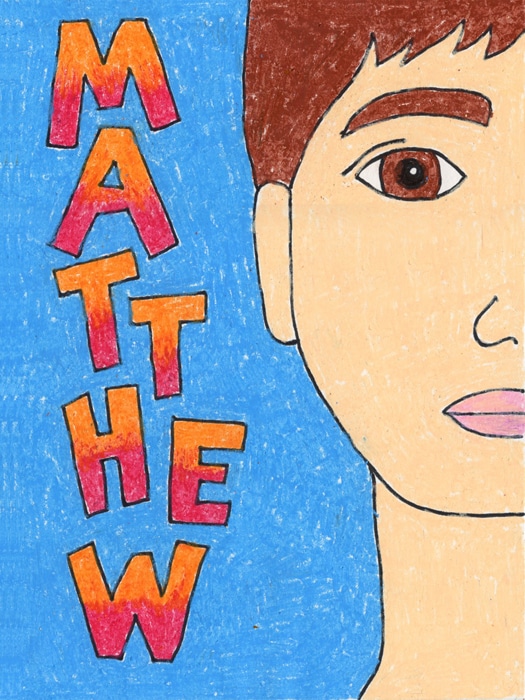
Student Gallery
Join “The Daily Draw“ below to get this free tutorial!
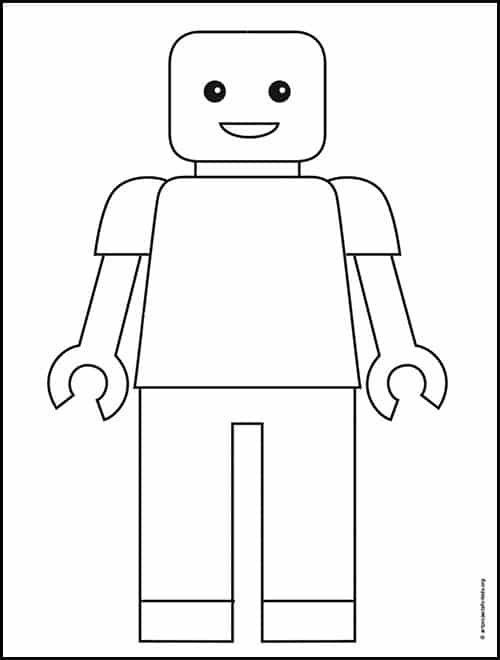
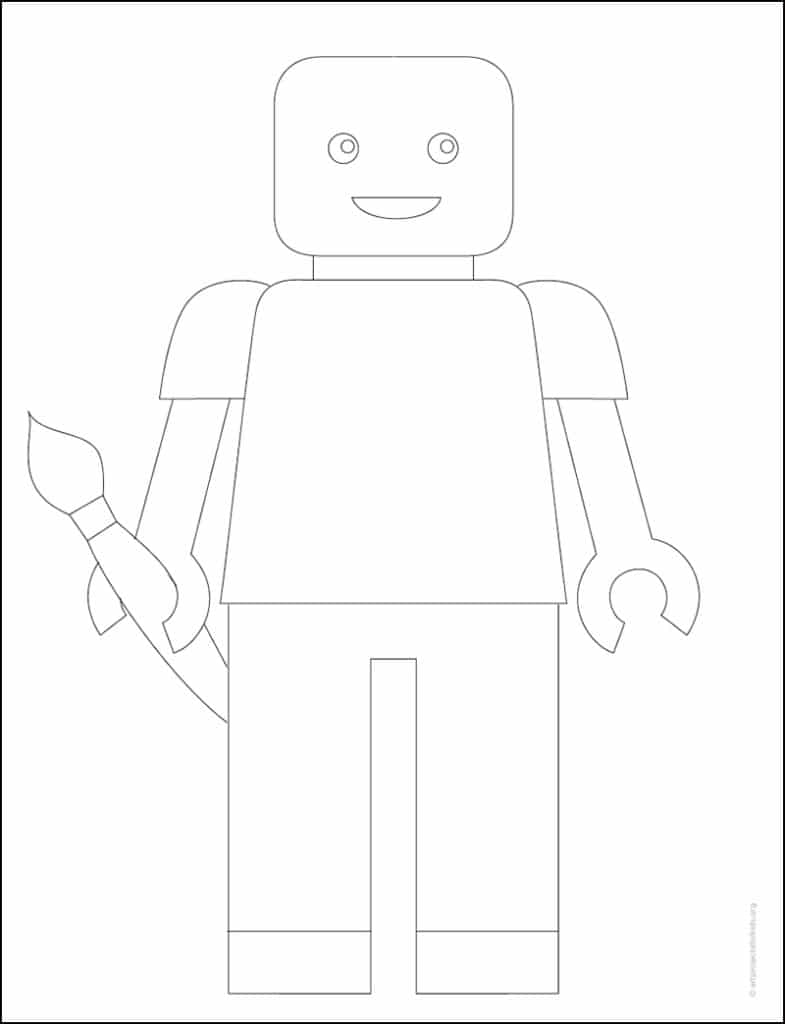
Lego Coloring Page
Lego Tracing Page
Materials to draw a Lego
- Drawing Paper. This is the good stuff you can buy in bulk for a good price.
- Pencils. I like how this brand always makes nice dark lines.
- Black Marker. A permanent marker will give you a dark black color.
- Crayons. The larger packs are nice for more color choices.
- Note: All of the above are Amazon affiliate links.
Step by Step Directions for a Lego Drawing
Time needed: 45 minutes
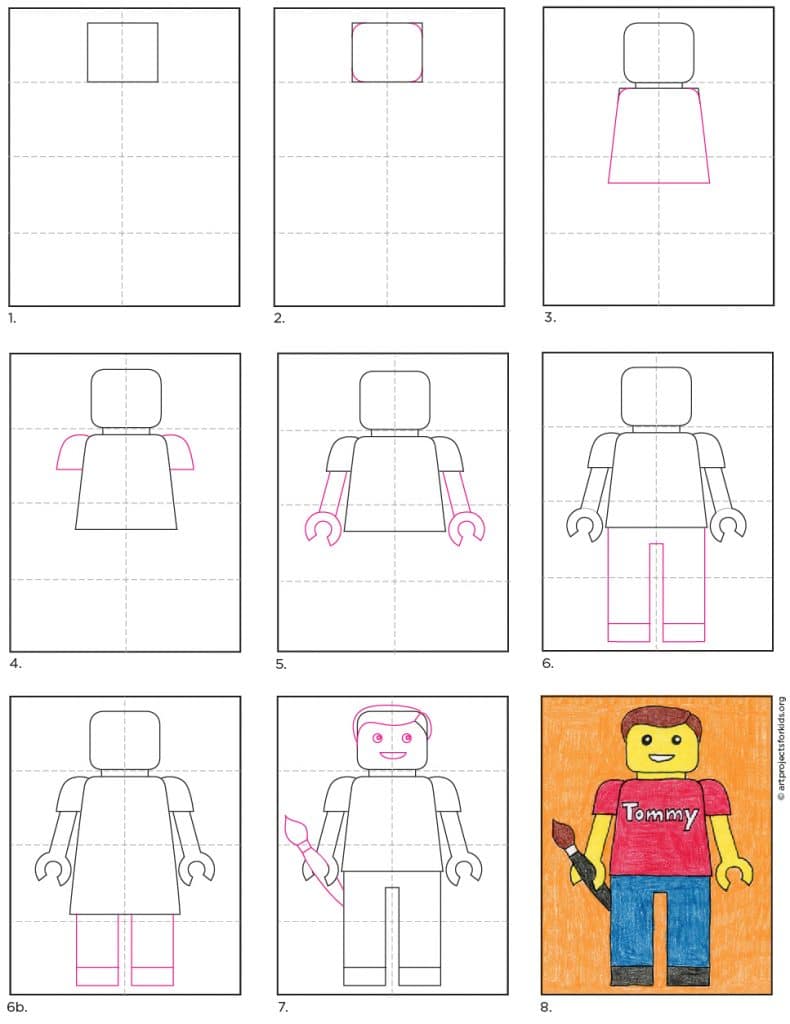
How to Draw a Lego Step by Step
- Draw a square head.

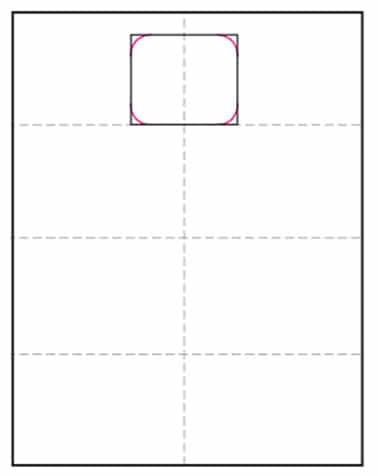
- Round the corners, and erase the old ones.
- Draw the torso with rounded shoulders.

- Add two sleeves.

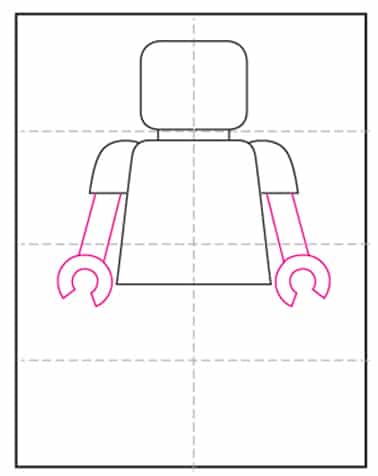
- Add two arms with circle hands.
- Finish with pants OR …
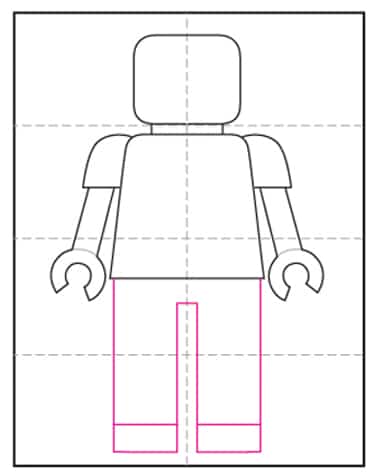
- … make the shirt into a dress and add legs.

- Personalize with hair, face and something in the hand.

- Trace with a marker and color.

- Note: Keep details simple!
